Understanding making Assistive Technology and Making writing AT at home. – SCOPES-DF

Lesson Details

Age Ranges
Fab Tools

You need to login or register to bookmark/favorite this content.

Author

tshering wangzom
Fablab manager
Tshering Wangzom is a lab manager and engineer at Jigme Namgyel Wangchuck Super Fablab. She has Bachelor in Electronics and Communications and MSc. in Networking and telecommunication. She is in charge of managing the lab and also developing and running… Read More

Summary

This lesson aims at teaching students about Assistive Technology, the process and the importance of developing an AT with the end user. It also enables students and caregiver to make their own AT without having to use machines and using things that can me bought from the market through molding and casting.

What You'll Need

Material:

  • Pen and Book
  • Plastic Cup
  • Dough
  • Casting Stone
  • Food safe silicone
  • Weighing machine/ measuring cup
  • Latex gloves and Apron


The Instructions

Introduction to the need for AT (1 hour )

Visit a Special Need School(SEN) or bring someone with special needs(need knower). Goal is to make the students understand, observe and get exposure. Often times, what we think is the problem with the other person is not a problem for them and tend to think in a mindset of “what is normal” eg: For someone without a limb it is normal to use their feet for their daily work, there are artist who use their mouth and feet to draw and carve too but they will think that's not normal and will try to find solution to “ what they think is a PROBLEM ”

  • Story telling and listening to the need knower:

to share their story and share their success and struggles. This makes sure that the student knows that when AT is made it needs to be made with the end user and for the end user.


Note: Involve parents of the need knower as it will be better for the needknower to get comfortable with everyone.


  • Students should be encouraged to ask questions on what AT they need and problems faced by them. 


Process of designing an AT

Teacher to explain about Assistive Technology and need for it to be made for and with the end user(need knower)

  • Teachers need to answer this questions: Emphasis on the importance of AT, what is AT ? Why does it need to be made with the need knower as their design partner/ consultant and needs to be tested? This makes sure the students understand AT and the development process of AT.


  • Share some examples of AT, from very complicated robotic assistance to low tech cloth wrapped around a pen to help with grip and also computer software. Always good to share stories of different AT

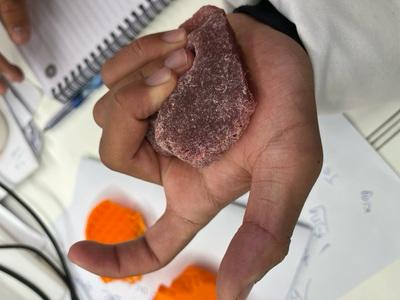
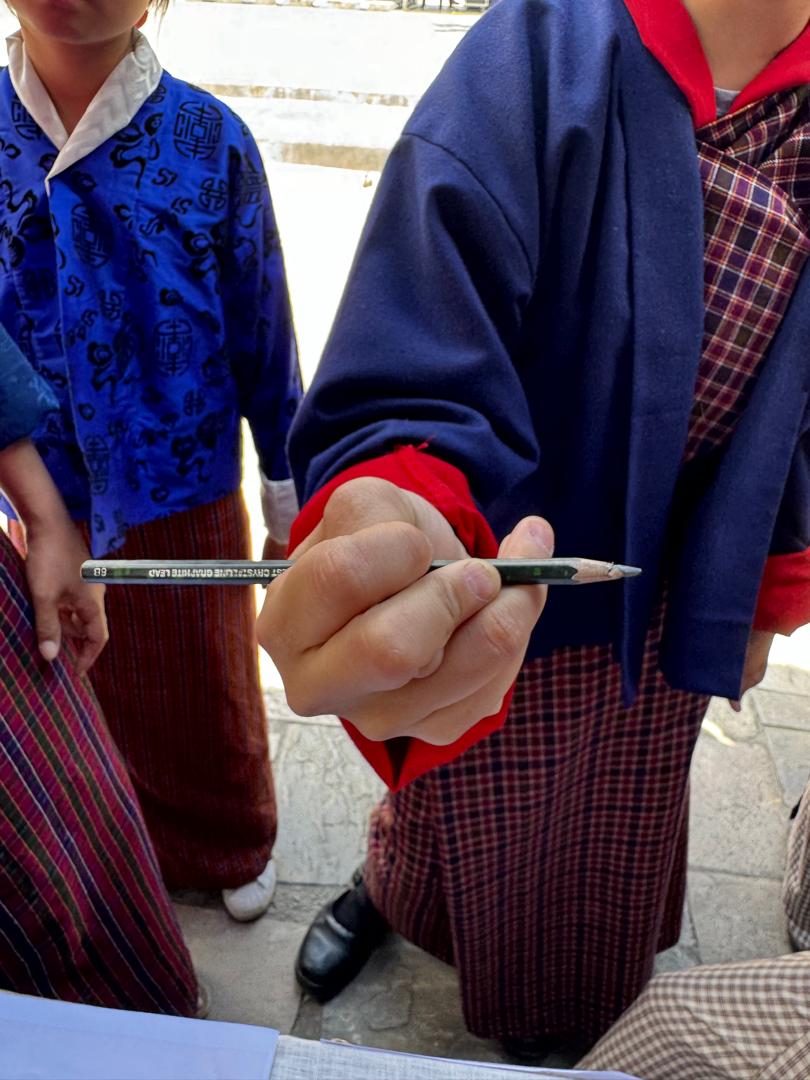
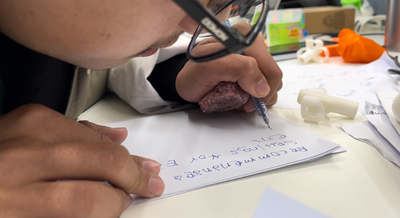
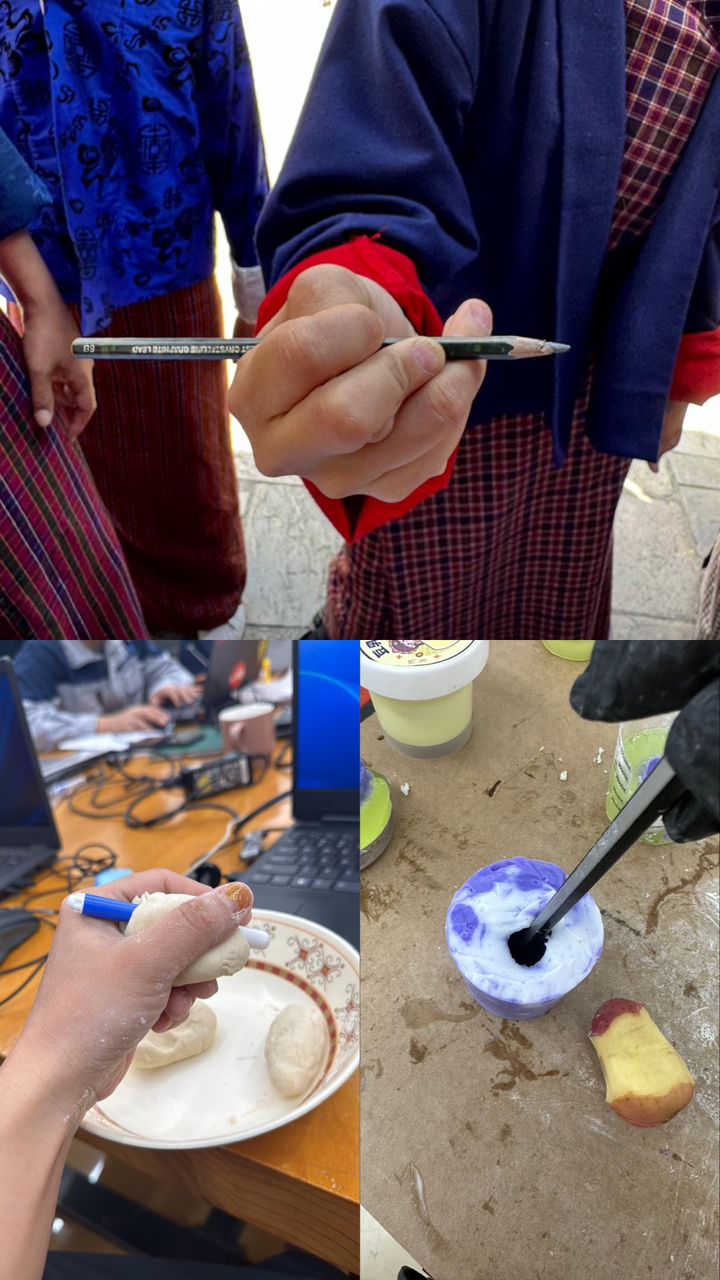
 eg: a Mother in India used a potato as a pencil holder for her boy who had a gripping problem. She peeled the potato layer at a time to make sure it was comfortable and fitted her boy.


Introduction to Molding and Casting:(15 minutes )

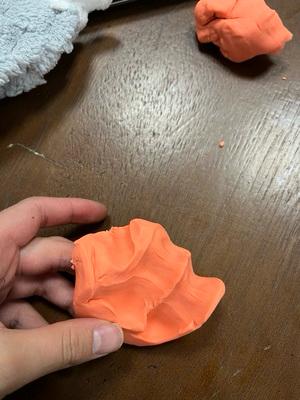
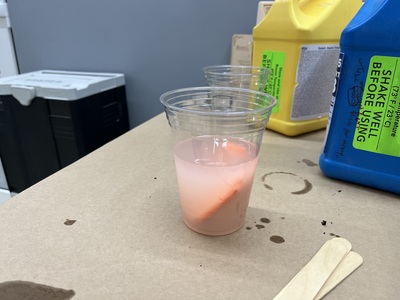
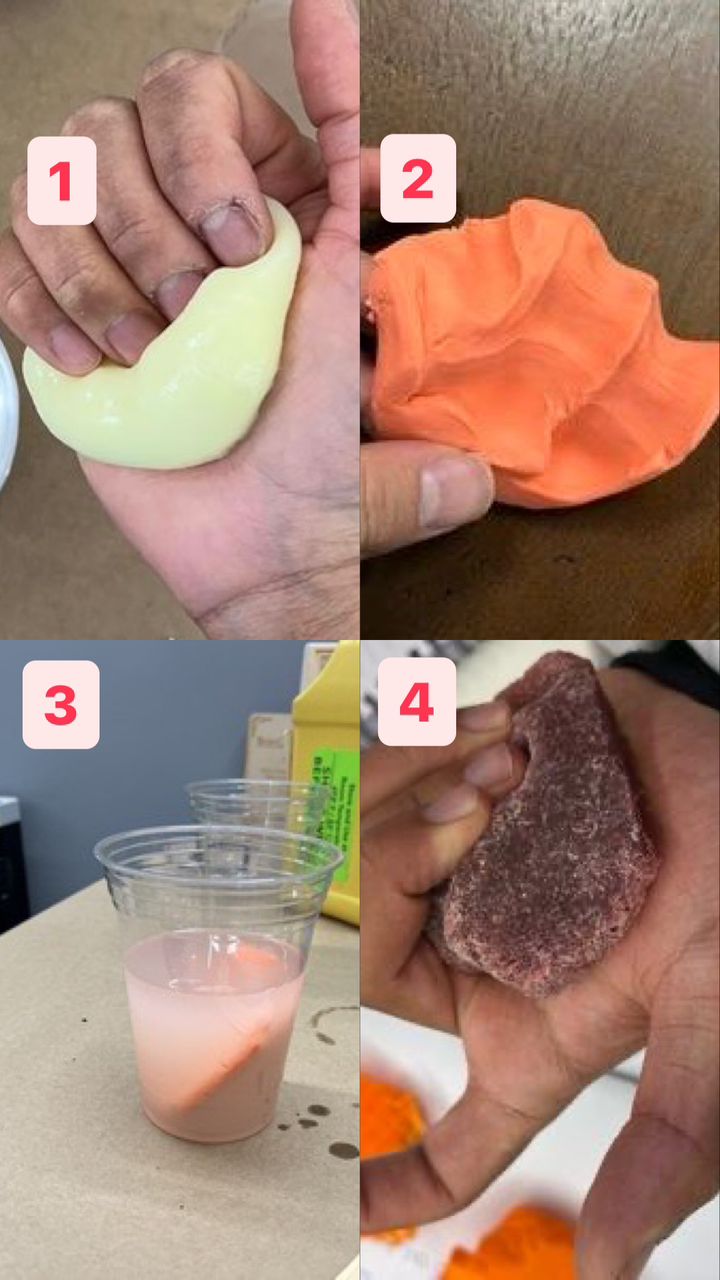
Here the teacher will have to explain what is molding and casting and how it can be done.

  •  Start by Explaining what Molding and Casting is?
  • Introduction to Different types of Molding and Casting materials but tell them more about Silicon Molding and Casting
  • Explain the Mold making process, like 3d printed mold, milled mold and getting negative from actual material.
  • Teachers also need to explain the need for Personal Protective Equipment.


Molding and Casting AT:(1 hour)

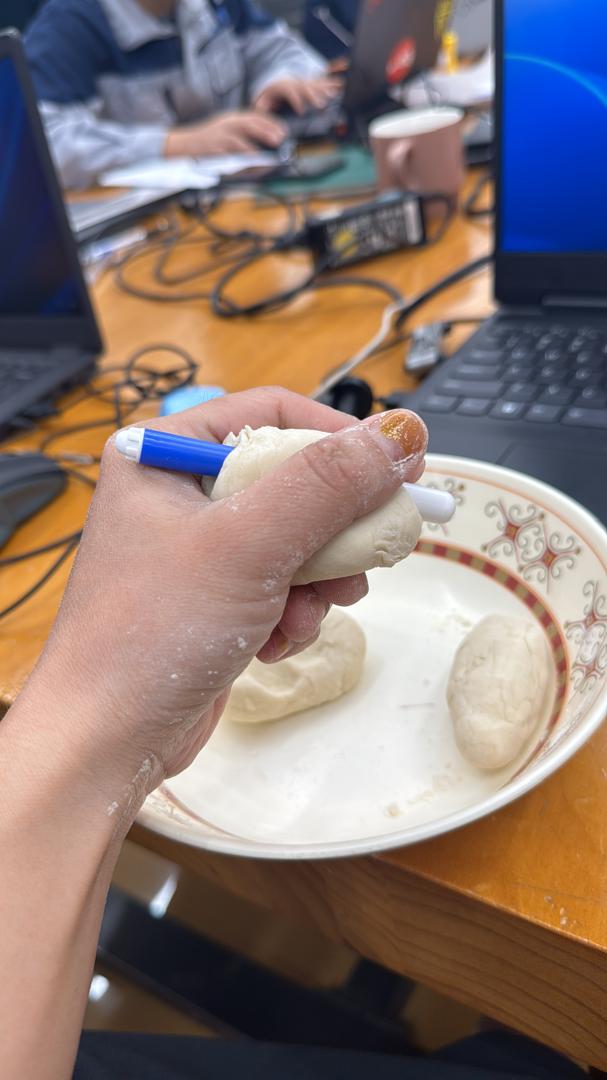
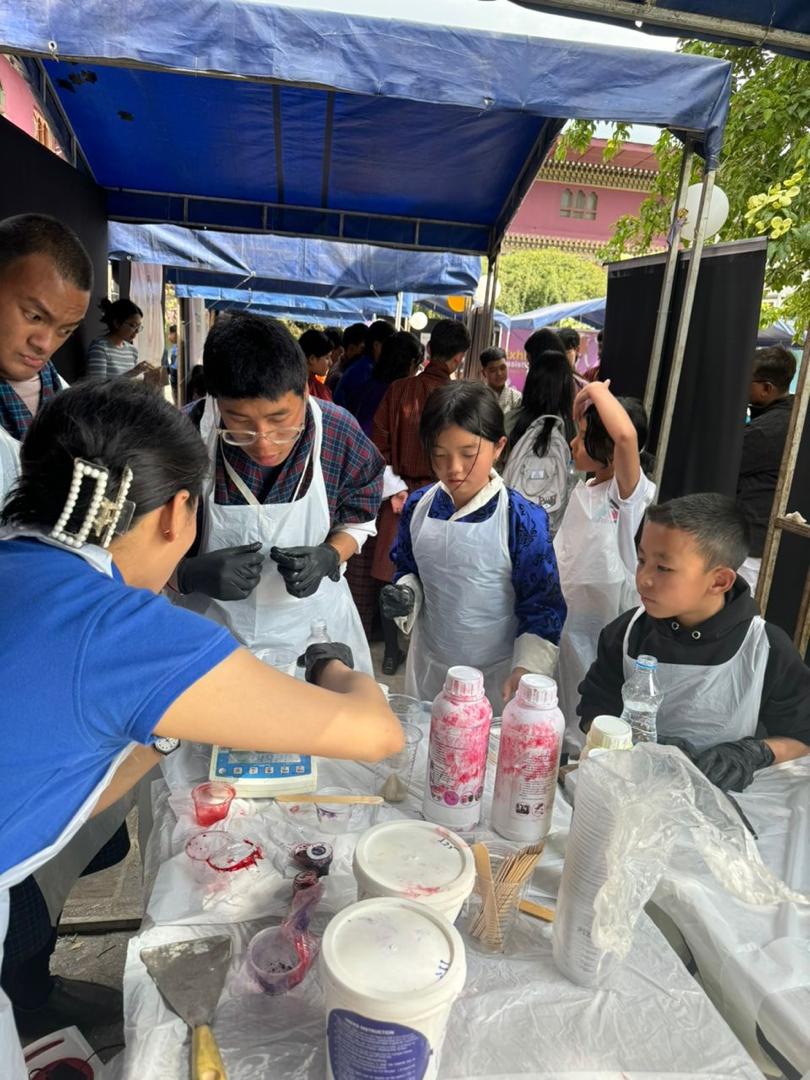
The students will have to carry our practical here and they will learn how to make actual AT.

  •  Teachers need to set a molding and casting station with all the materials(Silicon and hydrostone), gloves, apron and weighing machine.
  • Also prepare kneaded dough or use kids playing dough which will be used in a mother mold. 
  • Make all the students wear latex gloves and an apron and small amounts of dough and three plastic cups.
  • Again remind them about the safety and how messy it can become.

Now give clear instructions on the process of molding and casting:

  1. Firstly, Students will use the dough to make an AT , eg: wrap the dough around the pen to make a pen holder or make a writing cushion as in the picture below, best would be to encourage them to make something for the need to know that visited or met. (if there is a need knower take an impression from the person)
  2. Teachers should verify the Dough AT to see if it can be casted. 
  3. While students are making the Dough AT, the teacher should prepare the Casting hydrostone.
  4. Now, ask your students to place the dough in the plastic cup or any container you see fit. Place it in such a way that the important parts come out perfectly. 
  5. Now, pour the hydrostone in the cup with the dough but make sure to leave space on top from which we can take out the dough.
  6. The hydrostone usually takes around 15 minutes to get casted.
  7. When the stone is hard, take out all the dough and the shape of the dough will be left behind on the stone which will be the mold for the AT.
  8. Now, read the instructions for preparing the silicon and prepare the silicone in a new container. This will be your final casting material.
  9. Finally, pour the silicon on the hydrostone mold and then the casting time will depend on the individual material.
  10. While removing the final product, sometimes you might have to break the hydrostone. This will be your Assistive Technology.


Conclusion

Testing AT

  • Now make the student Test the silicon AT themselves first or if possible on a need knower they made the AT for.
  • Get feedback and if time permits they can make their second iteration.


Extra Activity

3d Scanning the dough using free 3d phone scanner.

  • Ask your students to download any 3d scanner on their phone which can scan small object’
  • Now, the student can scan the Dough with the instruction for the scanner they donwloaded.
  • 3d print the scaned file using a flexible filement like TPU filament


Lesson Feedback

Contact us

Having trouble? Let us know by completing the form below. We'll do our best to get your issues resolved quickly.

"*" indicates required fields

Name*
Email*
This field is for validation purposes and should be left unchanged.
?