Smart Plant Care System – SCOPES-DF

Lesson Details

Age Ranges *
8-11,
Author

Author

Julie Sundar

Summary

Smart Plant Care System

Nurture Your Plants, Effortlessly
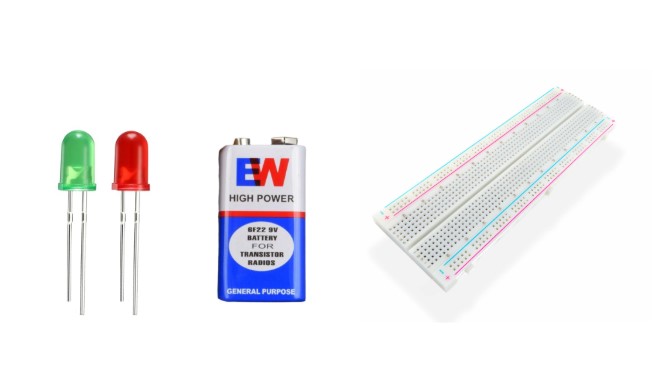
 

What You'll Need

Materials:

  • Hardware: Arduino Uno, soil moisture sensor, LED, water pump (small DC pump), relay module, jumper wires, breadboard, 9V battery (for powering pump), Arduino-compatible USB cable.
  • Software: Tinkercad Circuits (drag-and-drop coding and circuit simulation) or Blockly for Arduino.
  • CAD Tool: Tinkercad for 3D design.


Lesson Materials

Learning Objectives

Program Overview:

  • Target Audience: Ages 8-10
  • Duration: 6-8 hours (can be split into two days or extended)
  • Key Skills: Problem-solving, critical thinking, 3D design, electronics, drag-and-drop coding

Note:This program balances creativity, hands-on activities, and coding. By using drag-and-drop coding, kids can focus on logic and problem-solving without being overwhelmed by syntax.

Reflection

Learning Outcomes:

  • Learn the basics of electronics and Arduino Uno.
  • Understand how to use drag-and-drop coding platforms for programming.
  • Gain hands-on experience with 3D design and printing.
  • Build problem-solving and teamwork skills while tackling a real-world challenge.


The Instructions

Introduction & Challenge Overview (30-45 minutes)

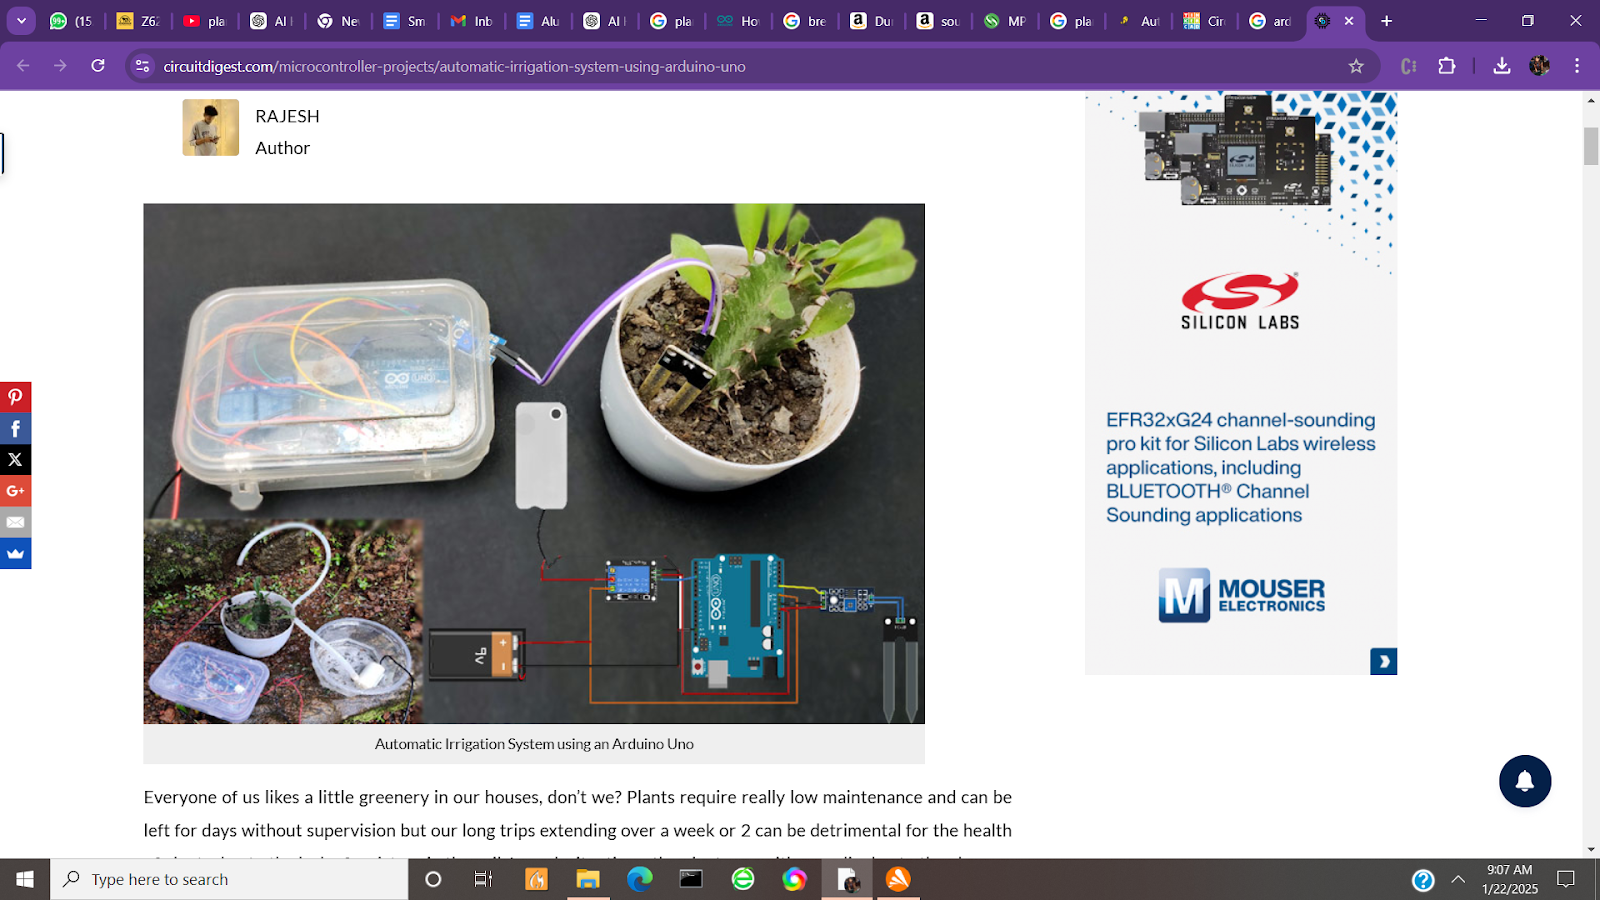
Objective: Introduce Arduino Uno, sensors, and the challenge.

  • Activities:
  1. Welcome and Icebreaker (5-10 minutes): Quick introductions and icebreaker activity.
  2. Introduction to Arduino Uno (15-20 minutes):
  • Explain what Arduino Uno is and its purpose in simple terms.
  • Introduce the soil moisture sensor, LED, and water pump. Explain how they work together to automate plant watering.
  • Demo: Show a simple pre-built project where the soil sensor reads moisture and triggers the pump and LED.
  1. Present the Challenge (10-15 minutes):
  • Challenge: Design and build a “Smart Plant Care System” that detects dry soil and automatically waters the plant while lighting an LED as a notification.
  • Goal: Students will create the circuit, program it using drag-and-drop coding, and design a 3D-printed led holder and name tag for the system.


Designing the 3D Components (1.5 hours)

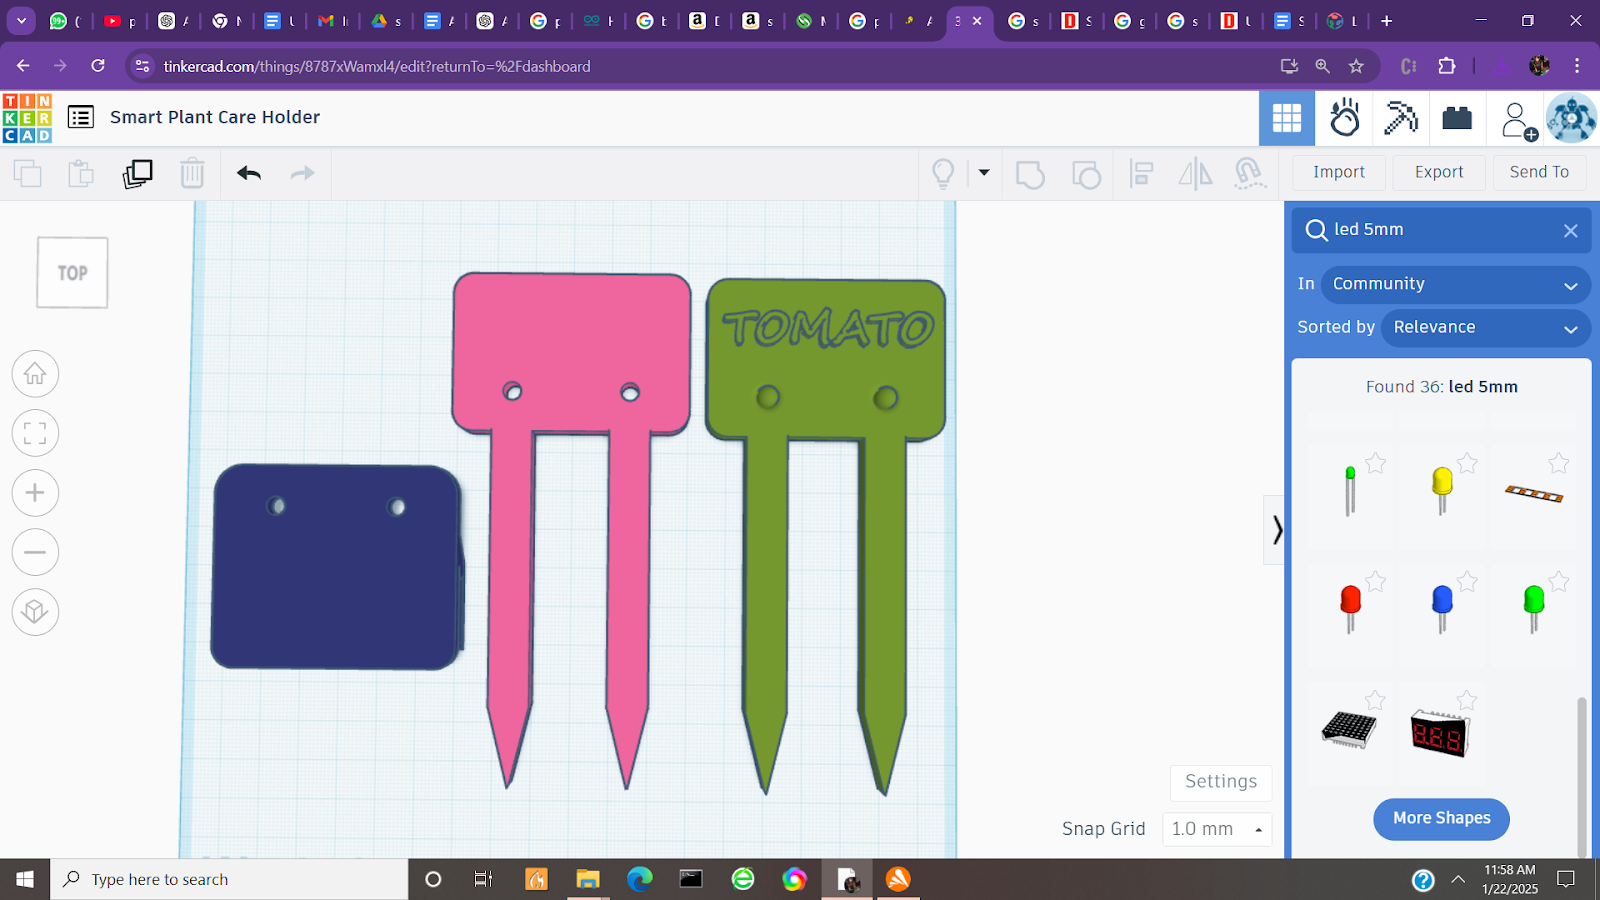
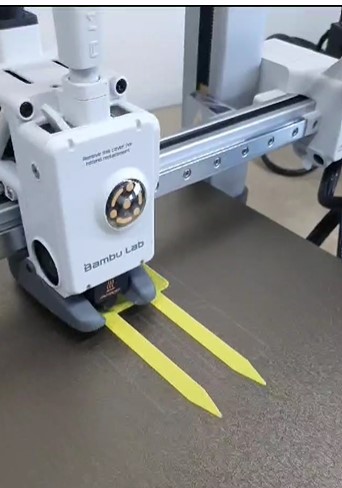
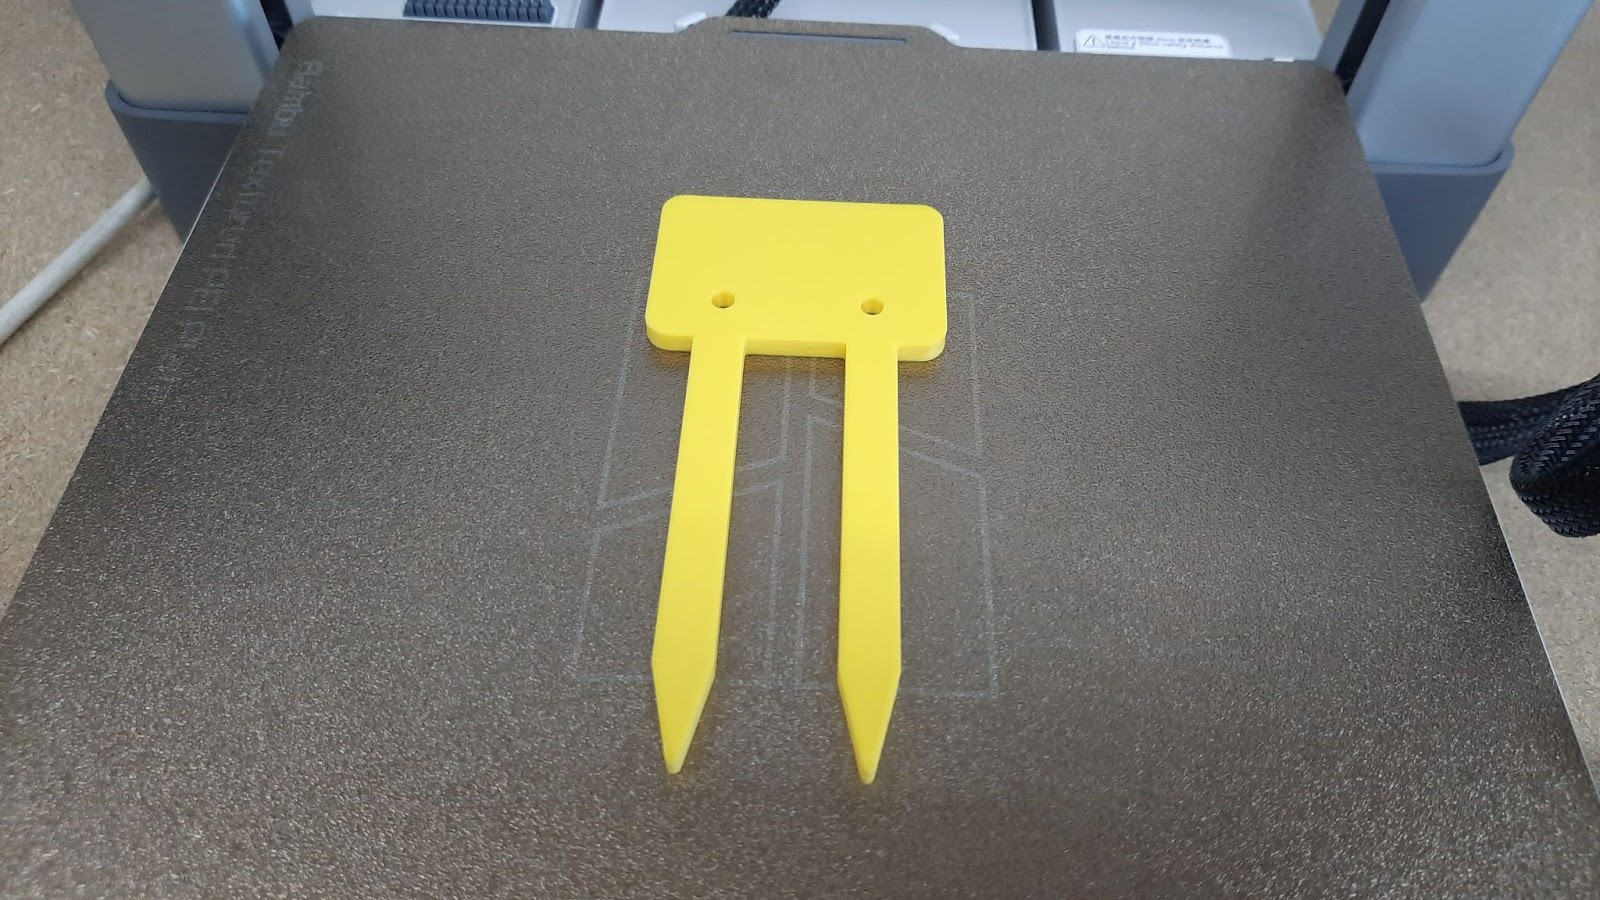
Objective: Teach students the basics of 3D design for the system's led and housing and name tag.


Find stl here https://drive.google.com/drive/folders/1LvMZjCR3w66nuaIakGWXFRp086SqVZd1?usp=drive_link 


  • Activities:
  1. Introduction to 3D Design Tools (15 minutes): Show how to use Tinkercad for 3D modeling.
  2. Hands-on Design Activity (1 hour):
  • Students design their name tags and then the 2 led holders for their plant care system.
  1. Saving & Preparing for Printing (15 minutes):
  • Save designs in STL format for printing.
  • Explain the basics of 3D printing settings (e.g., layer height, infill percentage).


Building the Electronics (1.5 hours)

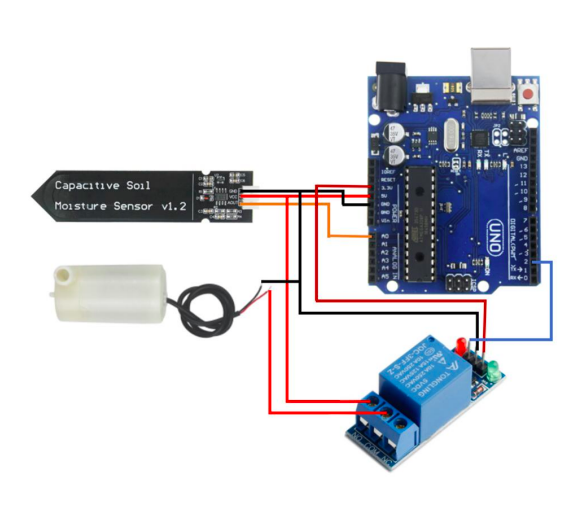
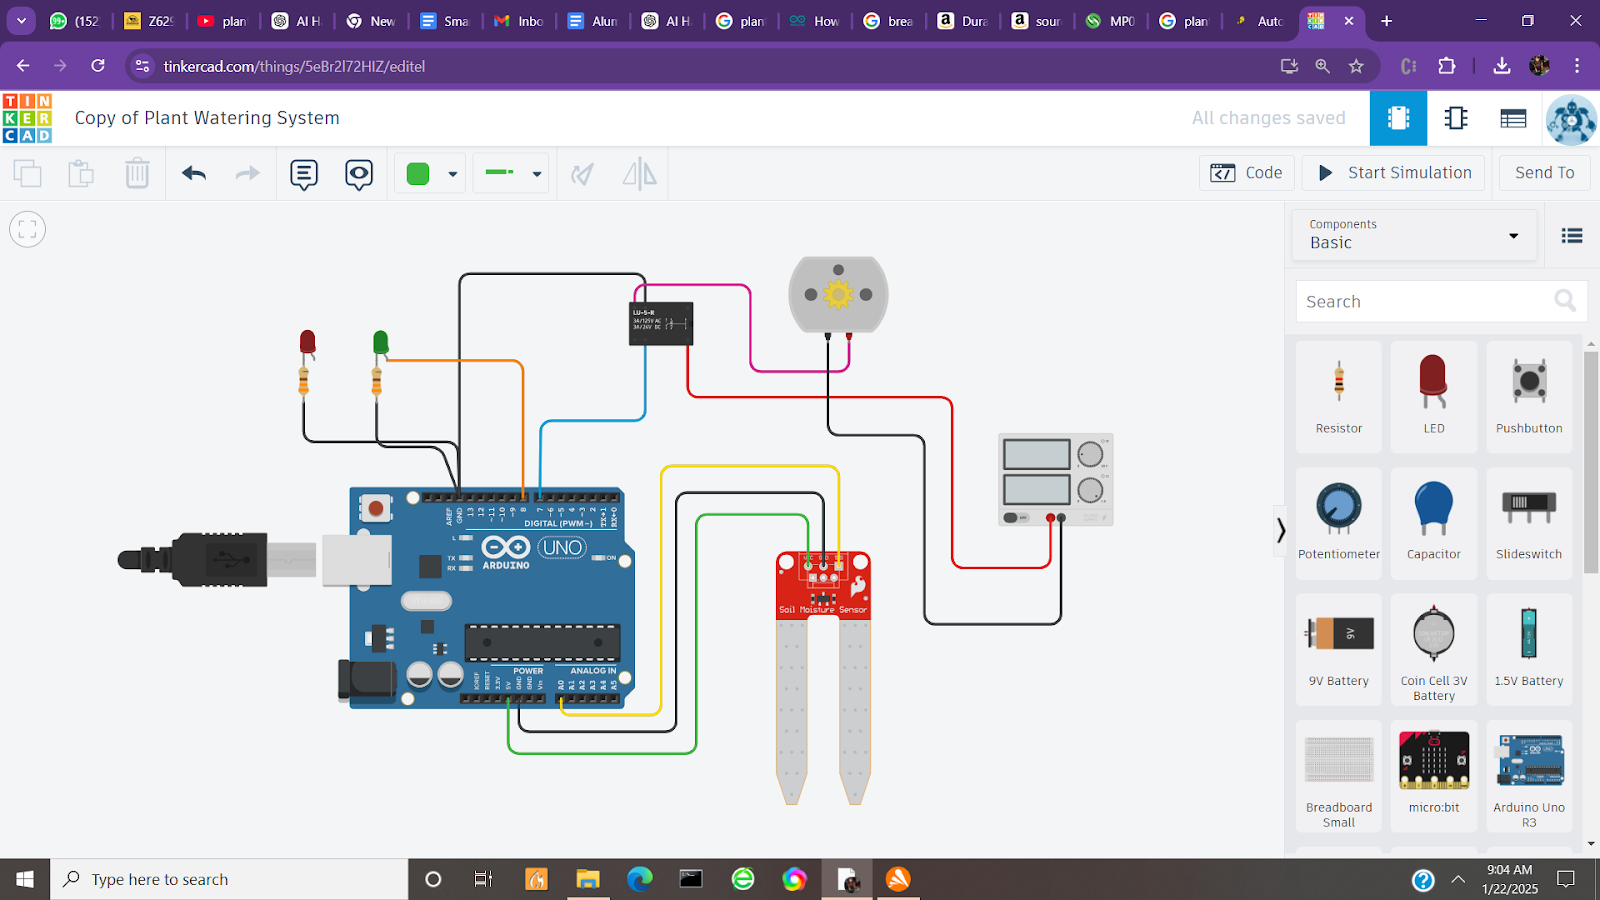
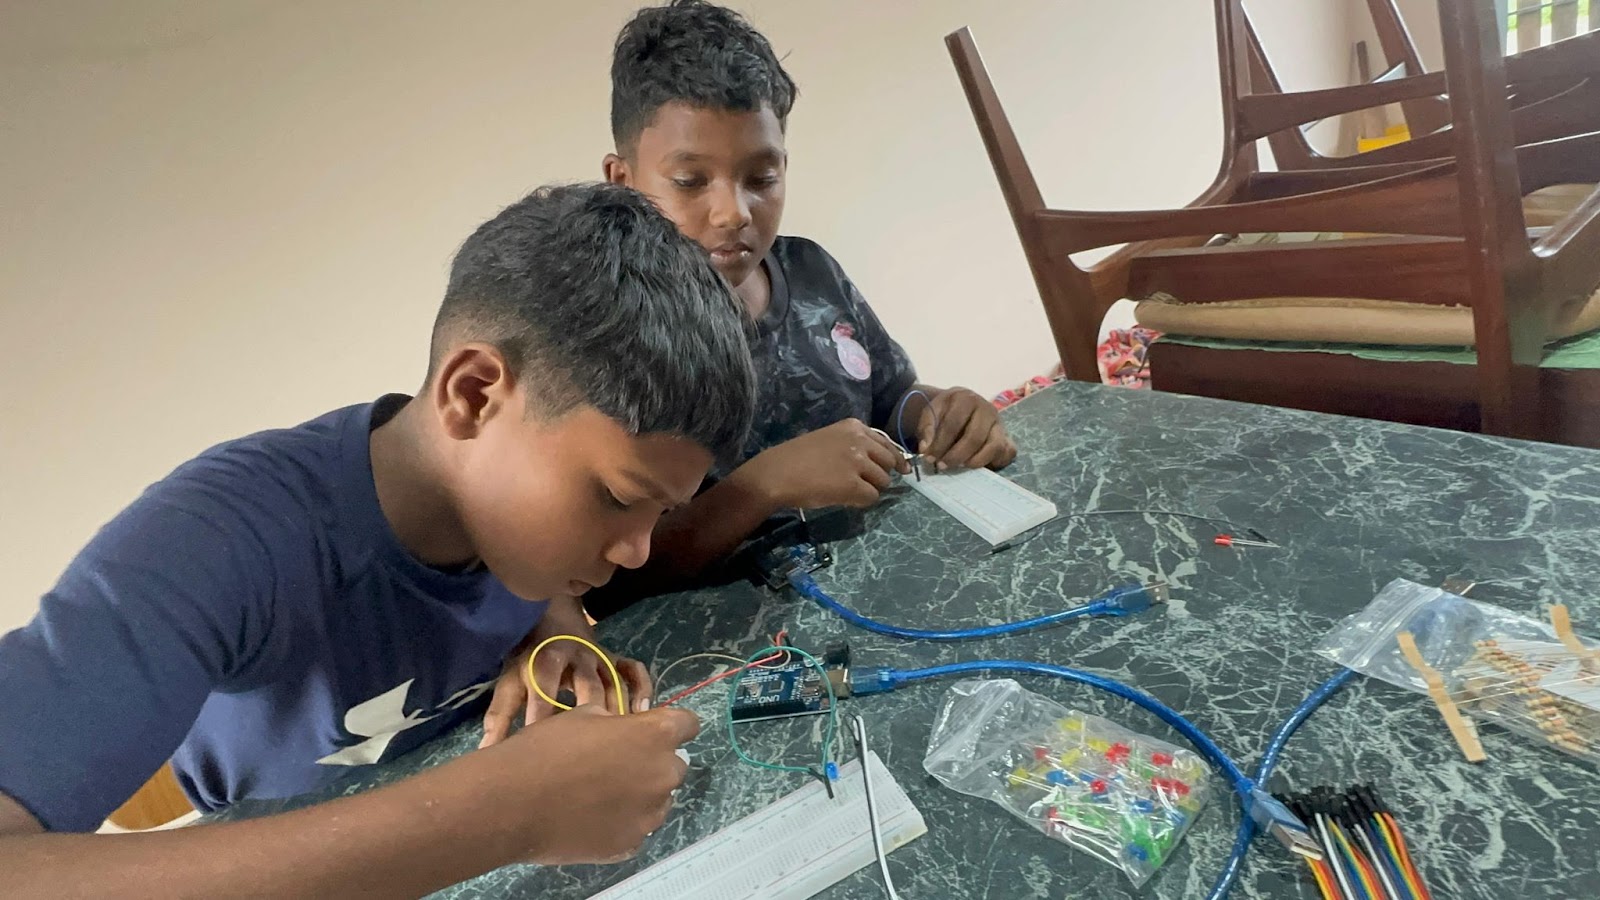
Objective: Teach students how to assemble the circuit with the Arduino Uno.


  • Activities:
  1. Introduction to Basic Electronics (15 minutes):
  • Explain circuits, breadboards, and how components (sensors, LED, relay, pump) are connected to the Arduino.
  1. Hands-on Circuit Assembly (1 hour):
  • Connect the soil moisture sensor to the Arduino.
  • Connect the LED and water pump using a relay module (for safety).
  • Power the Arduino and pump with separate power sources (e.g., USB for Arduino, 9V battery for the pump).
  1. Testing Connections (15 minutes):
  • Test the soil moisture sensor’s output using Tinkercad Circuits simulation or directly with the Arduino.


Drag-and-Drop Coding with Arduino (1.5 hours)

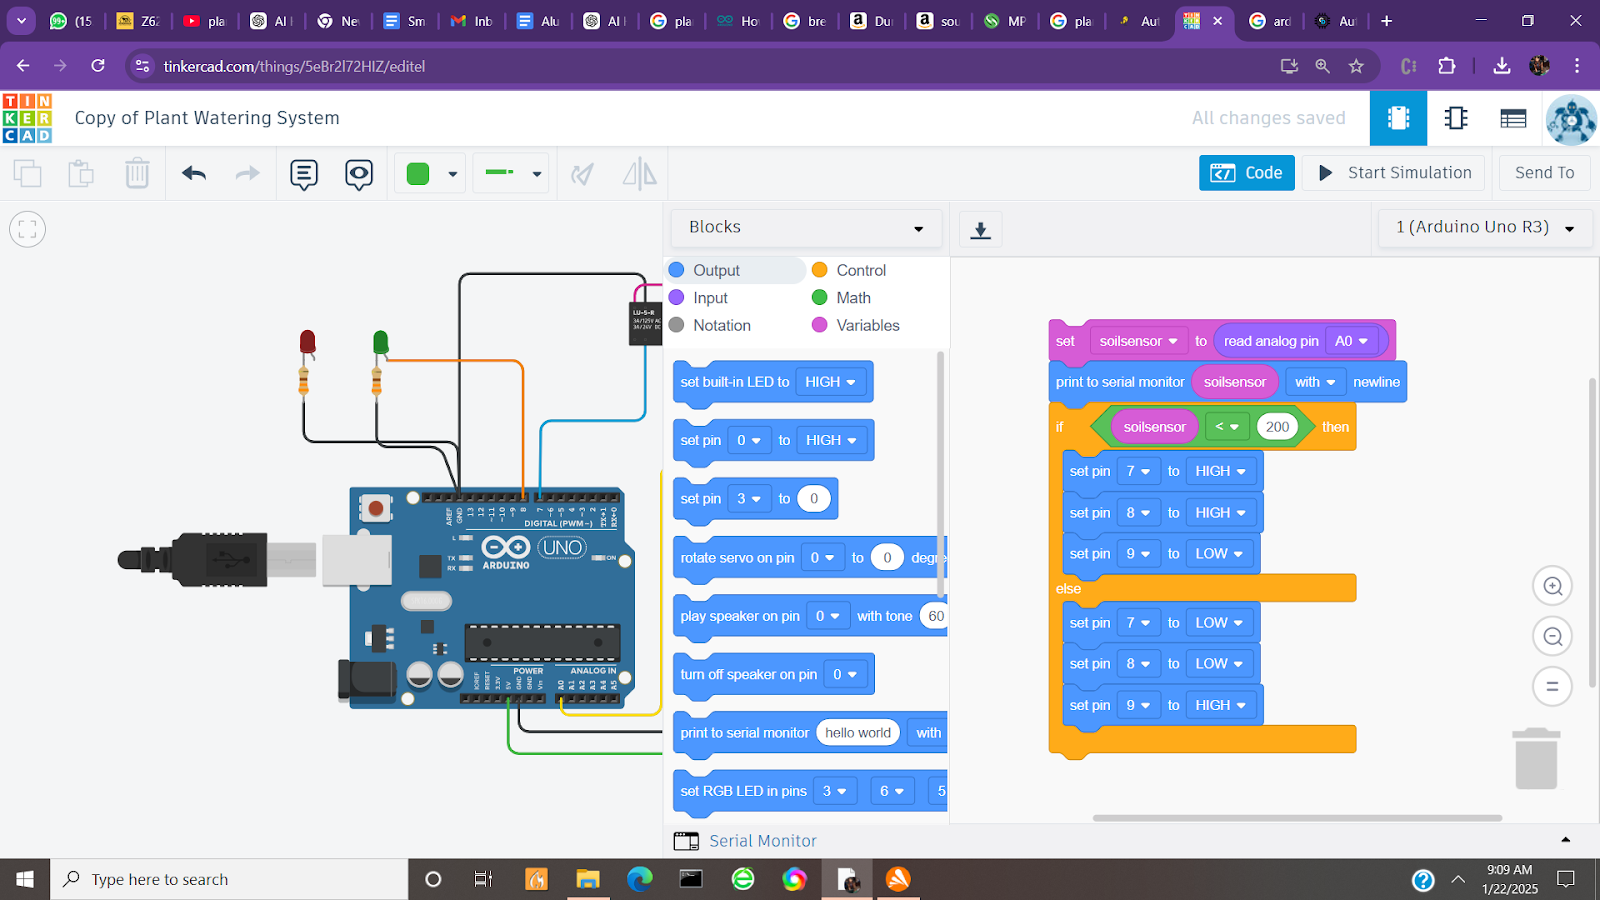
Objective: Teach students to use drag-and-drop coding platforms to program the Arduino.

  • Activities:
  1. Introduction to Drag-and-Drop Coding (15 minutes):
  • Demonstrate Tinkercad Circuits or Blockly for Arduino.
  • Show how to create a simple program to read the soil moisture level and control the LED and pump.
  1. Programming the System (45 minutes):
  • Write a program where:
  • The soil moisture sensor reads the soil condition.
  • If soil is dry, the pump activates to water the plant.
  • The LED lights up as an indicator.
  • Use drag-and-drop coding blocks to create this logic.
  1. Upload and Test Code (30 minutes):
  • Upload the code to the Arduino Uno.
  • Test and troubleshoot if necessary.


Assembling and Finalizing (1.5 hours)

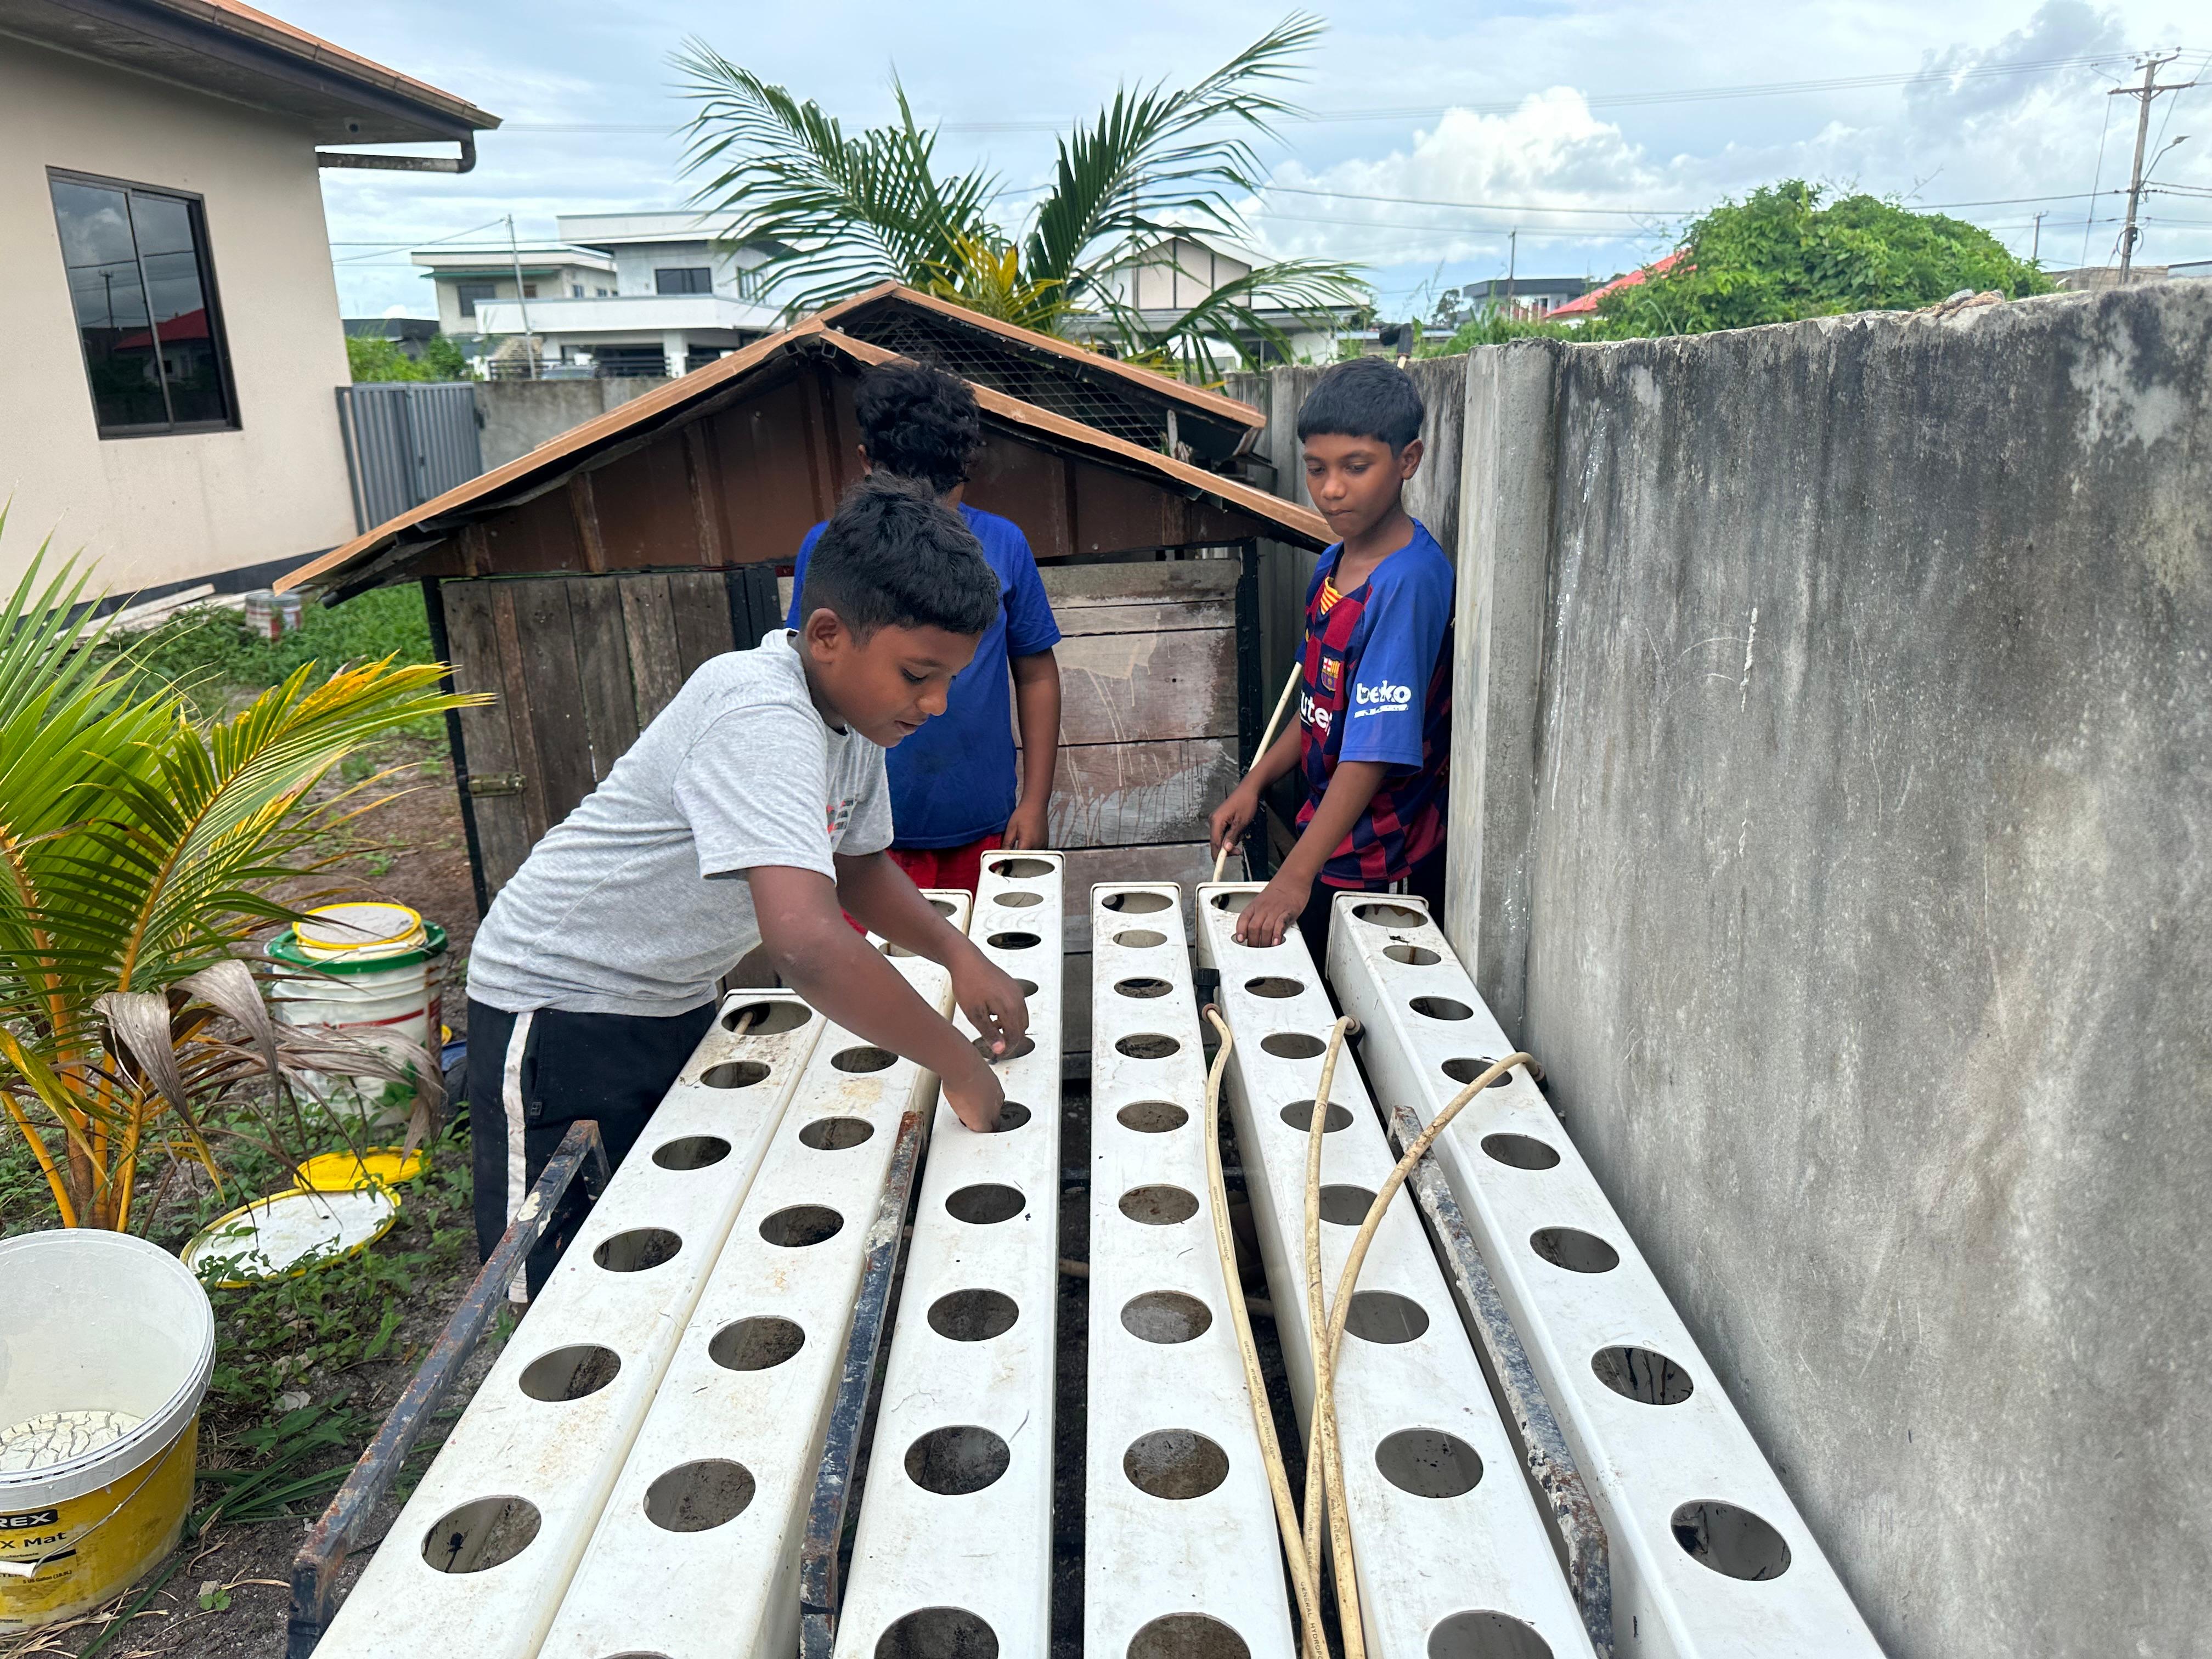
Objective: Combine the hardware and 3D-printed parts to complete the project.


  • Activities:
  1. Printing the Printed Parts (45 minutes):
  • While the 3D designs are printing, guide students on assembly instructions.
  • Explain the importance of alignment and securing parts properly.
  1. Assembling Components (45 minutes):


6. Reflection, Presentation, and Wrap-Up (45 minutes)

  • Objective: Reflect on the project and share learnings.
  • Activities:
  1. Project Presentations (30 minutes):
  • Each student presents their “Smart Plant Care System.”
  • They explain how it works and discuss any challenges they face.
  1. Wrap-Up Discussion (15 minutes):
  • Reflect on what they learned about 3D design, electronics, and coding.
  • Discuss potential future improvements or applications for their system.


Lesson Feedback

Contact us

Having trouble? Let us know by completing the form below. We'll do our best to get your issues resolved quickly.

"*" indicates required fields

Name*
Email*
This field is for validation purposes and should be left unchanged.
?