- Loading…
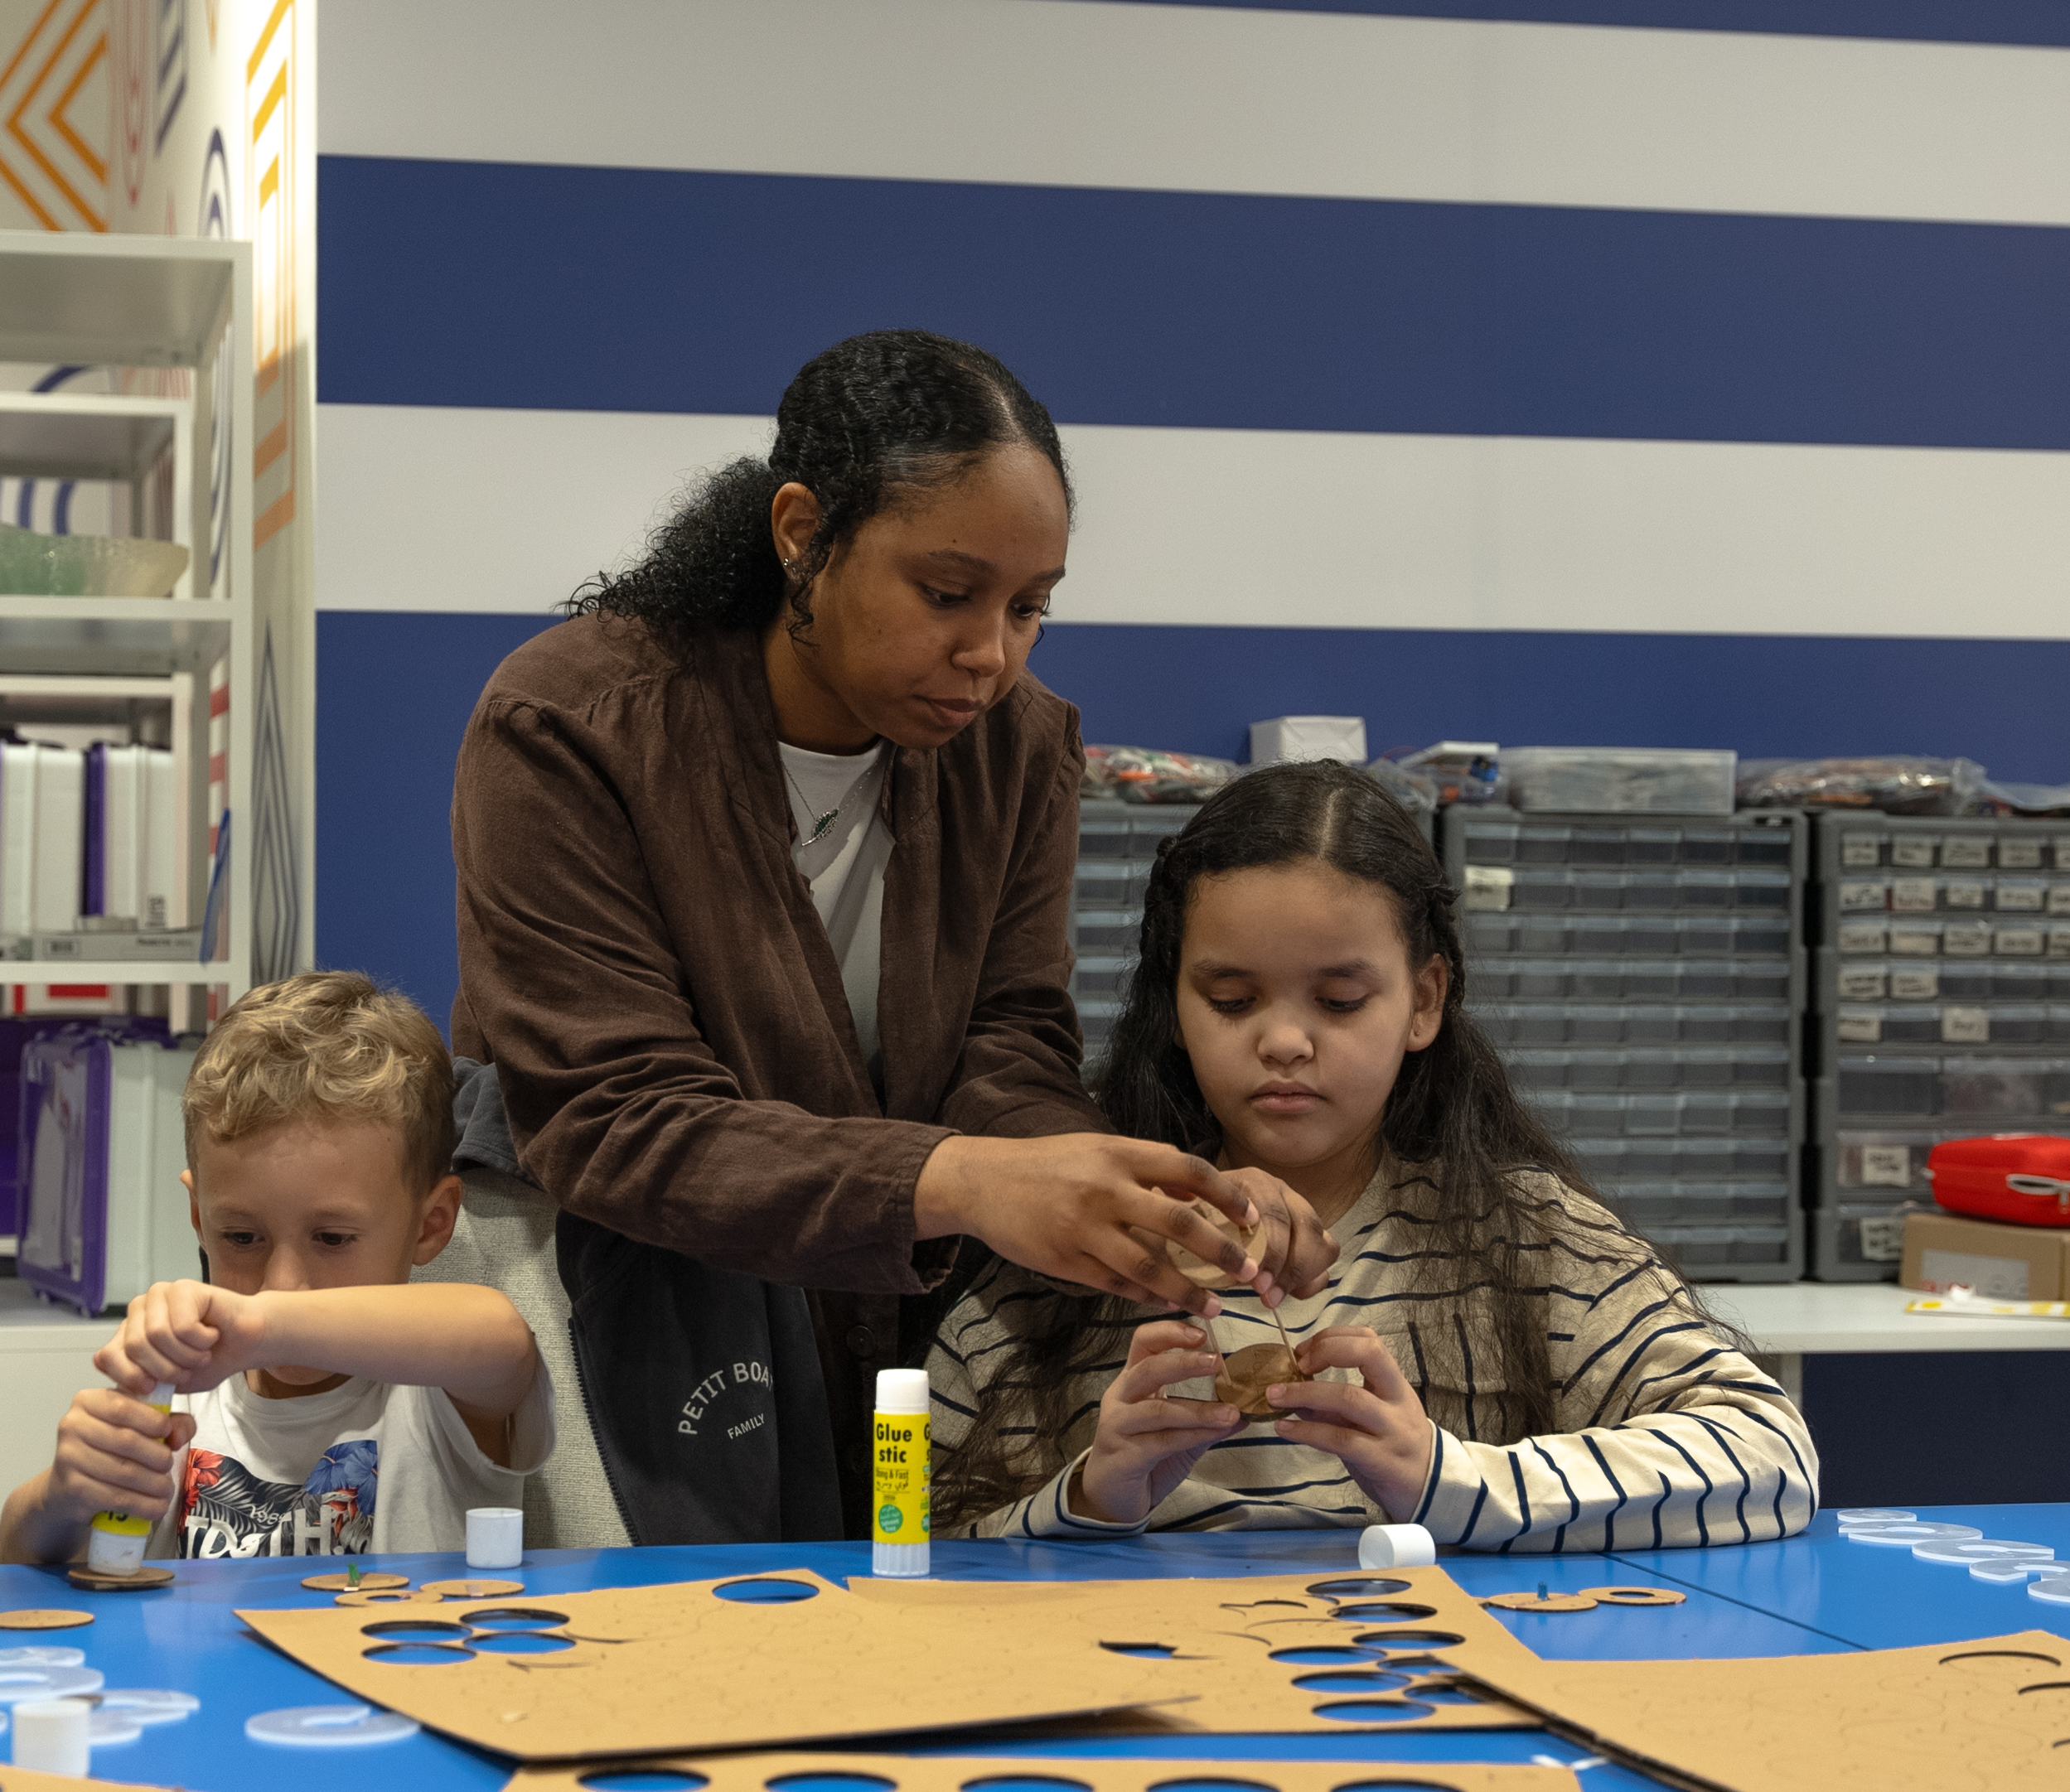
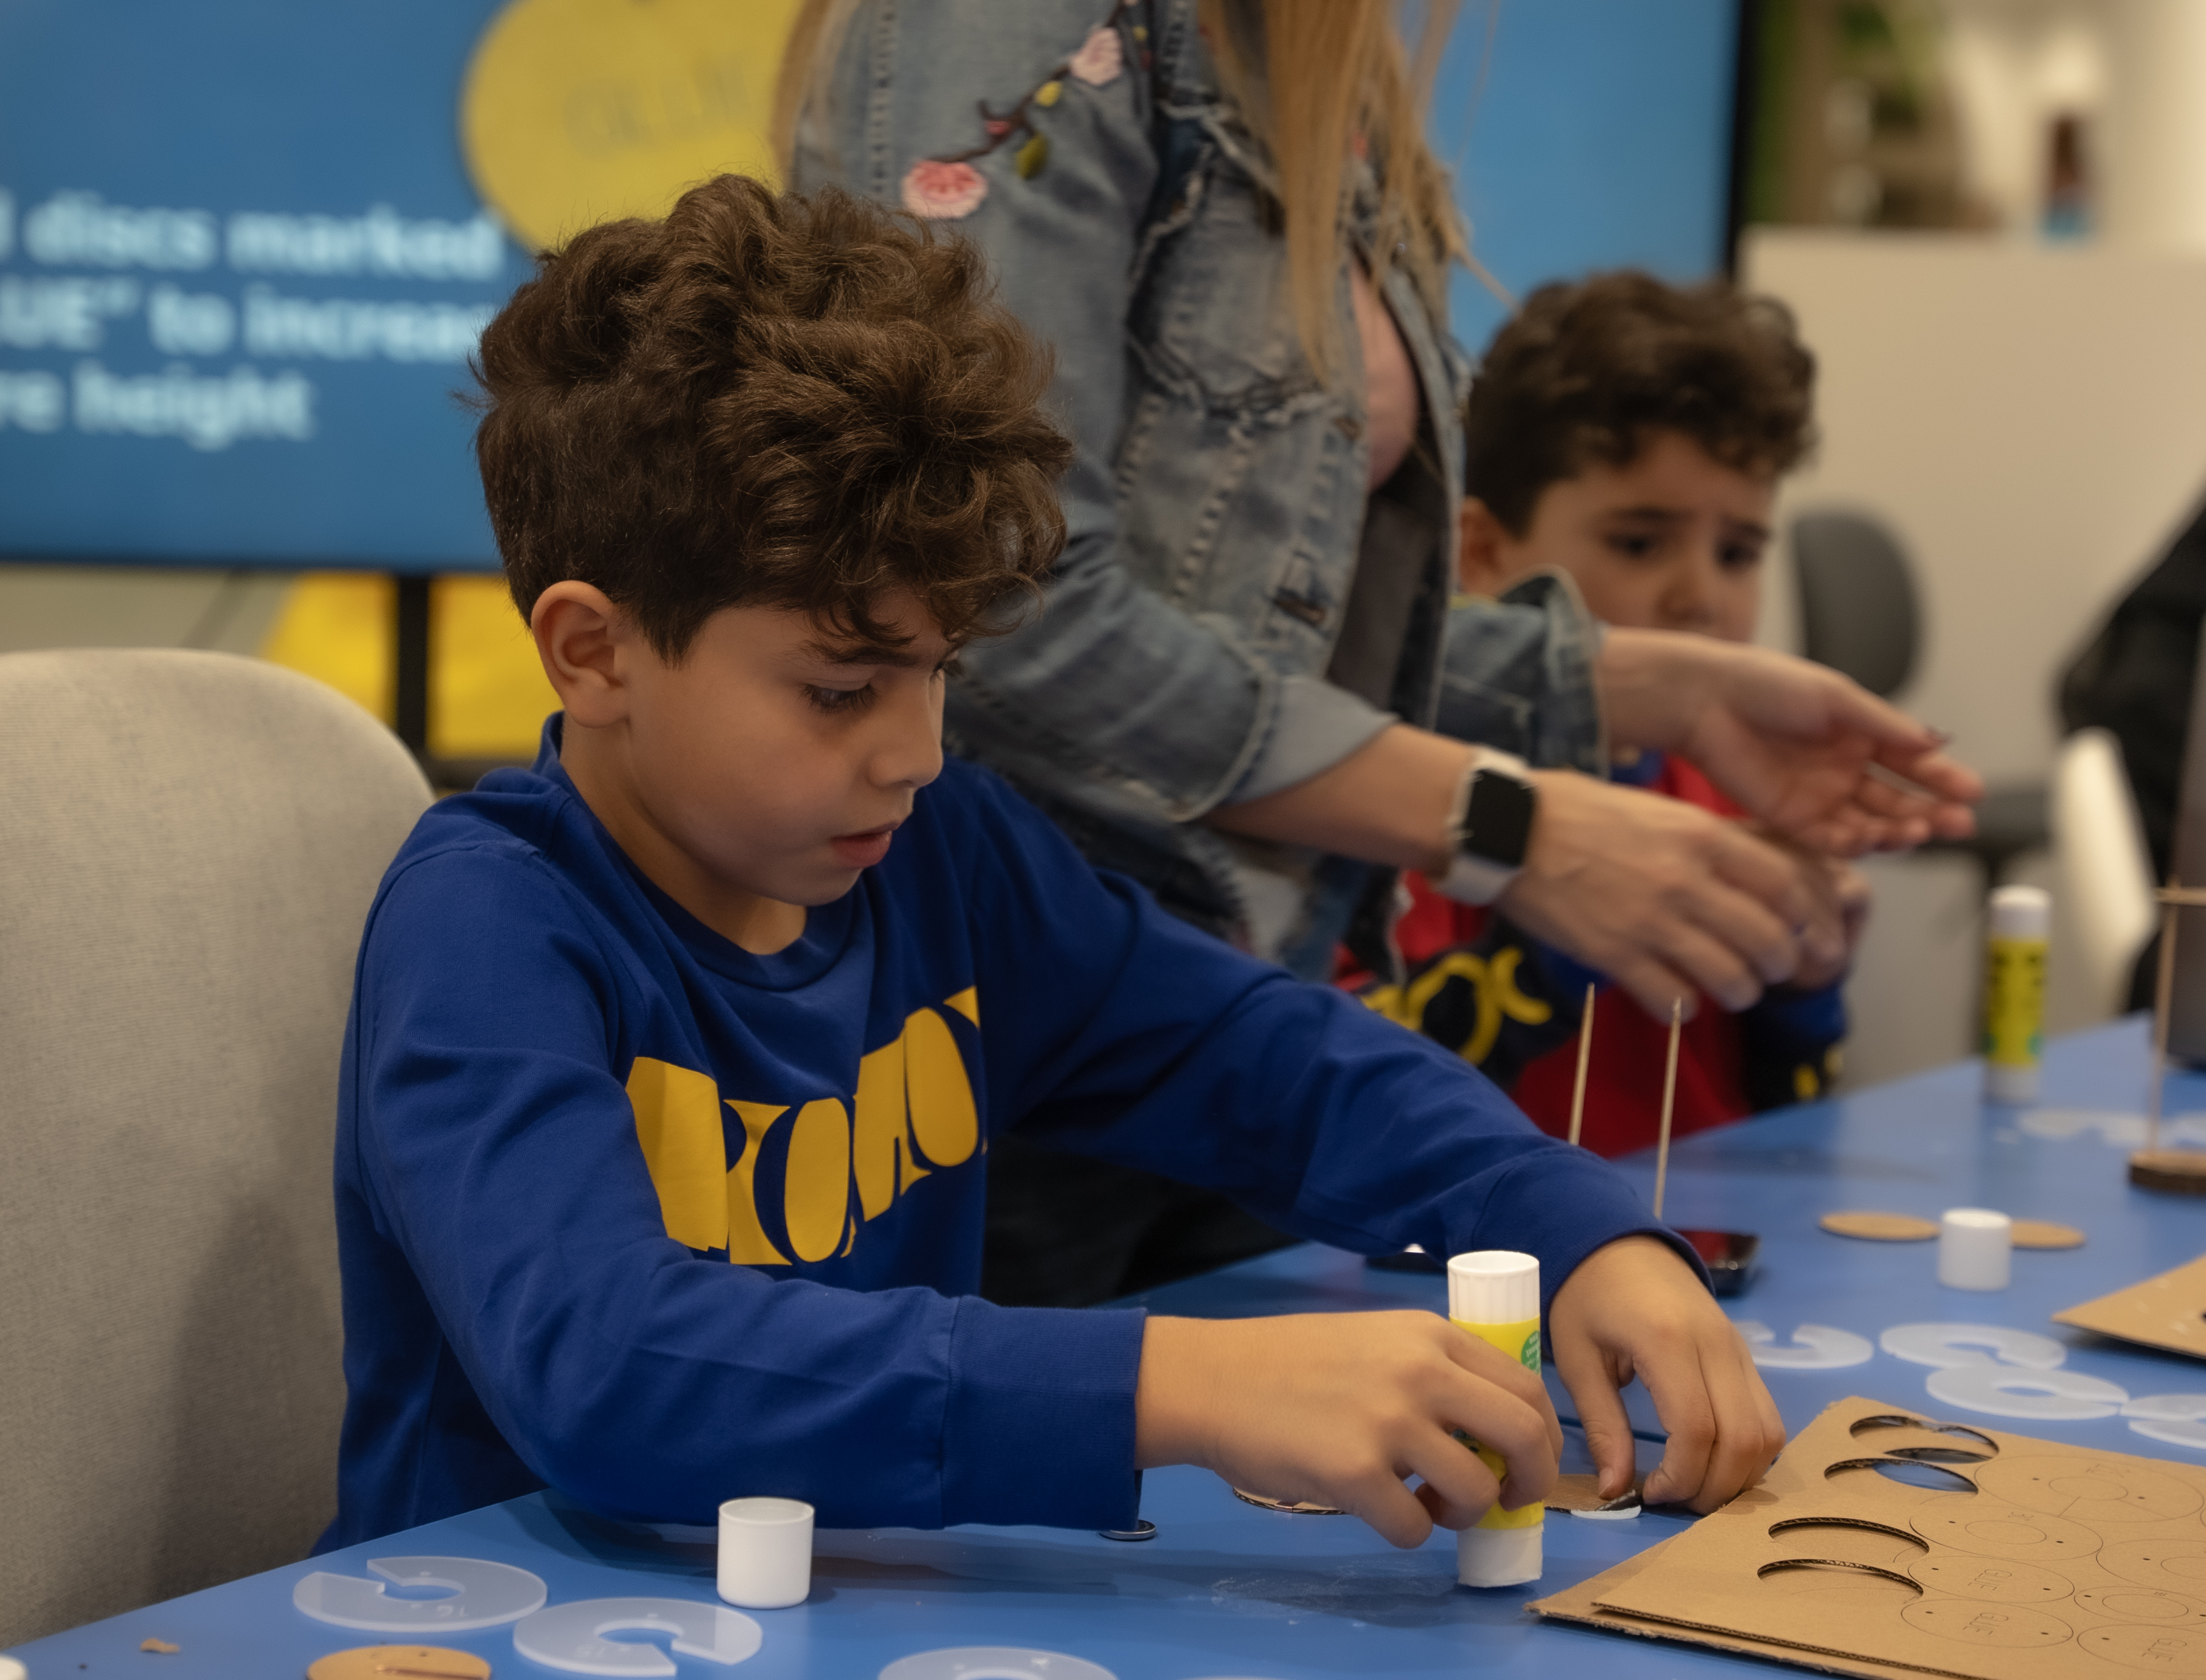
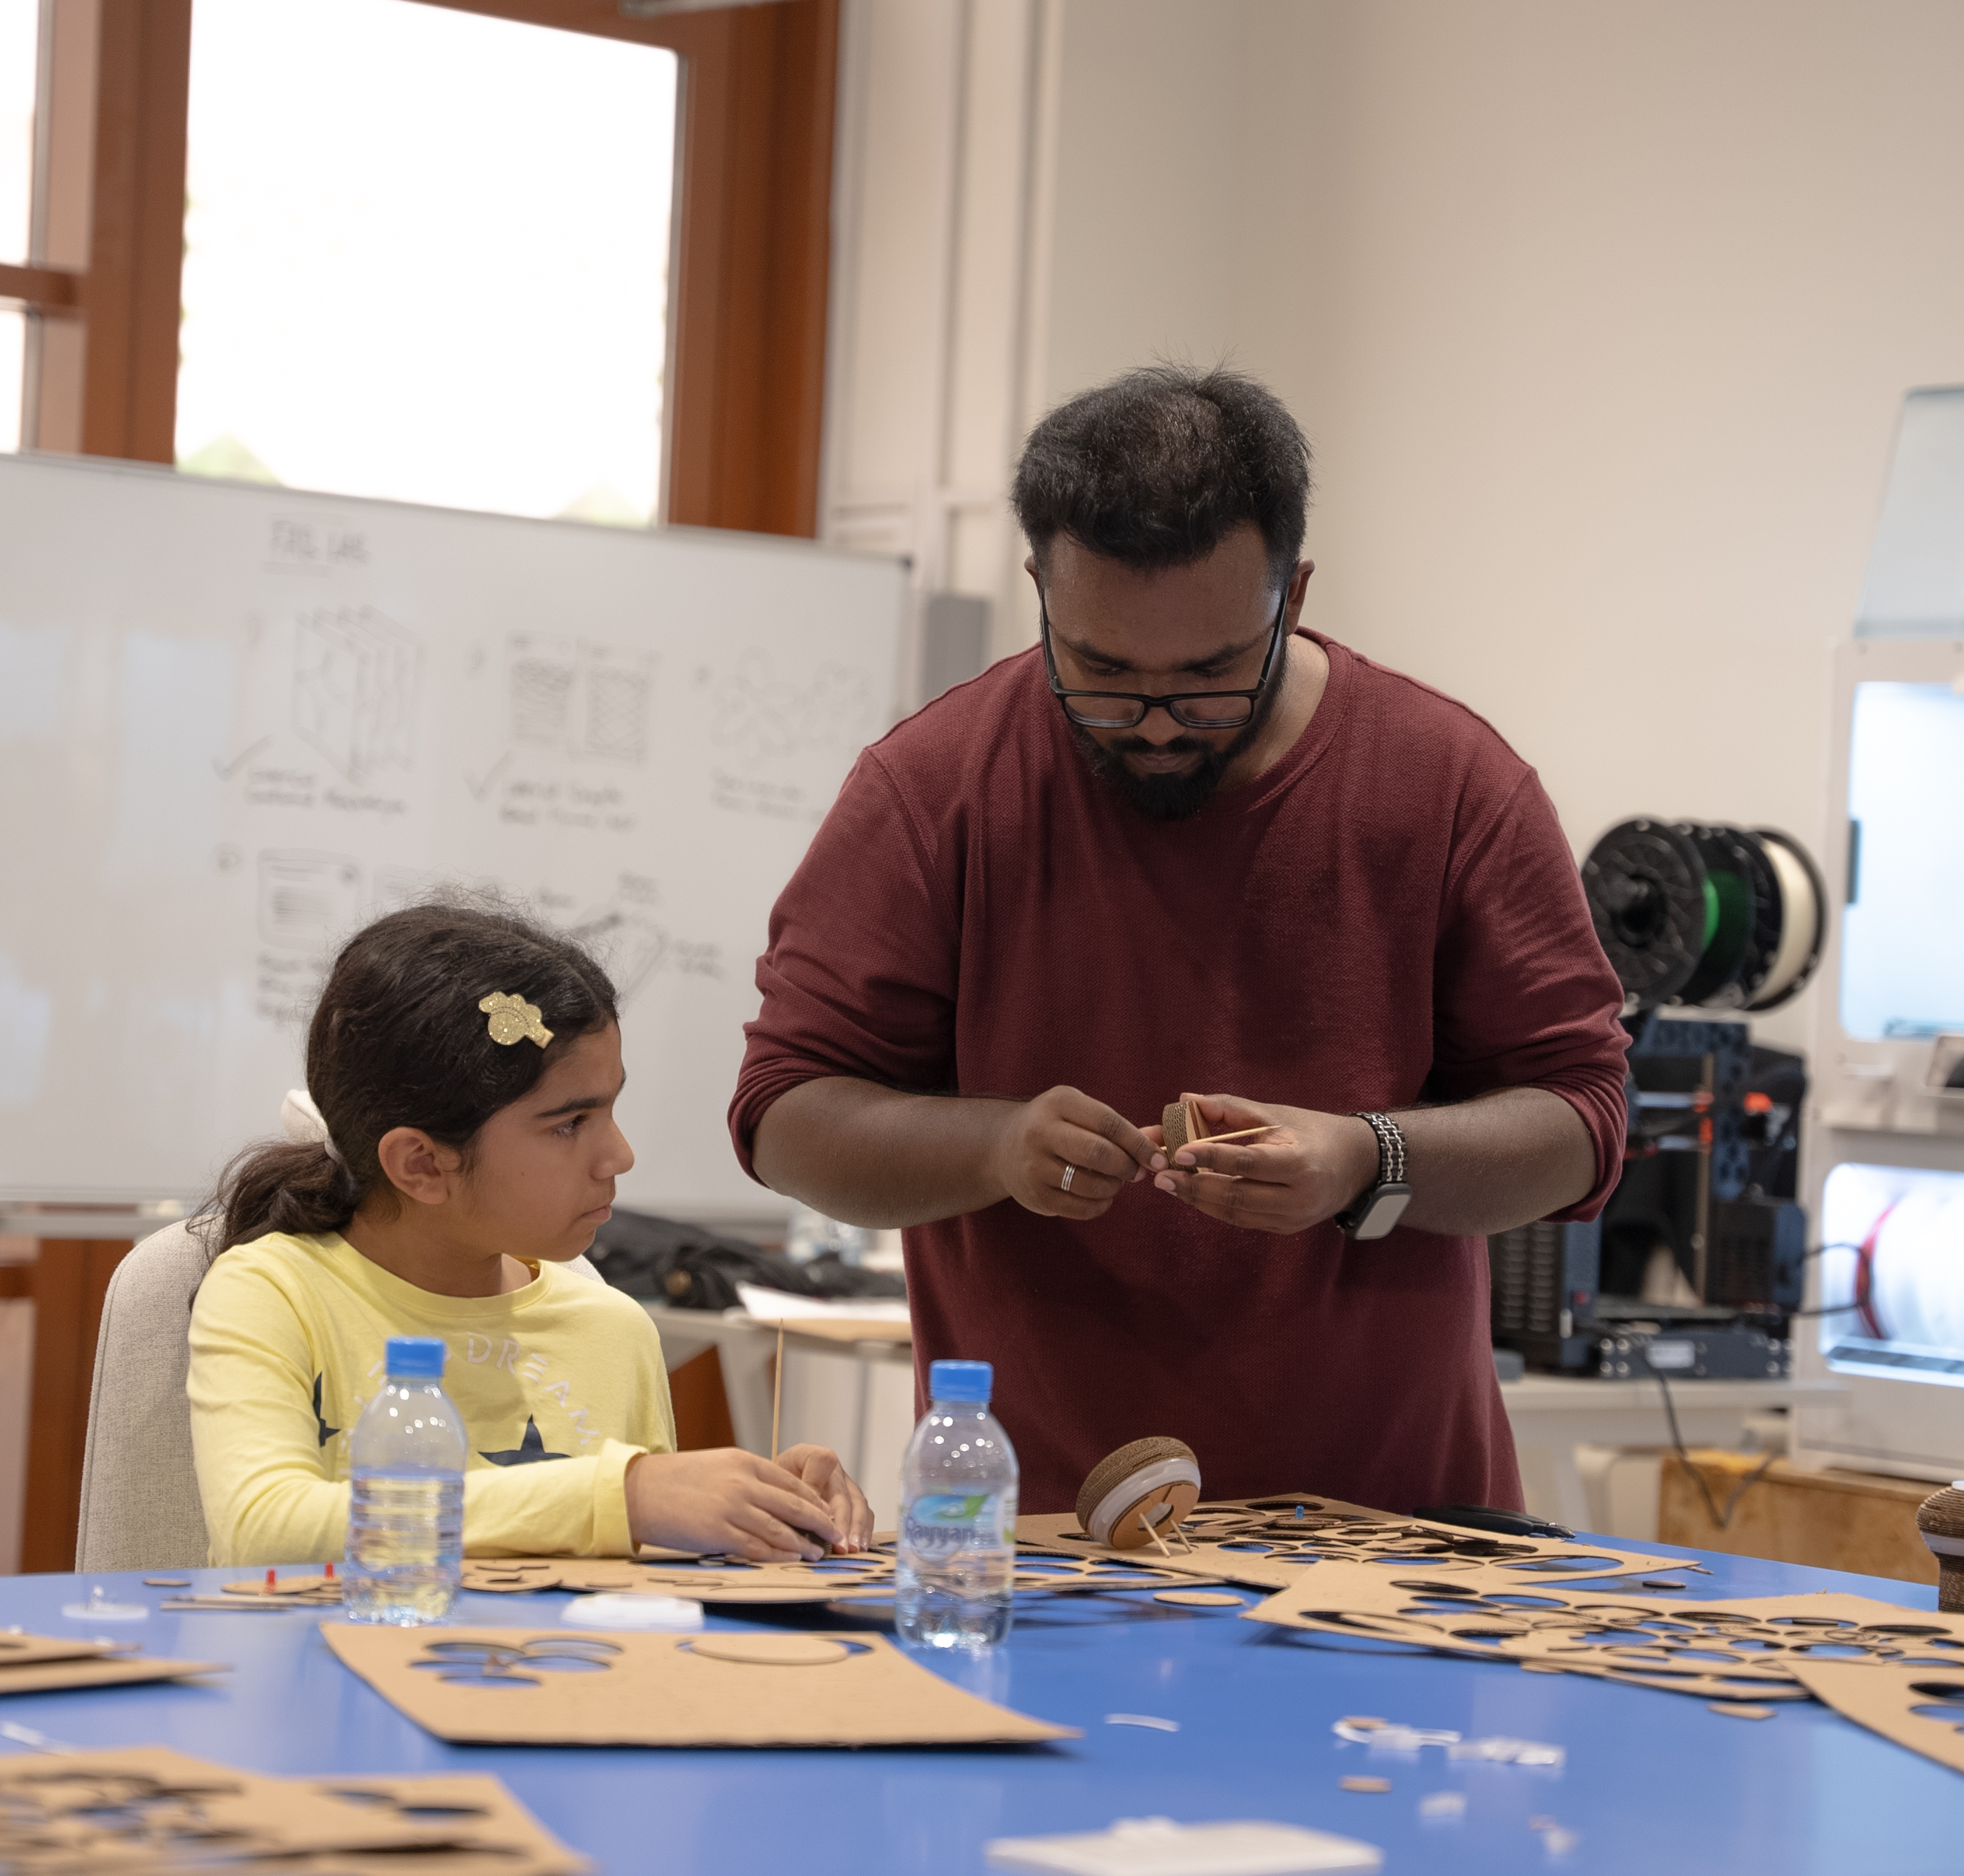
During this workshop, young participants will create a bulb using LED, battery, cardboard, conductive tape and acrylic discs.


• Illustrator file for laser cut
• Conductive Tape
• LED
• Glue
• Skewers
• CR2032 Battery
• Milky white Acrylic (2.8mm) for laser cutting
• Cardboard (~2.5mm) for laser cutting
Follow through the presentation to understand on how to create your own Smart Light!

What is a Fabrication Laboratory (FabLab)?
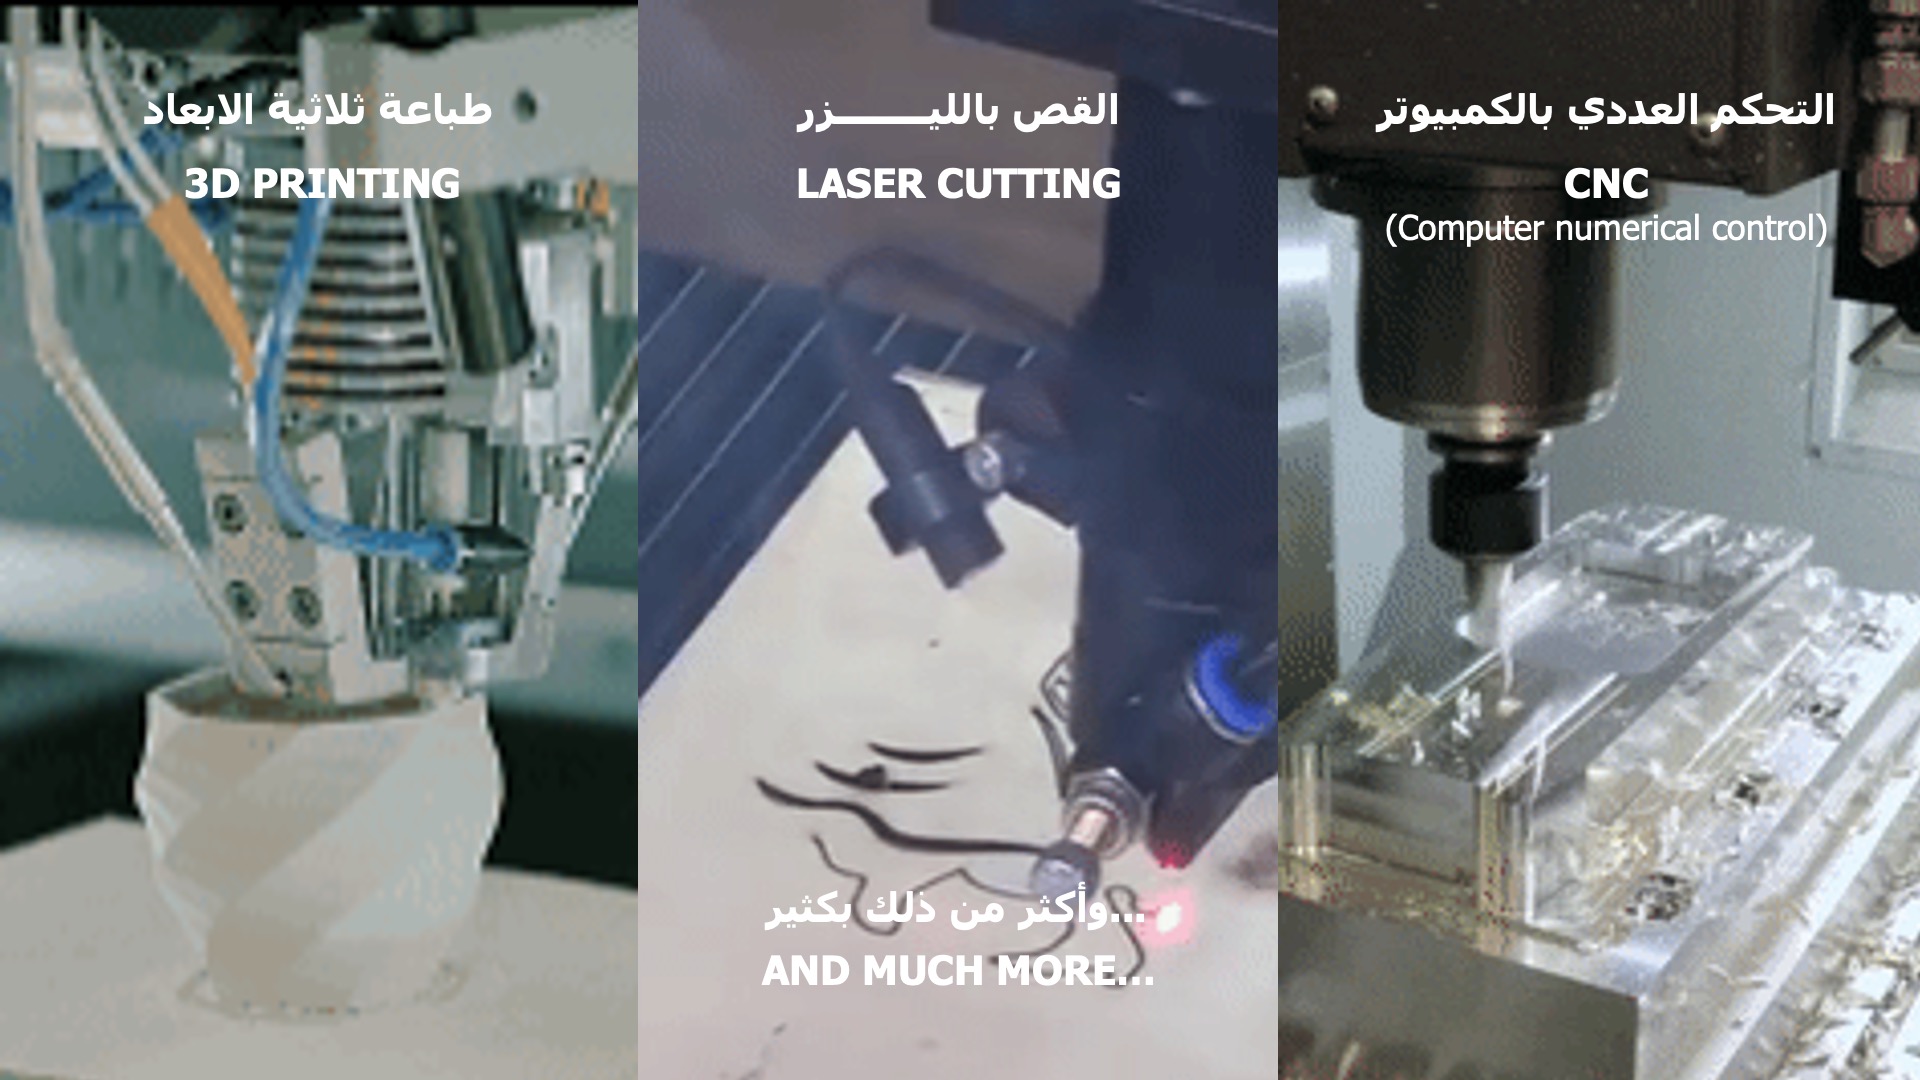
What types of machines exist within a FabLab?
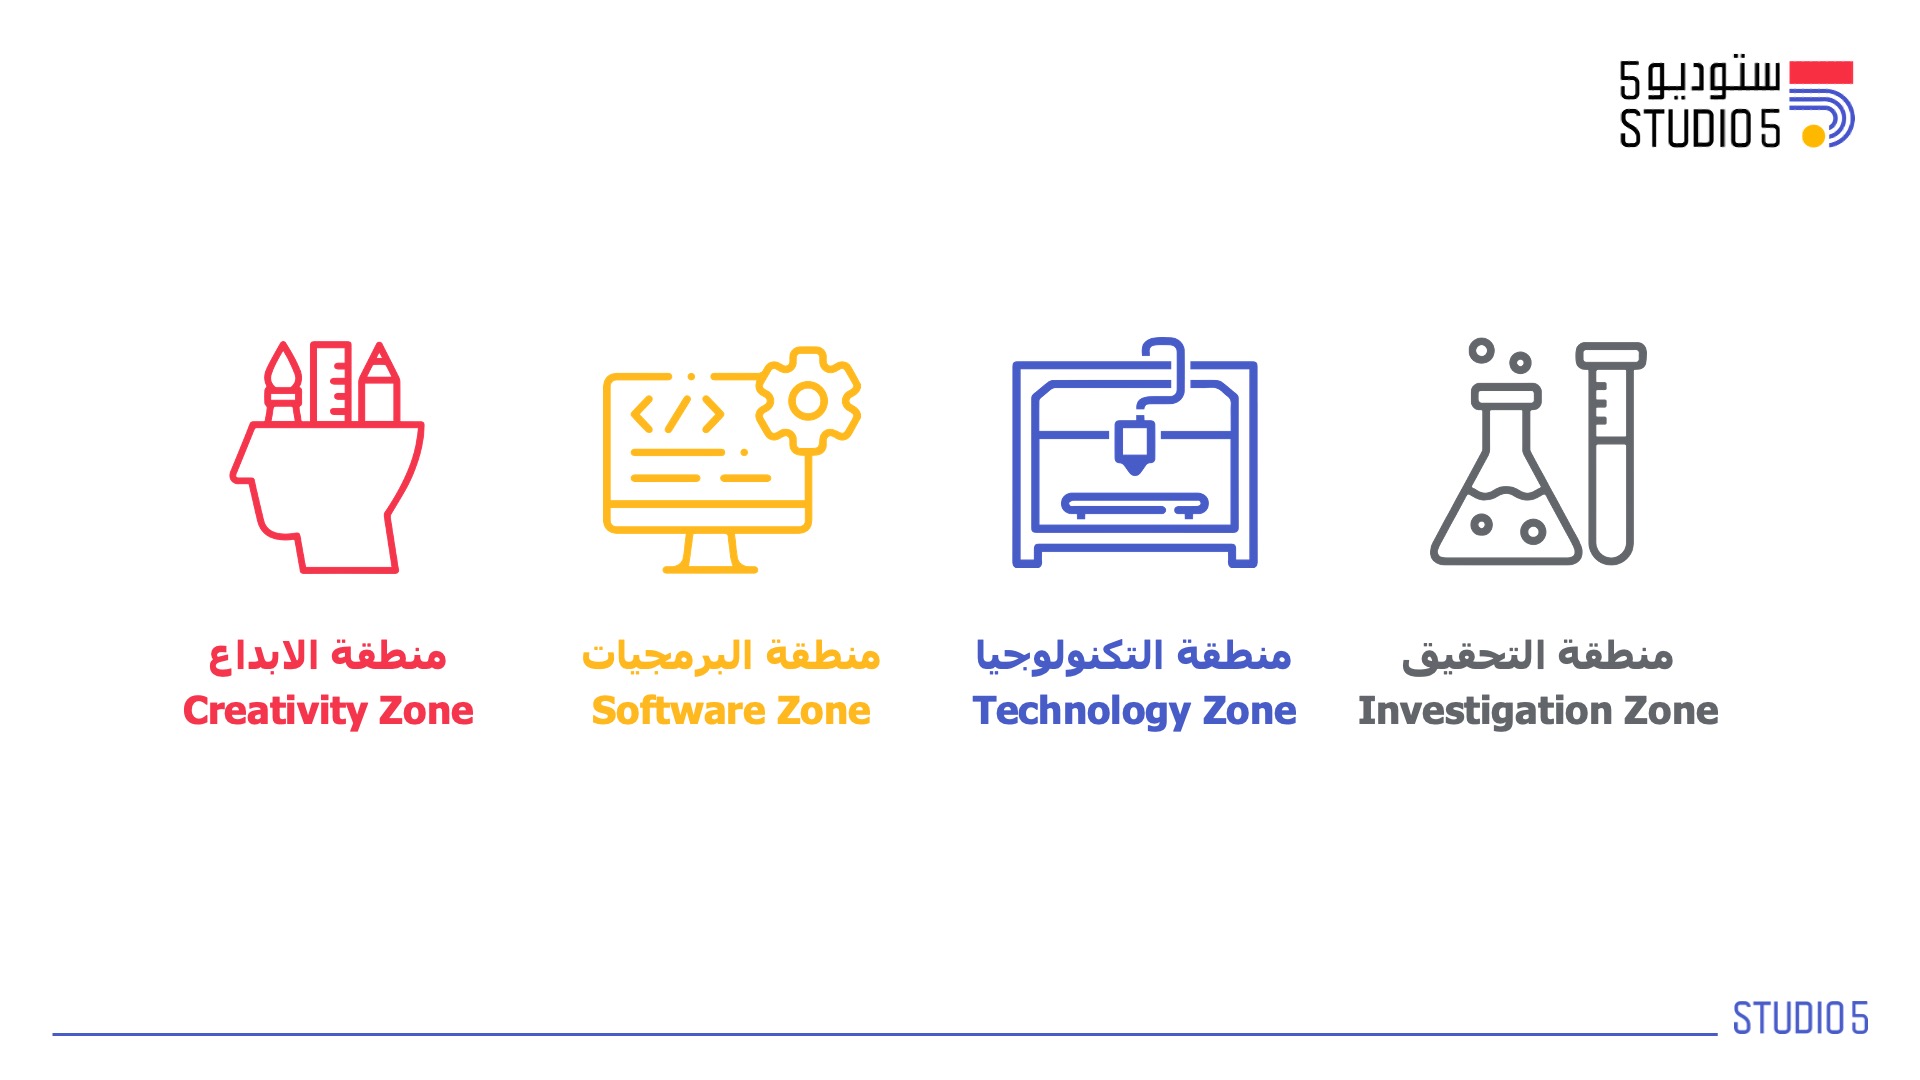
Here are the 4 zones in the Studio5 FabLab.
What is Electricity?

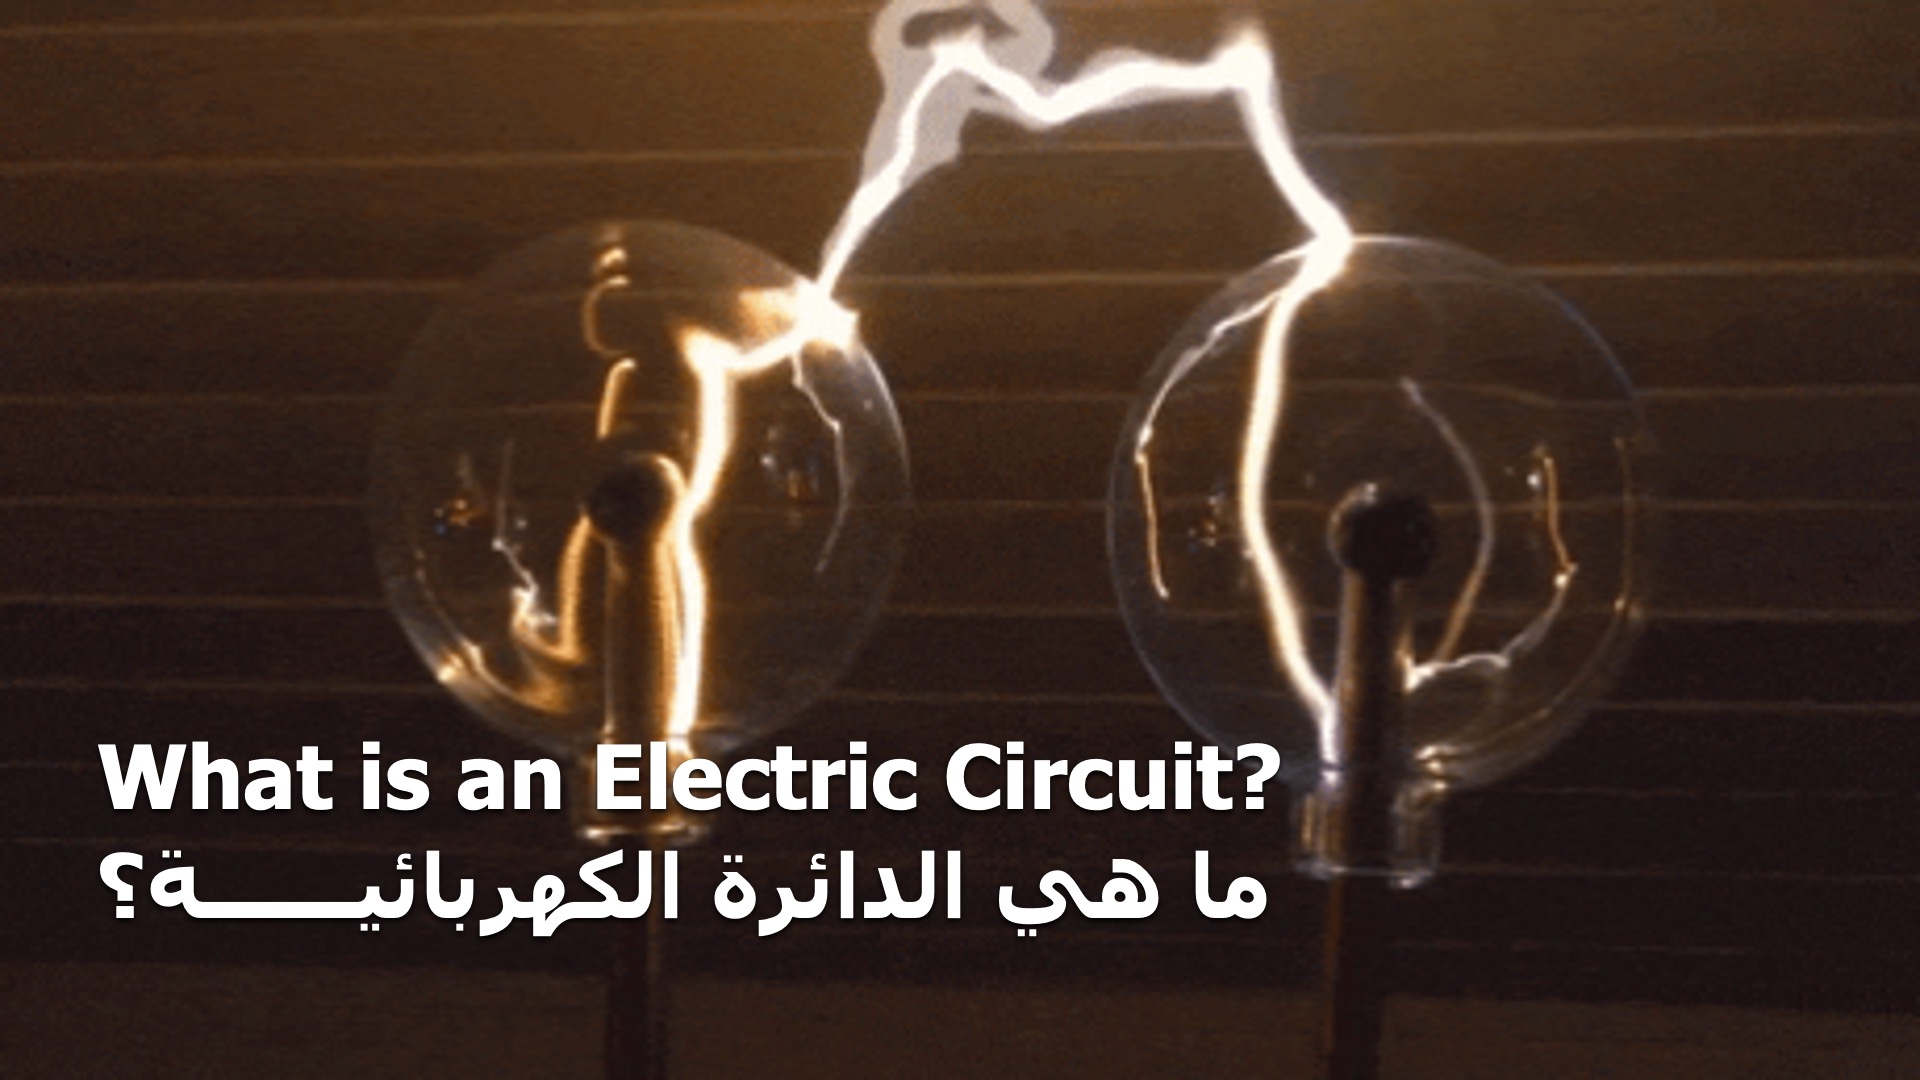
What is an Electric Circuit?
Let us watch an informative video that explains it all!
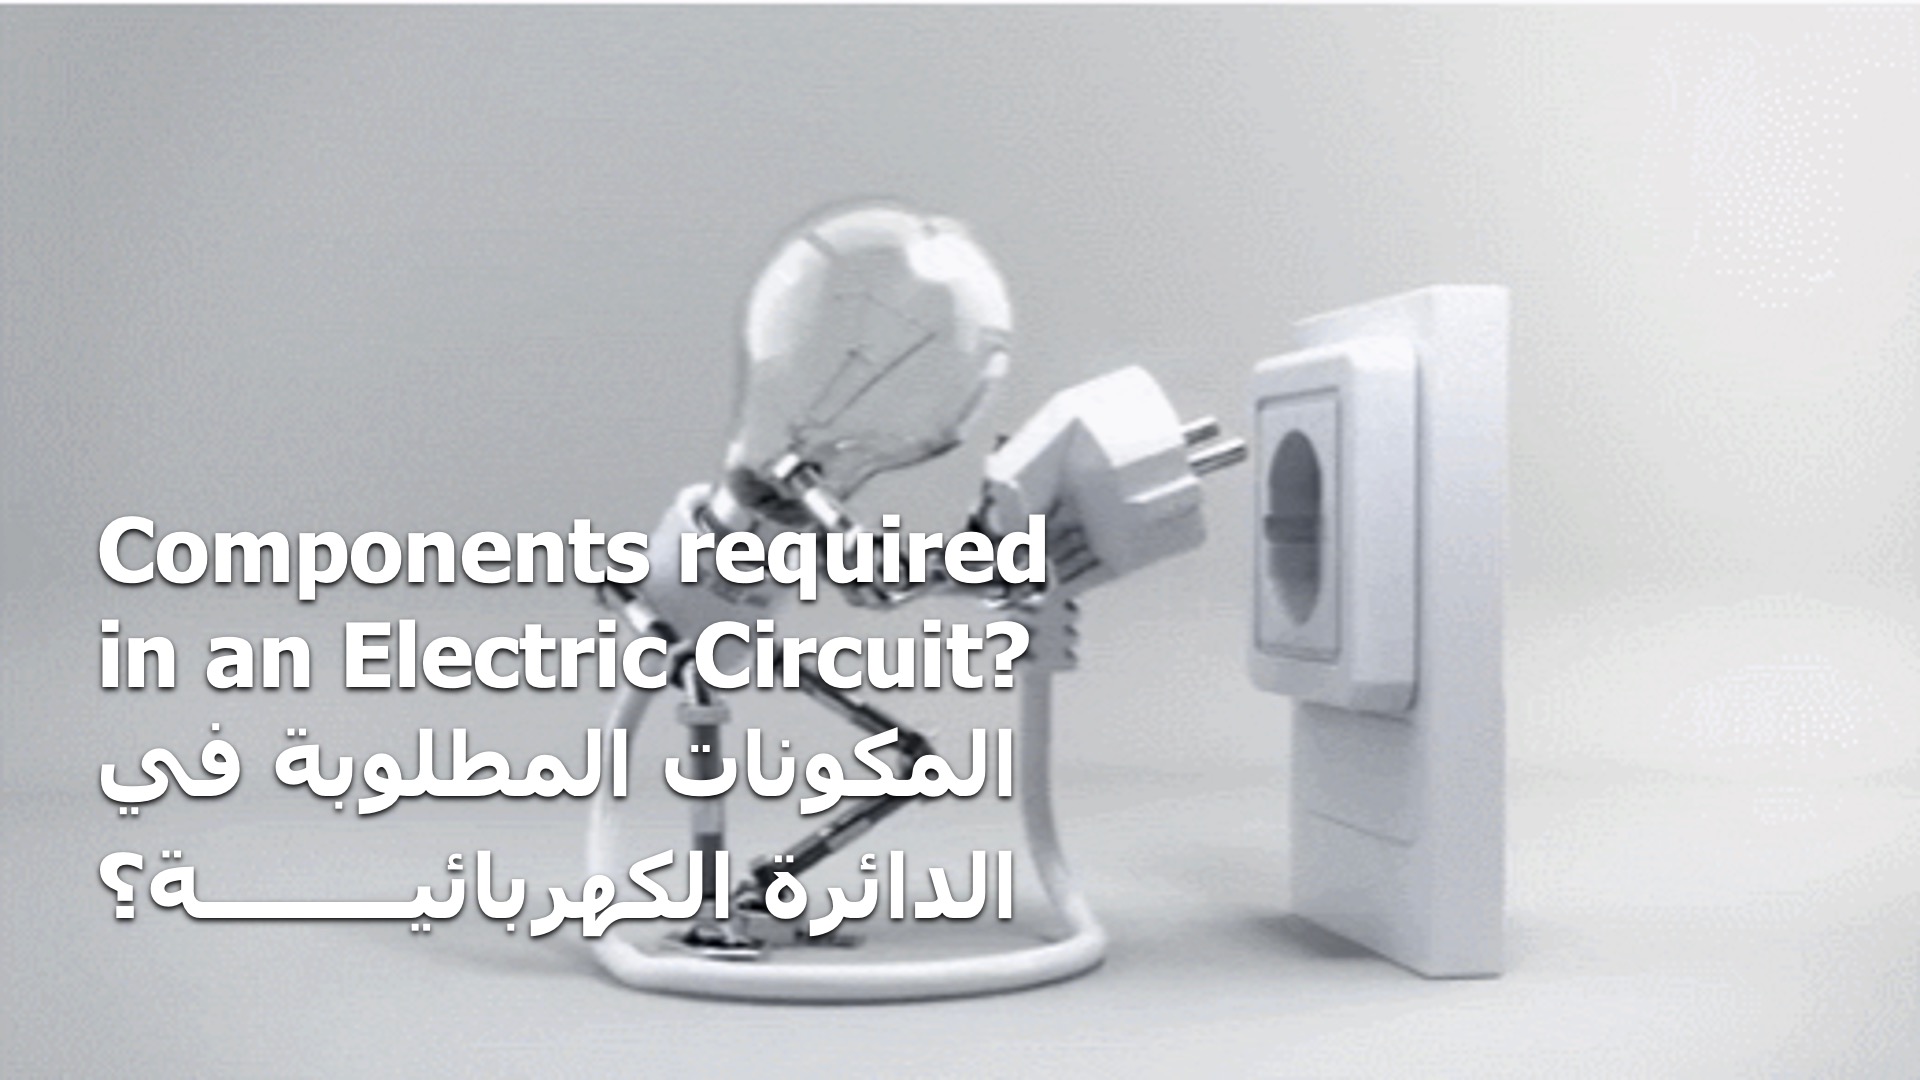
Now that you have watched the video, what are the components required in an Electric Circuit?
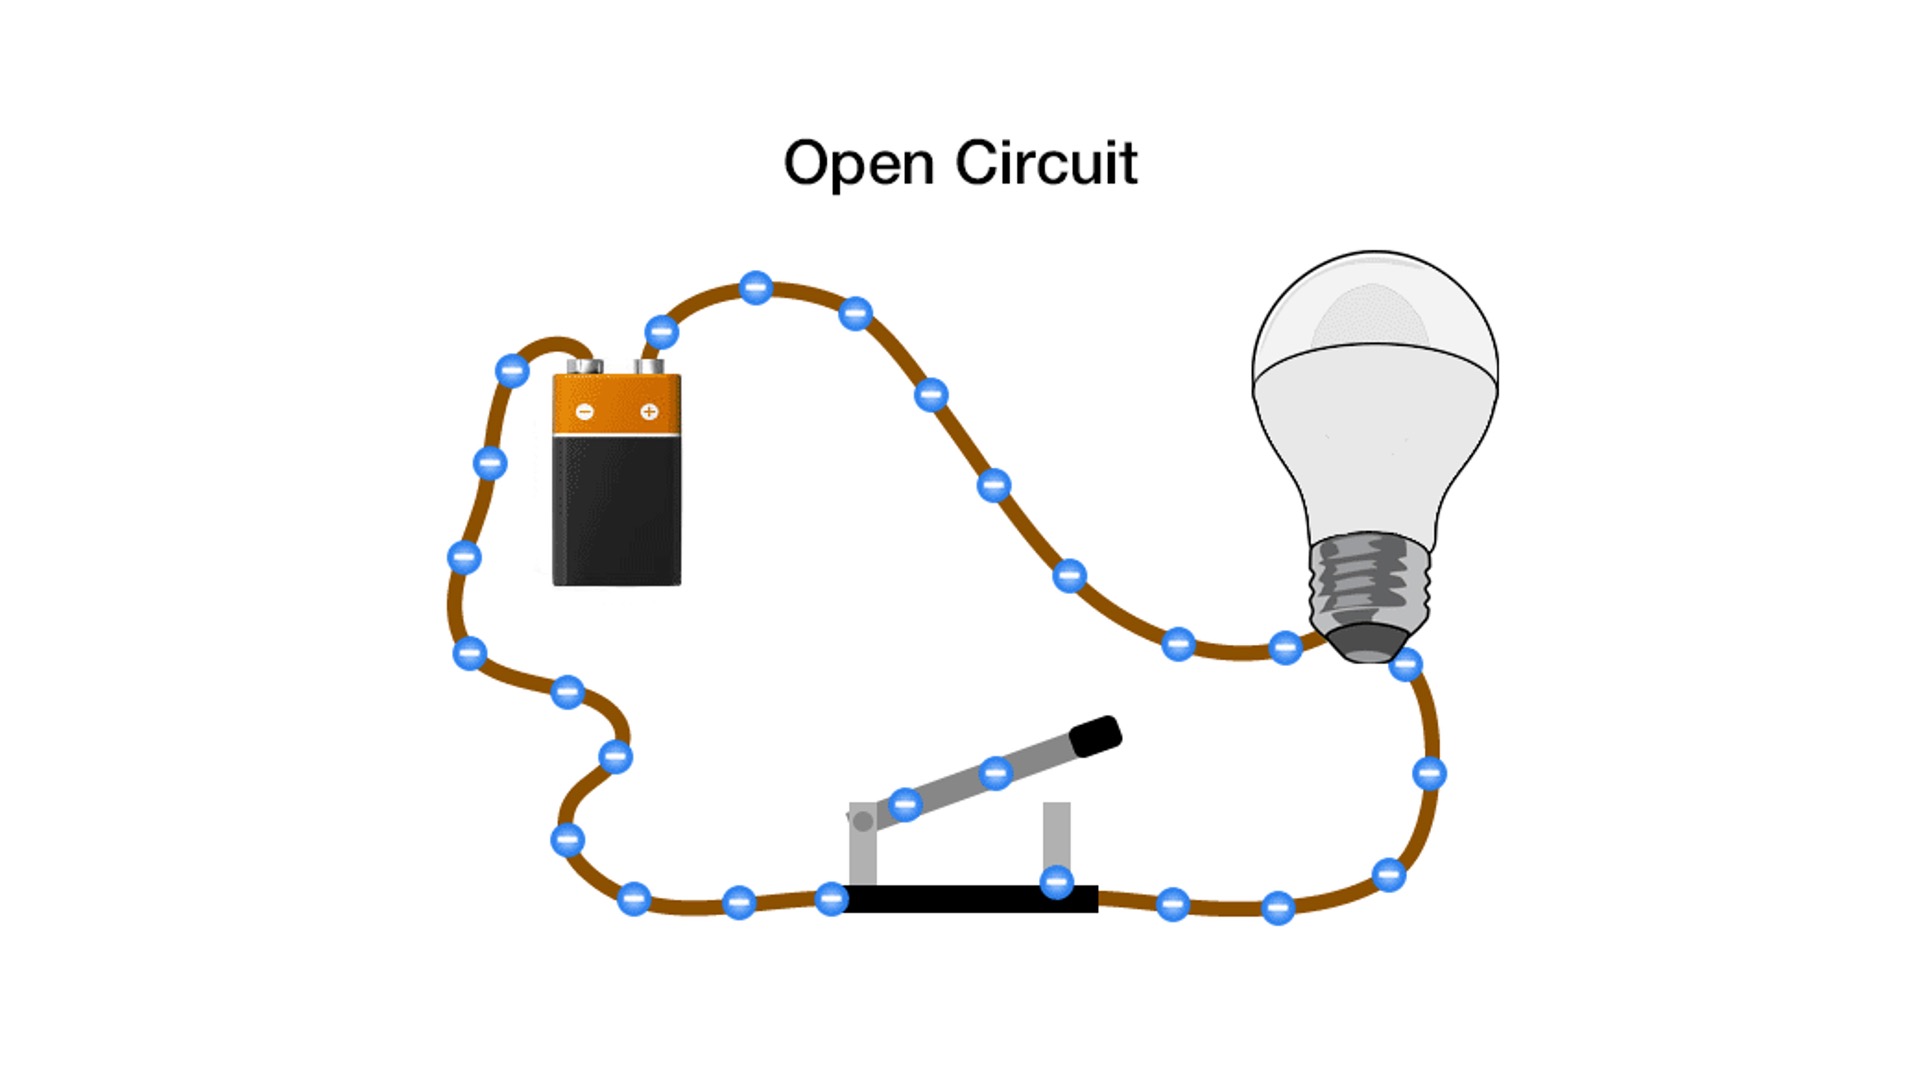
This is what an Open Circuit looks like.
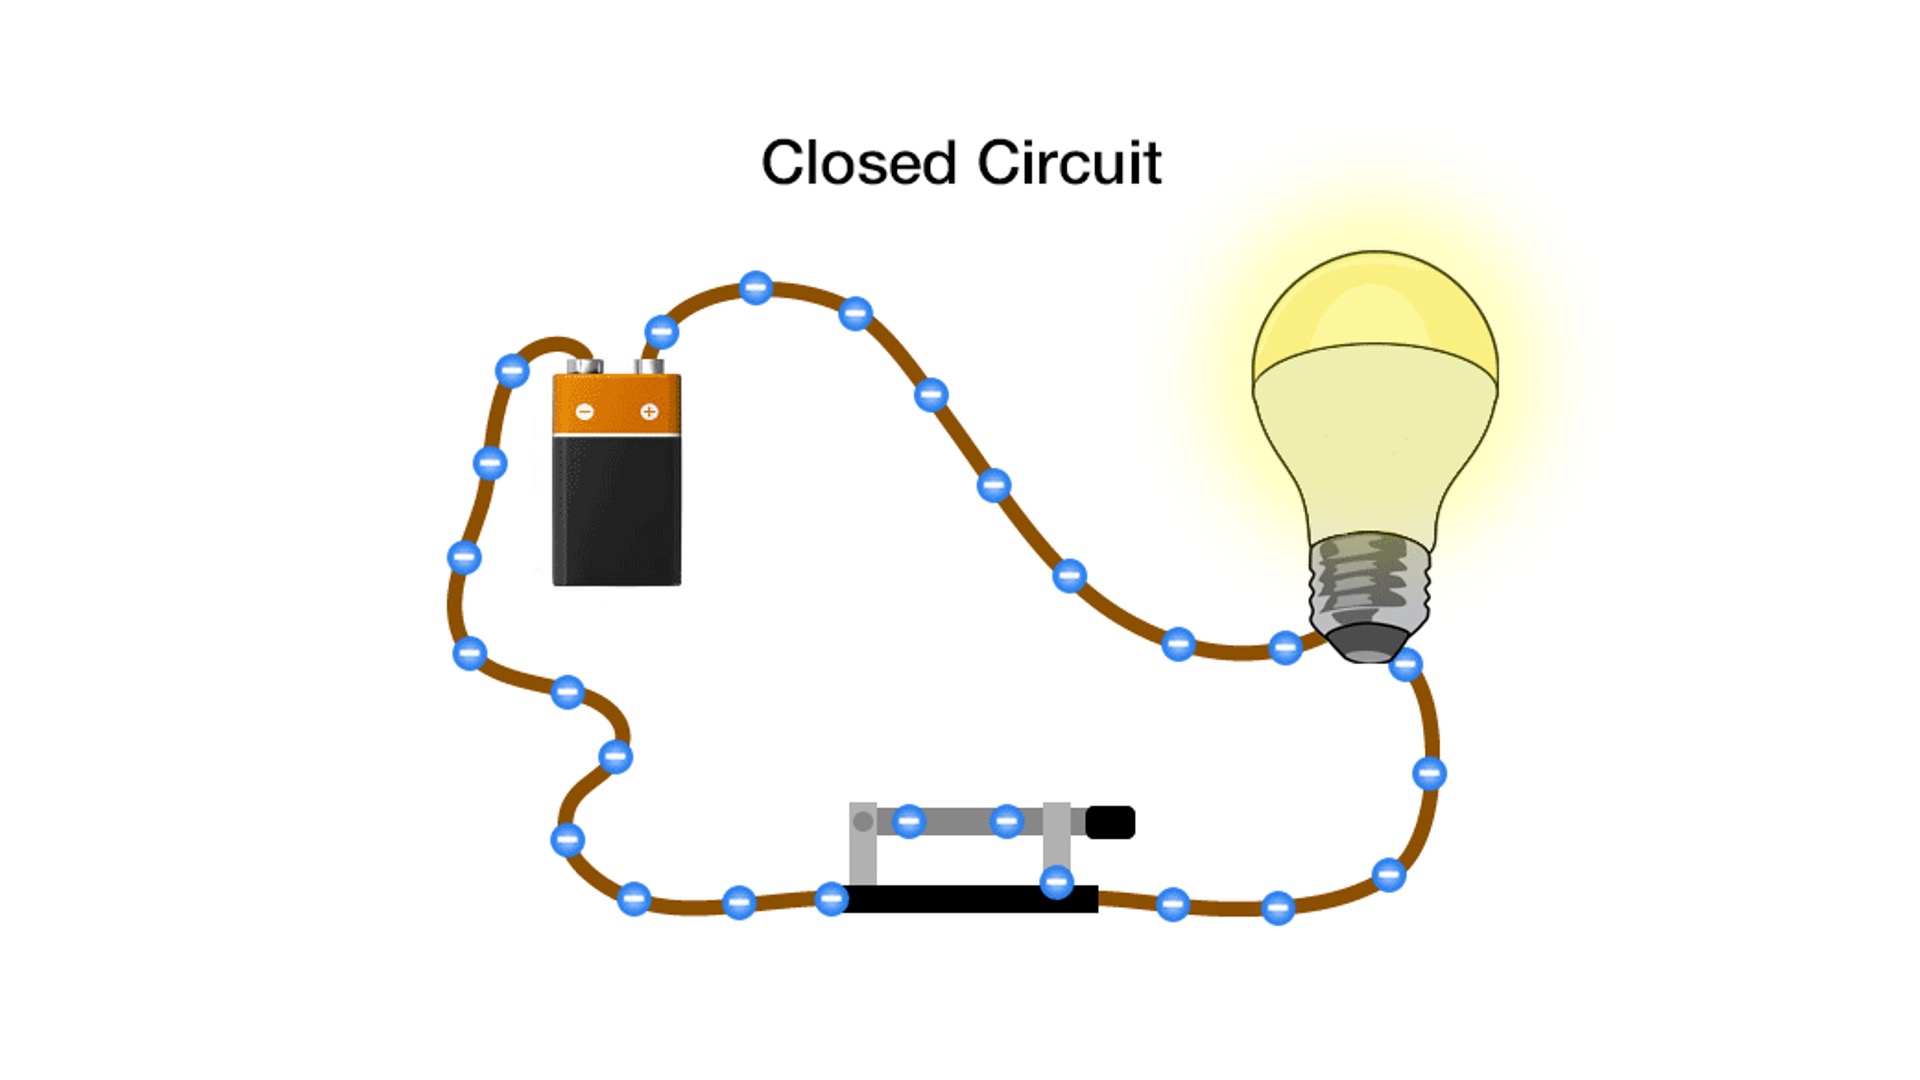
And when you close your circuit, the light turns on!
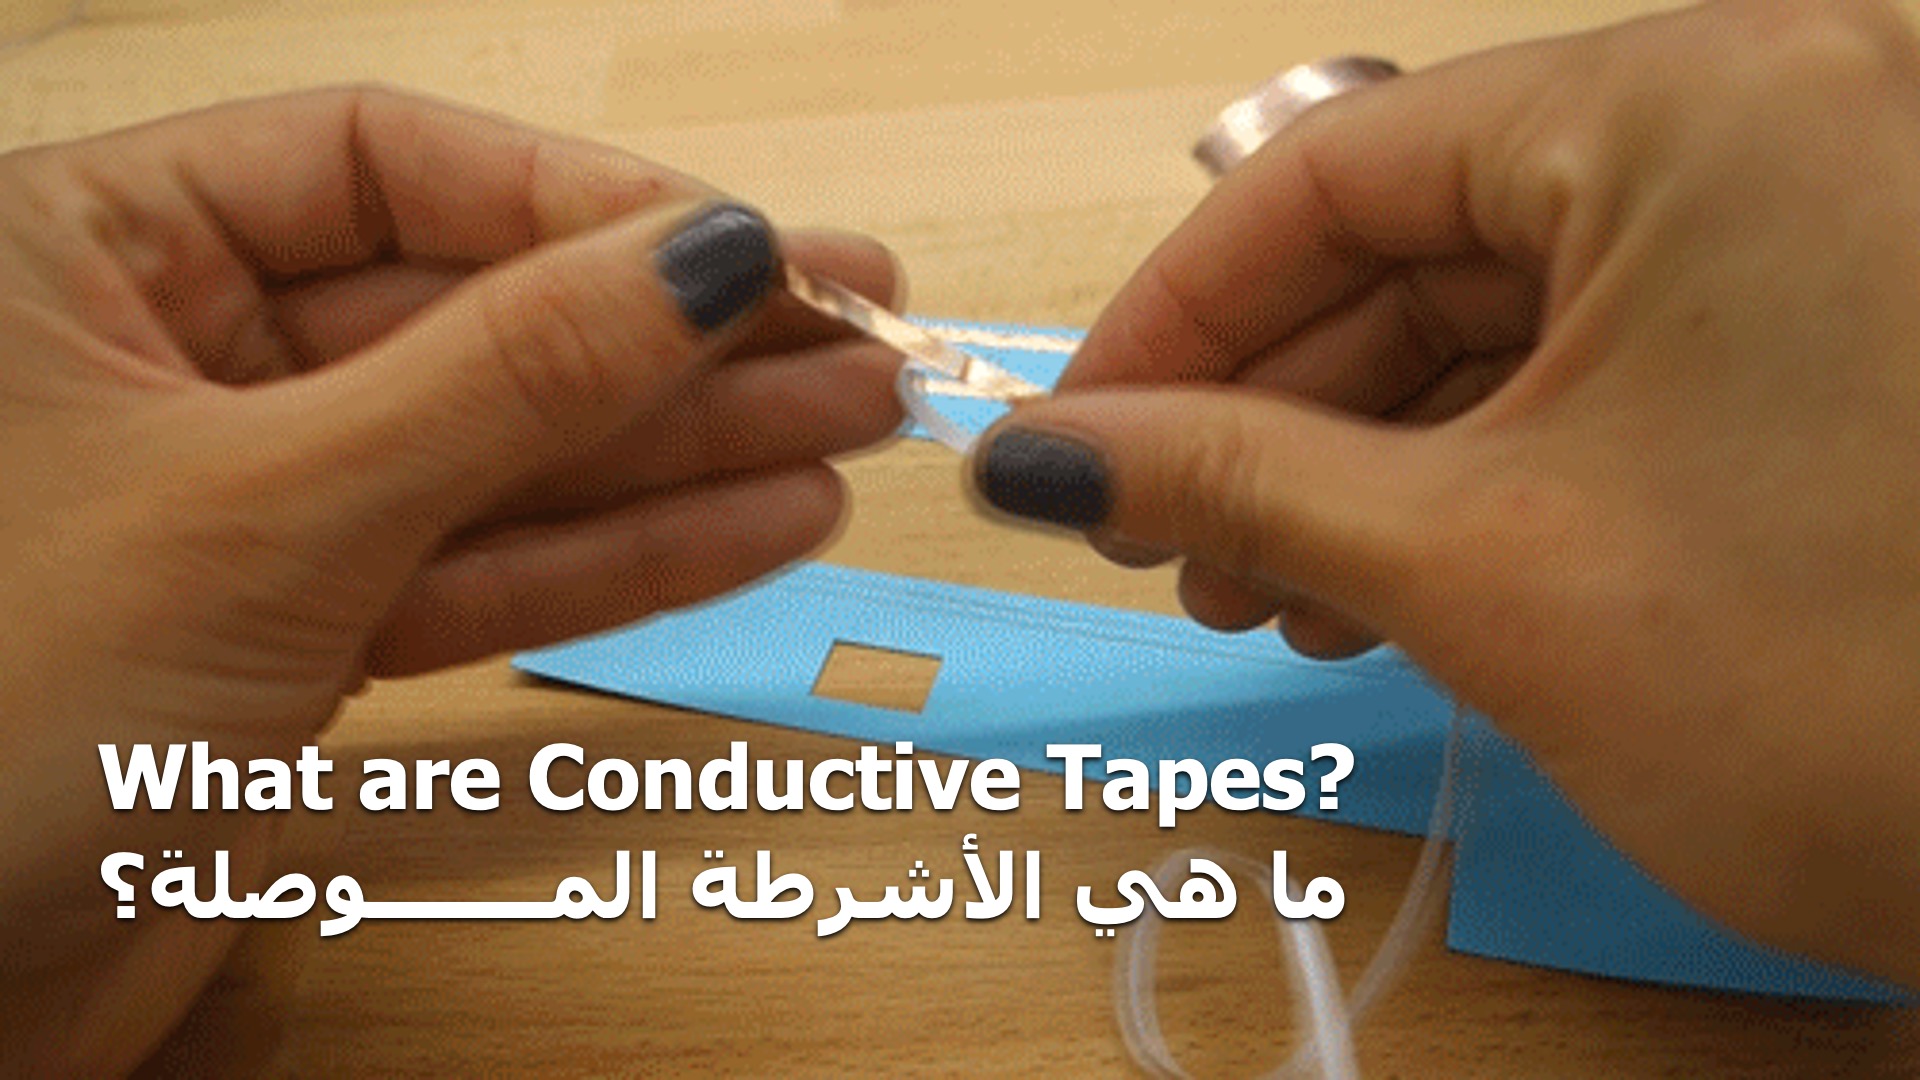
What is a Conductor?
Conductors are the materials or substances which allow electricity to flow through them.

So..What are conductive tapes?
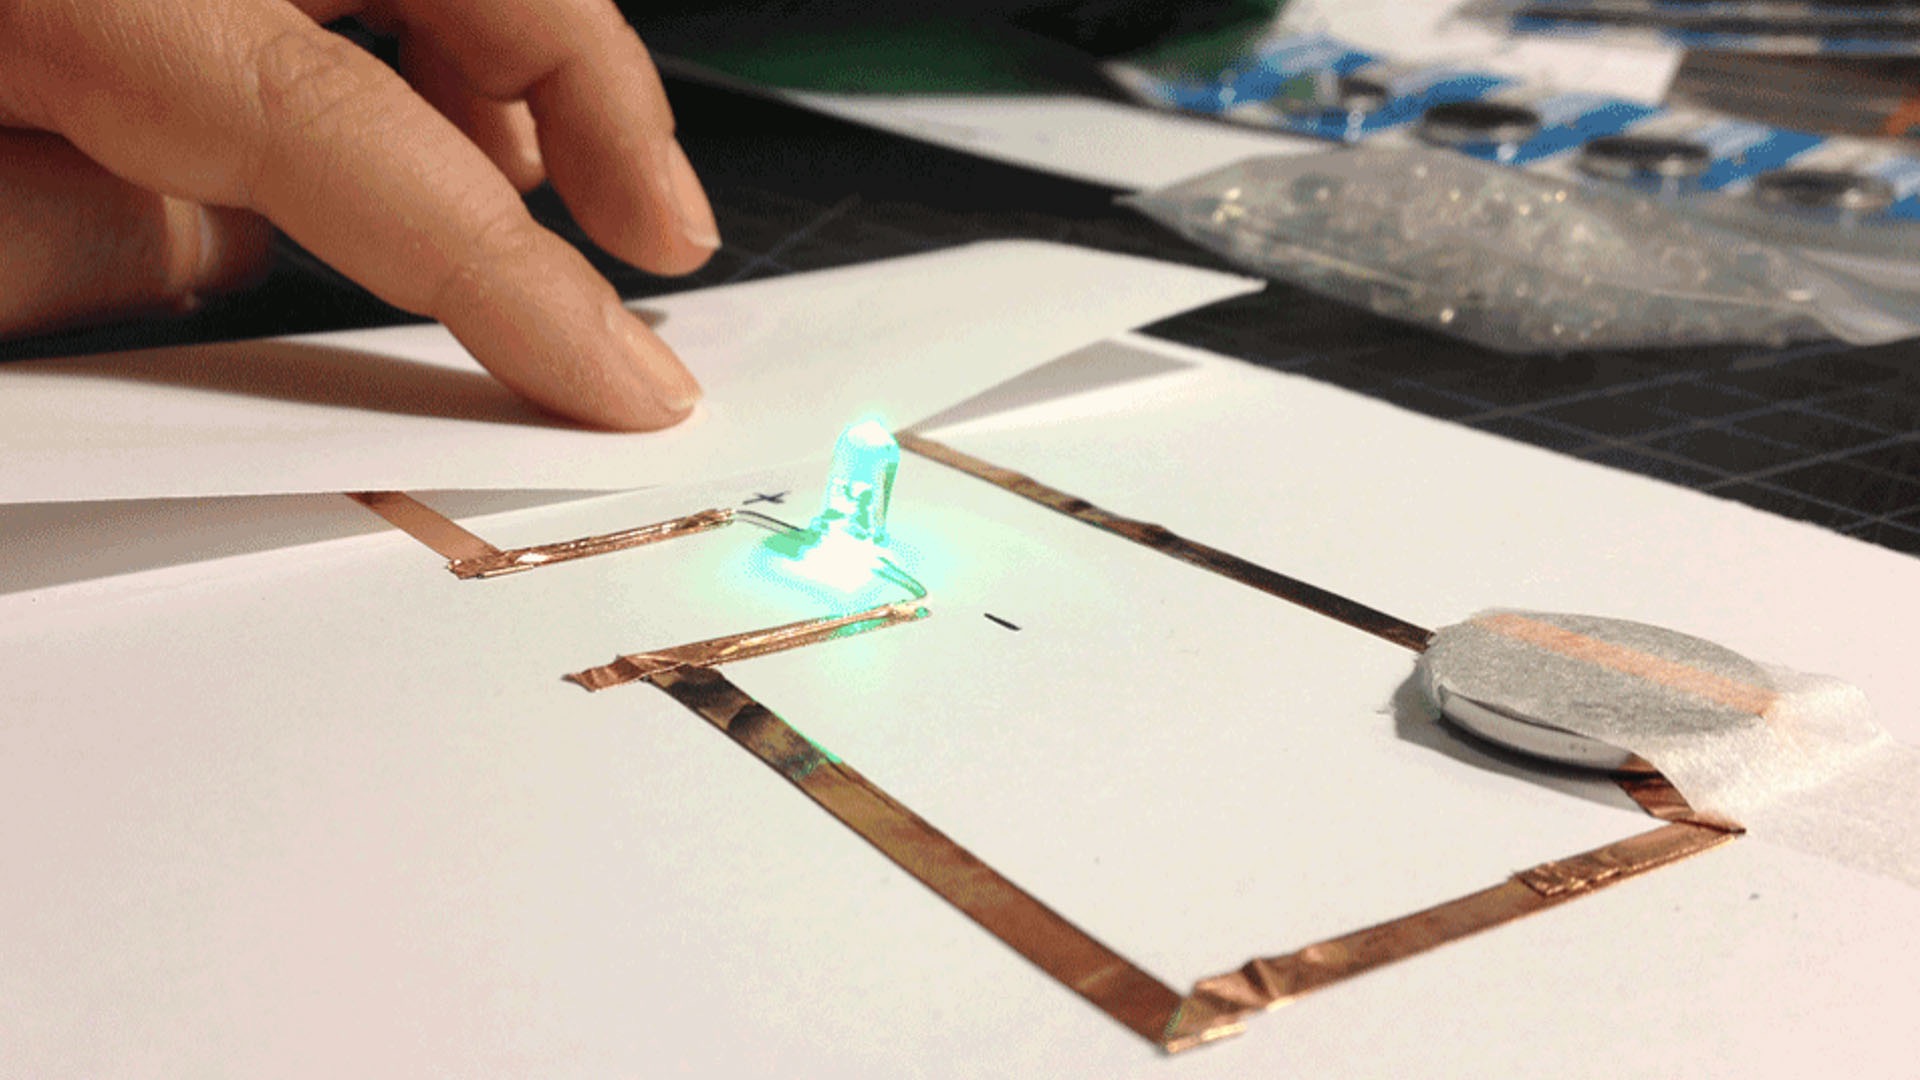
Here is a circuit created with conductive tapes. Is this an open or closed circuit?
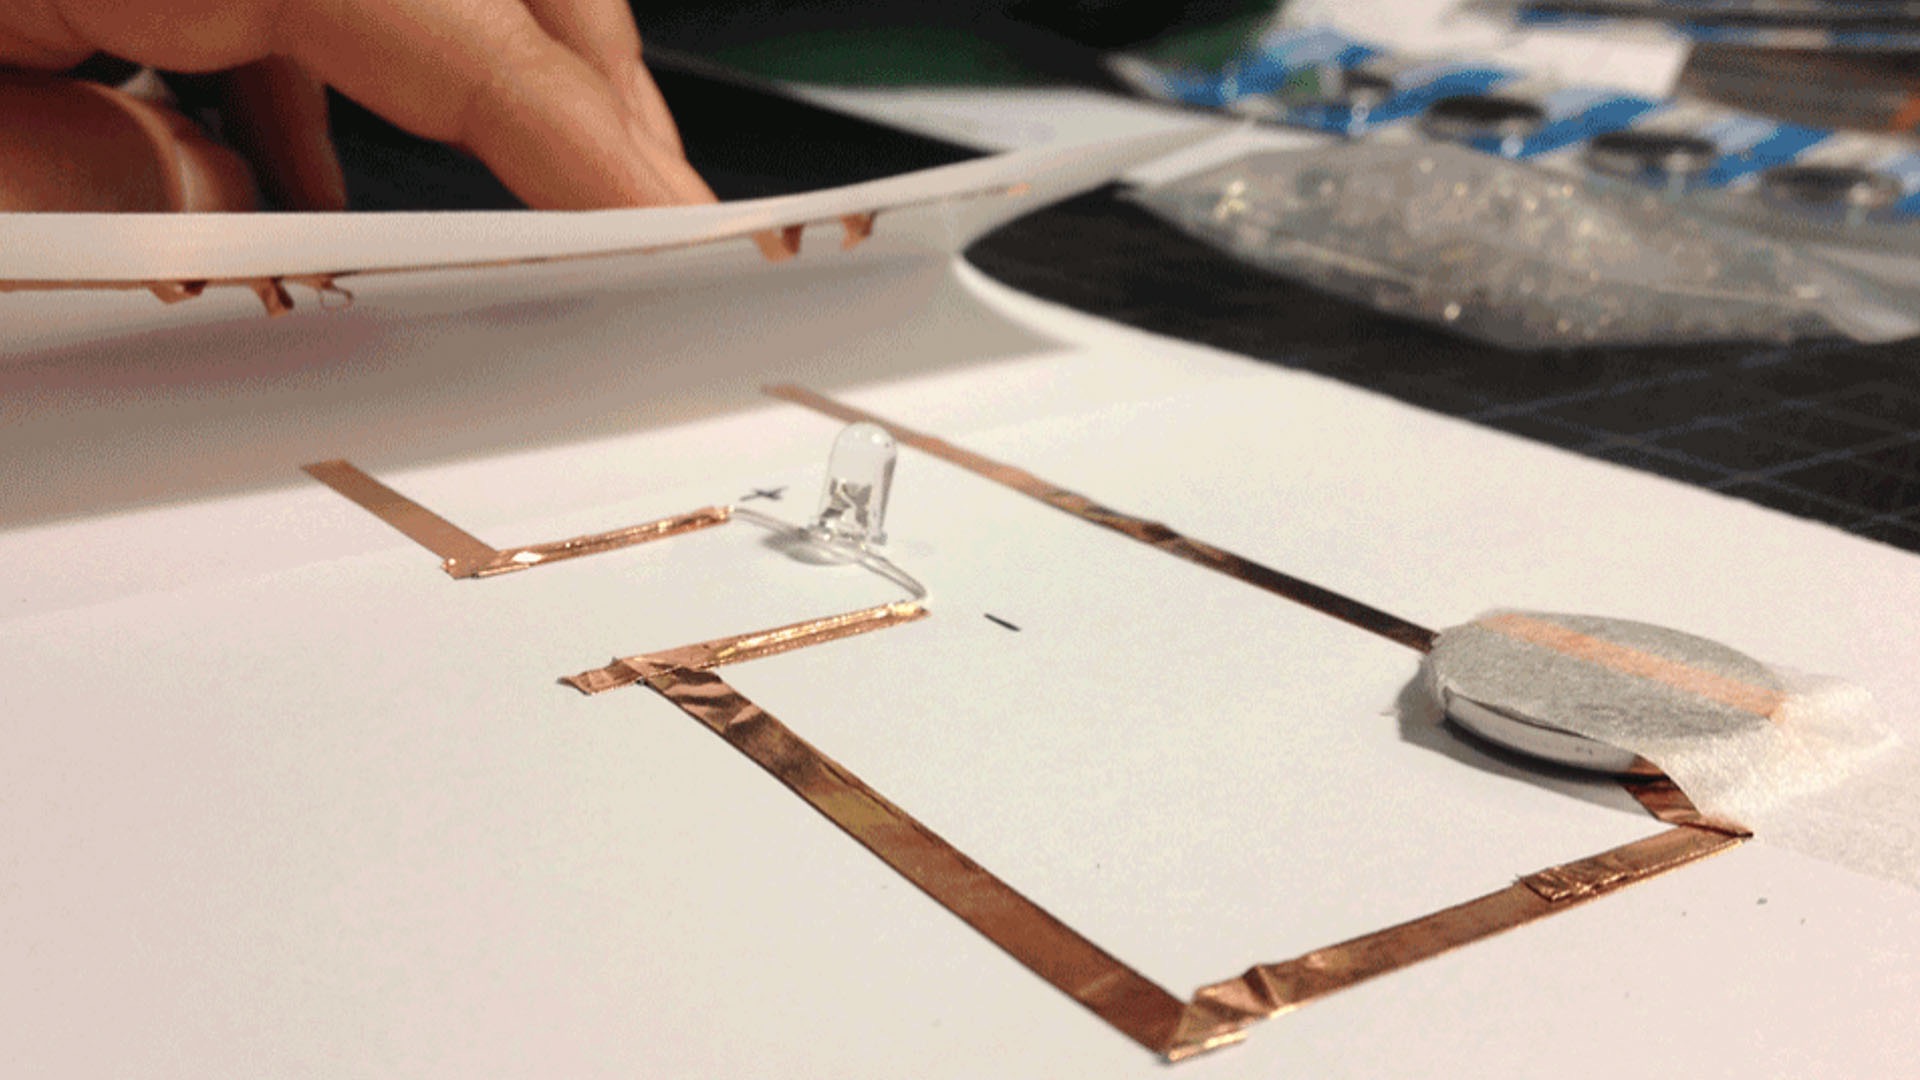
You were right! Now here is the closed circuit.
What is energy conservation?

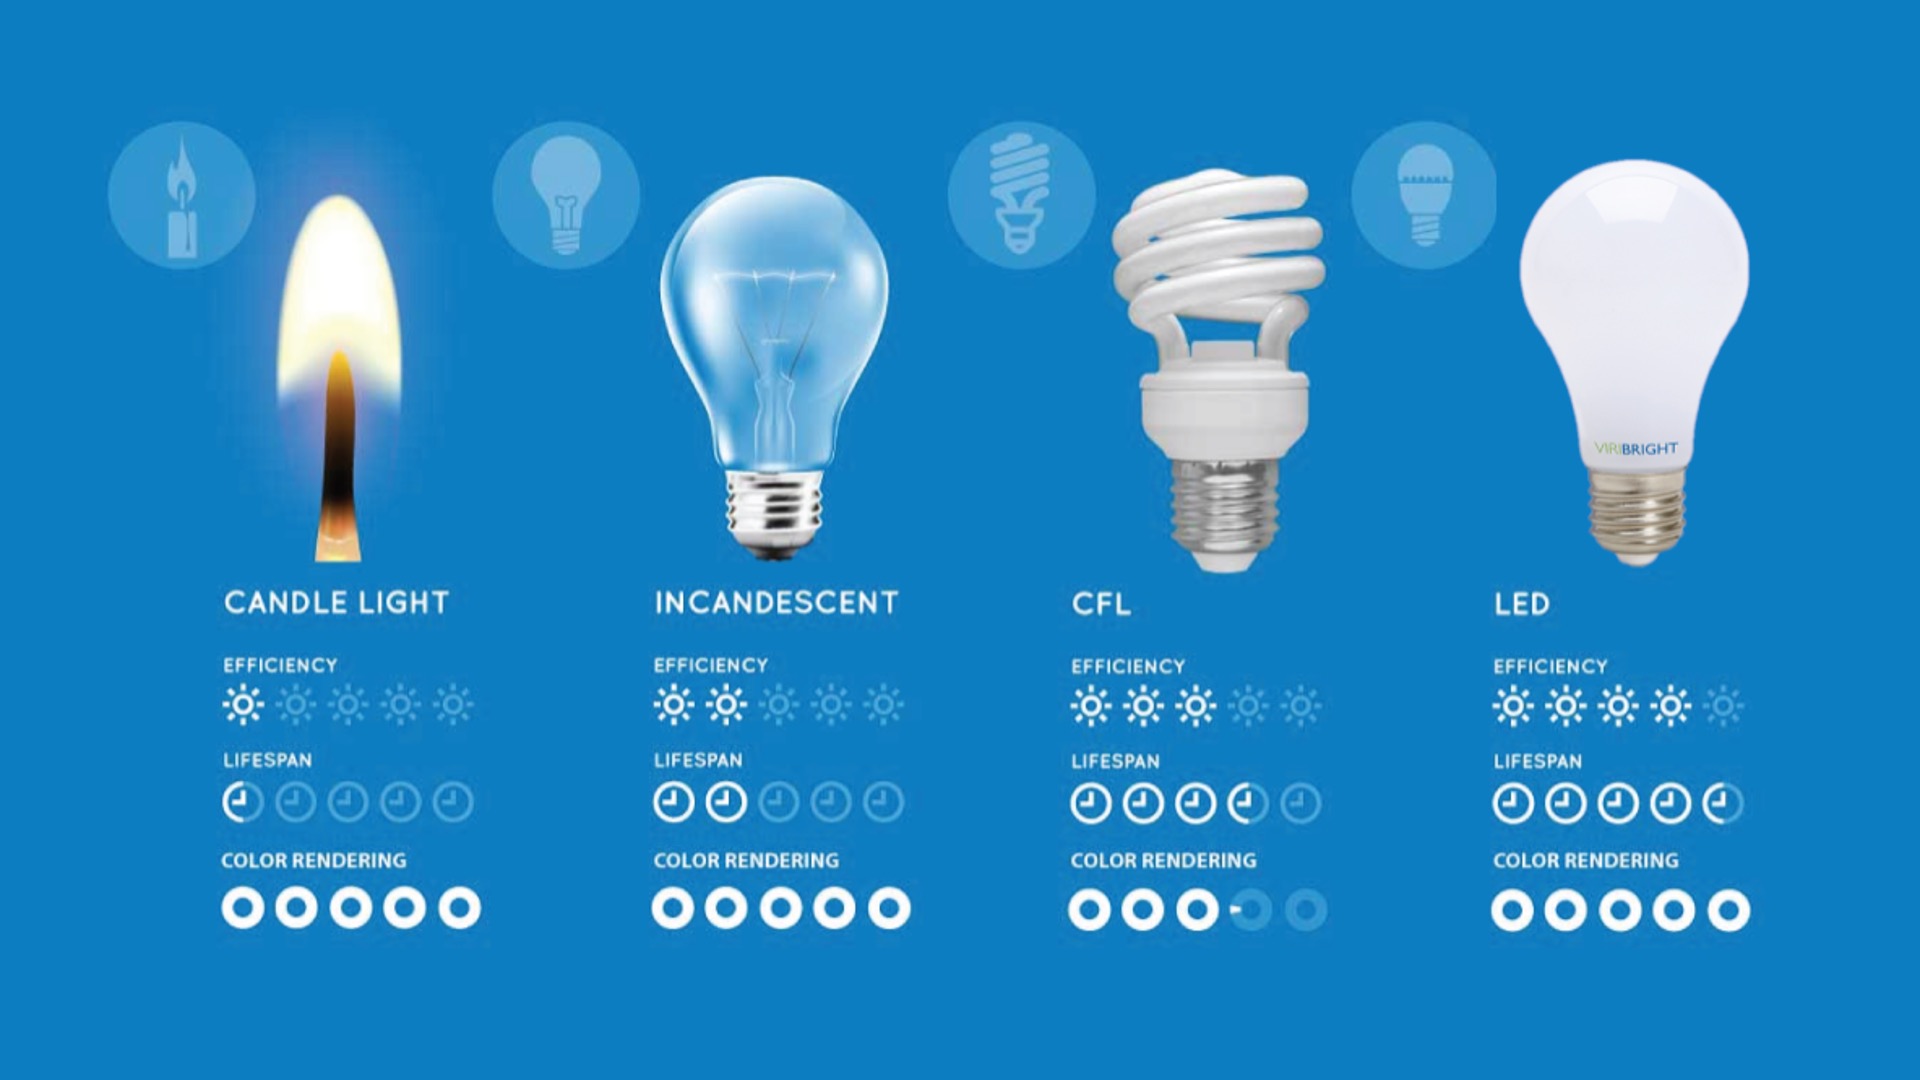
Here is a chart of different sources of light and their energy efficiency.

Firstly, laser cut your acrylic and cardboard discs accordingly.

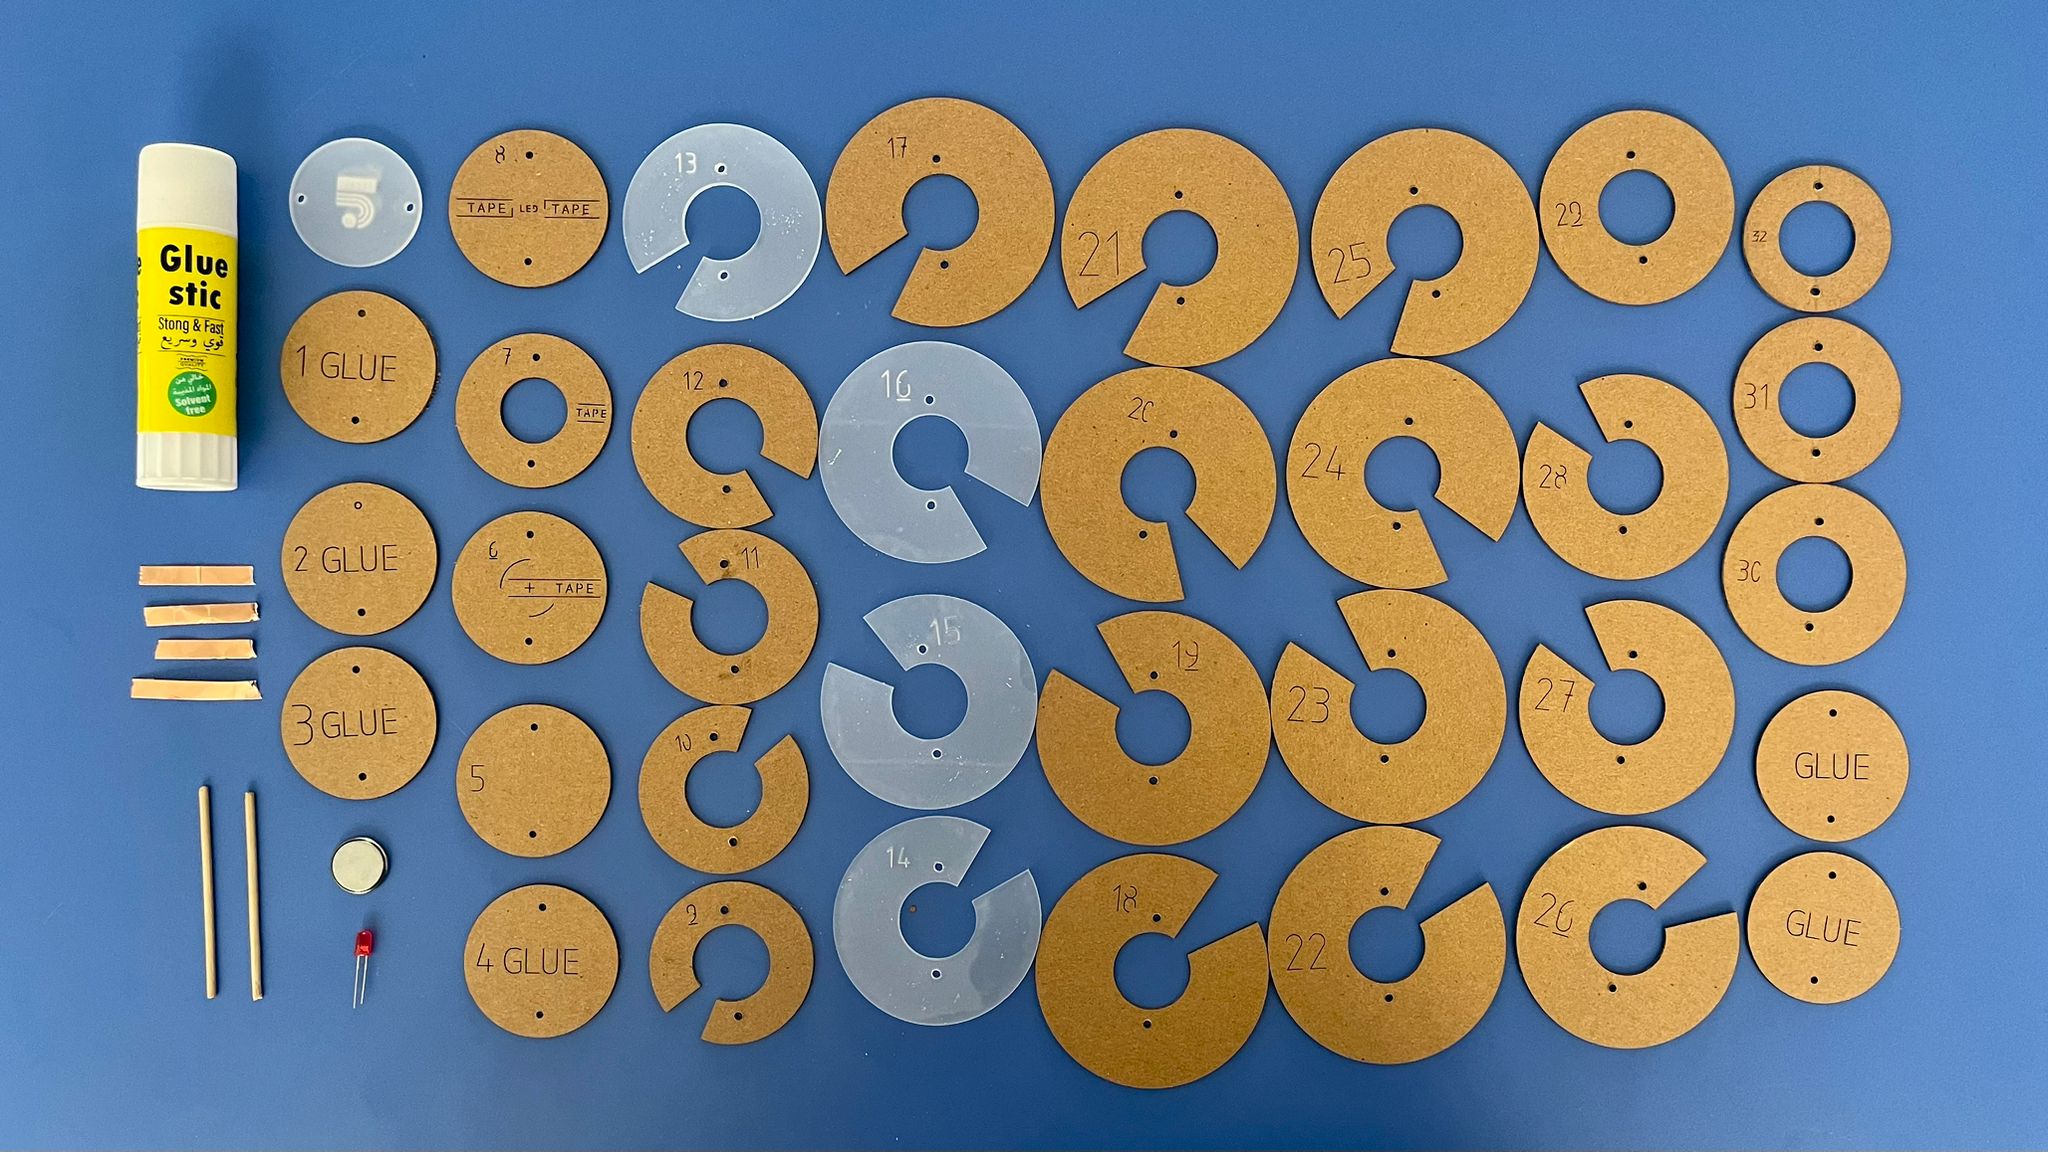
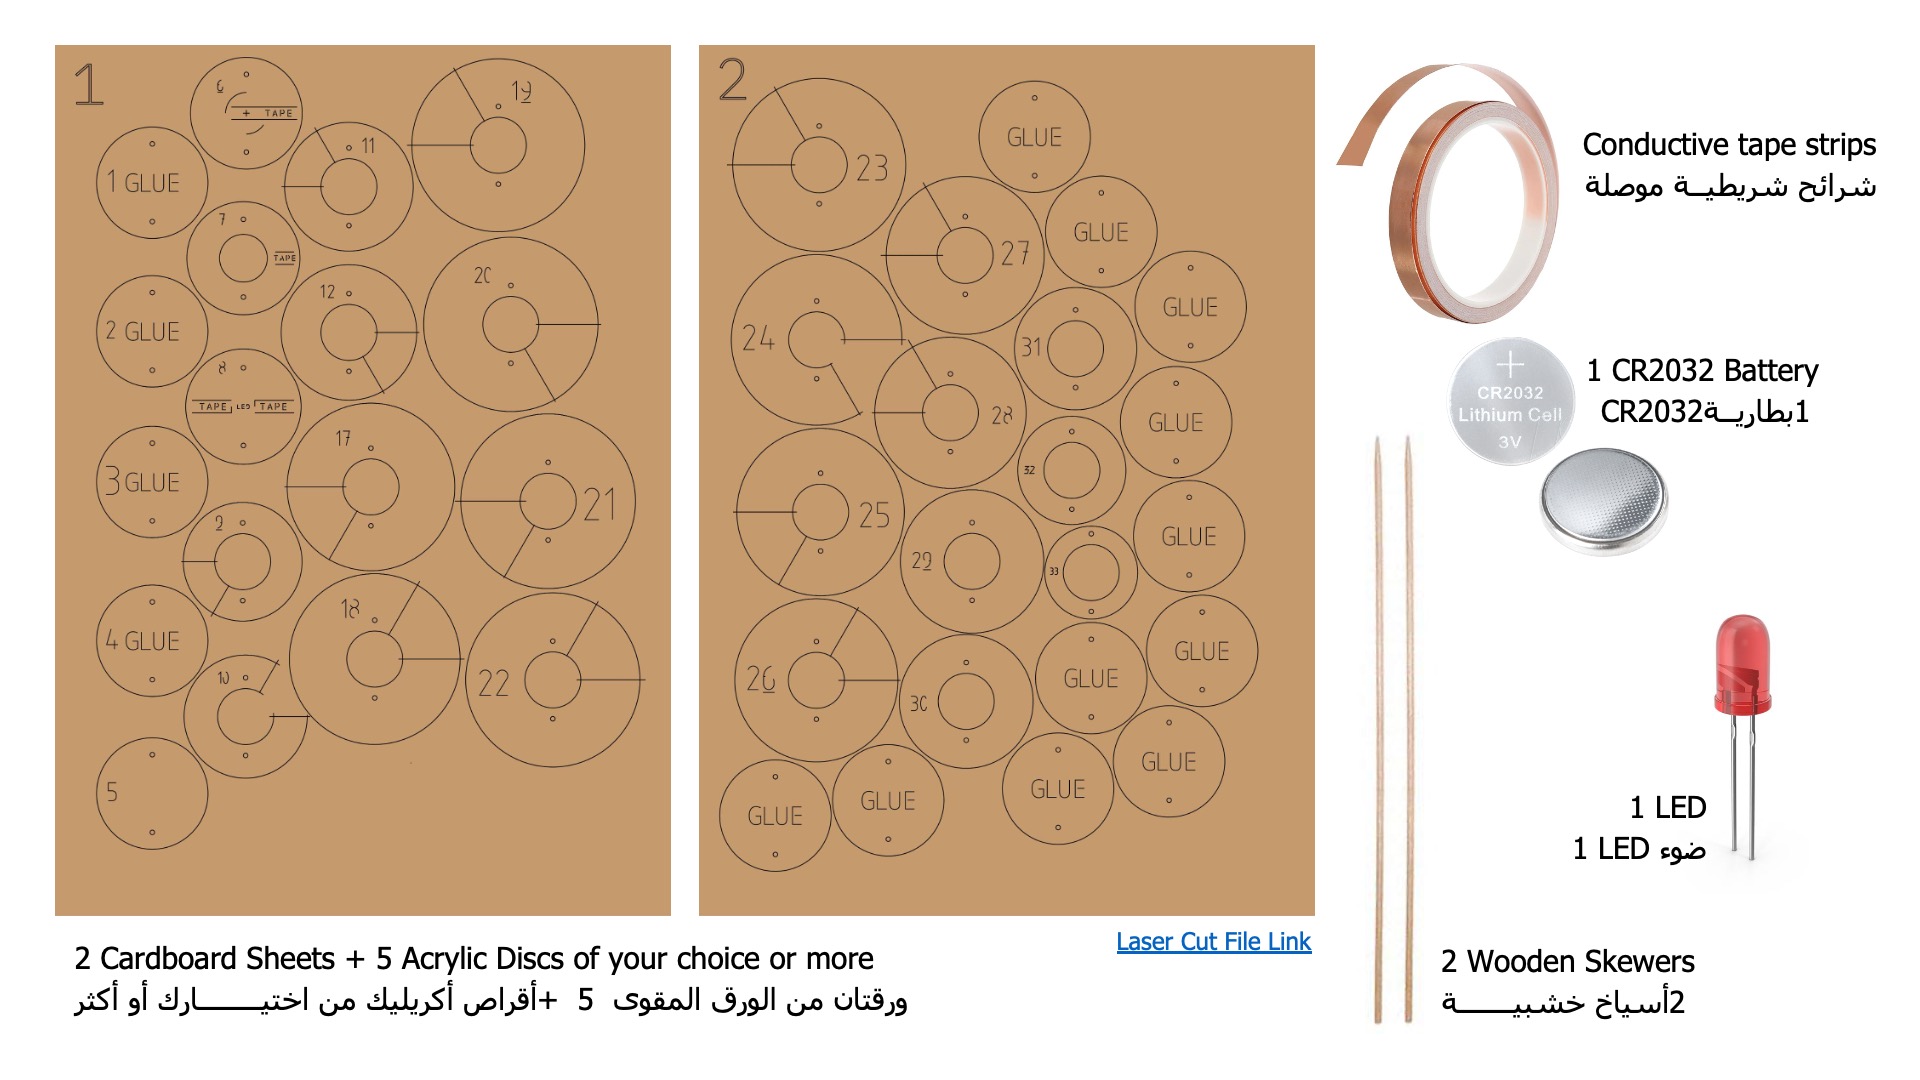
You should all have the following materials in order to create your Smart Light.
Step 1: Stick Conductive Tape on the labelled cardboard disc 6 as instructed in the diagram


Step 2: Stick Conductive Tape on the labelled cardboard disc 7 as instructed in the diagram


Step 3: Stick Conductive Tape and LED on the labelled cardboard disc 8 as instructed in the diagram


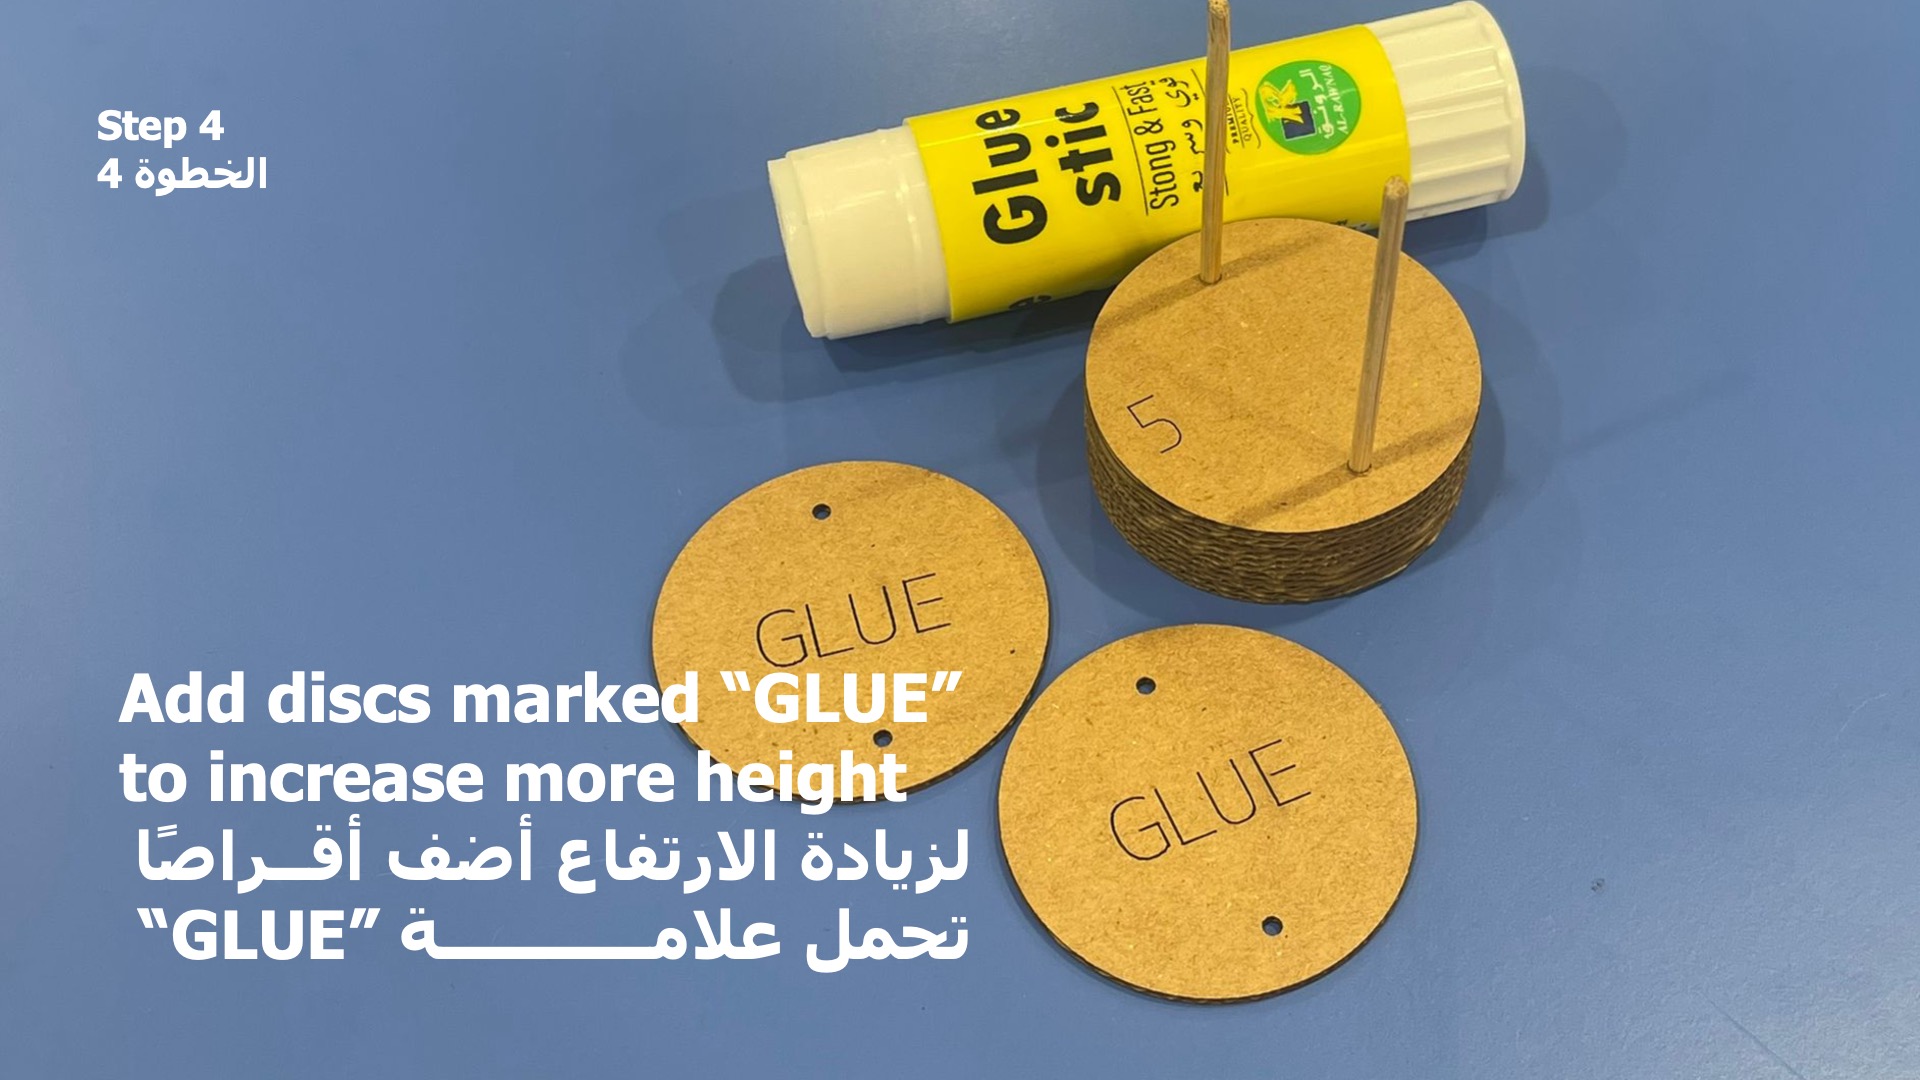
Step 4: Glue discs 1 to 5 and insert through the skewers


Step 5: Insert discs 6 to 8 carefully in order for the circuit to work


Step 6: Insert the remaining labelled cardboard discs in numerical order

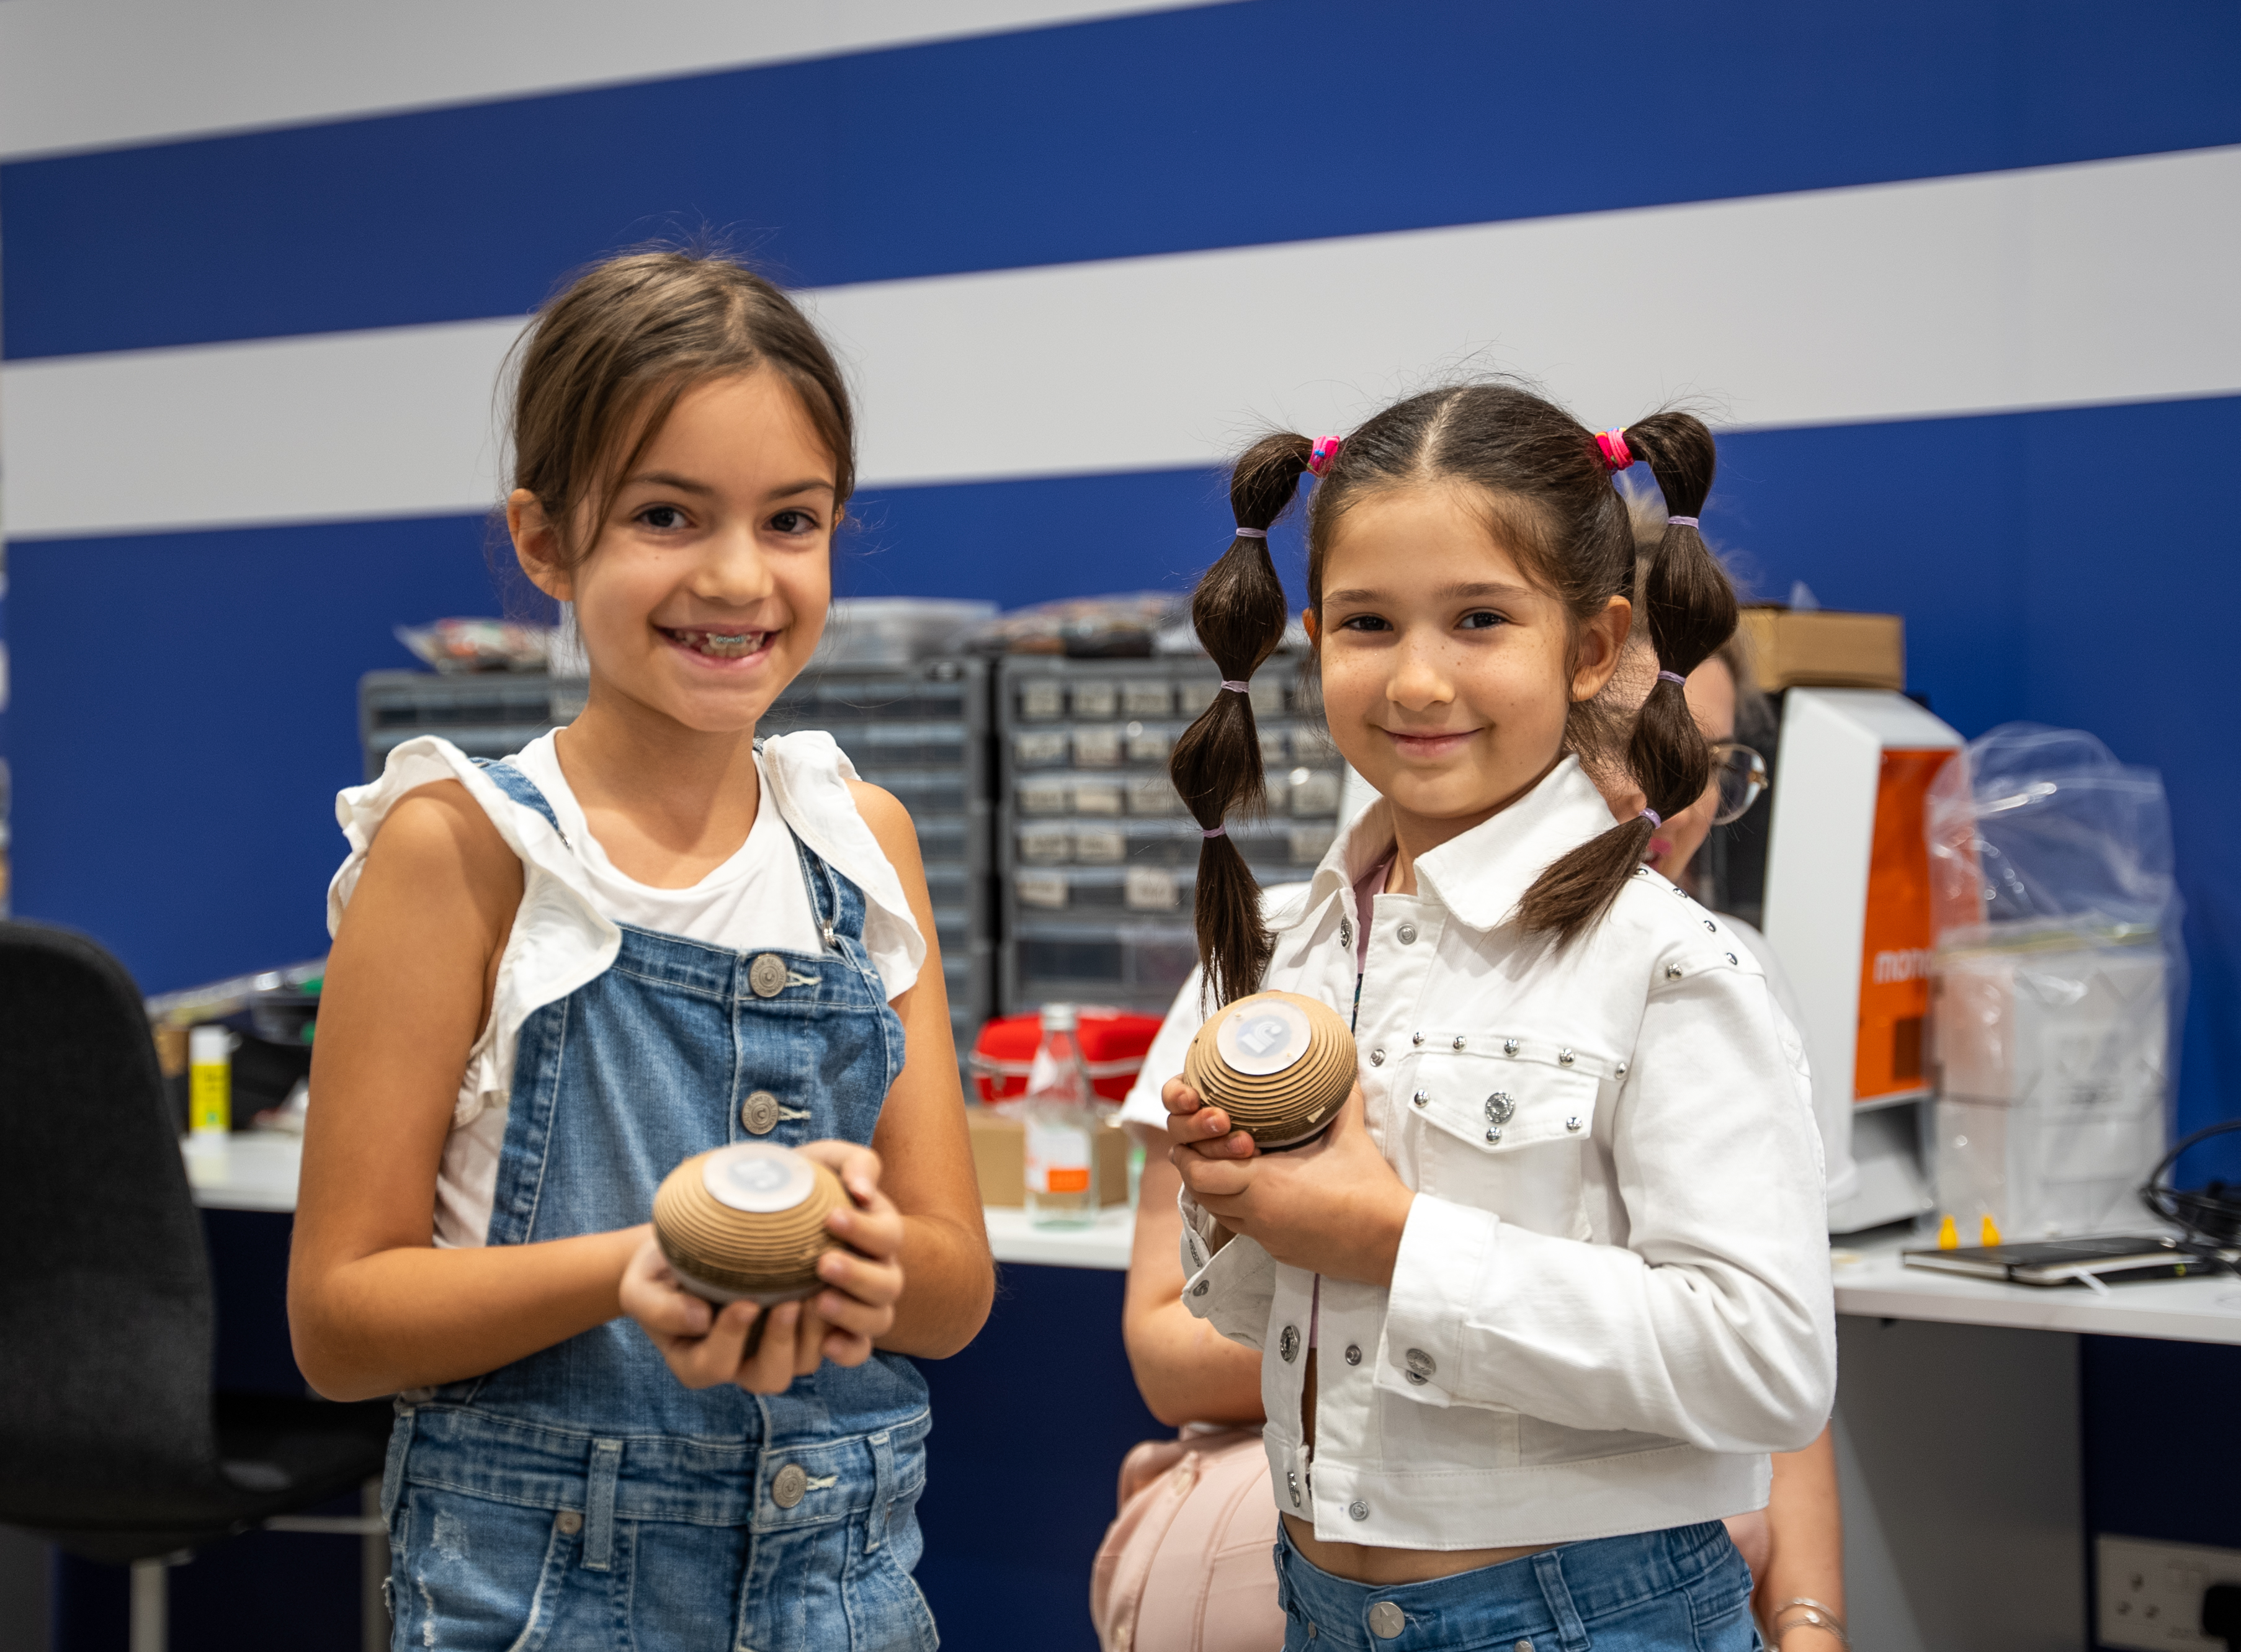
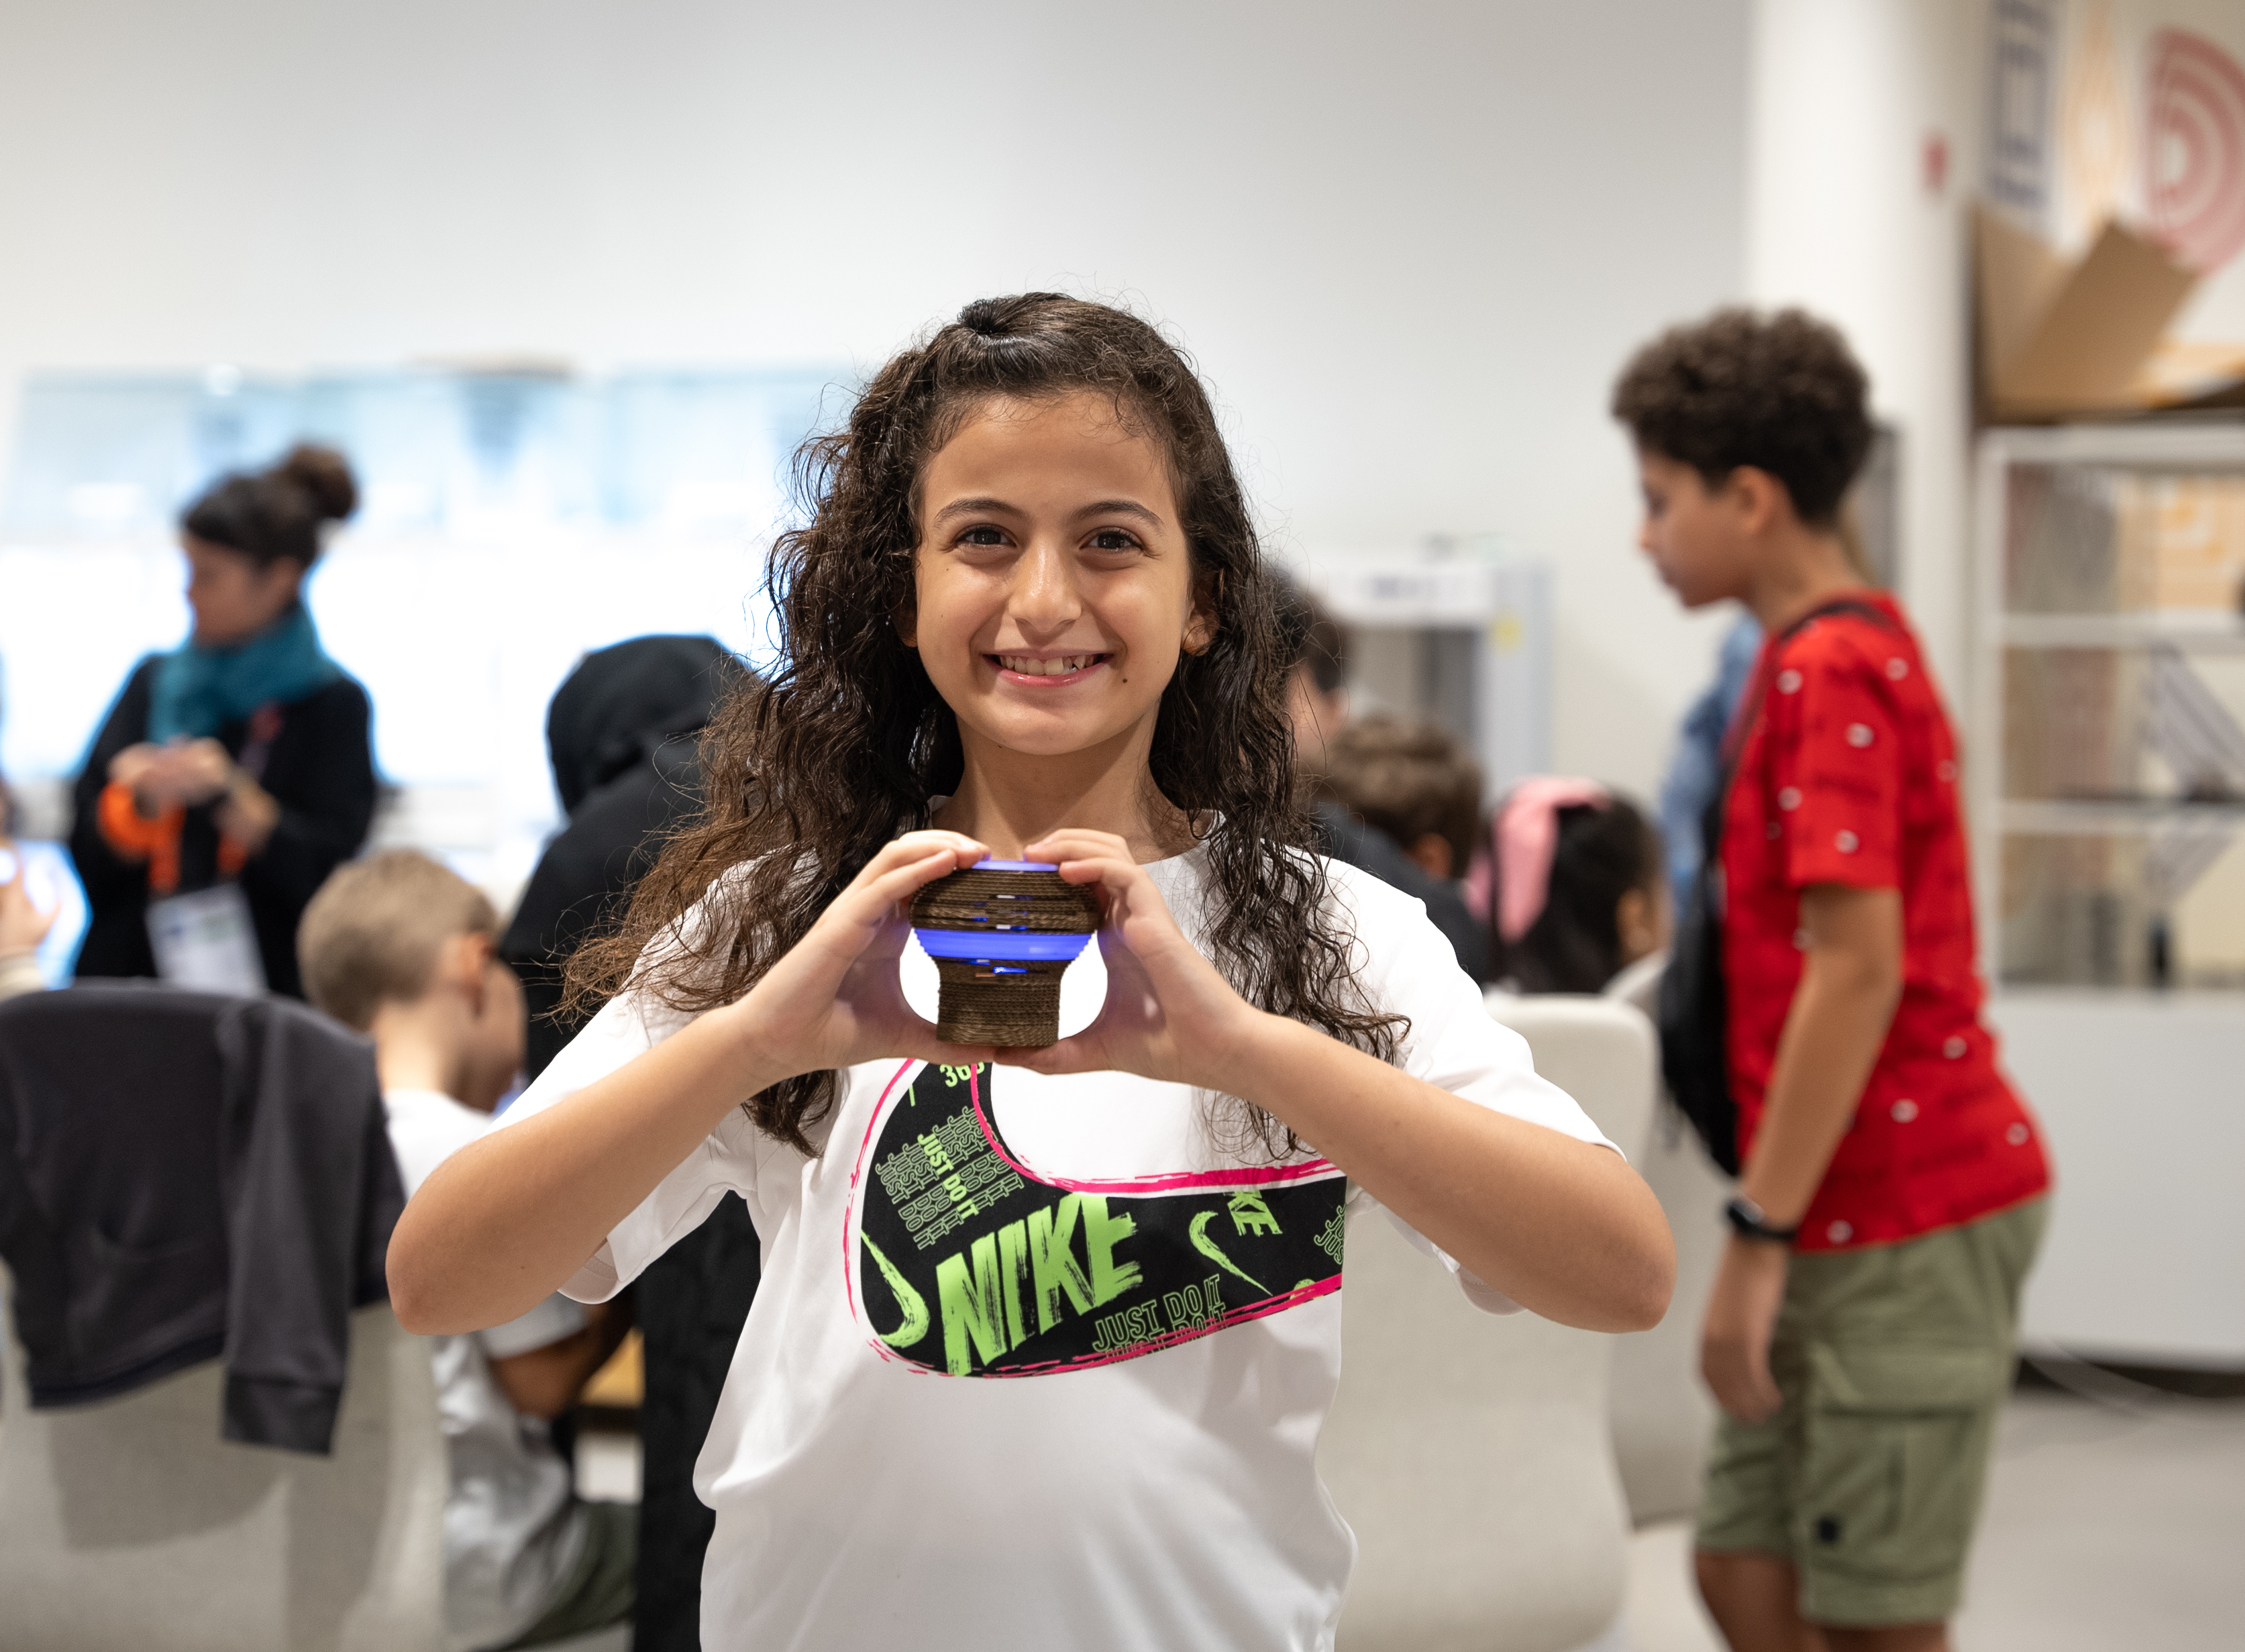
Step 7: Press for Light!

• Refer to the Presentation to have a better understanding on how to create this Smart Light as it contains animations
• Make sure the hole thickness in the laser cut file is the same as of your skewer
• Feel free to cut as many numbered discs as possible in acrylic for your smart light. The number of acrylic discs will determine the diffusion of your light. You could have the entire Smart Light made out of milky white acrylic or have only a few discs.
• The tolerance for the acrylic discs might be different with the skewer than the cardboard
• Make sure the circuit is complete and the LED legs are touching the conductive tape, or else the bulb will not light up
Having trouble? Let us know by completing the form below. We'll do our best to get your issues resolved quickly.
"*" indicates required fields
