- Loading…

Students are guided through the design process to model and produce a lamp that houses an Adafruit Circuit Playground Express.
Students will then use block code to enable their Adafruit Circuit Playground Express to function as an RGB lamp with their designed activation functions.
Using the provided snap mount with alligator clips, you first need to import the .f3d file at the following link into Fusion360 by creating a new design and pressing upload under the files tab.
Download the .f3d file for the playground mount.
Circuit Playground Express Snap Fit Mount with Alligator Clip Cutouts
https://www.thingiverse.com/thing:3982715/files
Circuit Playground Express Snap Fit Mount with Alligator Clip Cutouts
by paulblankenbaker is licensed under the Creative Commons – Attribution license.
Using Fusion360, upload the .f3d file.

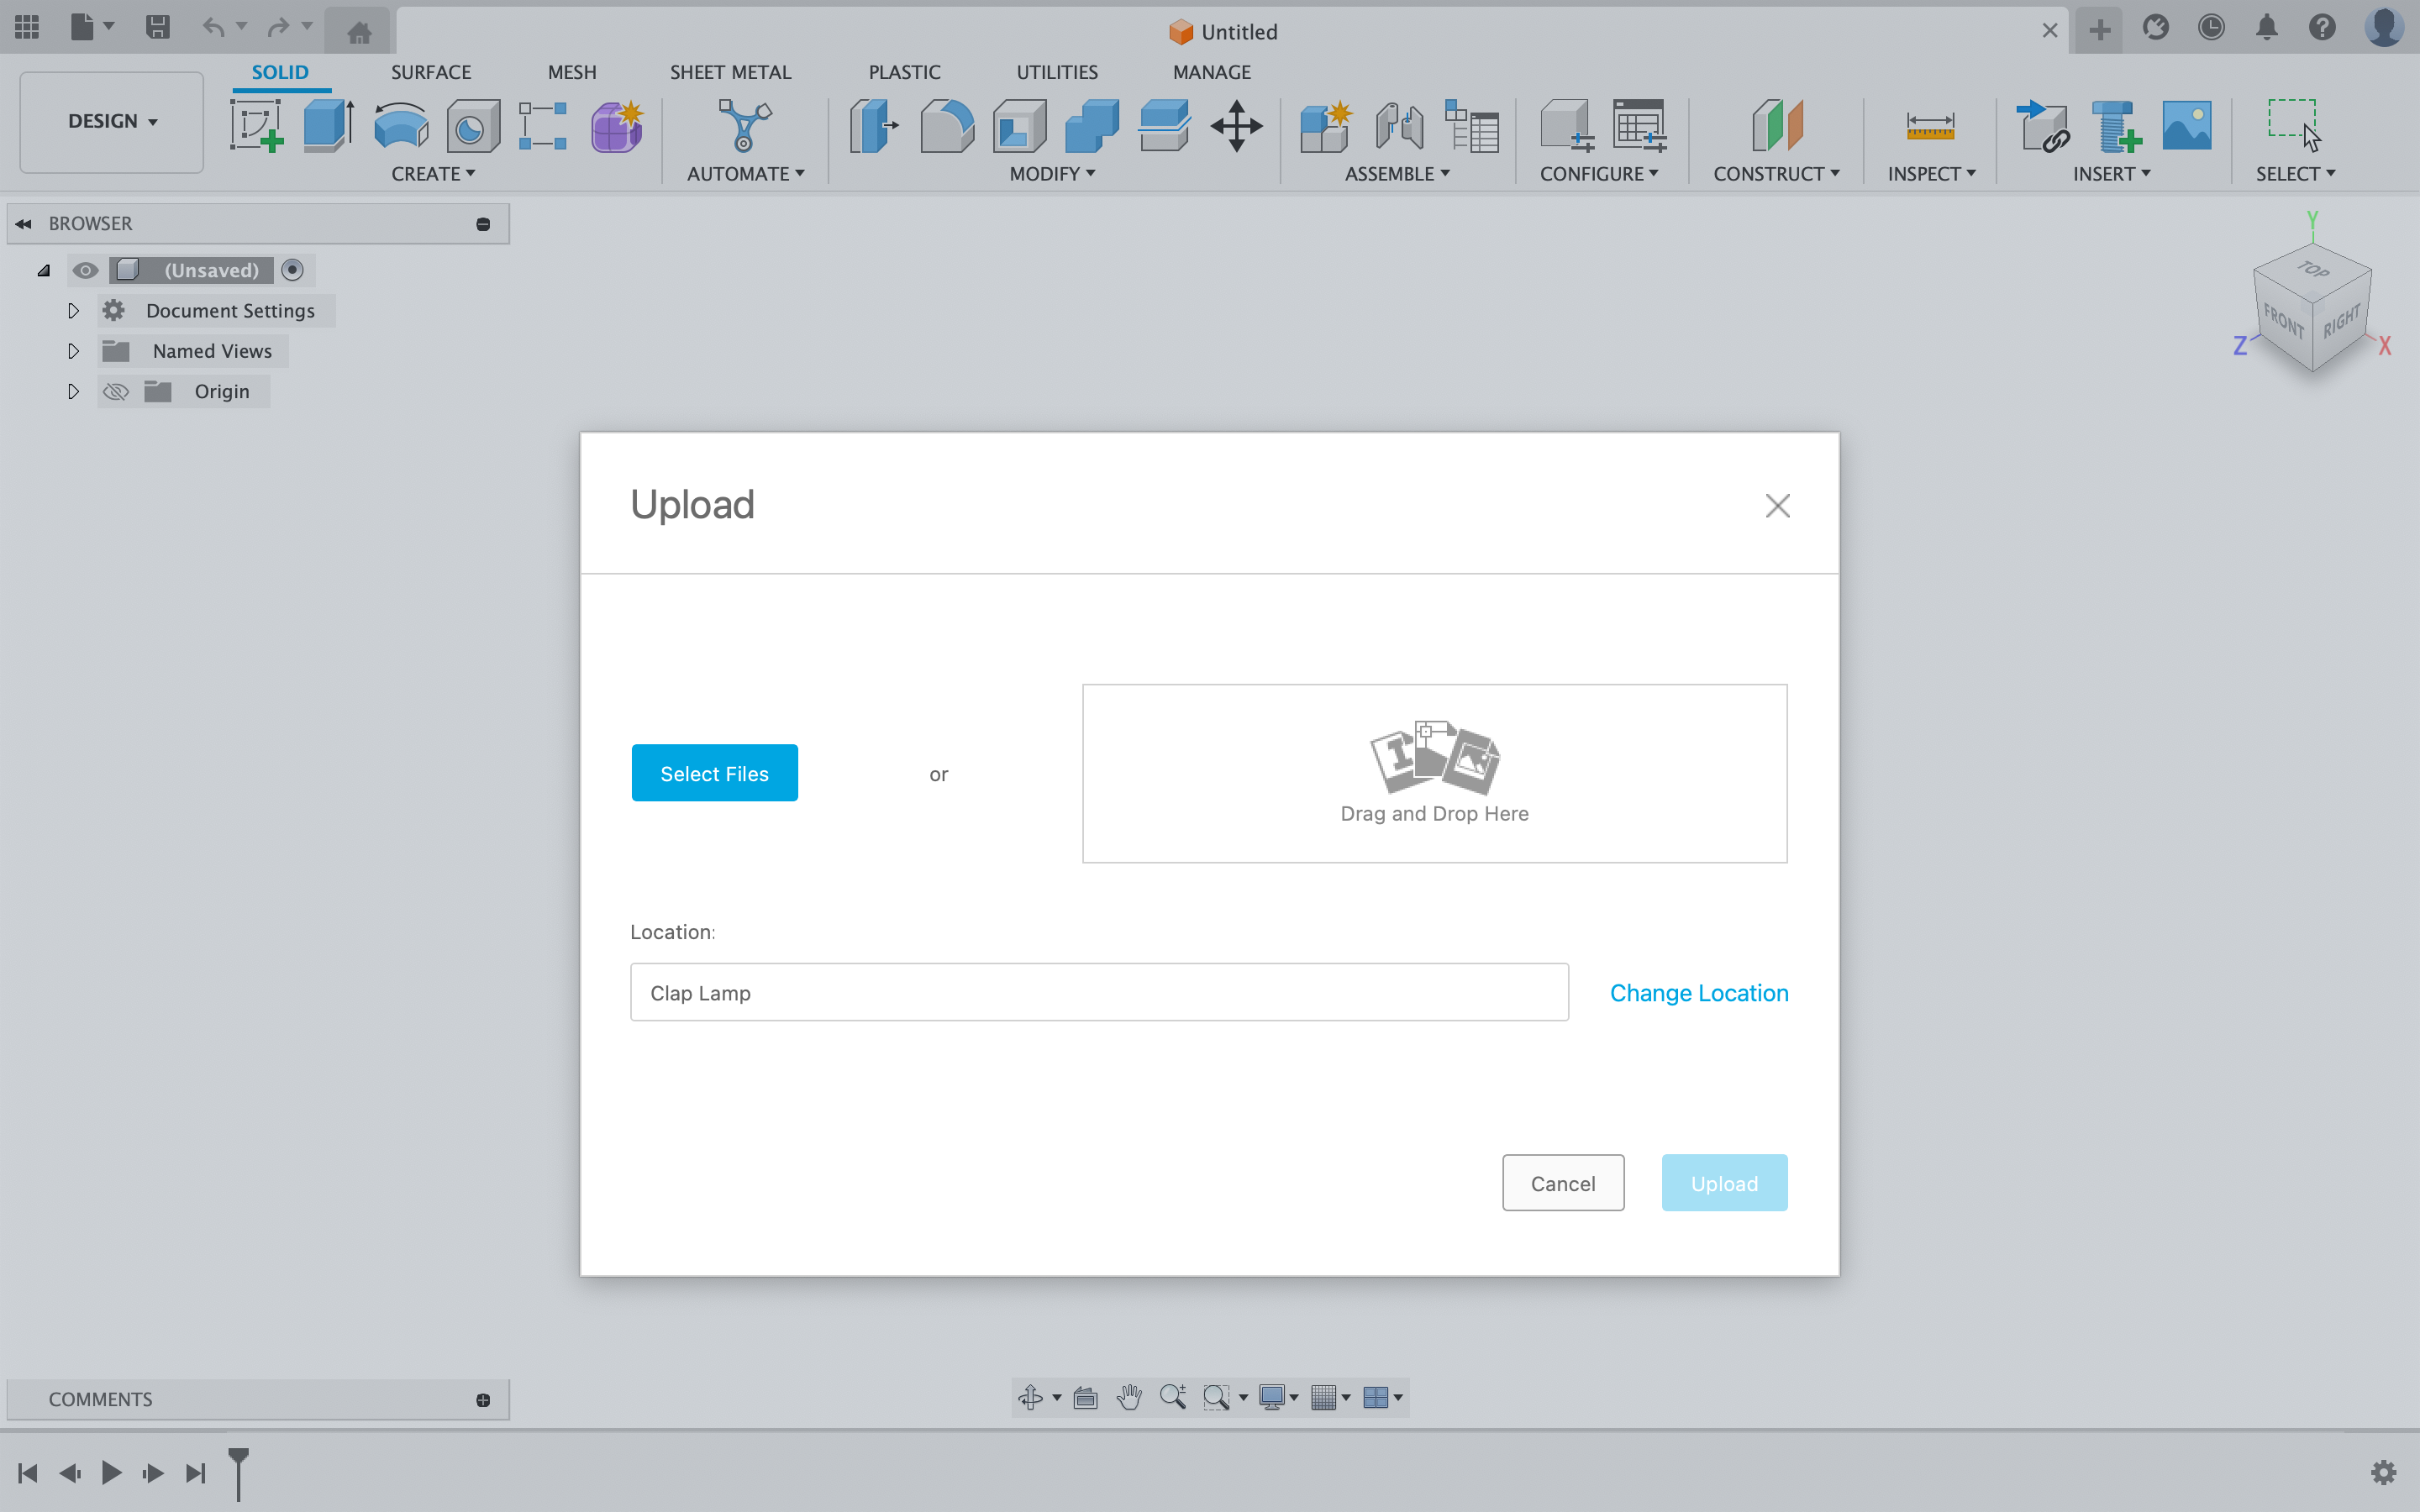
 Ensure you save your work to your project library.
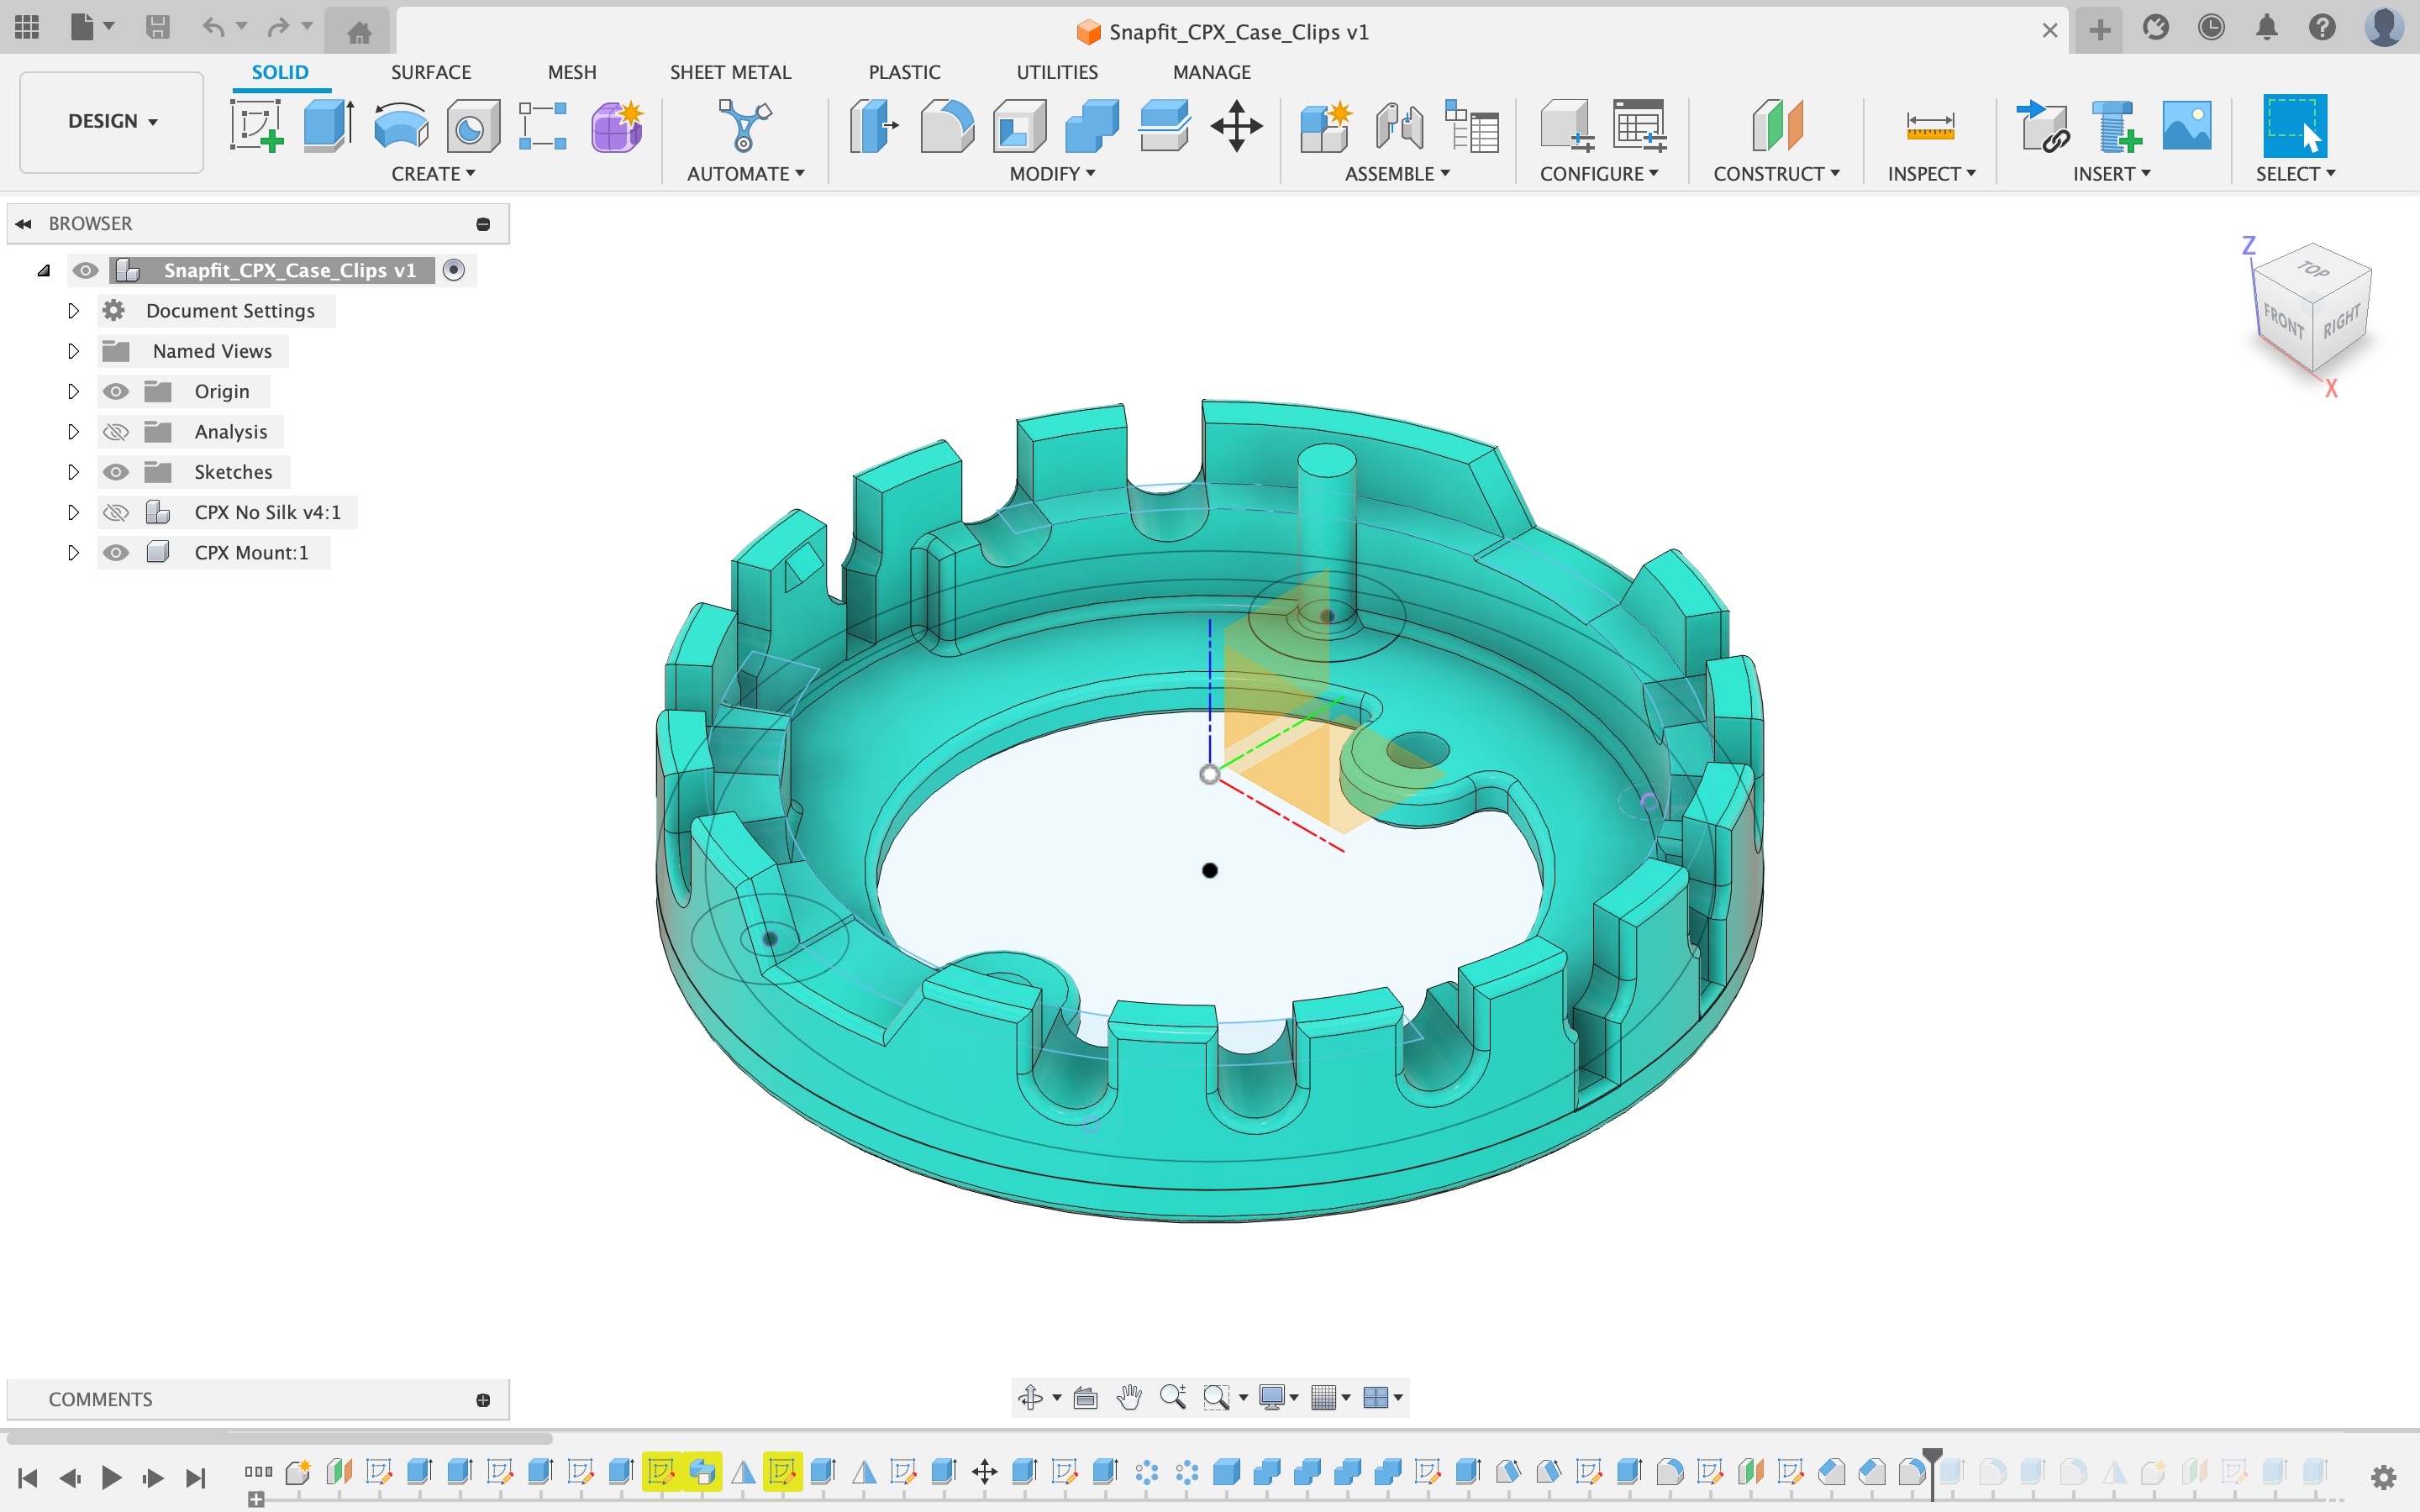
Using Fusion360 you can now start adding components and building your lamp as you see fit.
When adding to the mount component you want to ensure you have activated that component and can add material to that component any way you see fit.
This file is available through resources as an .f3d file
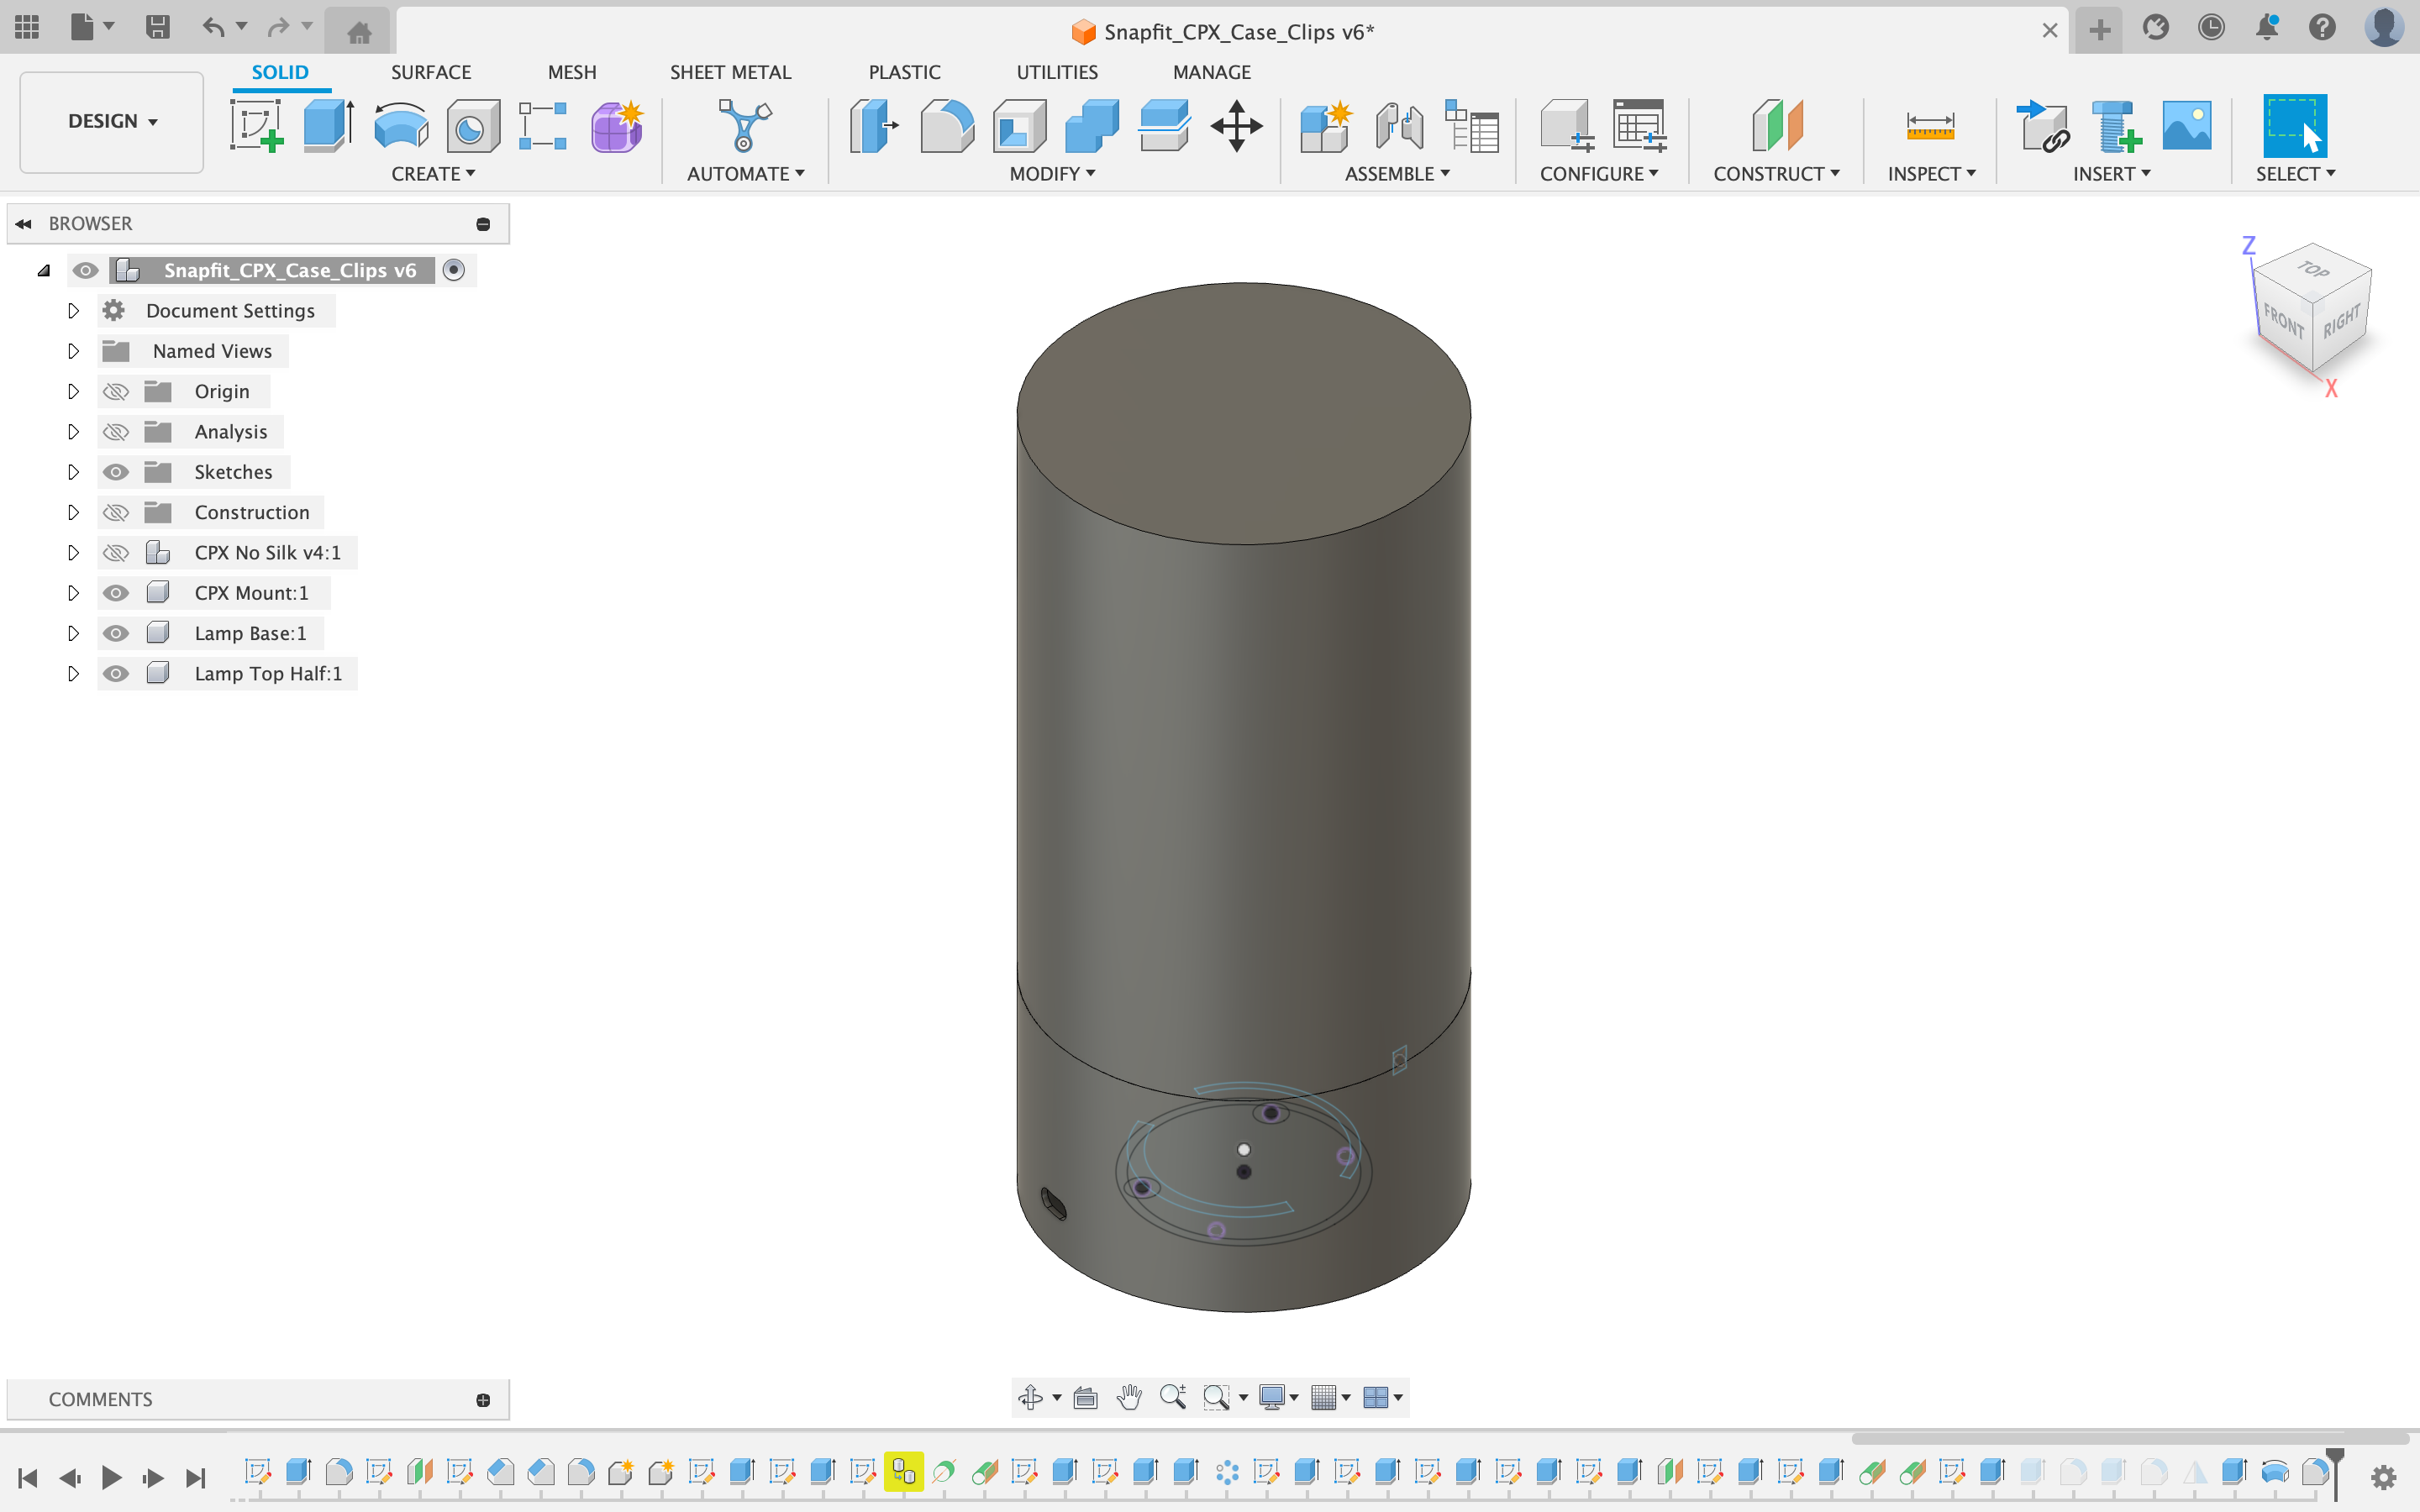
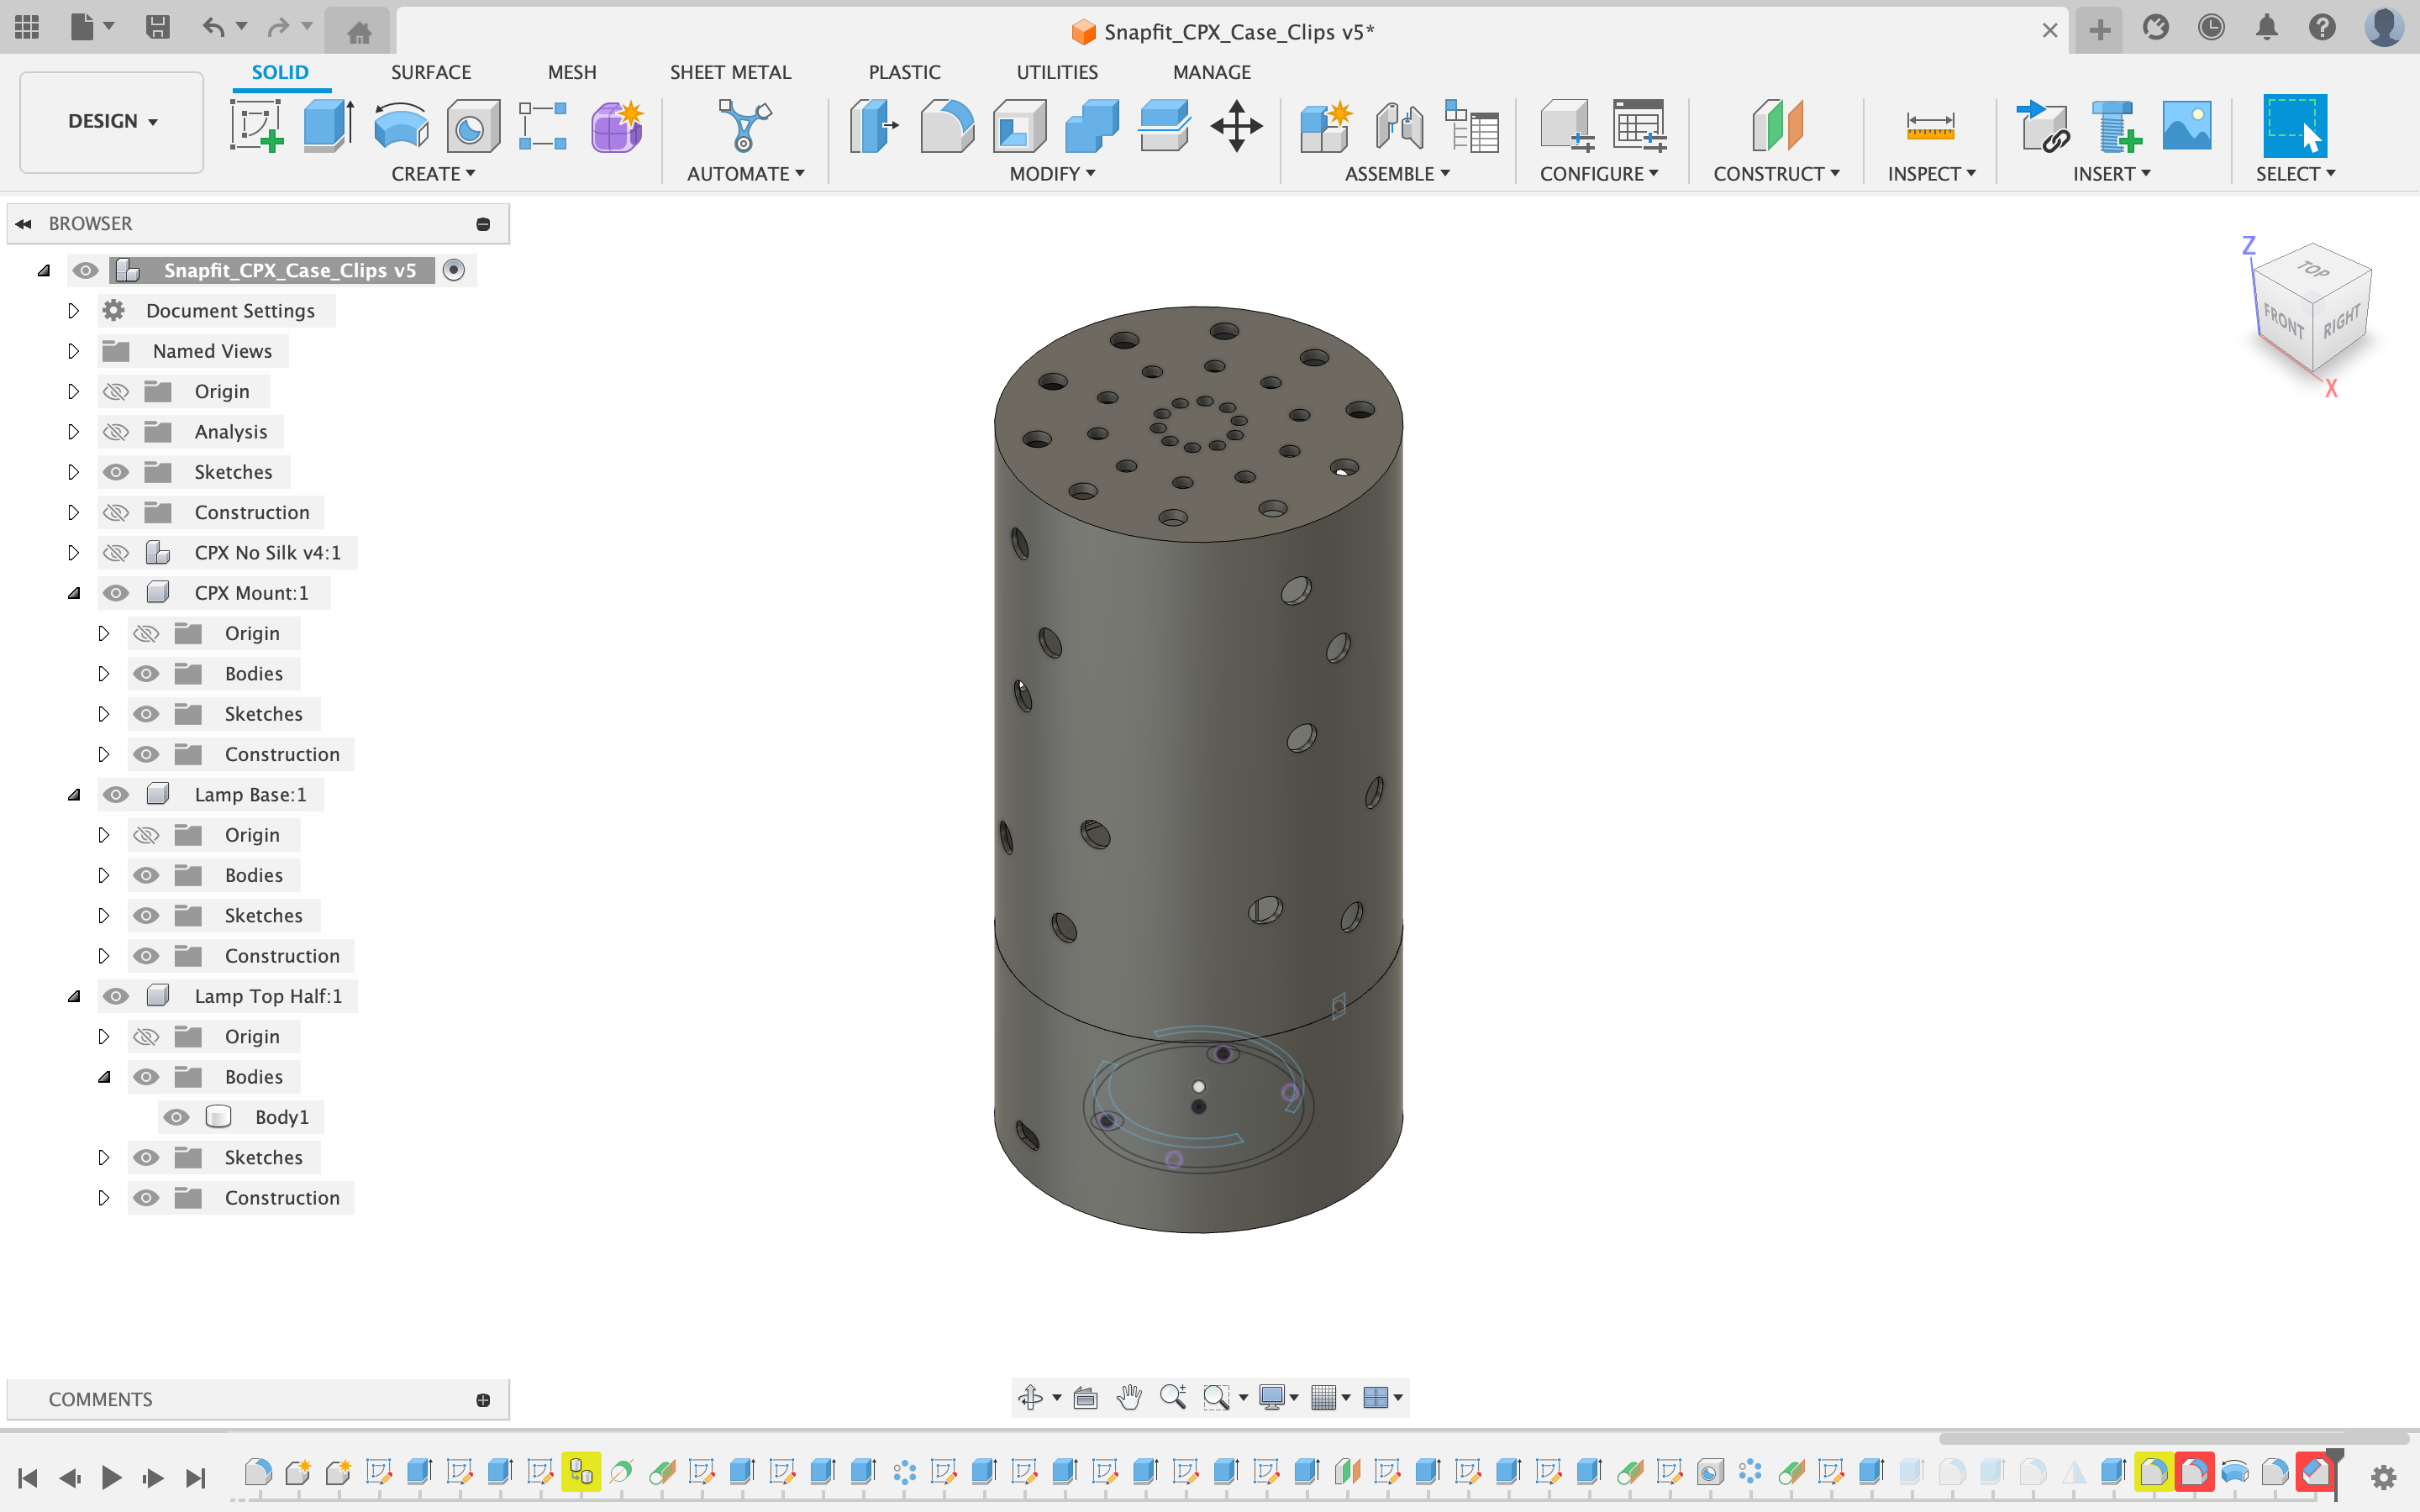
The design can be altered in any way to allow light to pass through and projected through the lamp.
The following example displayed how this may look.
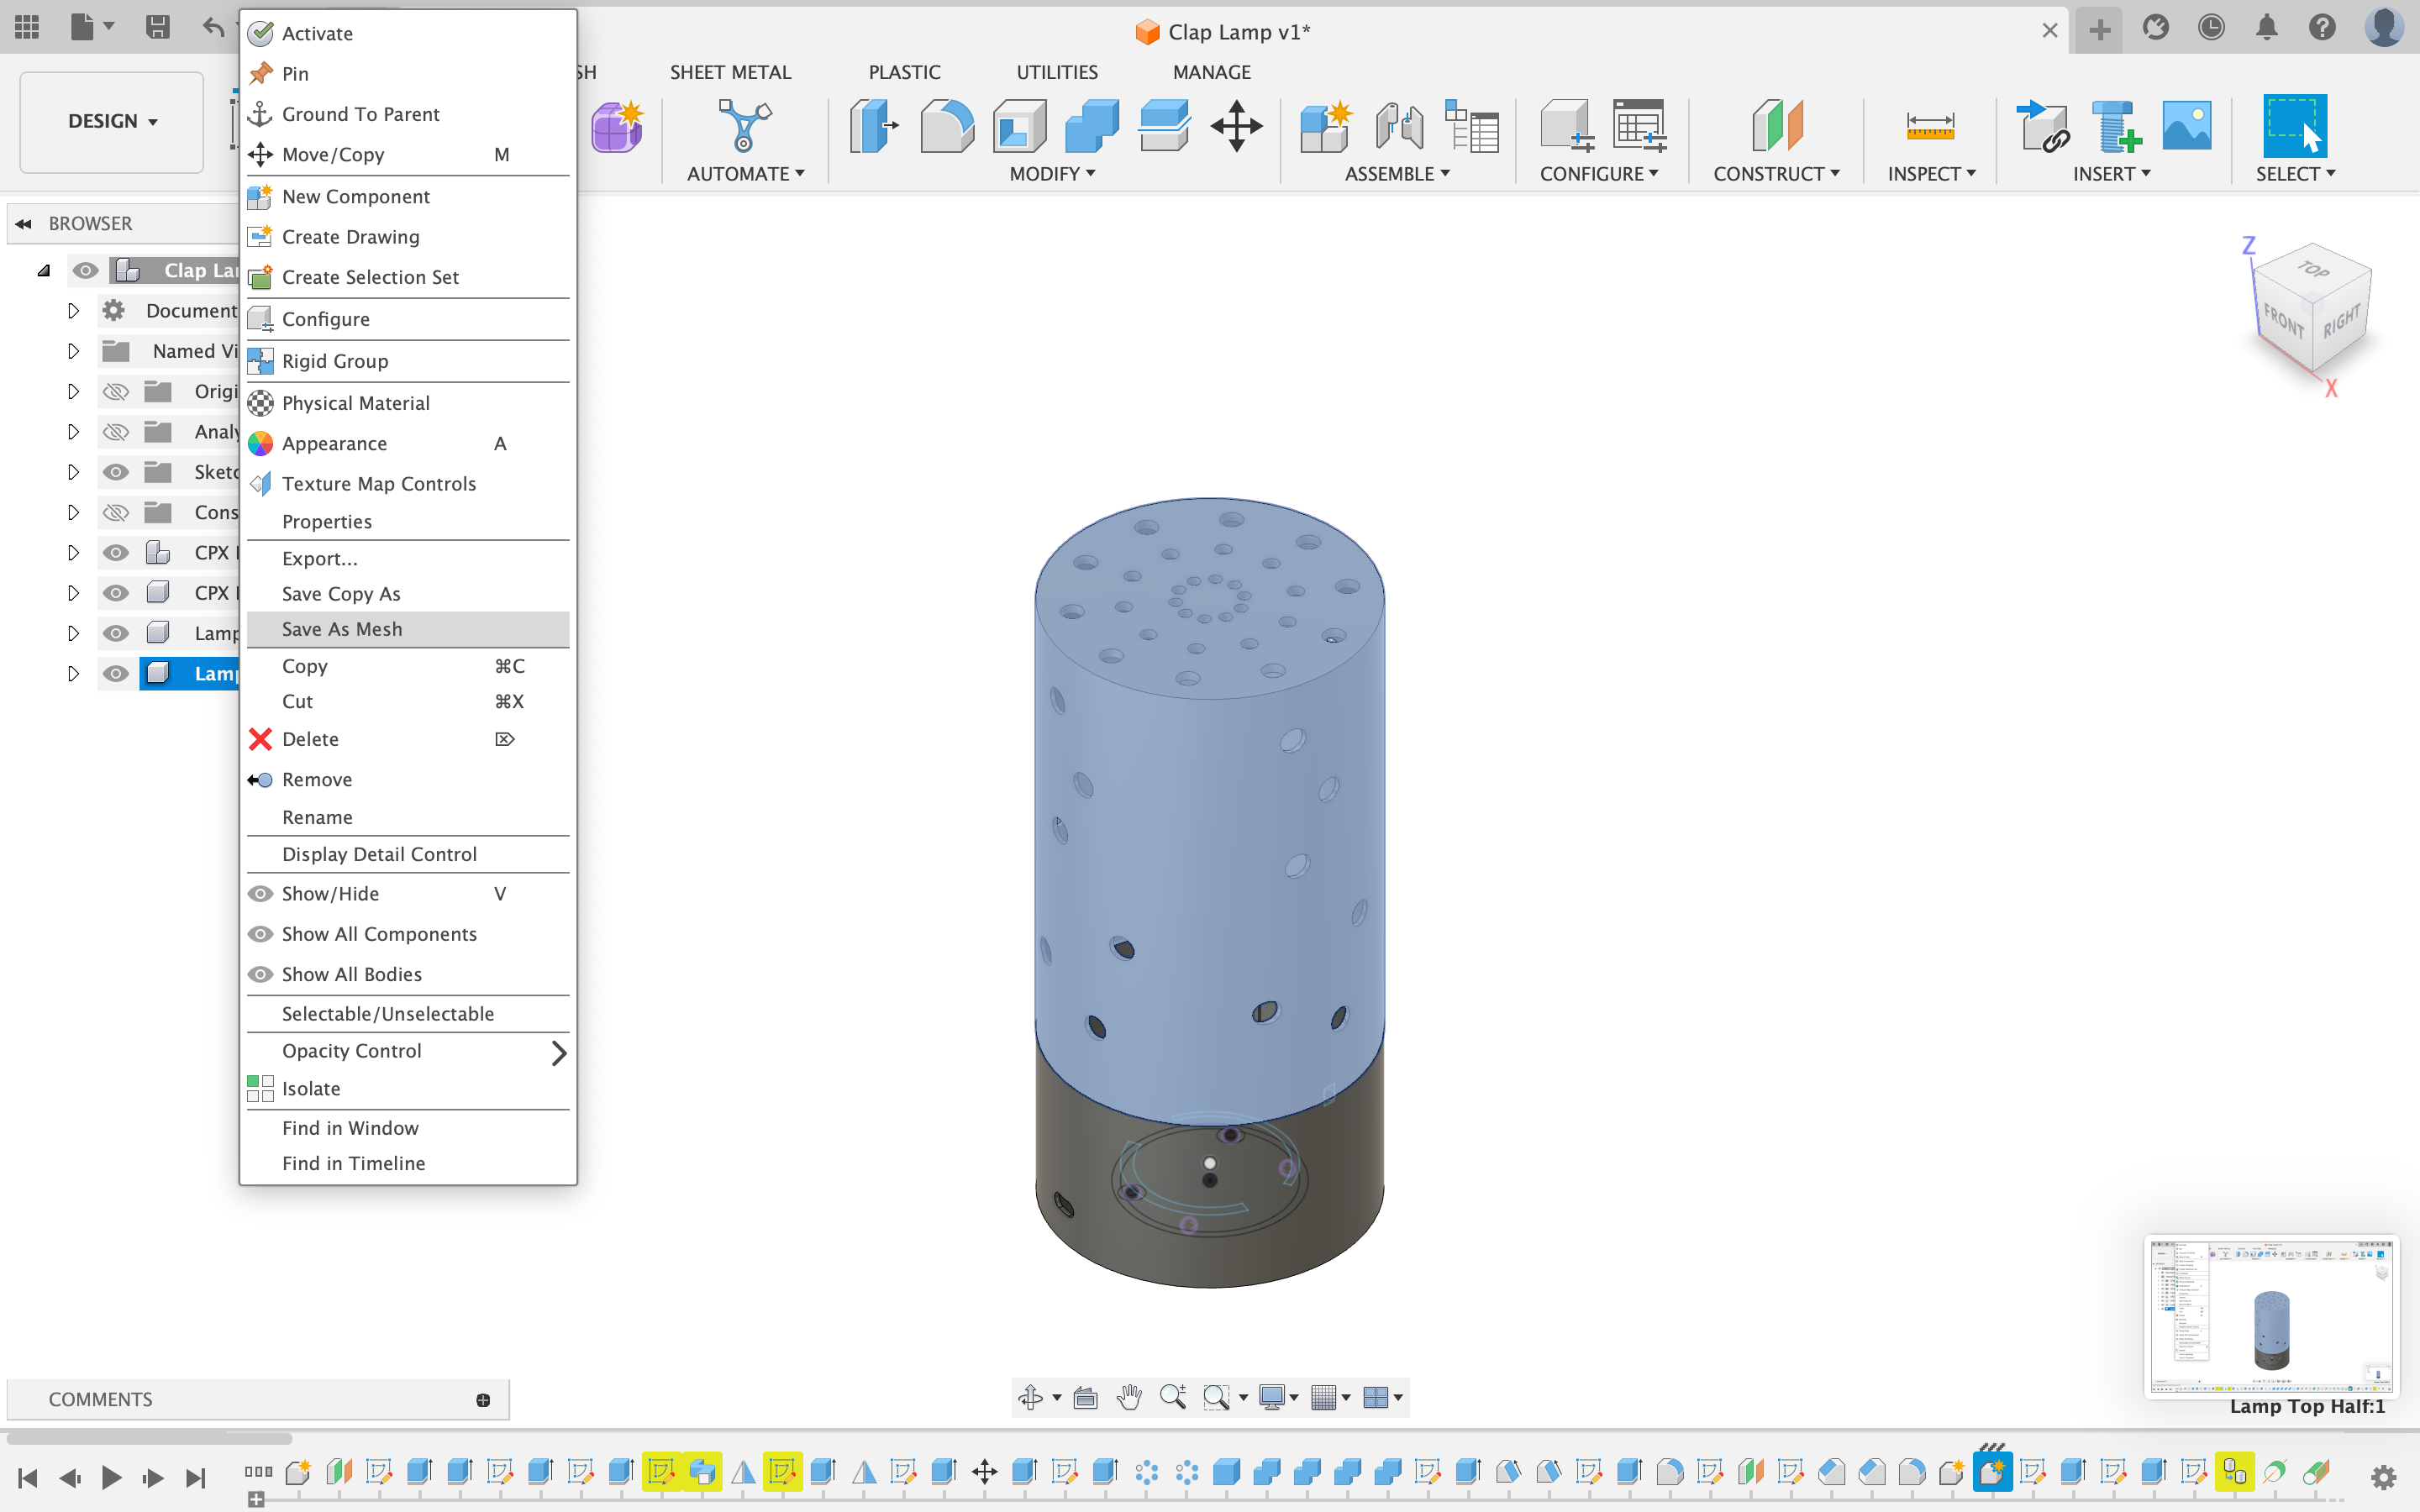
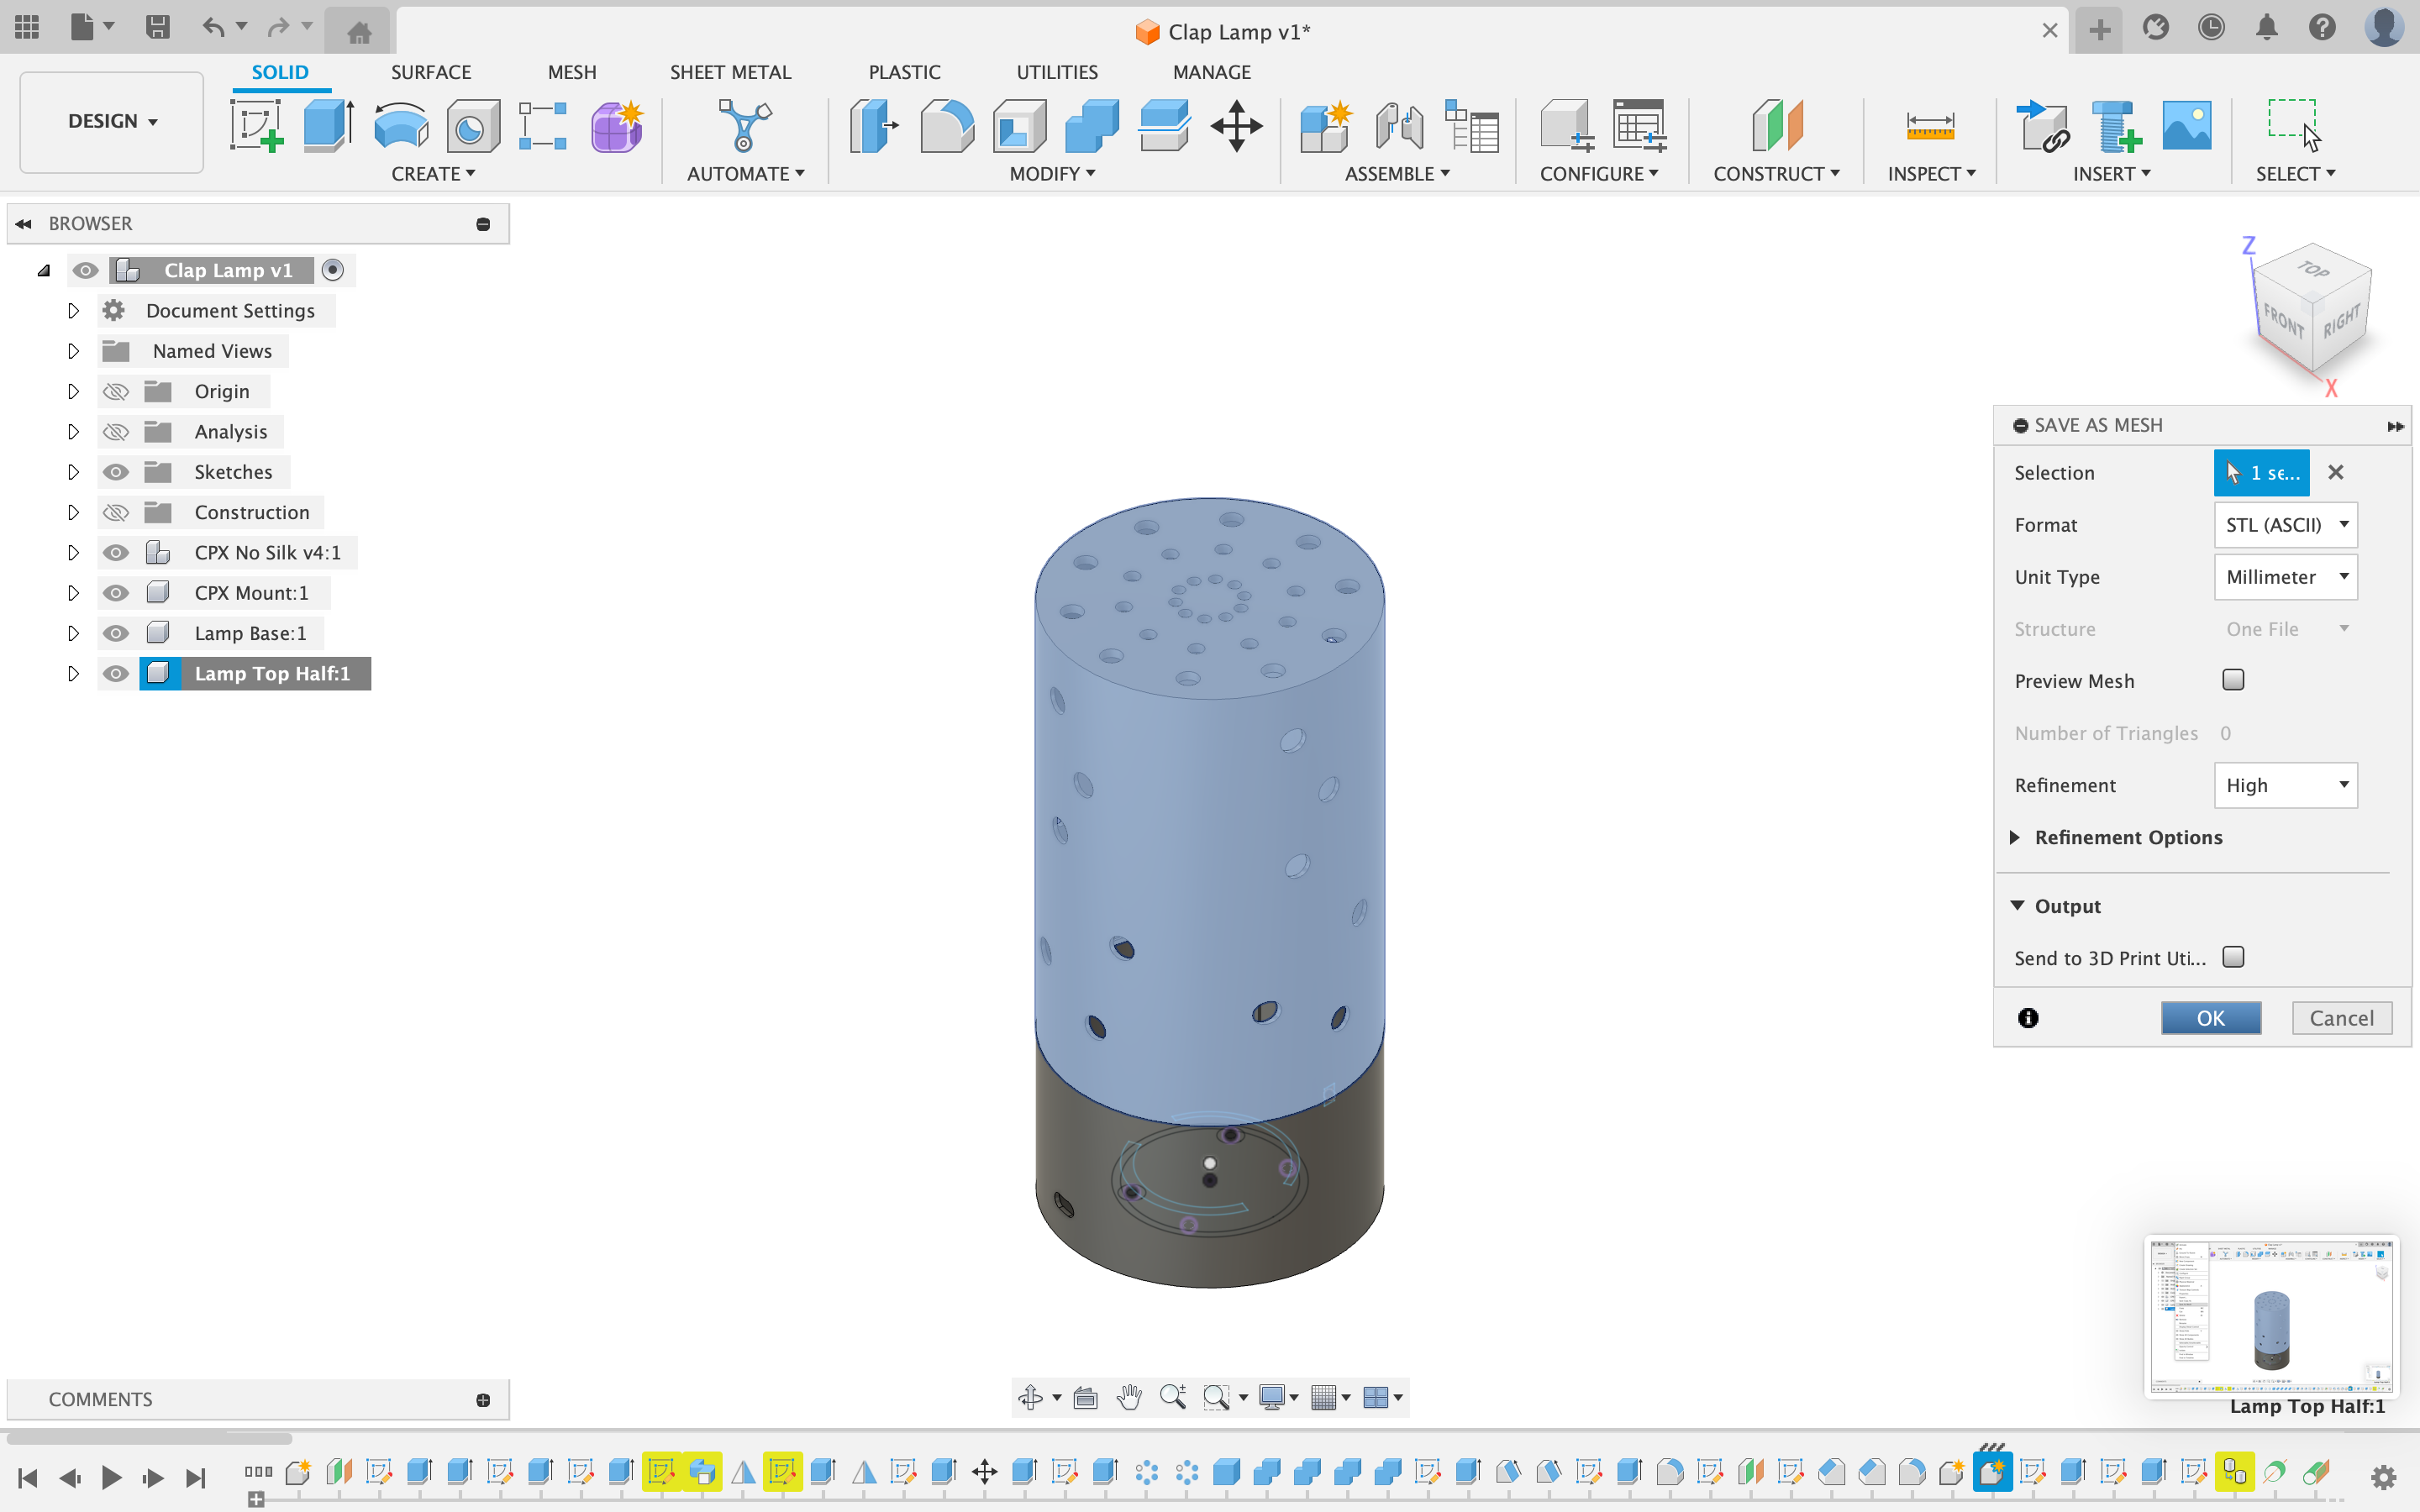
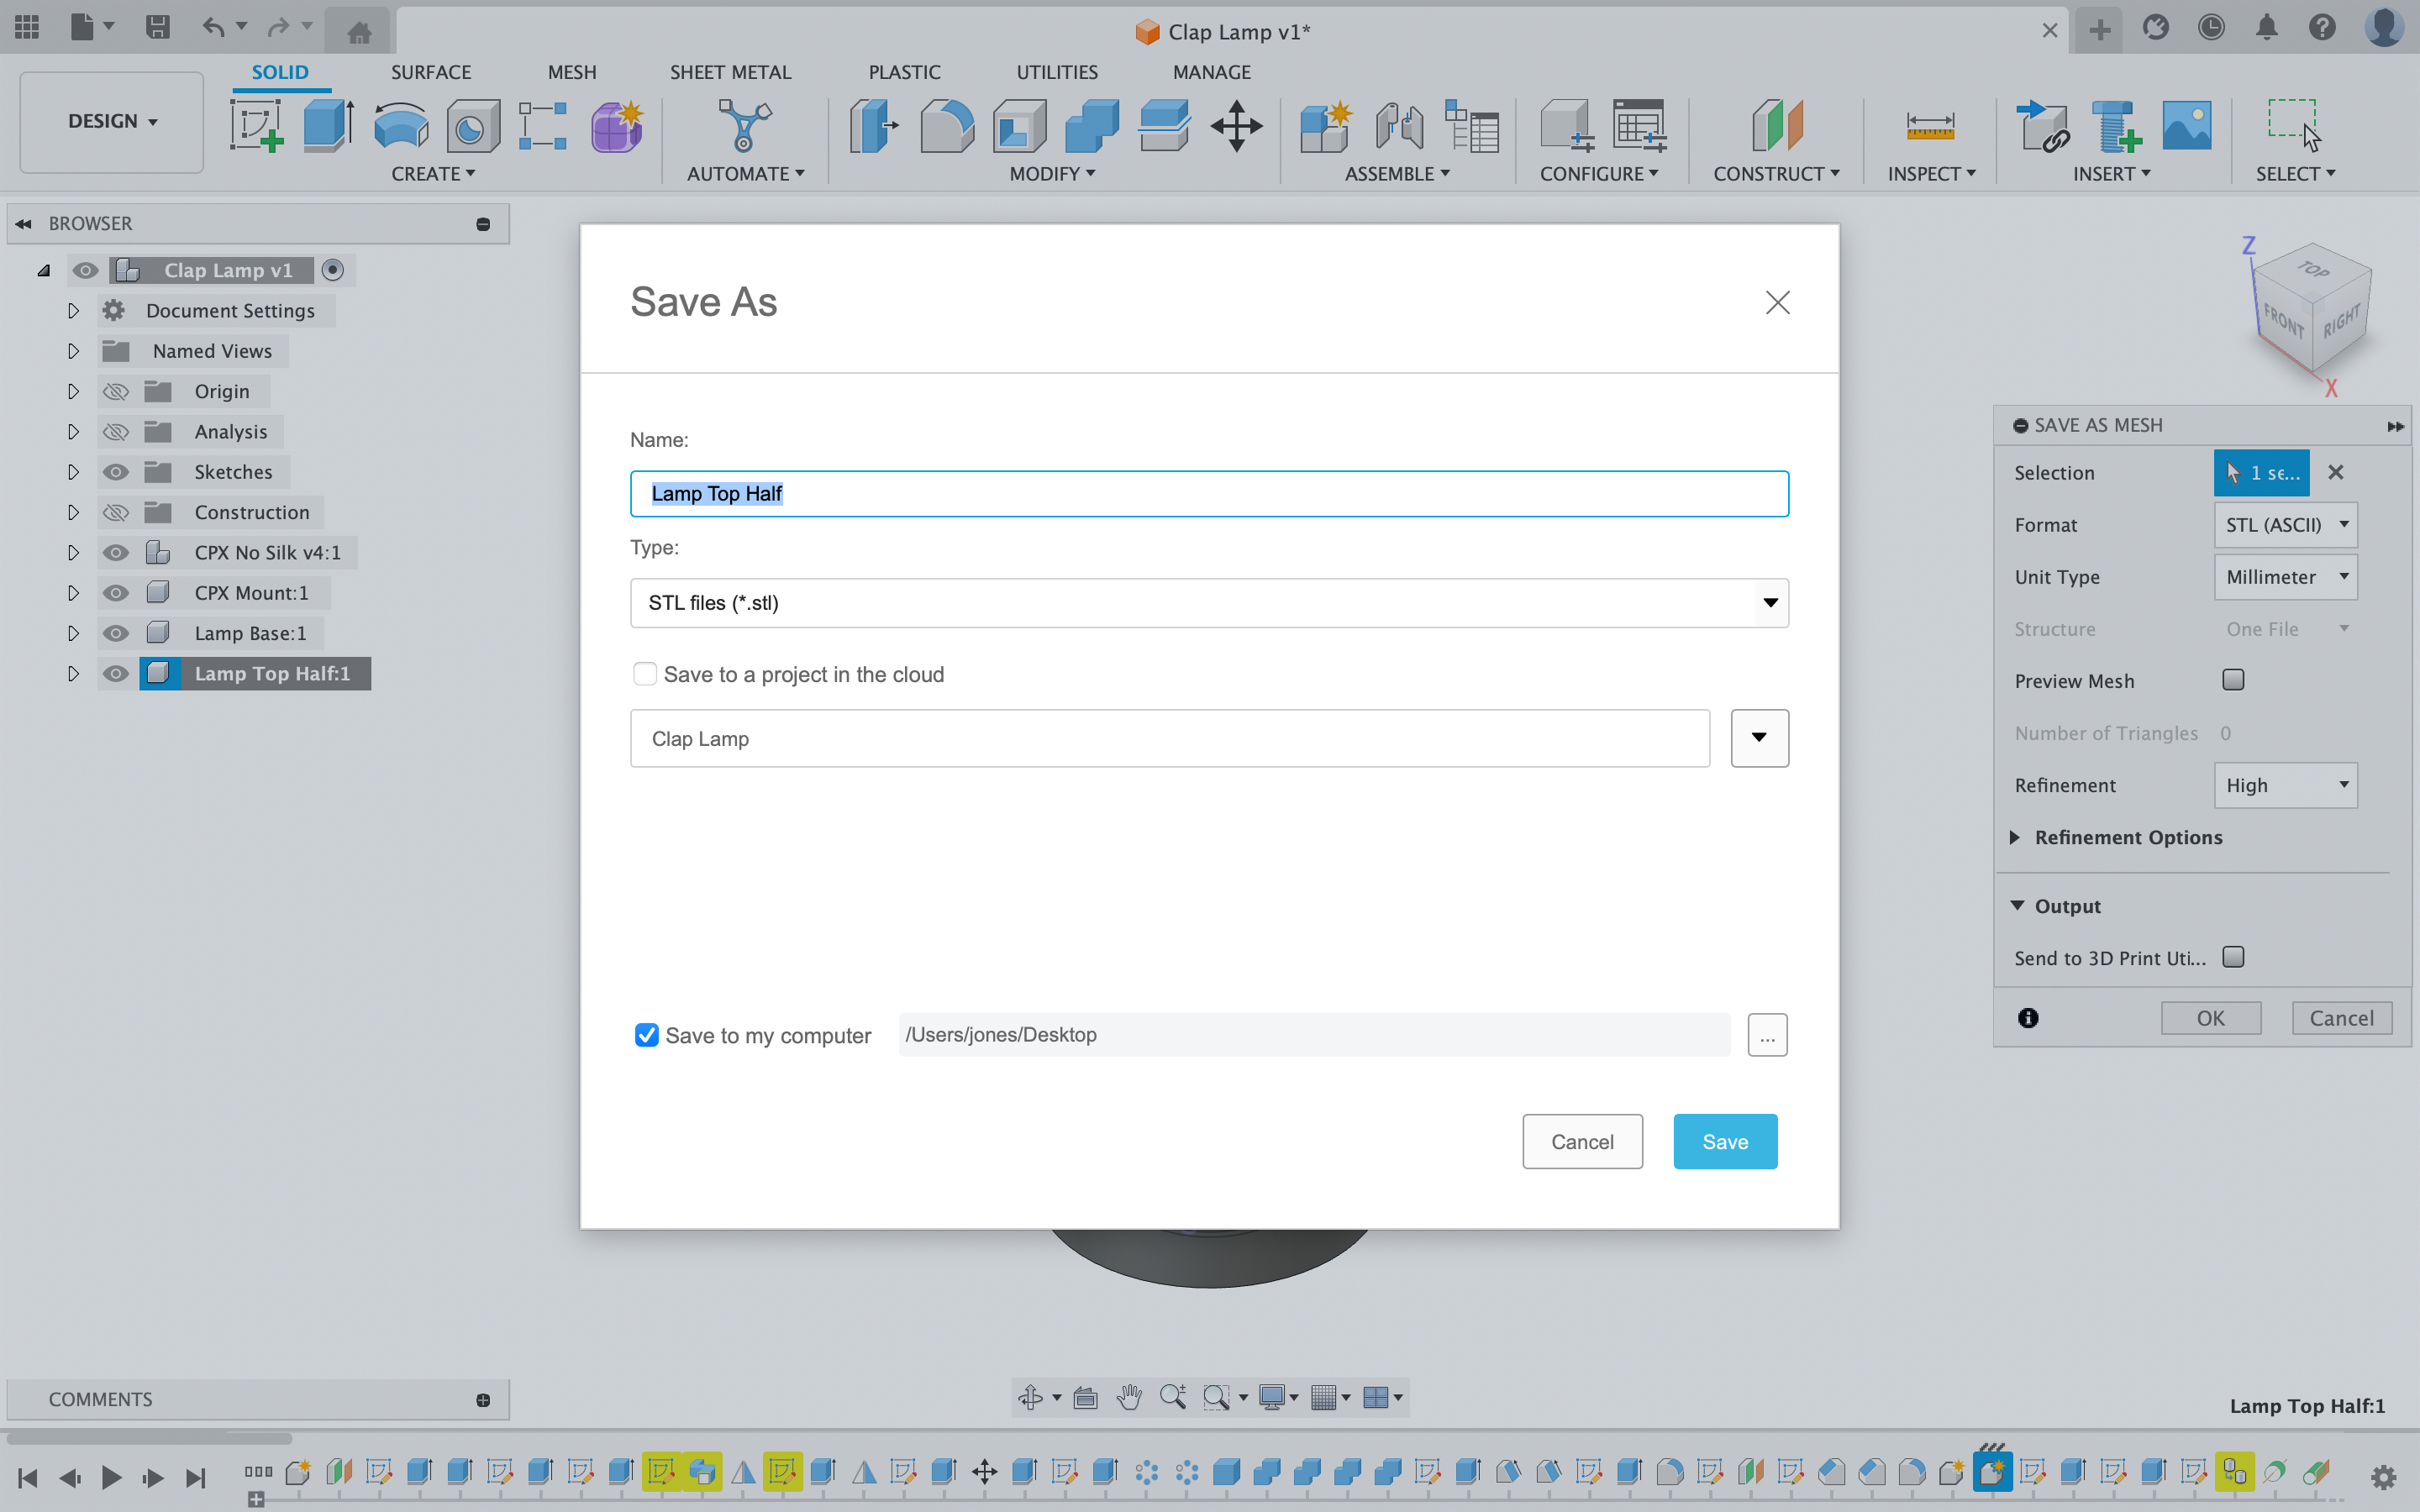
Once the model has been finalised each component will need to be exported individually as a .STL file and then sliced through BAMBU or other applicable slicer software.
Export each component as a .STL
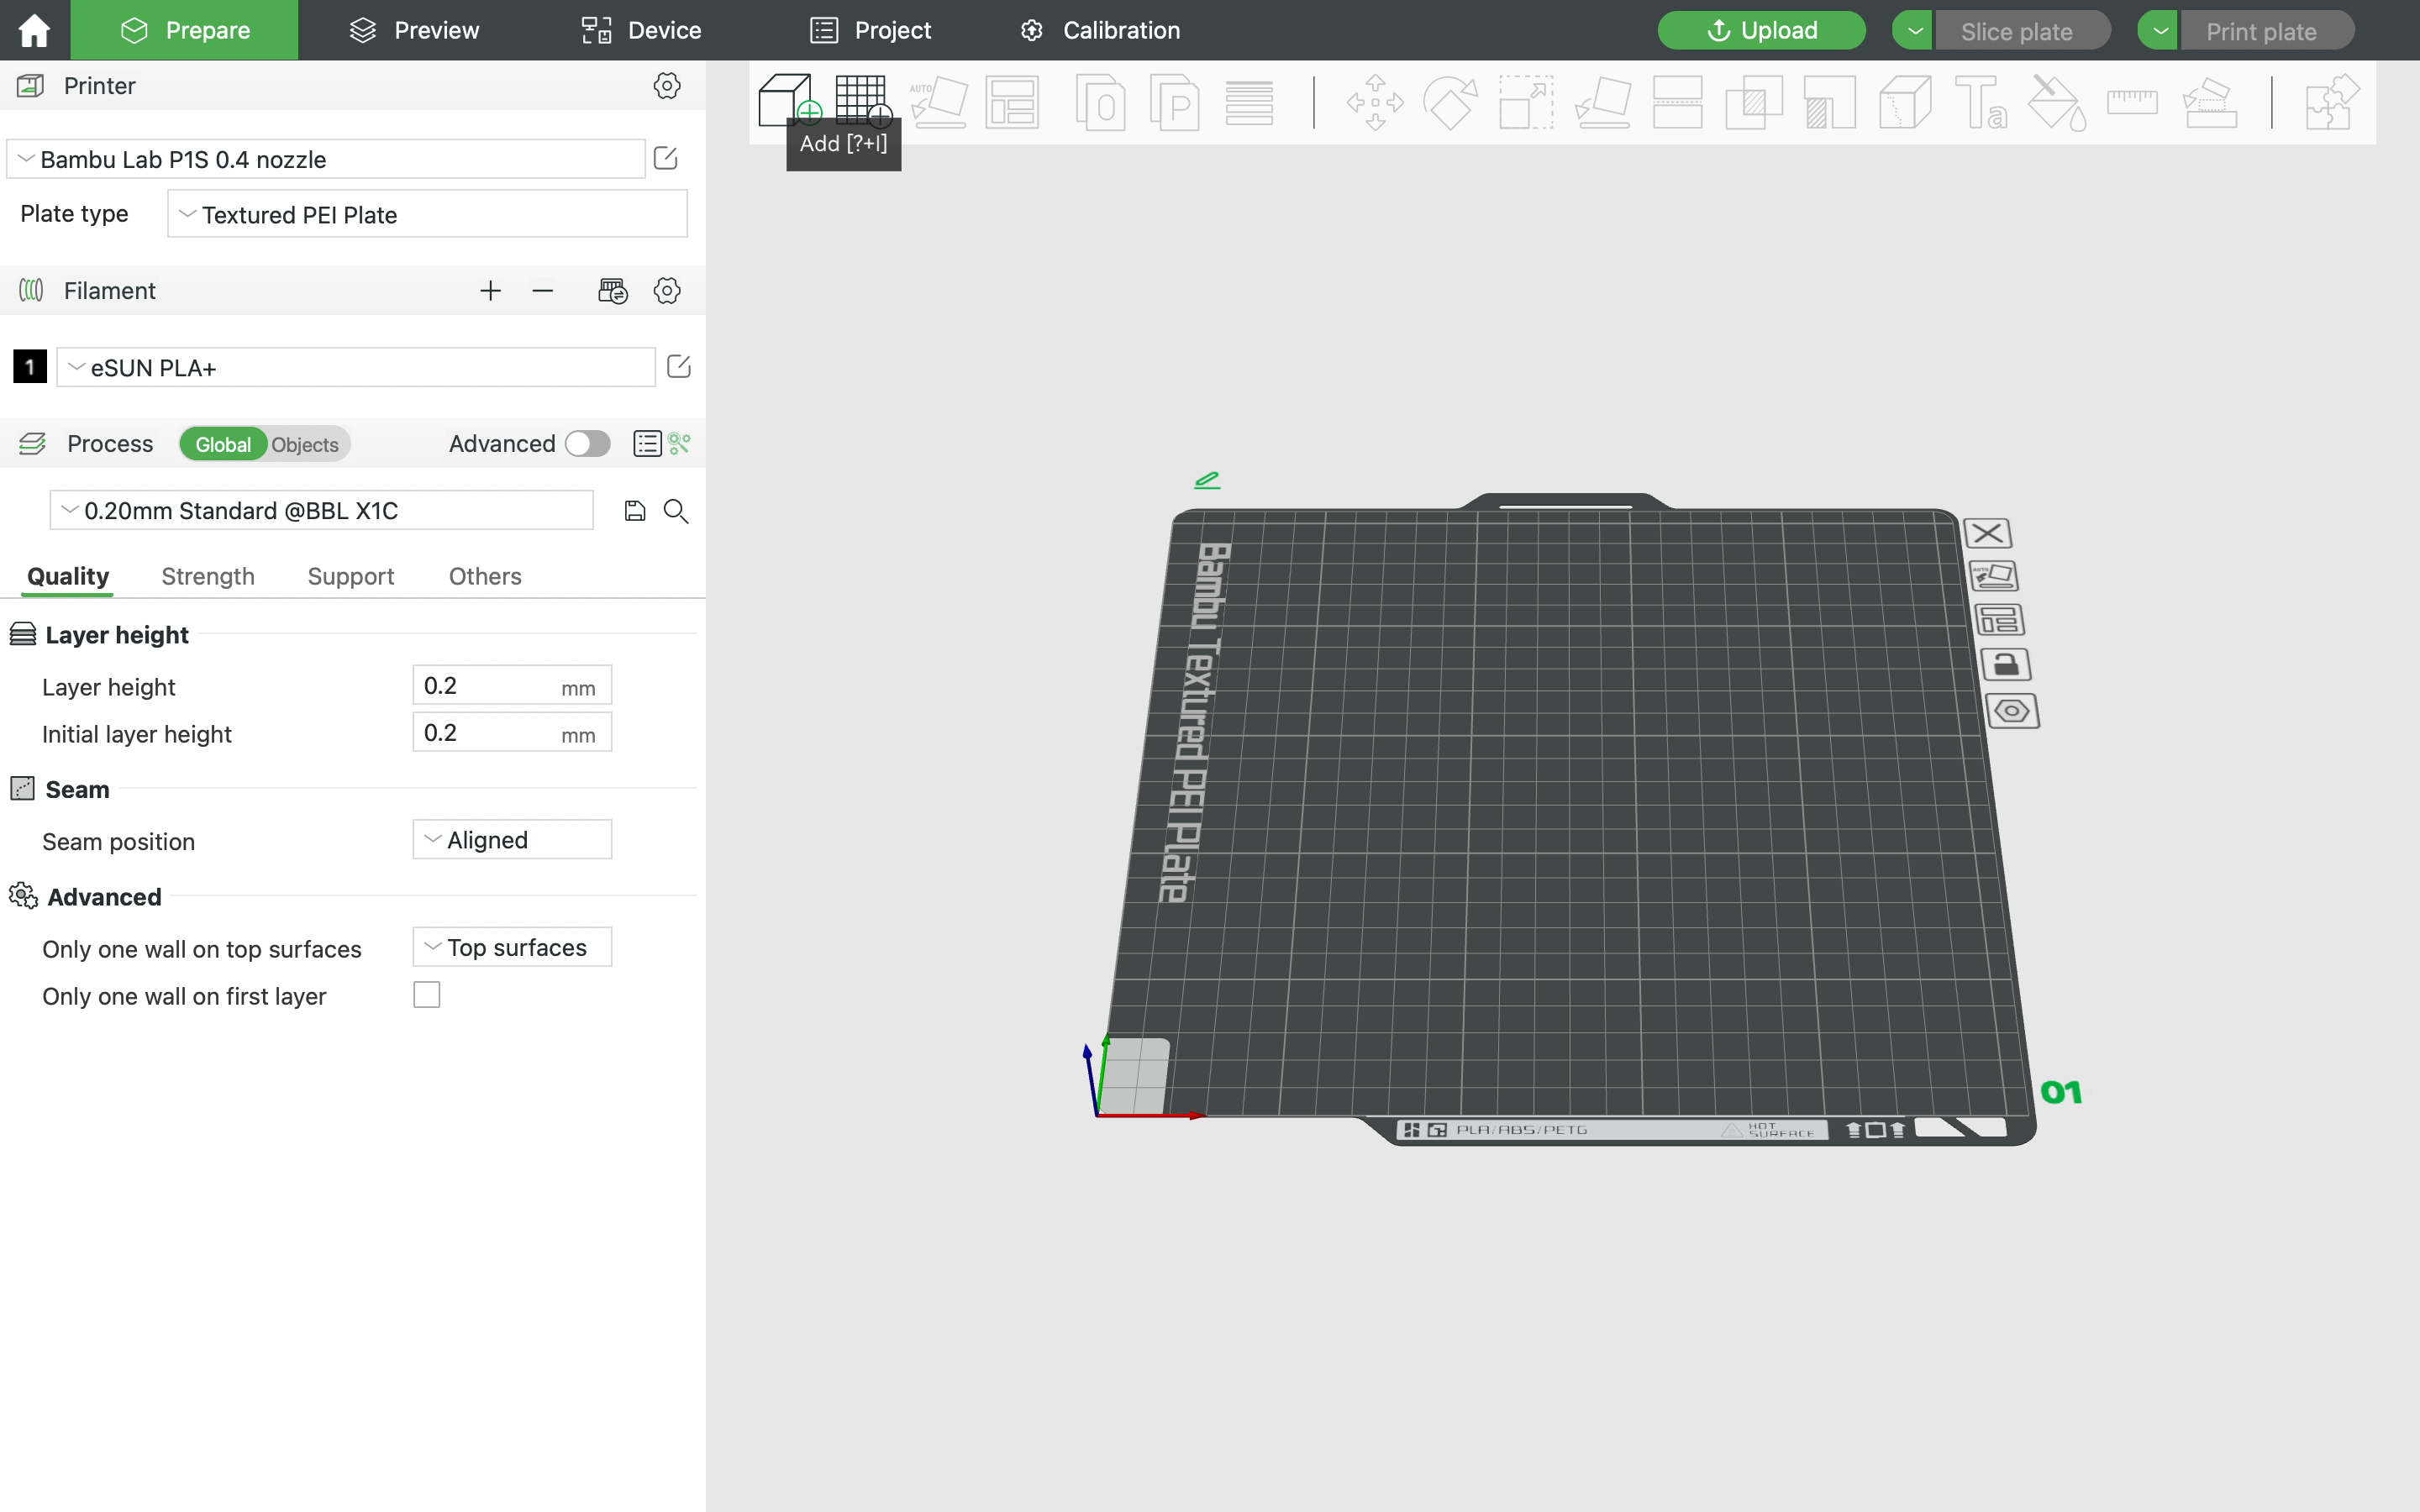
The following step will walk through slicing a model in BambuStudio to print on a 3D printer.
You will now code your Adafruit Circuit Playground Express to interact allowing you to change its colour under a selected function such as the use of sound (clapping).

Assemble your RGB light and test its function with the desired power supply.


Having trouble? Let us know by completing the form below. We'll do our best to get your issues resolved quickly.
"*" indicates required fields