Mini-Multiboard 3D Printing – SCOPES-DF

Lesson Details

Subjects*
Age Ranges*
Author

Author

Chris Brehaut
K-12 teacher

Summary

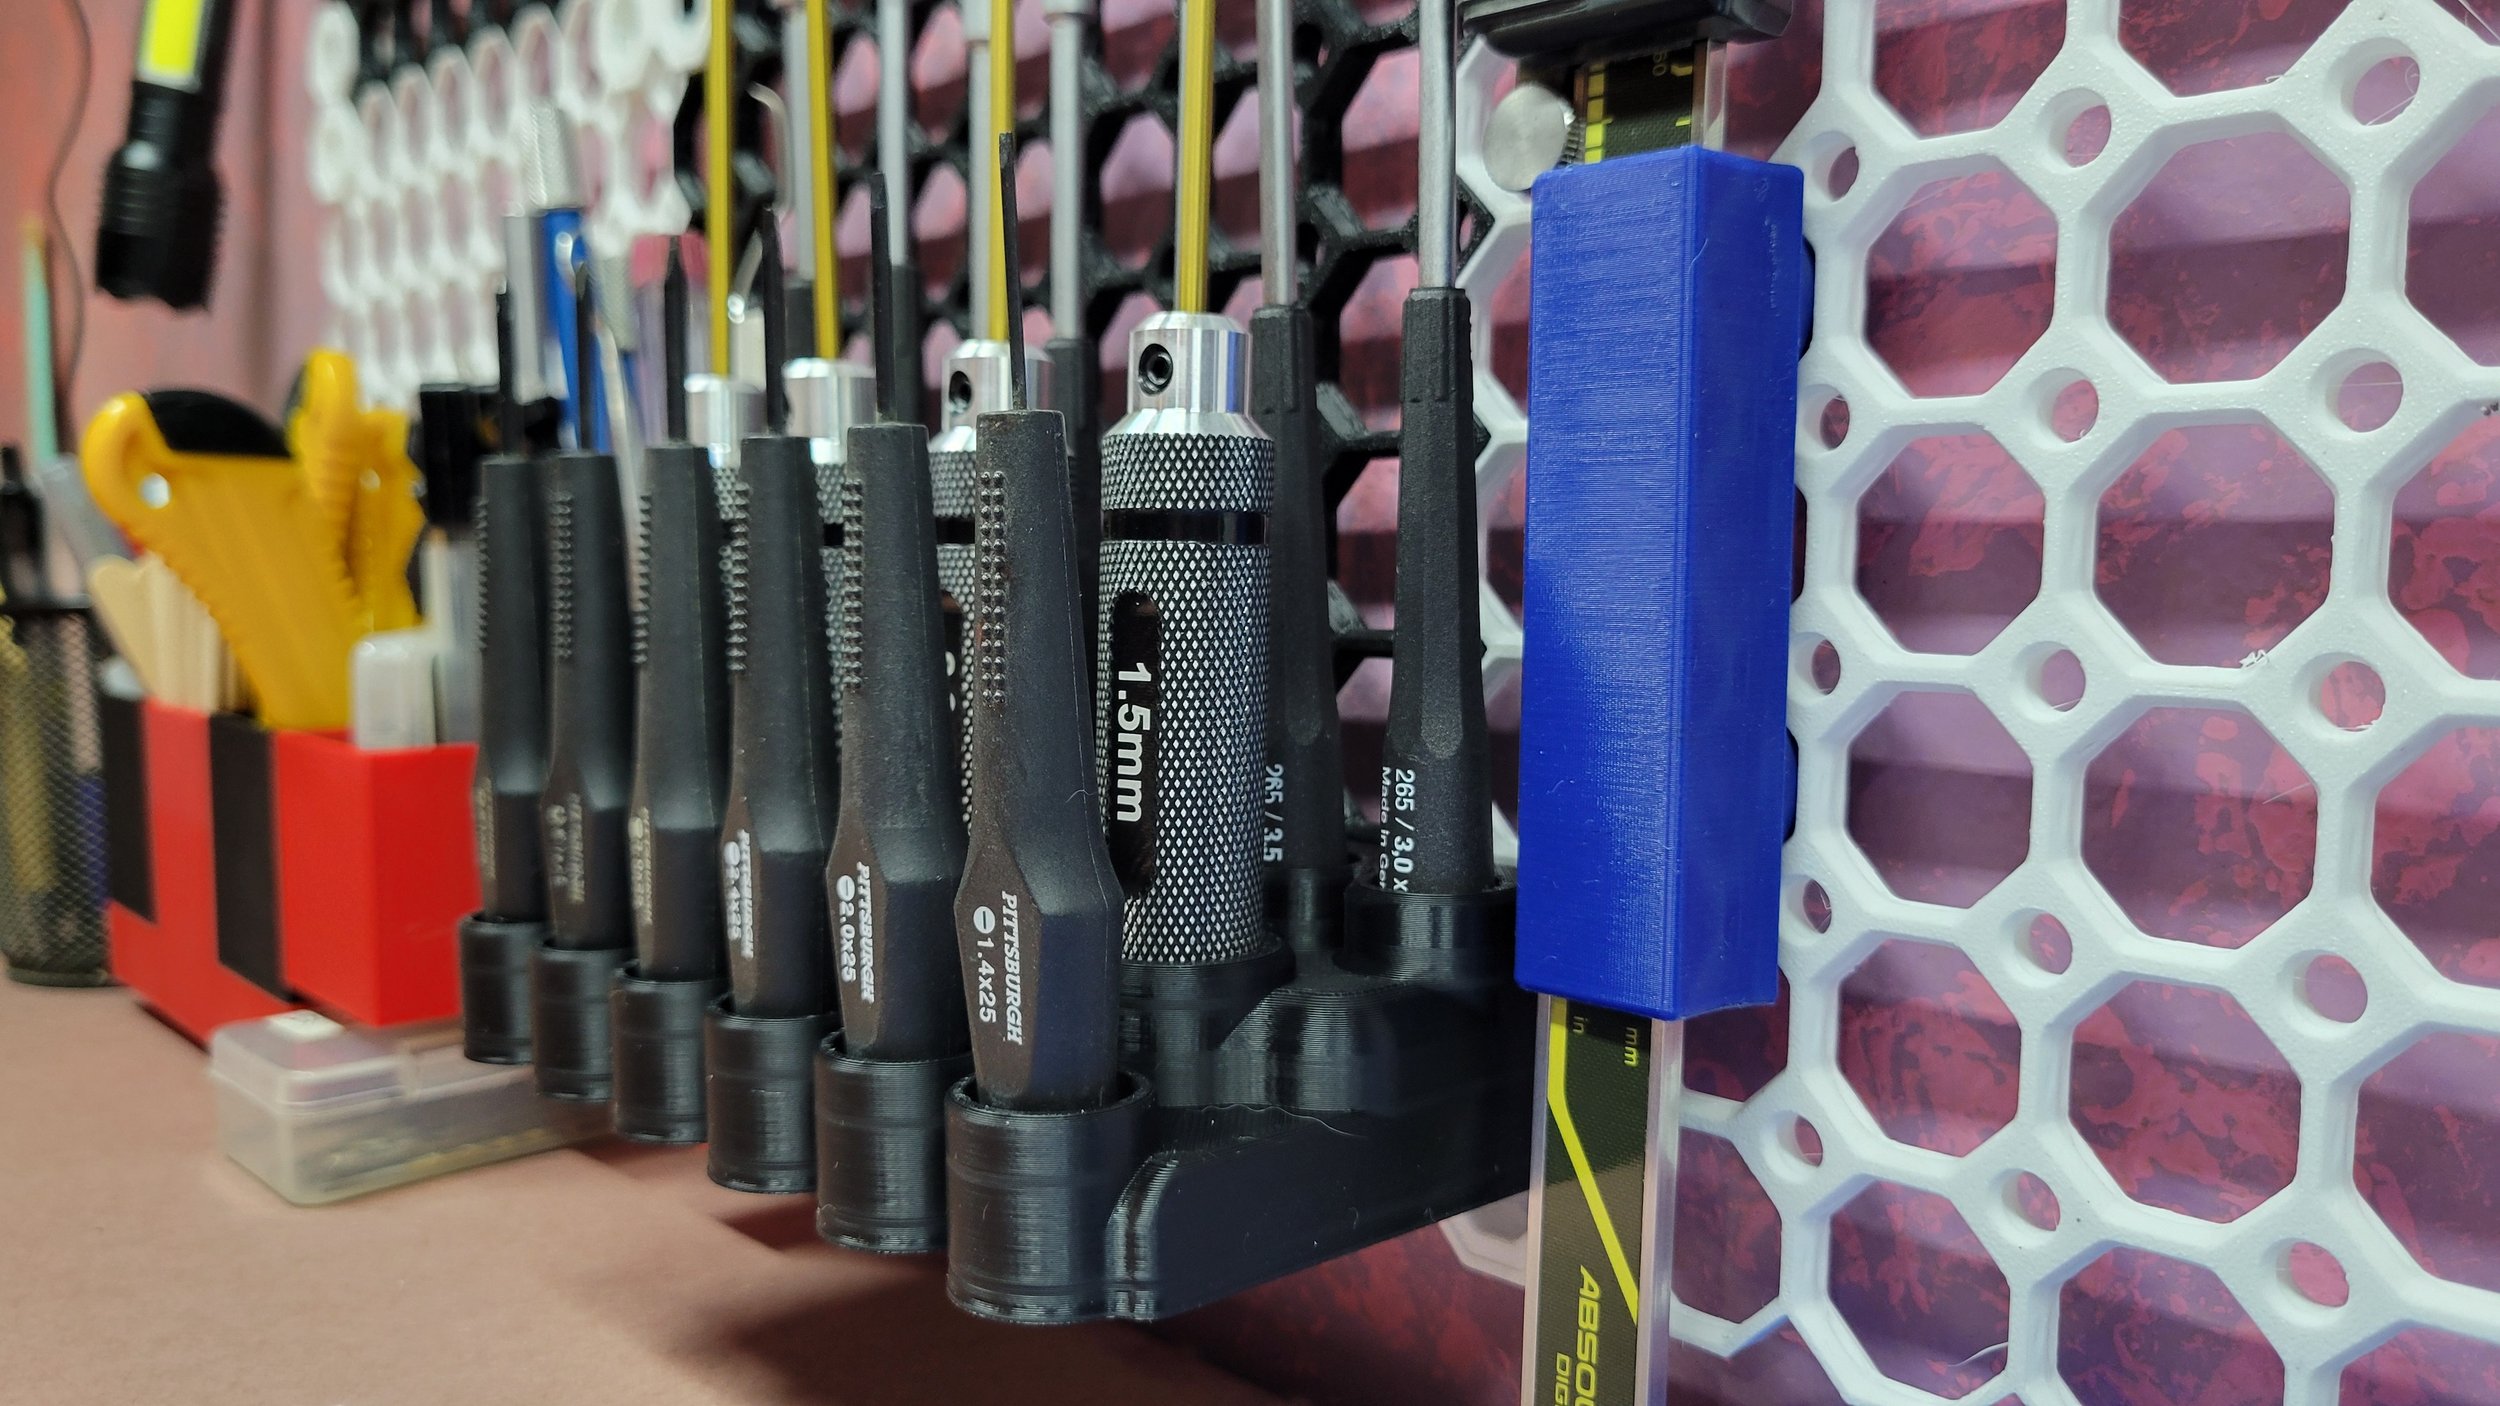
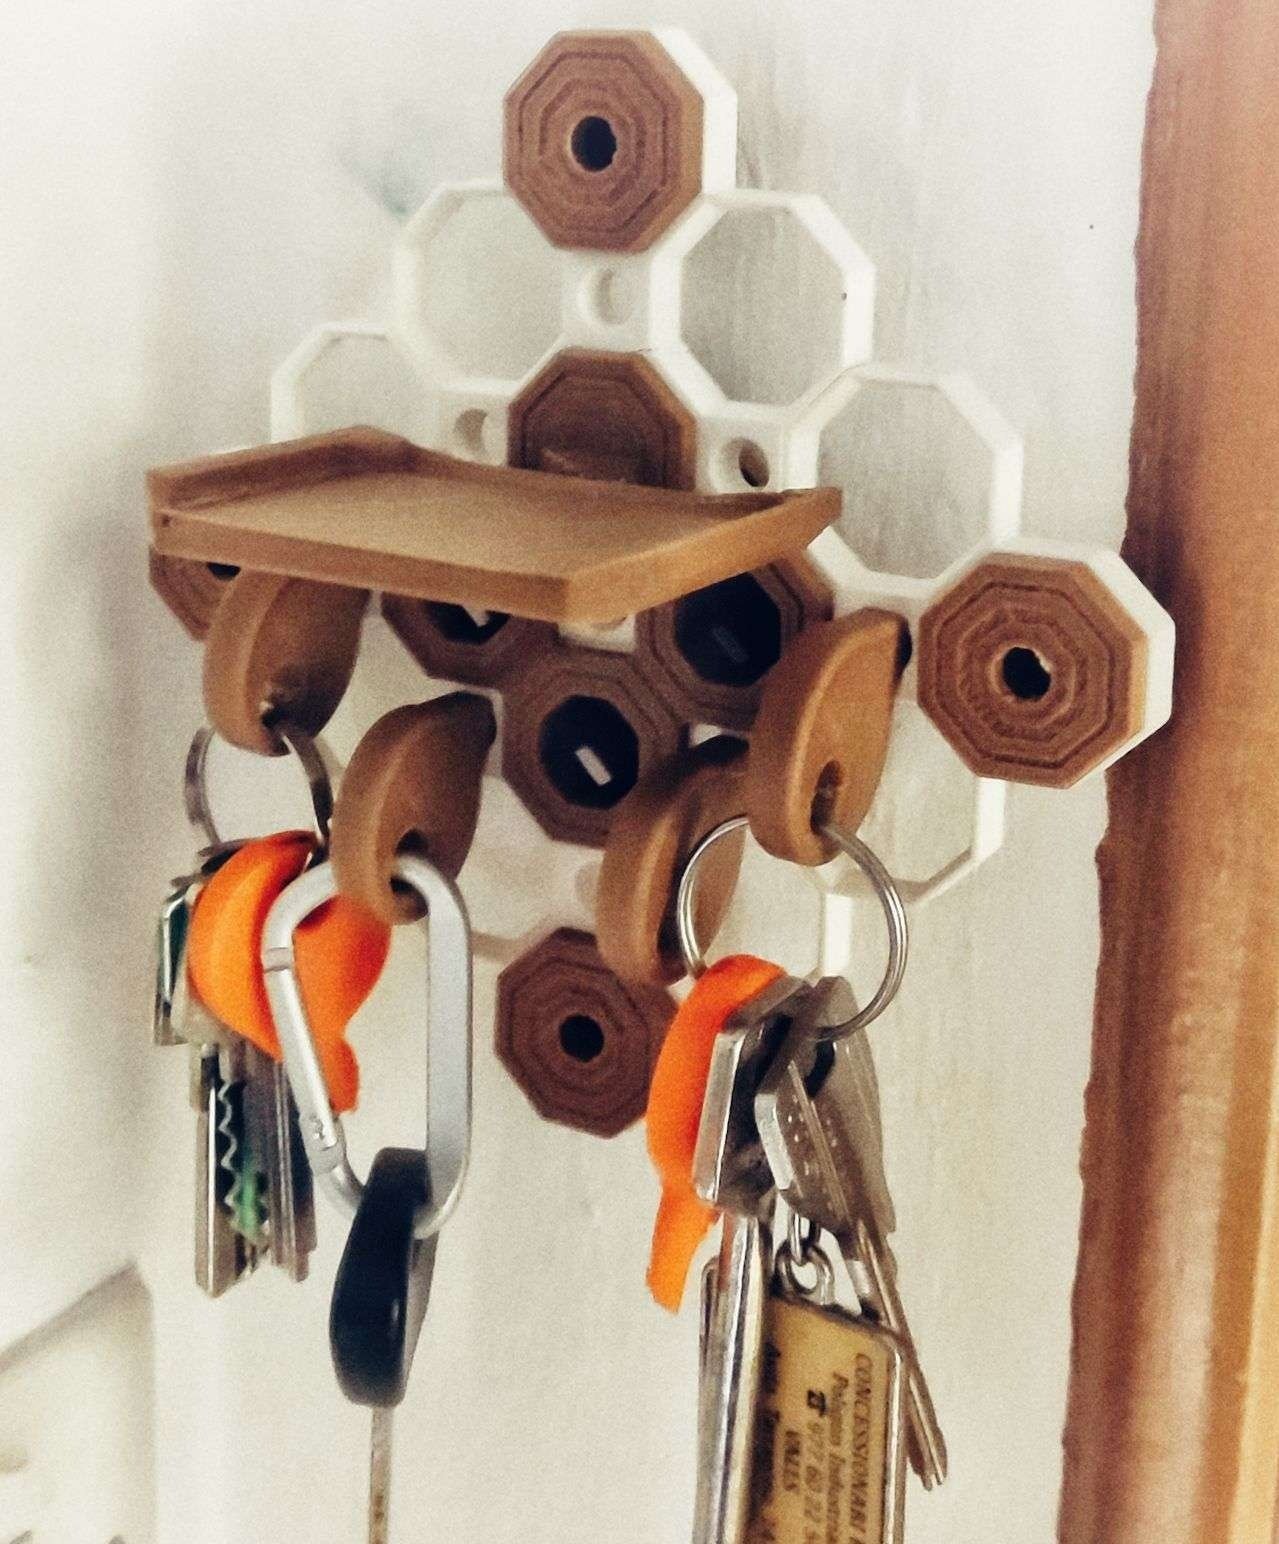
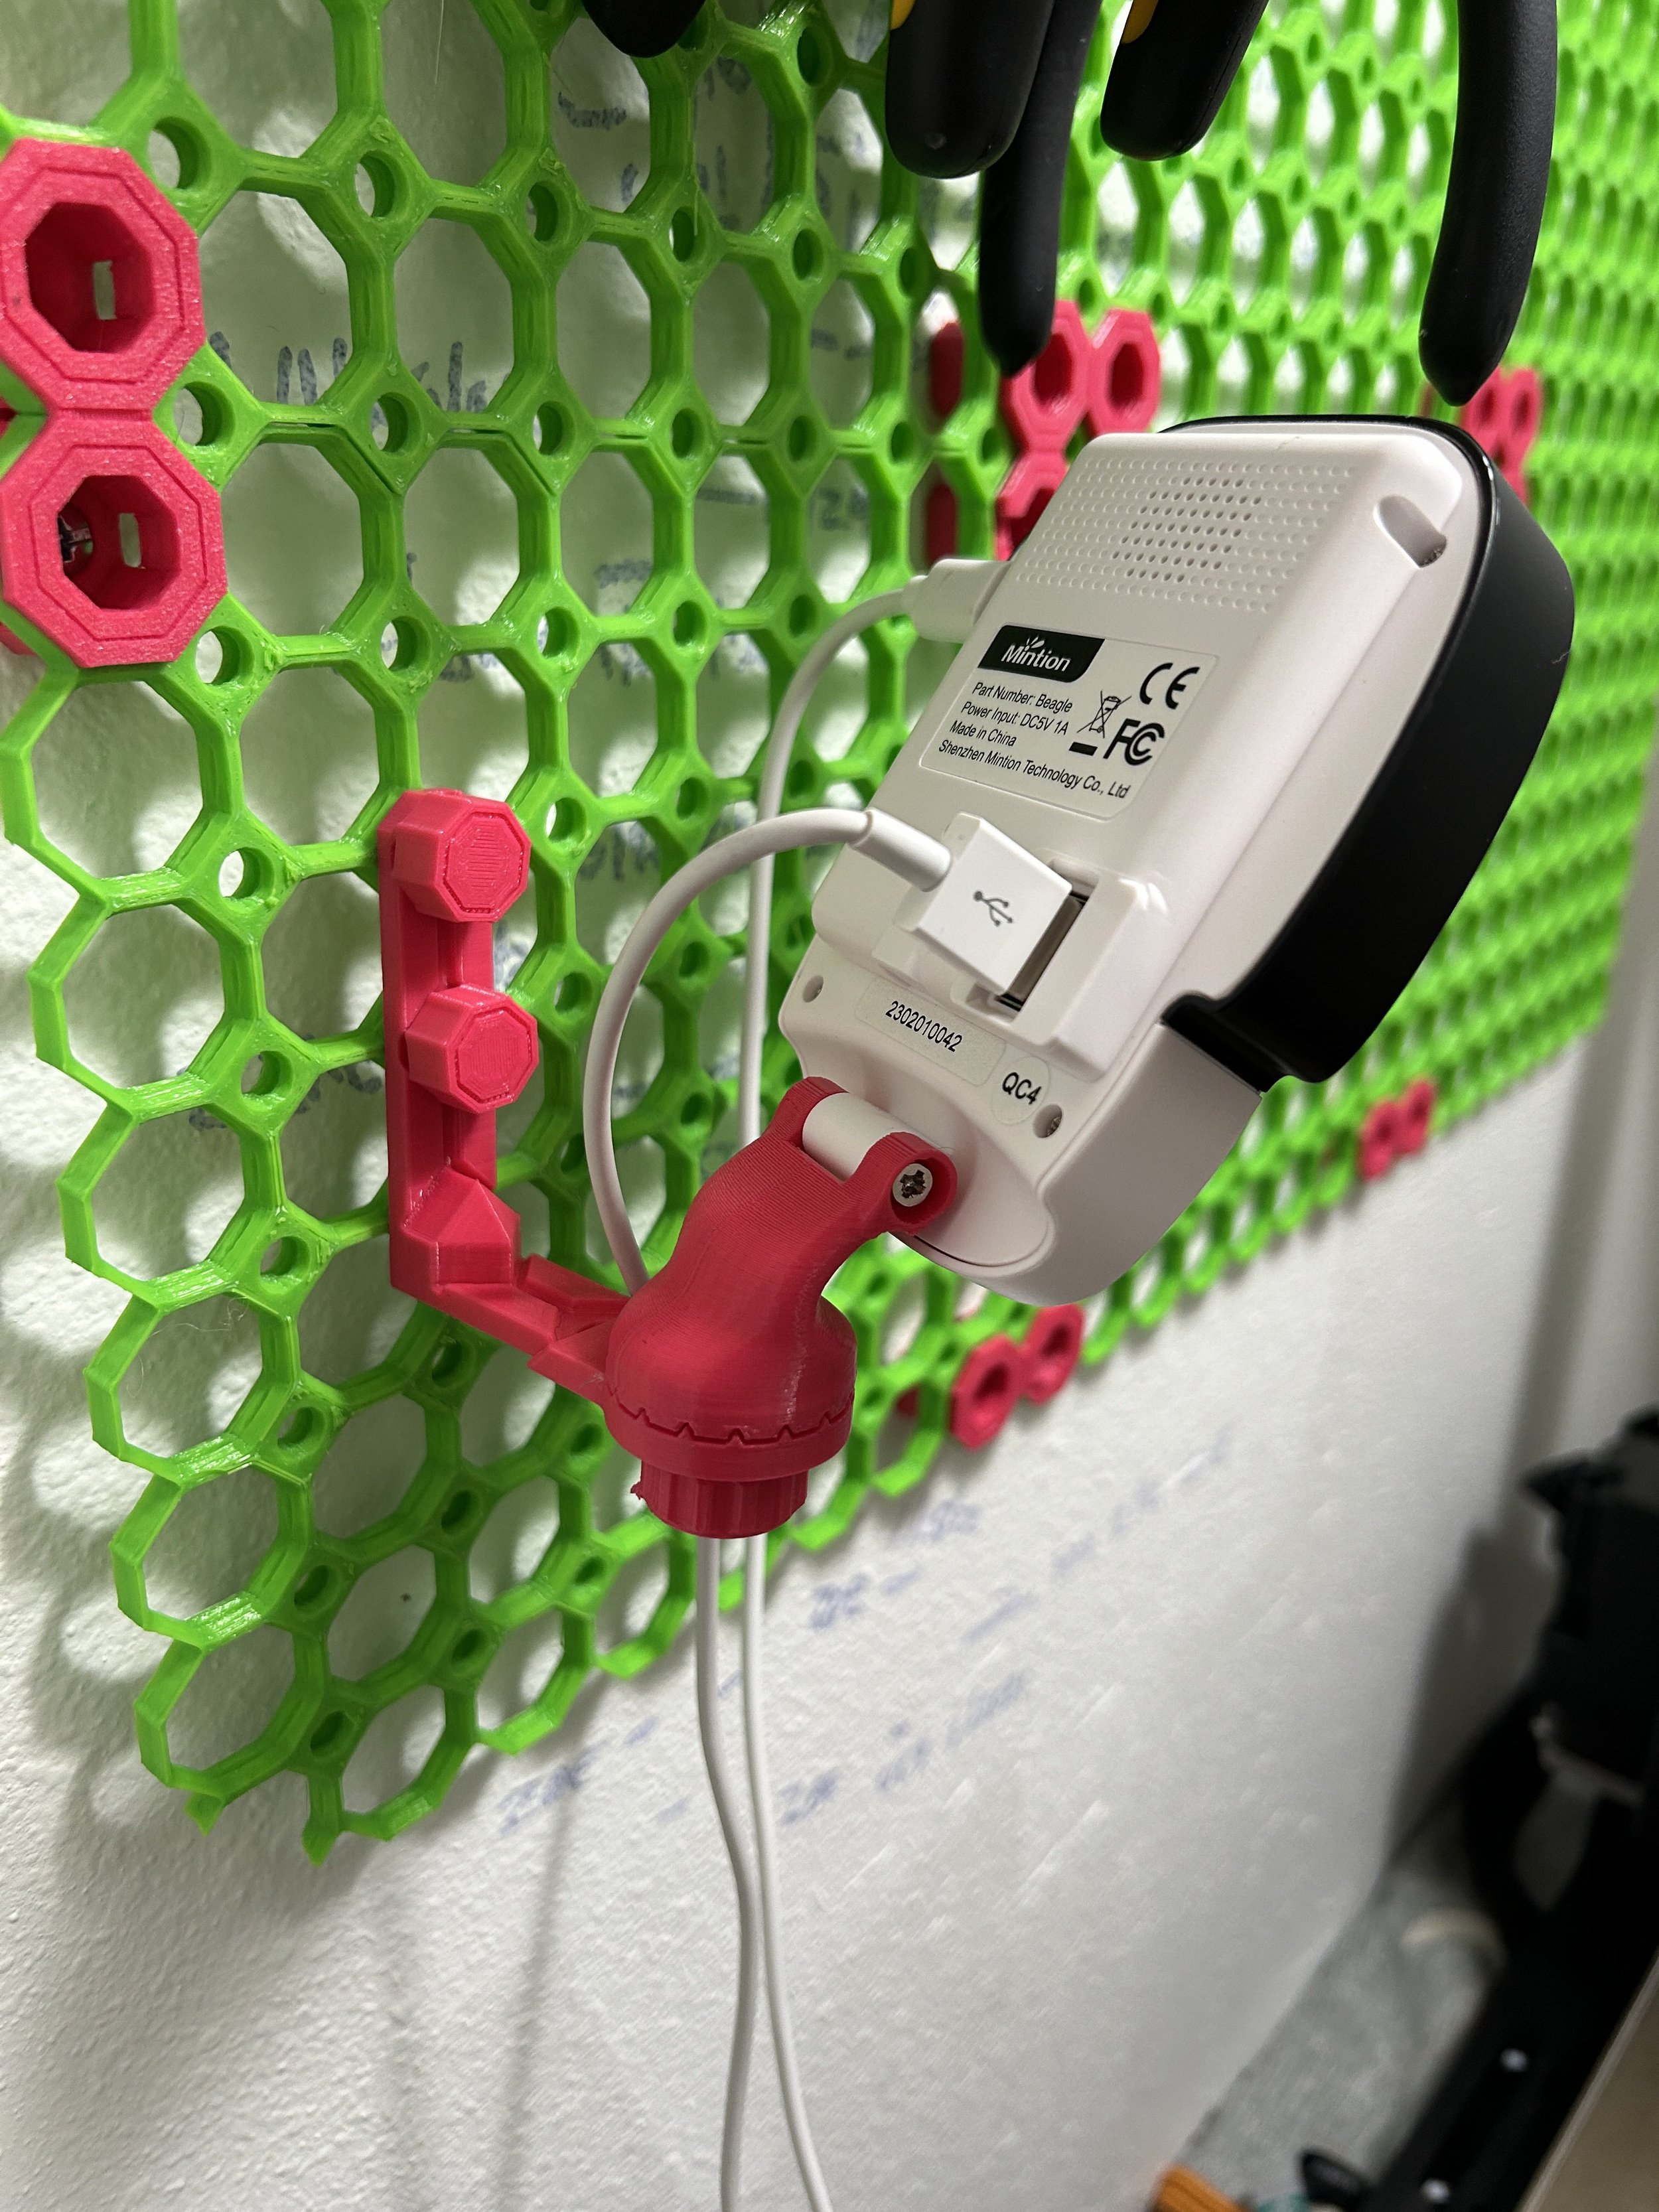
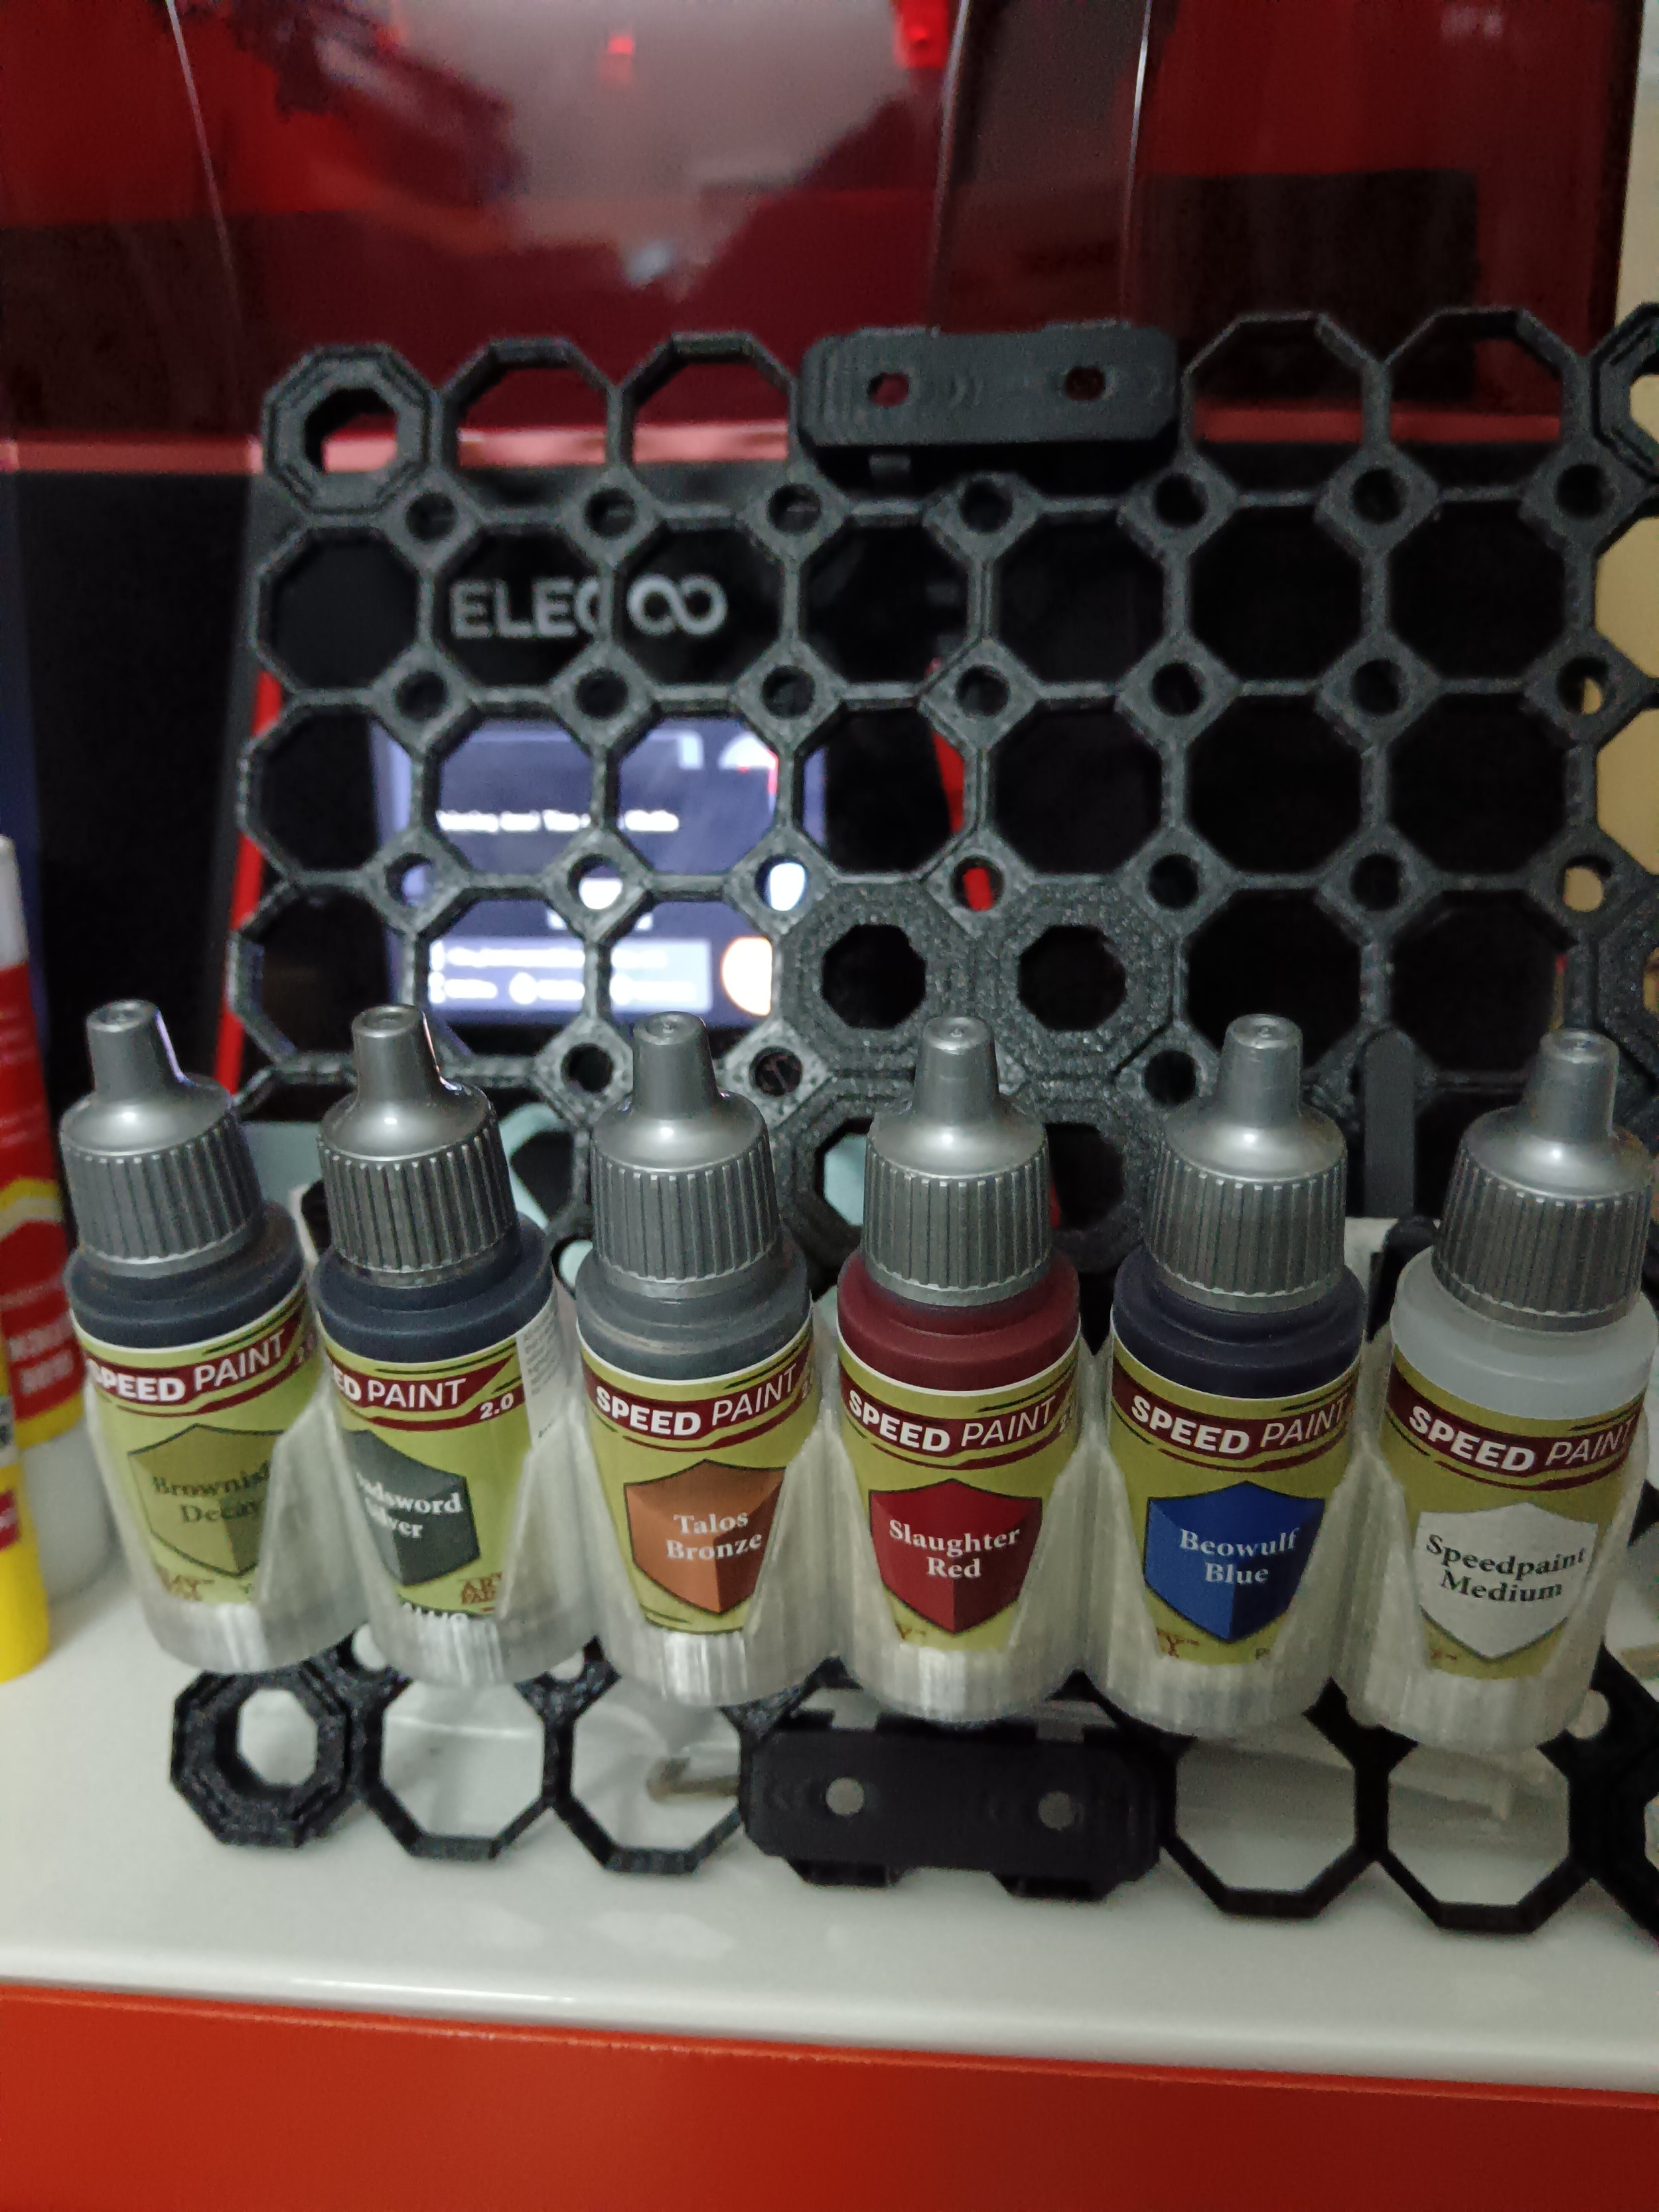
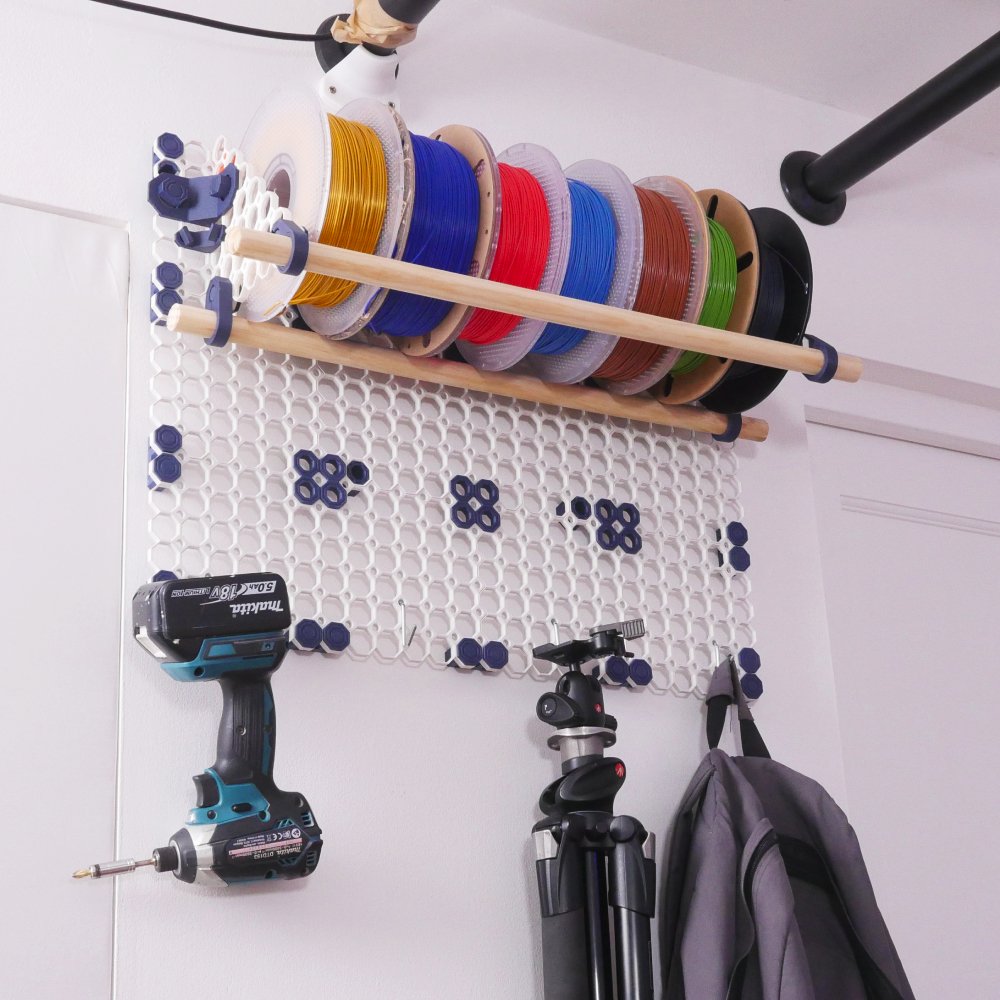
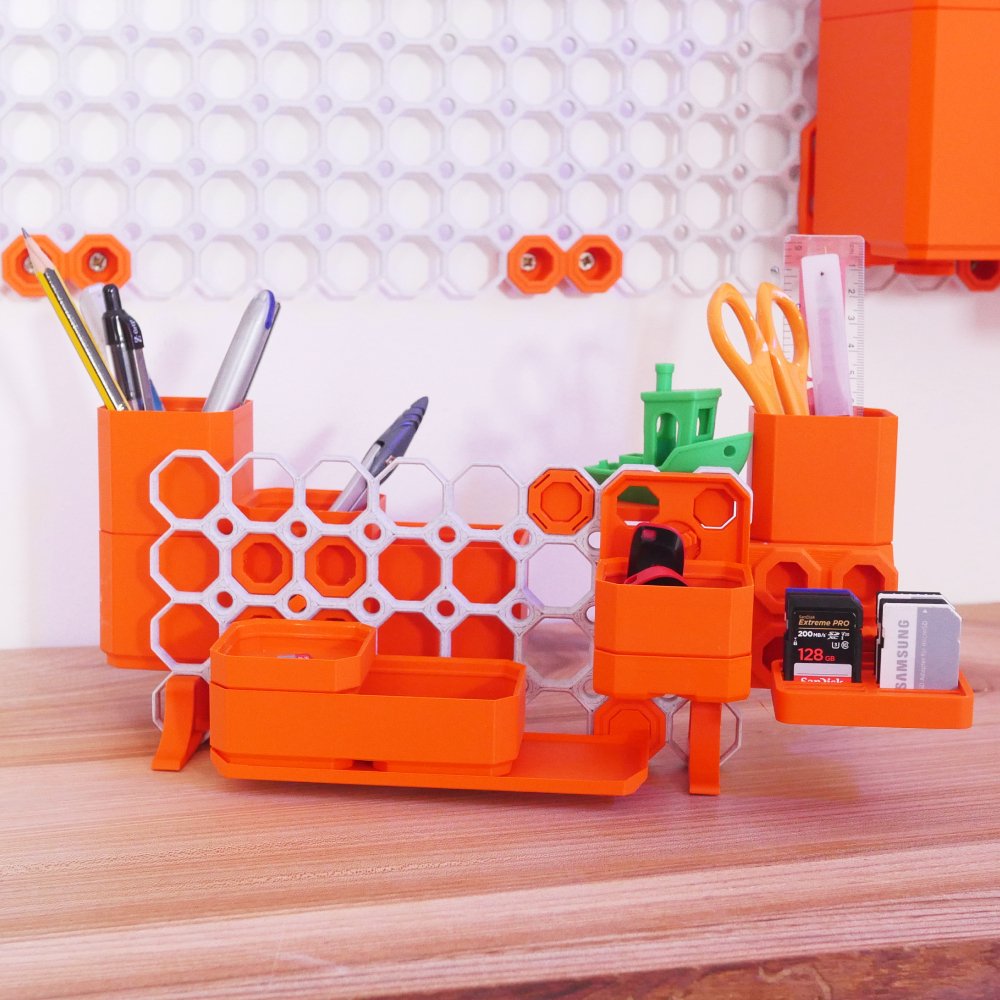
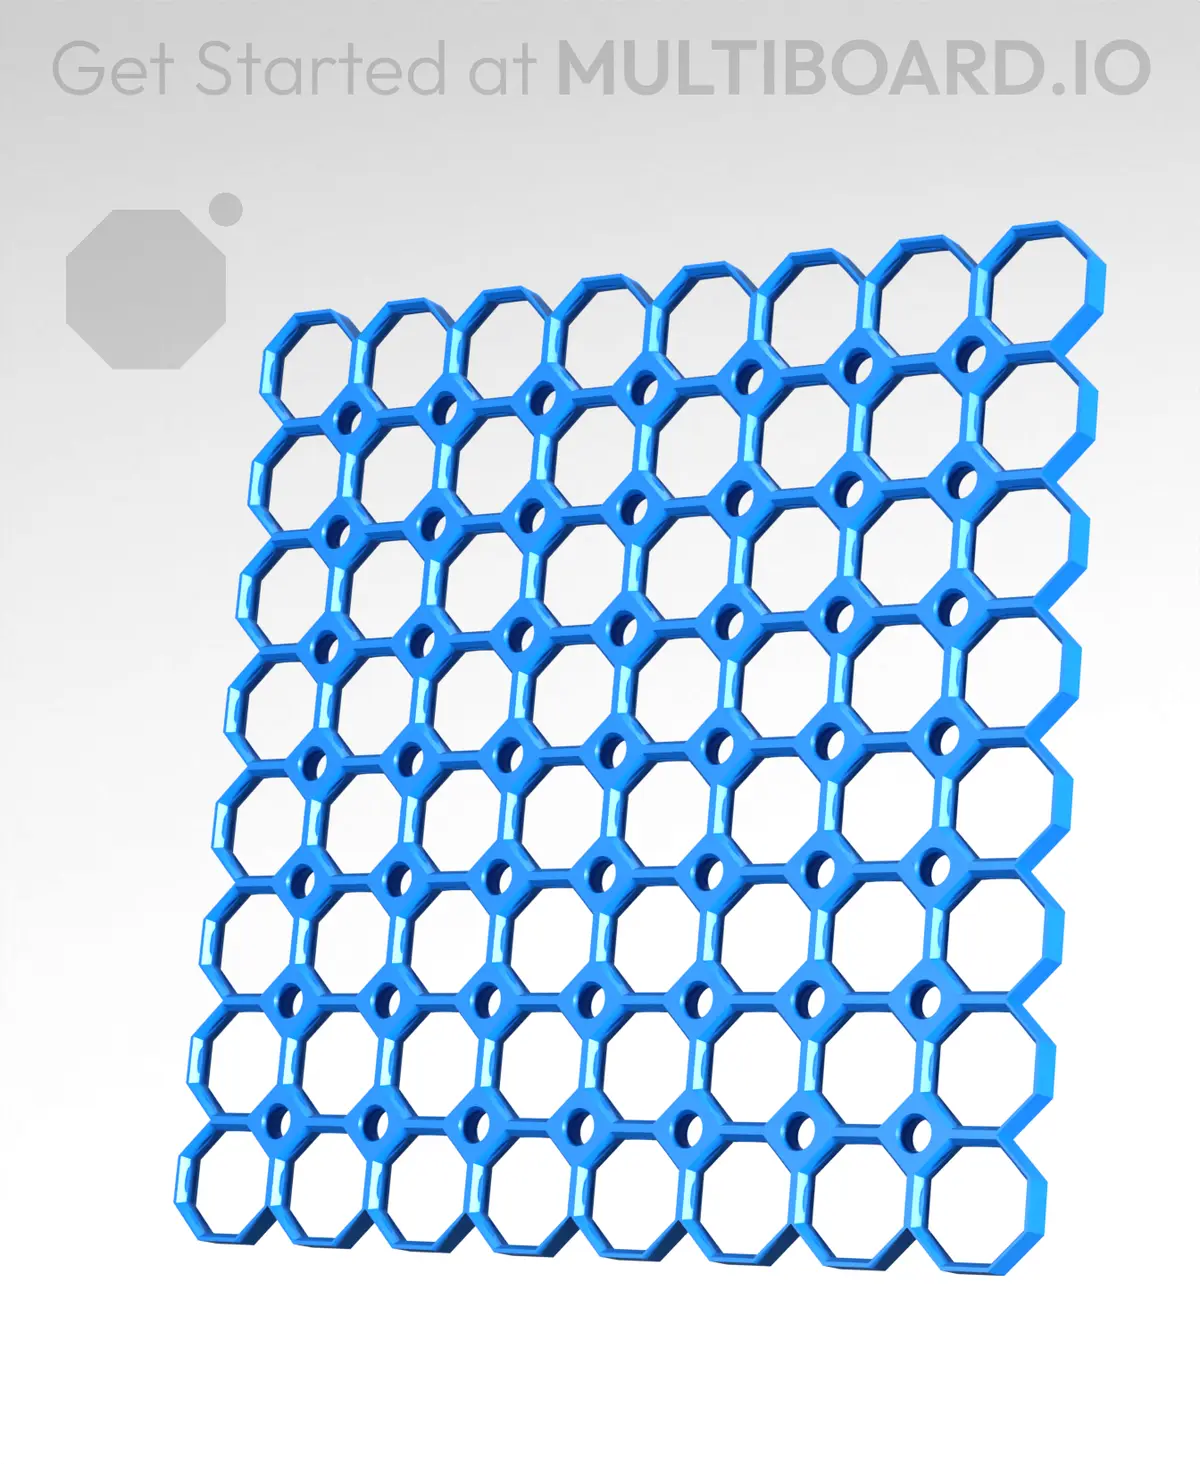
The Multiboard is a system for neatly mounting items on a wall, on or under a bench or really anywhere. It consists of a basic ‘Core Tile’ that is made up of octagonal shapes. Multiple core tiles can be 3D printed and joined together to cover a small area or a whole wall. Added to the core tile are connectors, joiners, screws and mounts to attach and store items neatly. The basic 8 x 8 octagon ‘Core Tile’ is free to download and many of the connectors and parts are also free. 

This lesson leverages the free Multiboard core tiles for students to design usable connectors, mounts and holders for a specific purpose at home or at school. Generally, designed prototypes are small and can be 3D printed and tested in a short period of time, using minimal filament; allowing for re-design and testing to achieve a successful design. 

Initial ideas to design around could include… 

  • Tool peg board 
  • School locker tidy 
  • Indoor plant climber 
  • Desk tidy 
  • Key holder 

Although posted as a lesson, it is really a course of work, with each ‘lesson’ for the course entered as a Step in the instructions. 

What You'll Need

You’ll need computers and age-appropriate CAD software. For the instructions below, I’ve used Autodesk Fusion 360. All resources I’ve provided are accessible for use, using this software. 

You’ll also need a 3D printer and filament. I’ve used polylactic acid filament (PLA), for its cost and environmental benefits. 

Small hand tools are also useful for removing extraneous printing materials prior to testing the effectiveness of a design. 

Finally, you’ll need materials for students to design their project. 

Note: In advance, I’ve pre-prepared an 8×8 Multiboard core tile for each student in advance of launching this project. This can be accessed here for free STL download: 8×8 Core Tile. For students that have no 3D printer experience, printing their own core tile can be a good introduction to the technology.

The Instructions

Introduction and brainstorming.

In this lesson, you’ll be introduced to the task and then brainstorm possible ideas for your Multiboard design

  1. Description of the project requirements and marking key. 
  2. Access and explore the Multiboard website to give students an understanding of the system and ideas for solutions. 
  3. Distribute 8 x 8 Core Tile for students to visualise and explore 
  4. Brainstorm possible ideas for the project. Choose an idea, for which to develop to a solution. 
  5. Write a design statement. 


Ideation and Designing.

In this lesson, you’ll devise a solution for your Multiboard task, which you’ll then produce using CAD software and the 3D printers

  1. Refer to your design statement from the previous lesson. 
  2. Using drawing materials, sketch 8 quick ideas that might be possible solutions to address the statement. Concentrate on speed of drawing, rather than the quality of the drawing. 
  3. Add a comment next to each to explain your idea. 
  4. Choose the best idea and draw it in more detail. This is your final design. Add comments explaining… 
  • How it will meet the requirements of the design statement? 
  • What it does. 
  • How it connects to the core tile 
  • Things that you will need to consider (ie. Measurements and dimensions) 


3D Modelling

In this lesson, you’ll use your final design to model your Multiboard part/s

  1. Review your final design drawing and comments from your previous lesson. 
  2. Launch your CAD software. 
  3. Download an appropriate ‘blank connector’ from those below and open this in your CAD software. You’ll use this as a base to build upon. 
  4. Begin modelling your own Multiboard part, based on your final design, using CAD. 
  5. Save your model. 

The following links contain ‘blank connector’ files for download that students can use to build upon. Each connector mounts perfectly to the core tile, allowing students to skip this very fiddly step and concentrate on the design of their solution to the problem. 

Horizontal Pegboard Click Connector 

Vertical Pegboard Click Connector 

Multiboard Snap Connector 

Modelling and Testing

This lesson, you’ll finalise your CAD modelled design and 3D print it.

  1. Open your file from the previous lesson and continue modelling to completion. 
  2. Export your file to the format required by your 3D printer (generally .STL) 
  3. In consultation with your teacher, 3D print a prototype of your part, ready for testing. 
  4. Mount your part to the Multiboard core tile and test it in situ. 


Re-design

After testing your part with your Multiboard core tile, you’ll make improvements to the CAD model to produce a final part.

  1. Review your 3D printed prototype part from the previous lesson. 
  2. Answer the questions… 
  • Does it mount correctly to the core tile? 
  • Does it fit the parts it’s meant to? 
  • If not, what needs to change? 
  • Does it make efficient use of the materials (3D printer filament)? How could this be made more efficient? 
  • Does it look good? What could be improved? 
  1. Determine what’s required for your final design. Make a list of these points. 
  2. Launch your CAD software and open your prototype design. 
  3. Address all of the points identified to finalise your design. 


Printing the Final Design

In this lesson, you’ll finalise your improved design, then 3D print it and test it.

  1. Launch your CAD software and open your finalised and improved design. 
  2. Make any final adjustments 
  3. Export and 3D print your part. 
  4. Test your part, using your Multiboard core tile. 
  5. Write an evaluation of your final design that considers the requirements stated in your ‘Design Statement’ 

Note: Many students will need to repeat Steps 5 and 6 a number of times, in order to achieve a suitable solution. 

Lesson Feedback

Contact us

Having trouble? Let us know by completing the form below. We'll do our best to get your issues resolved quickly.

"*" indicates required fields

Name*
Email*
This field is for validation purposes and should be left unchanged.
?