- Loading…
Working together with the Science area, students will build a model of a greenhouse and include in the model automation systems to handle some of the tasks associated with it.
When designing the automation systems on their models, students will learn to recognize opportunities for applying technology to an existing facility to make it easier to operate. They will also learn how technology is used in real life in similar places and when it makes sense to use it, and under which circumstances.

In this activity, students will:
This activity is aligned to the following competencies of the National Education Curriculum of Perú:
Area: ICT (Cross-curricular Competency)
Competency 28: Effectively navigates virtual environments generated by ICT. This involves the student interpreting, modifying, and optimizing digital environments to create objects, collaborate, and manage information.
Associated capacities:
Learning standard for Cycle VII (Secondary):
“Effectively navigates virtual environments by optimizing their strategies for participation, creation, knowledge construction, and expression of individuality…”
Area: Science and Technology (for the example given in the activity)
Competency 22: Designs and builds technological solutions to solve problems in their environment.
The student is capable of constructing technological objects or systems based on scientific and technological knowledge, responding to contextual problems with creativity and perseverance.
Associated capacities:
Learning standard at the end of Cycle VII (Secondary)
“Designs and builds technological solutions by justifying the scope of the technological problem and its possible solutions based on scientific knowledge… Verifies functionality and makes adjustments.”
Working with colleagues is always an enriching experience, but can be a challenge when it comes to coordinating times and goals. In this case I tried to work with the Science teacher of the level in which we made this project. She liked the idea of the project very much but was focused on the learning goals she had already defined for that group, so collaboration in this task was unfortunately minimal. Initially we had the idea to have the students use programmable boards with sensors to measure different variables of the planting area, in order to have data to later correlate with the outcome of the gardening phase, but because of time constraints this was not possible. In the end she worked with the students in all the plant growing phase, then let me know the problems they found when working and then I took over the project for the design, building and programming part. This taught me some things about collaborating with colleagues and how anticipation can be key, in the sense that this project, if programmed and prepared before any of us had begun preparing their own classes, could have had a better result in the integration of areas. From the point of view of the students this was a project that began as a Sience activity and then was handed to the Computing teacher to complete. There was minimal overlap.
When working with the students on the design and building stages there were a few challenges:
Time: this is a time consuming project, and some steps may take more than one class to complete. This poses the challenge of adequately storing the works in progress, but also having the students remember that they need to bring some materials from class to class to continue their work.
Component availability: since some of the solutions students proposed were not known beforehand, there were some materials we didn’t have ready when needed because of the time it takes for the school to buy parts.
Fortunately, since this project has many tasks that have to be completed, everybody always was able to find something to do if their original task couldn’t be completed at any given time. This also applies when focusing on diversity: there were many tasks, so finding something appealing or within reach of everybody’s abilities and talents was not that hard.
I wanted this lesson plan to be at least interdisciplinary, but given the way it was executed, I have to say that right now it is multidisciplinary. In the future I’ll try to get other teachers involved from the planning stage so they can help shape the project to have more integration between areas.
In this step we will establish the basis for the activity. As part of their work with the Science area students first form groups of 3 or 4 people. In groups, they work on planting and growing crops, observing the different tasks that must be accomplished in order to give the best conditions for plants to grow. They will also take note of the problems that might arise from the infrastructure (or lack of it) as well as those caused by external variables (climate, water and energy availability, plagues).
In this step students will perform a quick research on how the problems they have detected on the previous step can be handled and how human errors can be prevented with the help of technology. We will guide them to and through the concepts of automation, sensors and actuators.
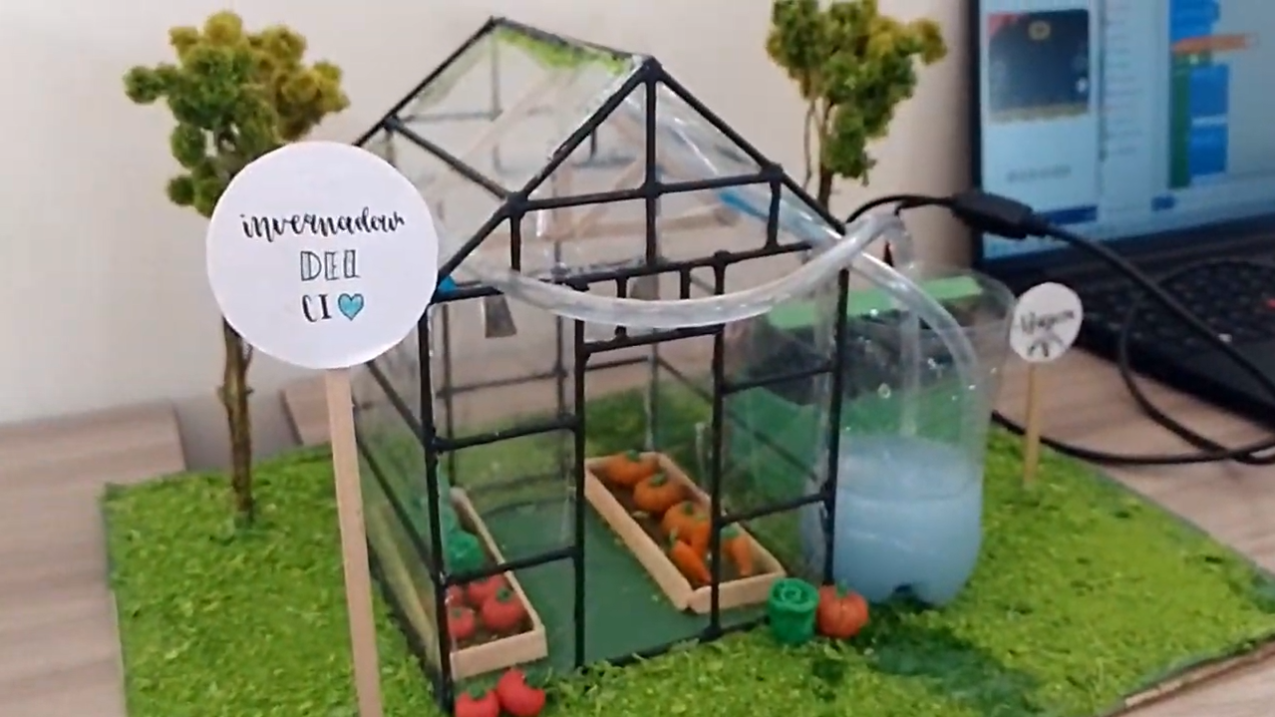
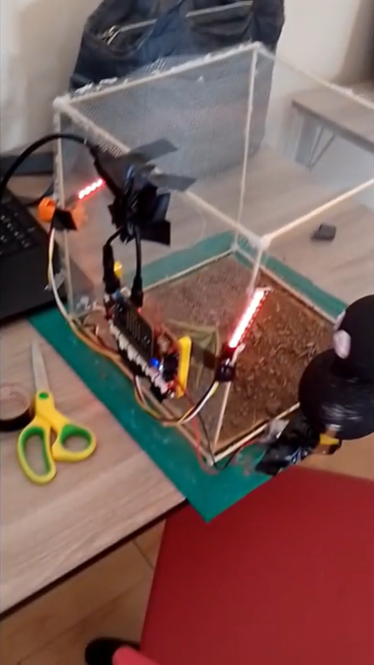
In this step students will design and build a model of a greenhouse. Their designs will integrate the ideas of step 2 in order to avoid or solve the problems identified on step 1.
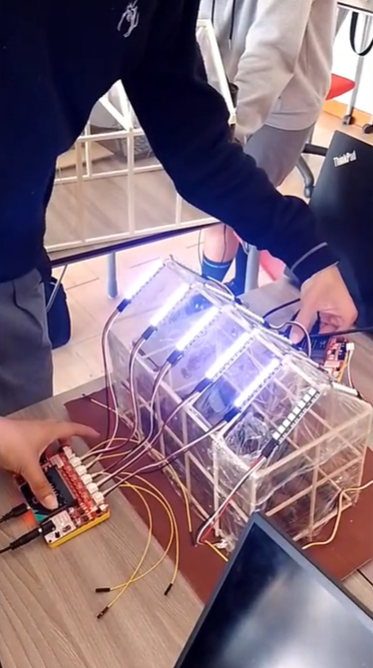
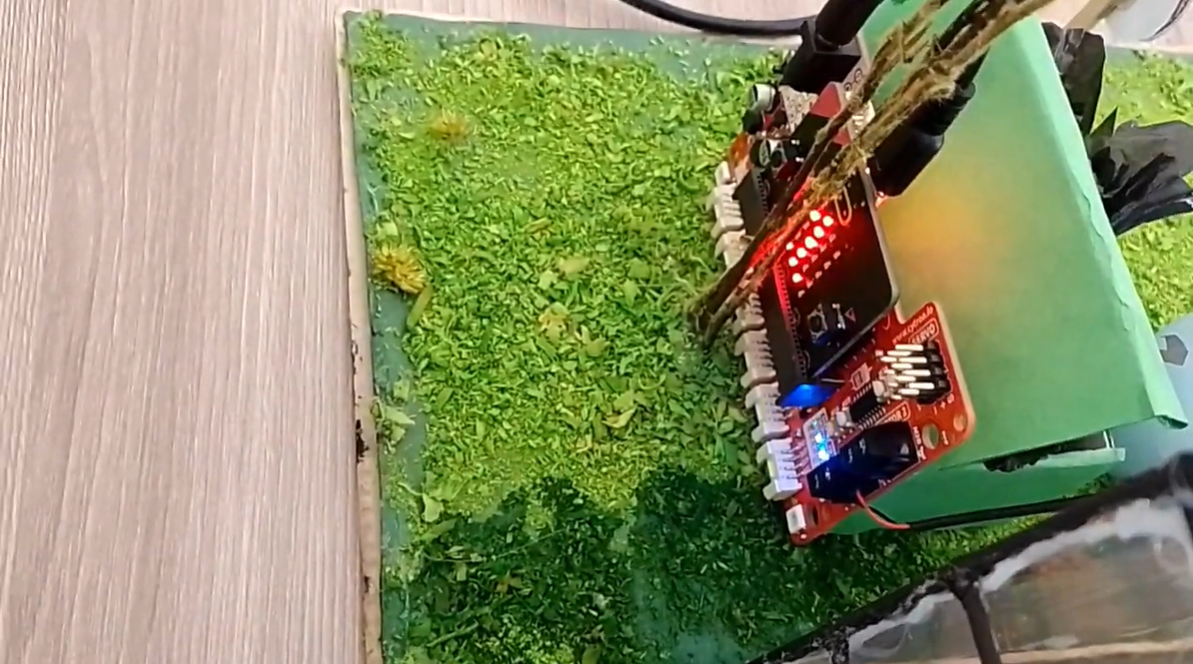
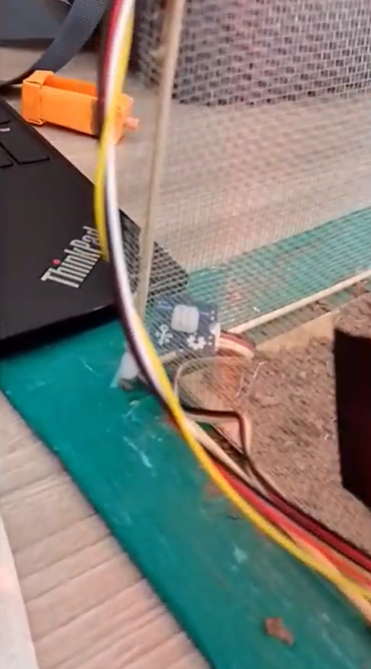
In this step students will build, integrate and test the different parts of the model.
You can see a video of some completed models using this link: video.
Having trouble? Let us know by completing the form below. We'll do our best to get your issues resolved quickly.
"*" indicates required fields