- Loading…
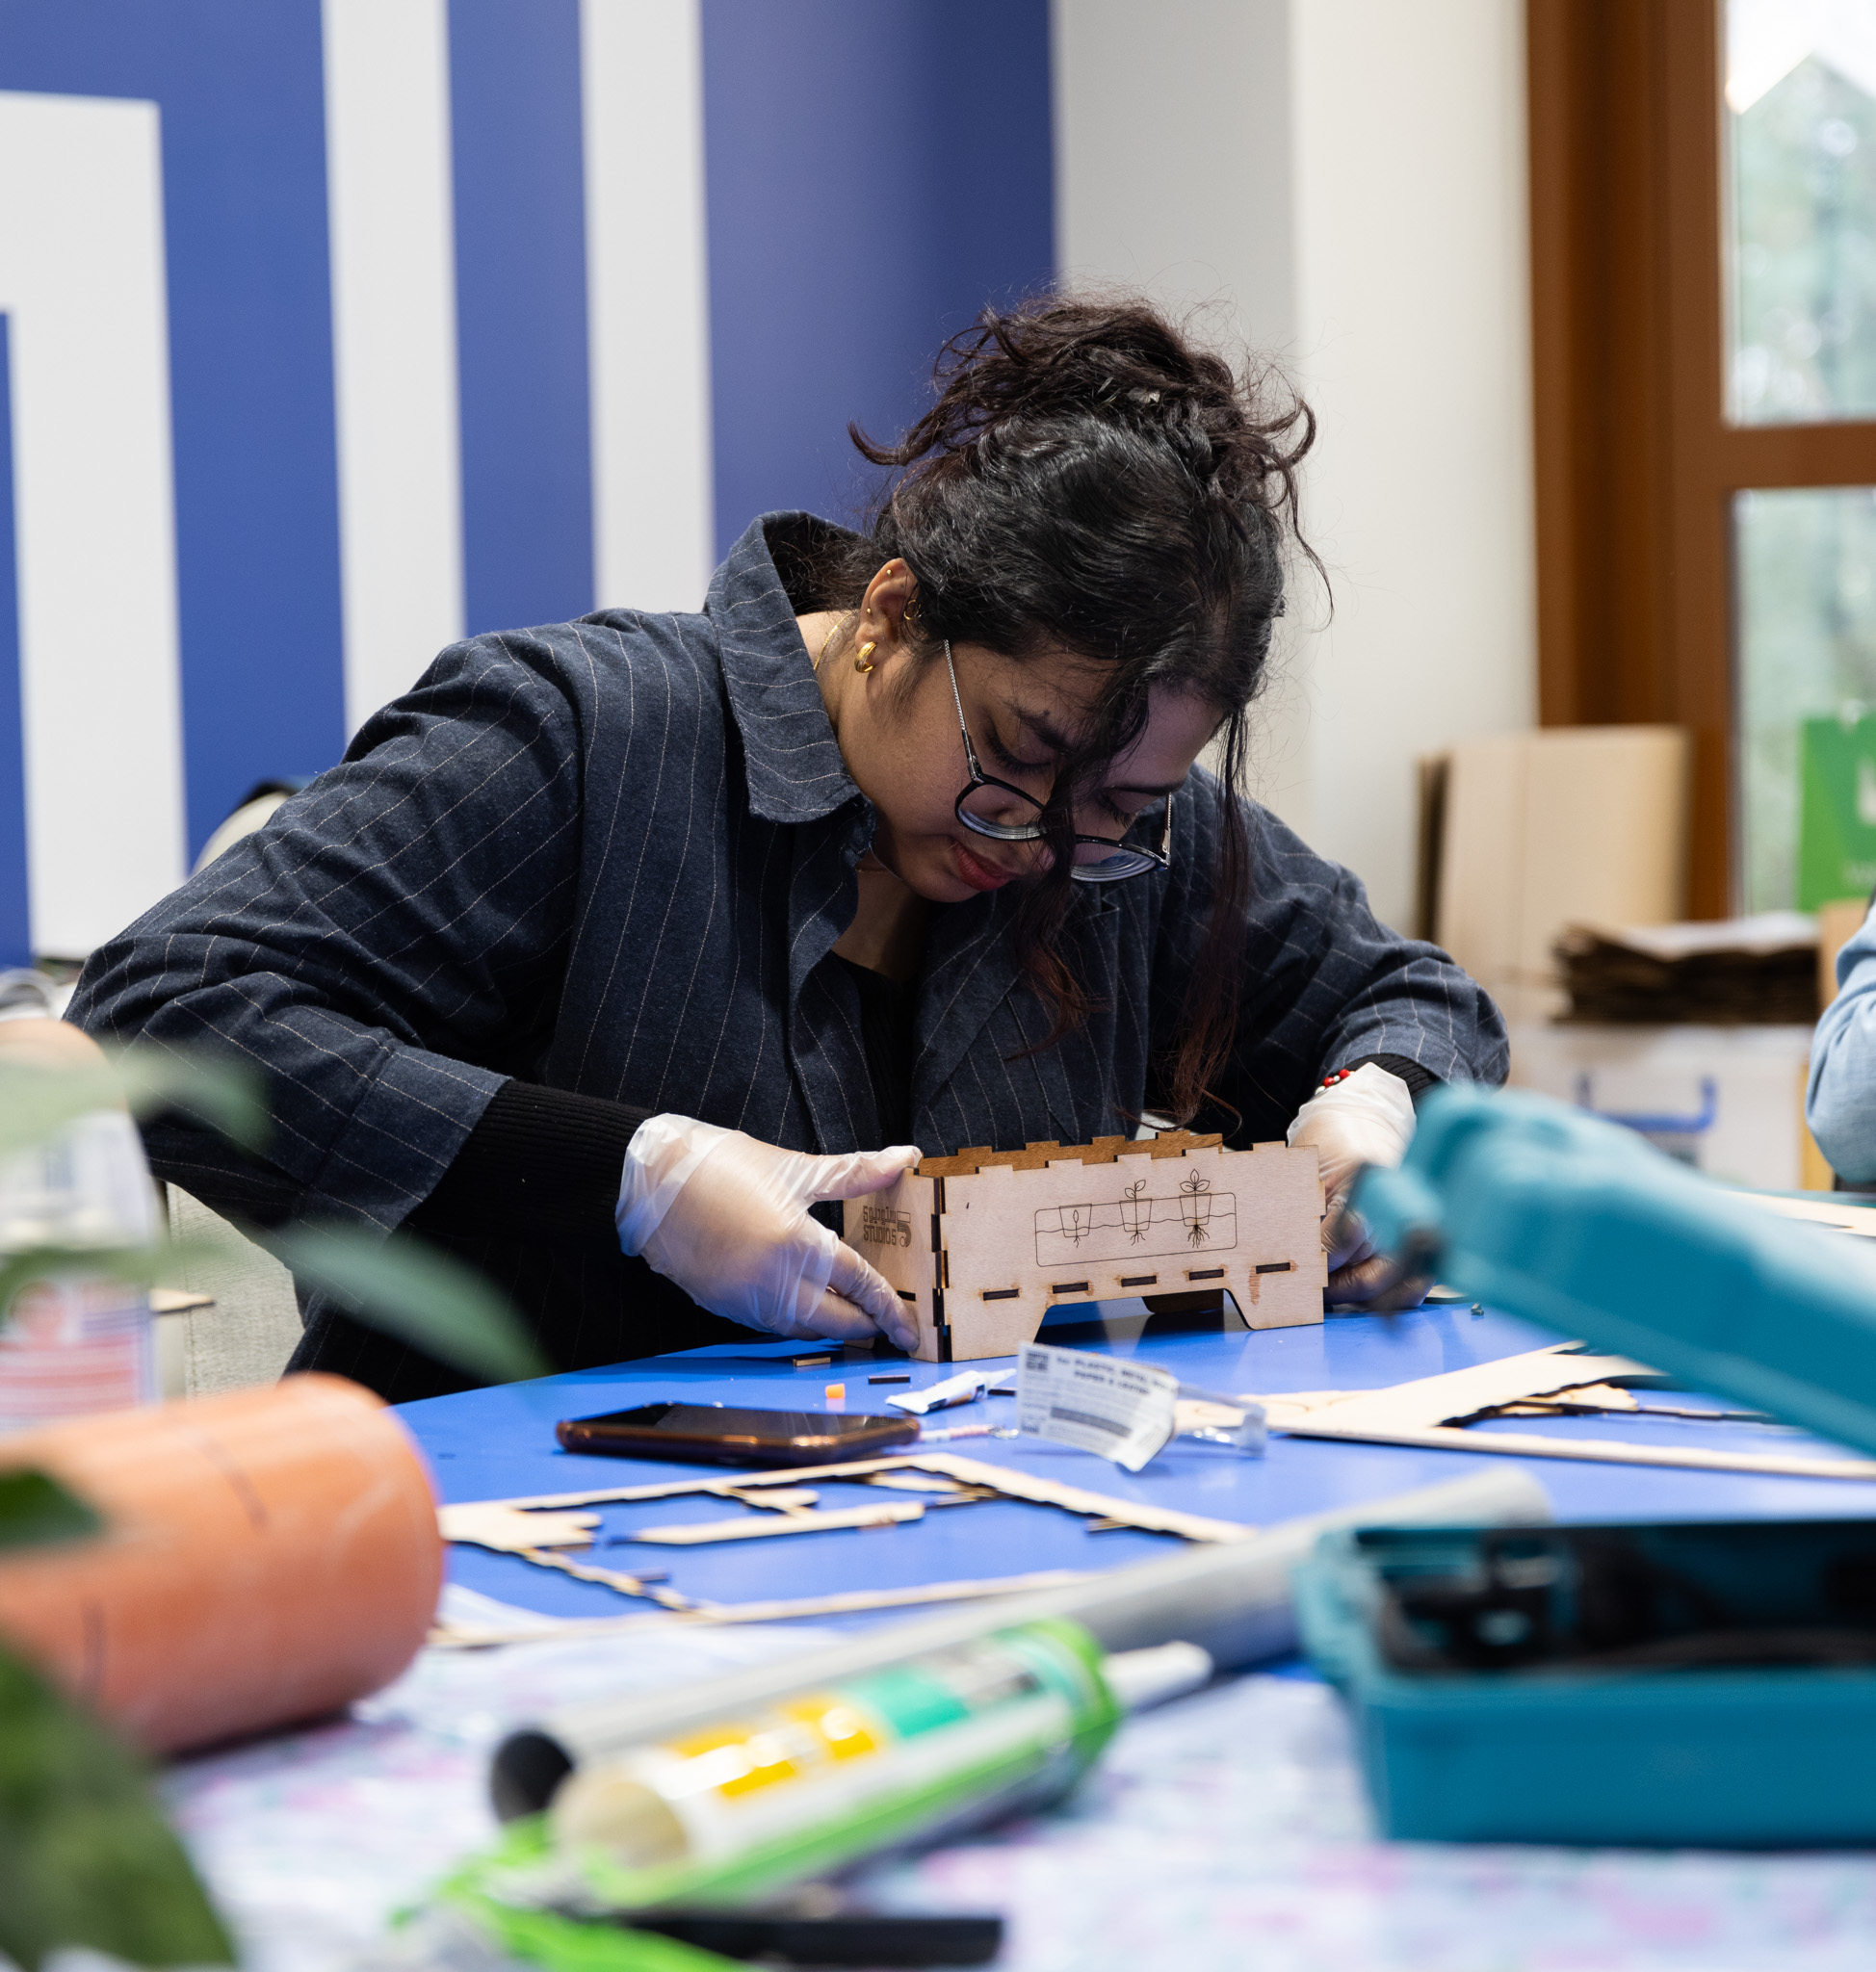
During this workshop, participants will assemble a mini desktop hydroponic garden using plywood. They will put their creation to the test by growing chickpeas in their soil-less, nutrient-water based hydroponic garden.


Follow through the presentation to understand more about Hydroponic Gardens and how they work!

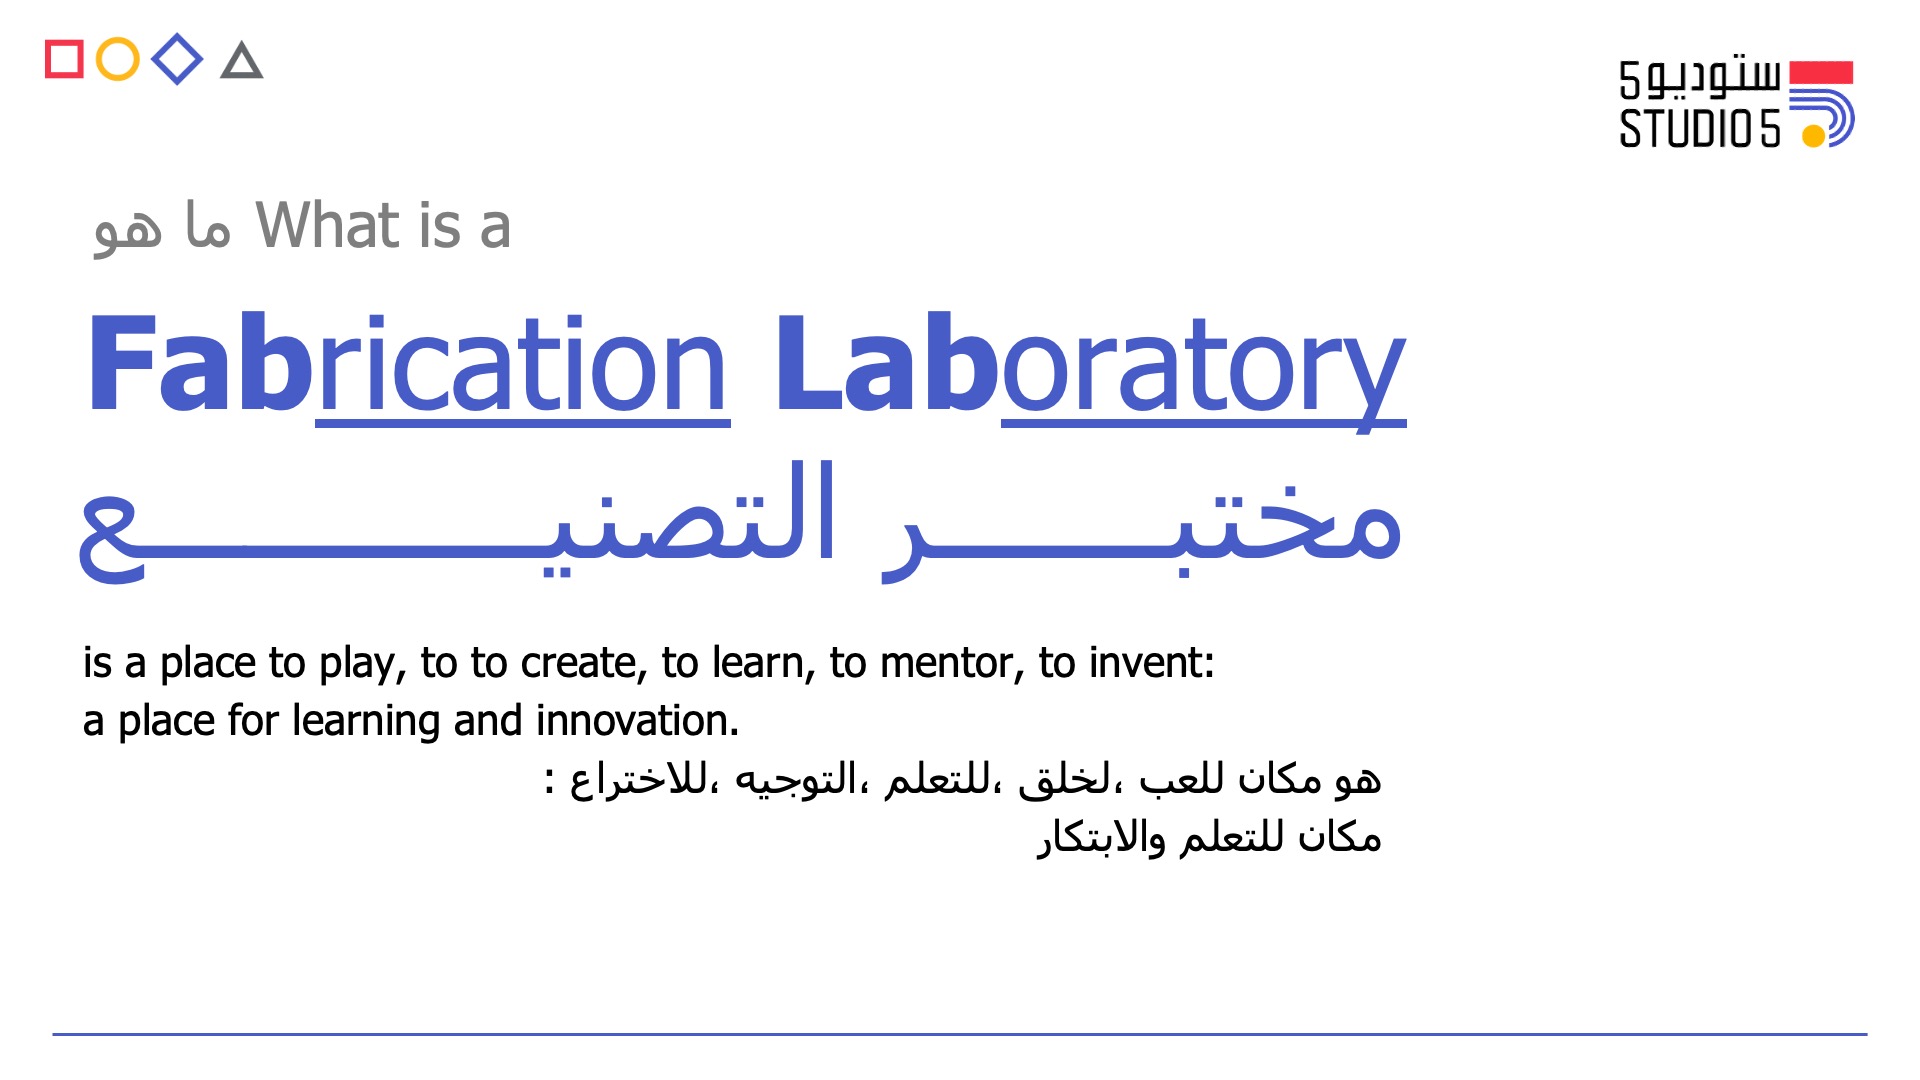
What is a Fabrication Laboratory (FabLab)?
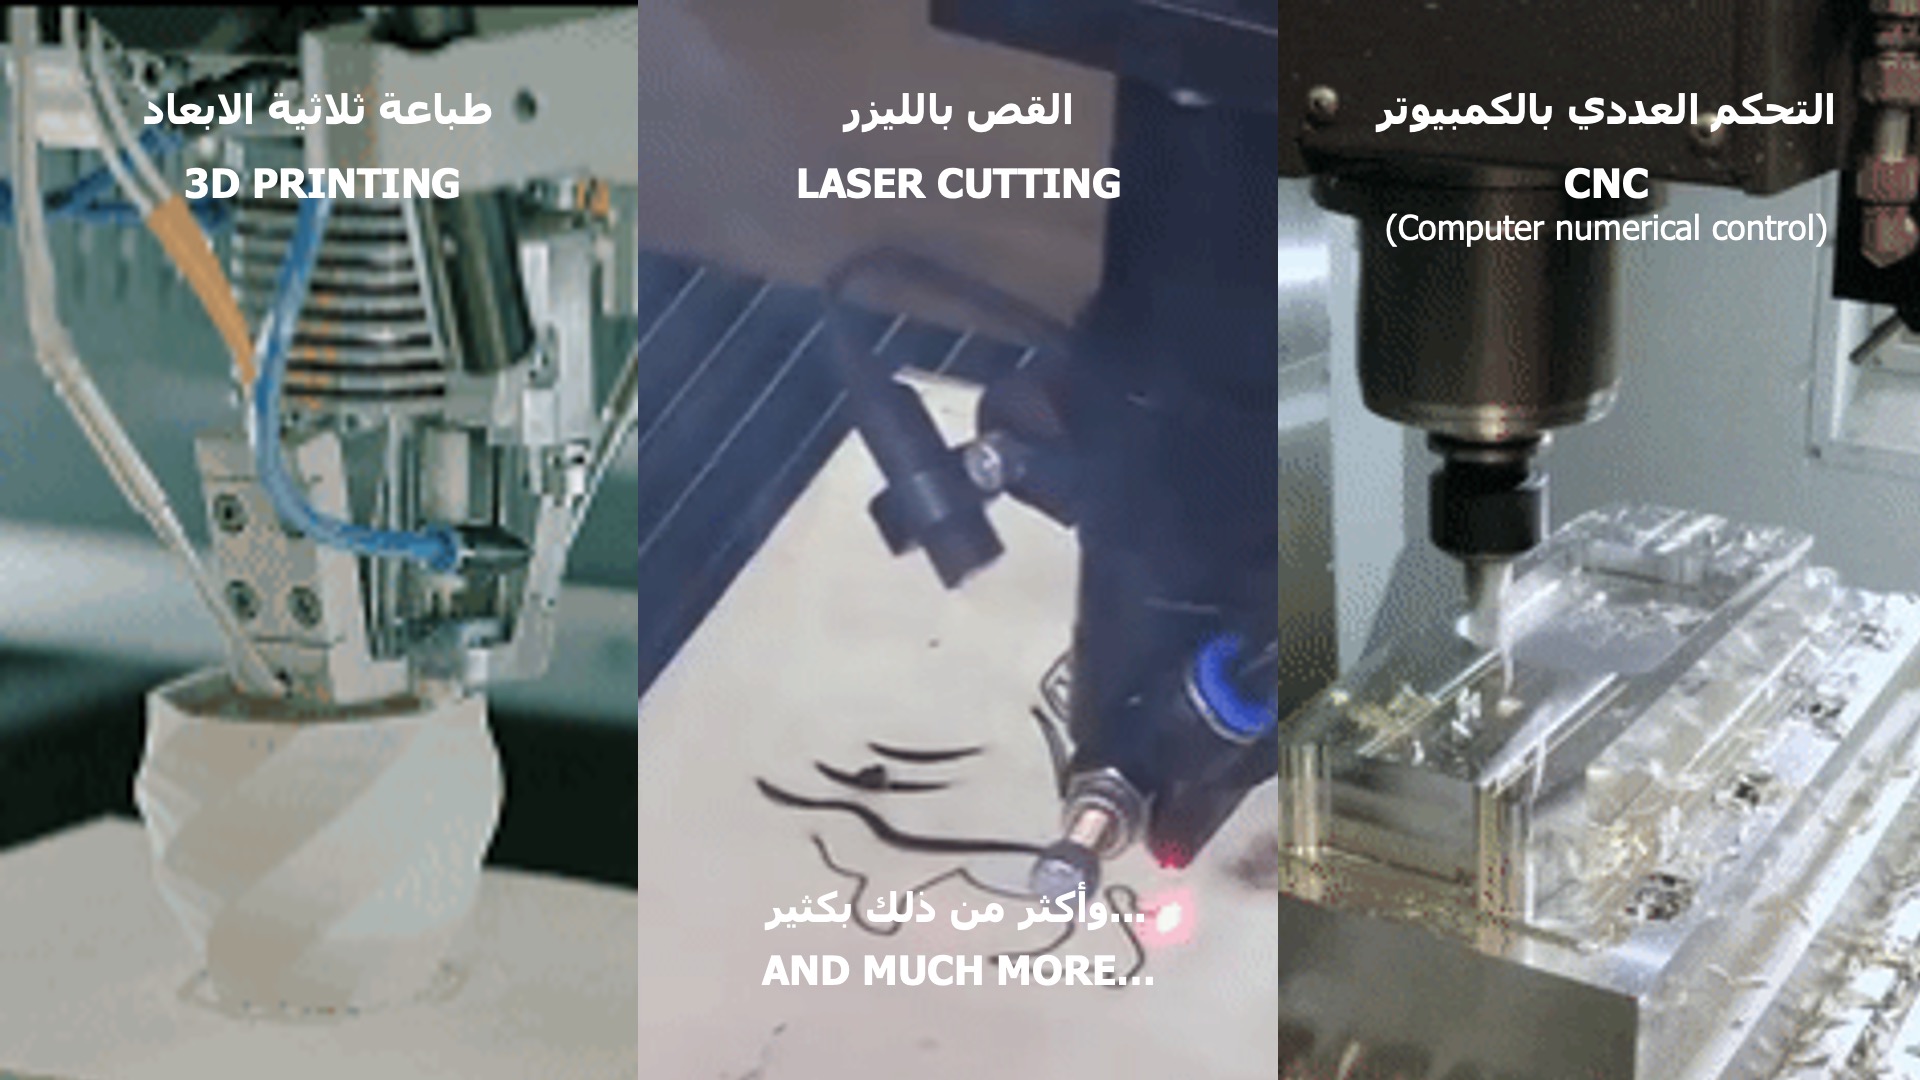
What types of machines exist within a FabLab?
Here are the 4 zones in the Studio5 FabLab

What is DIY?

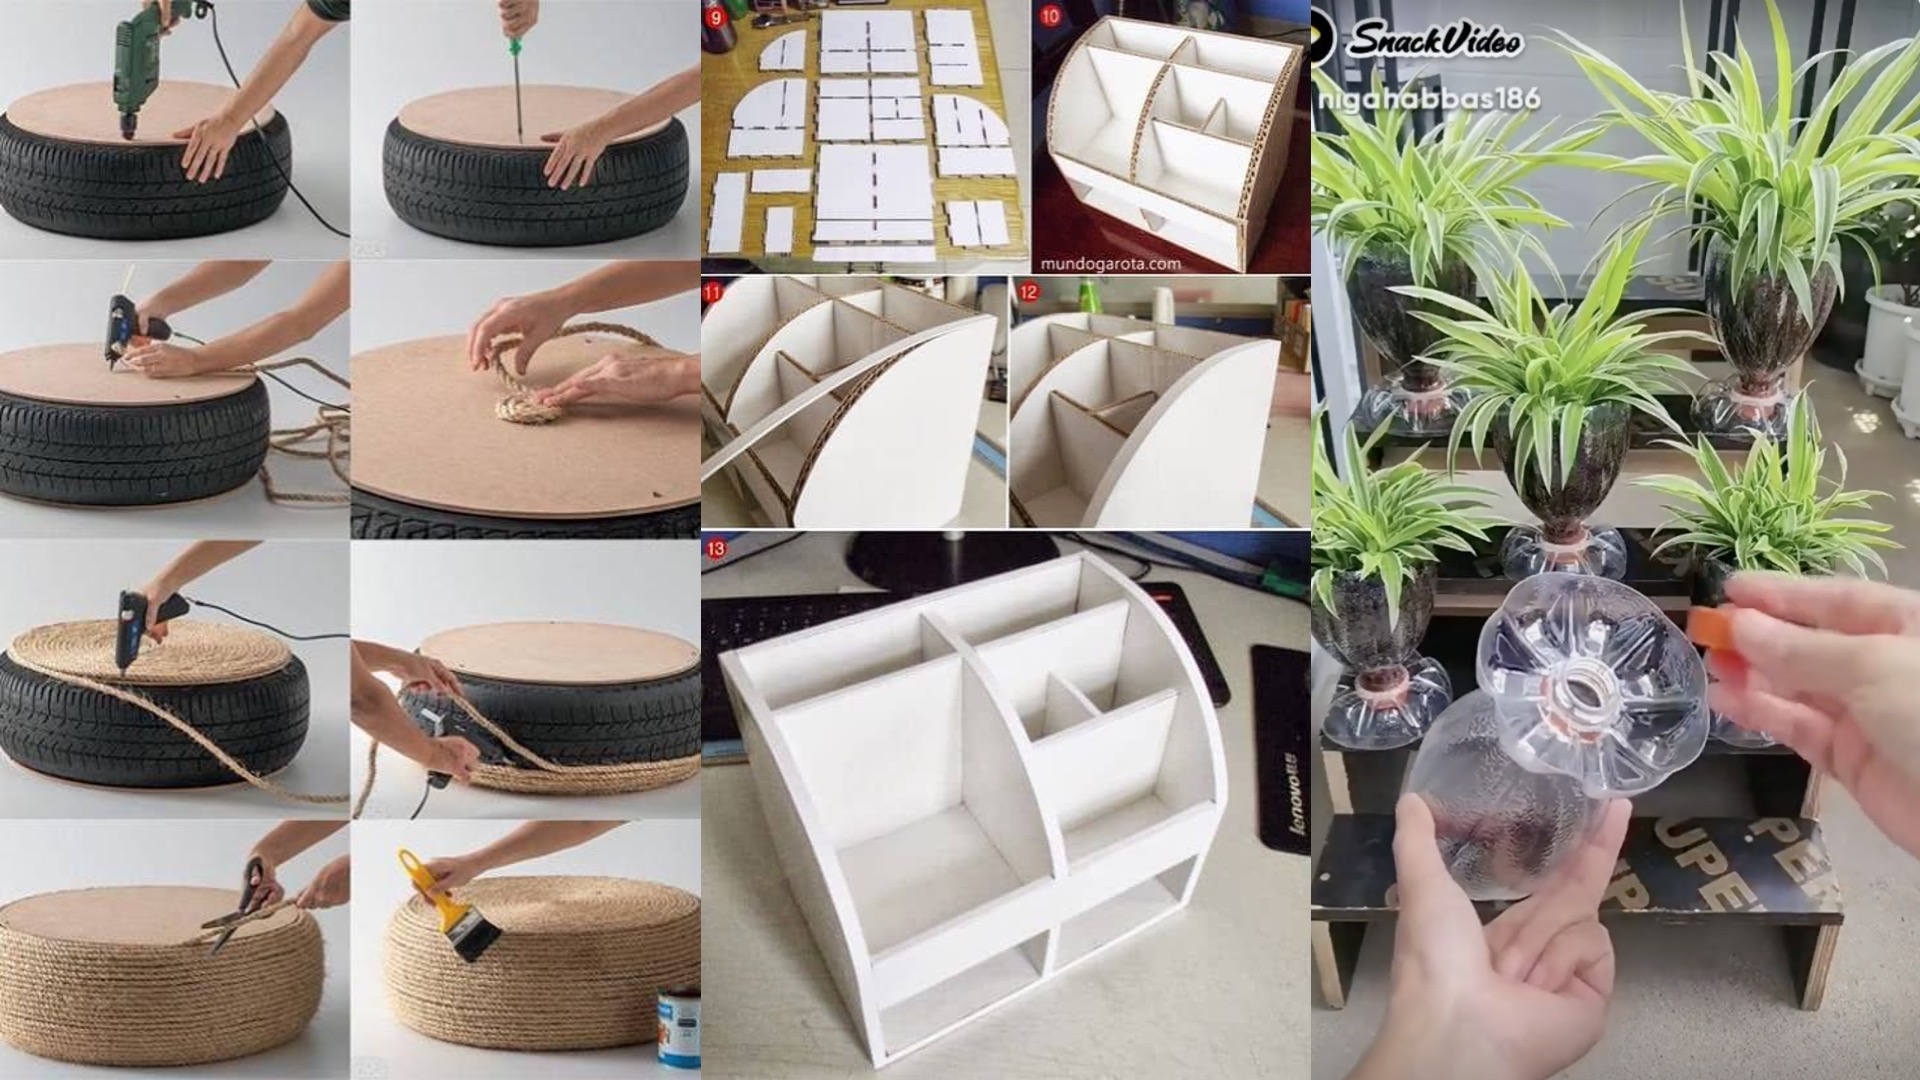
Examples of DIY
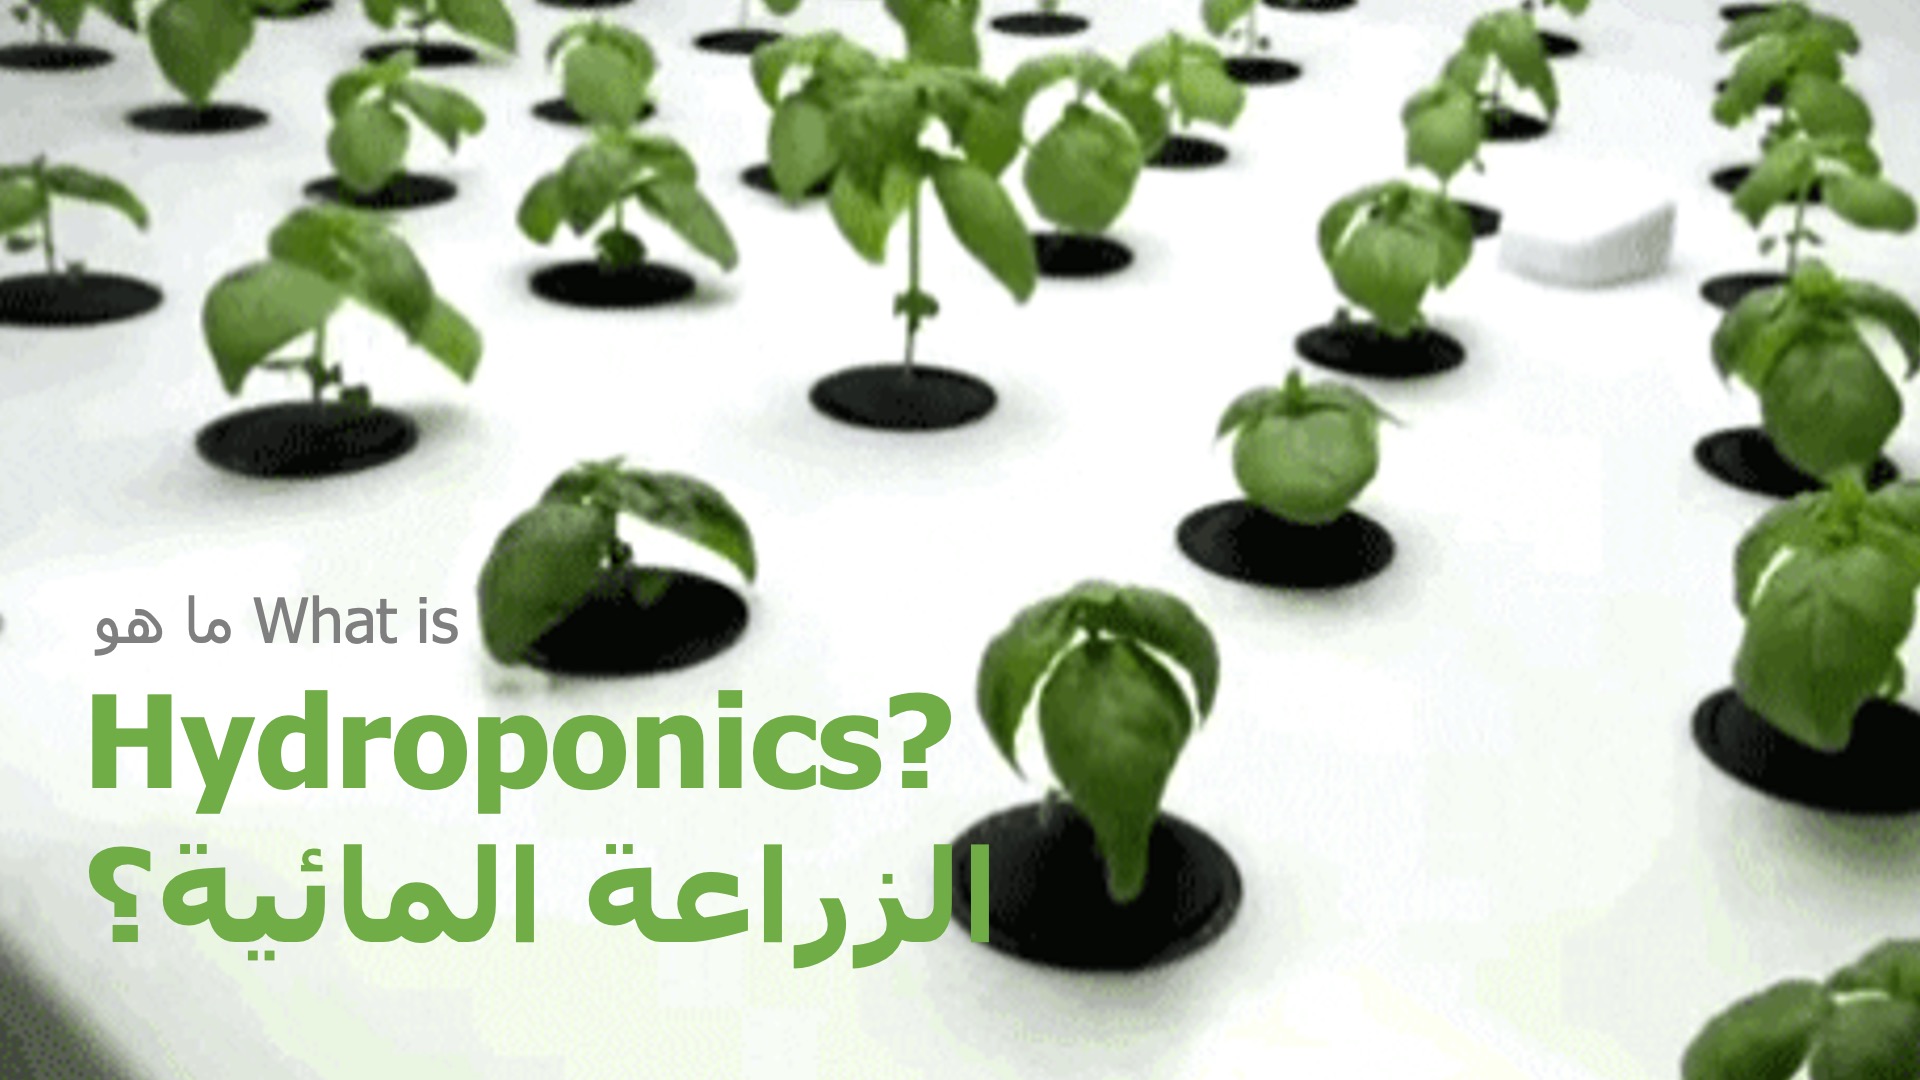
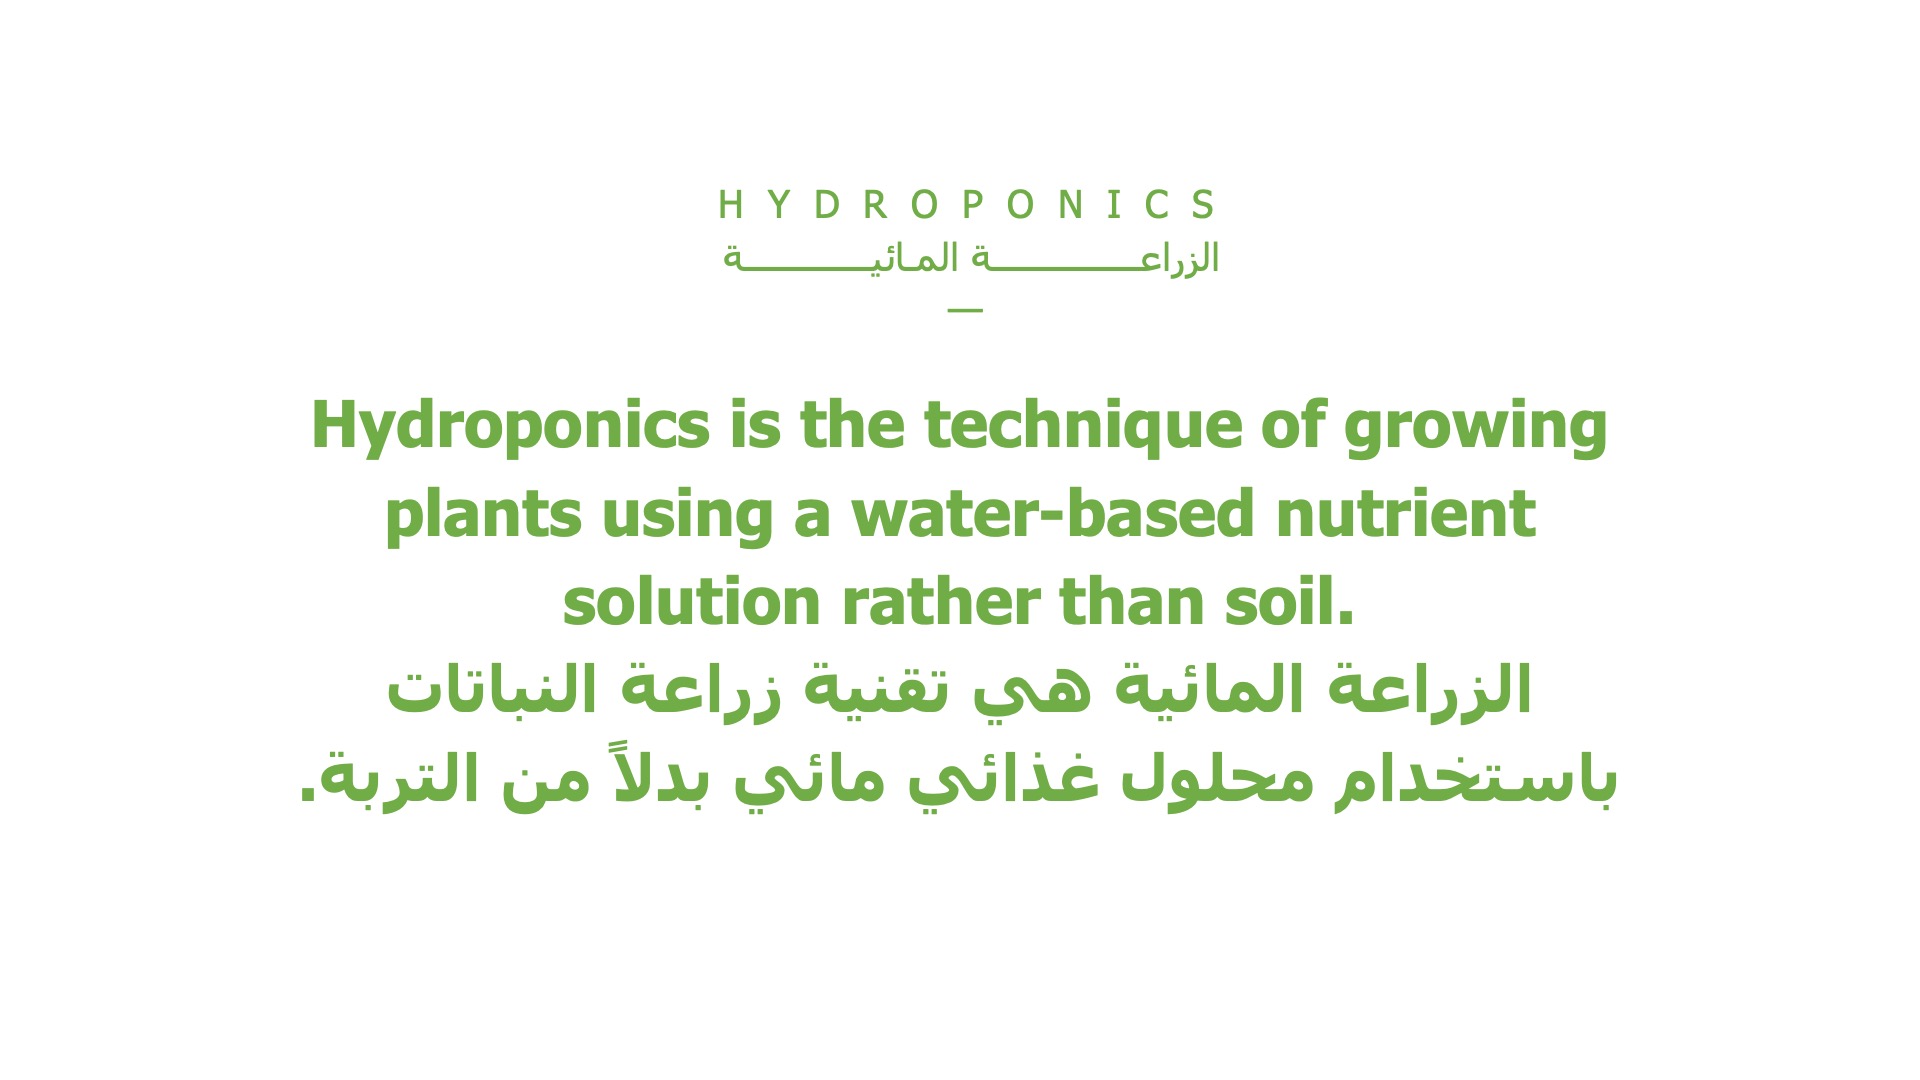
What is Hydroponics?
Watch an informative video about Hydroponics for beginners

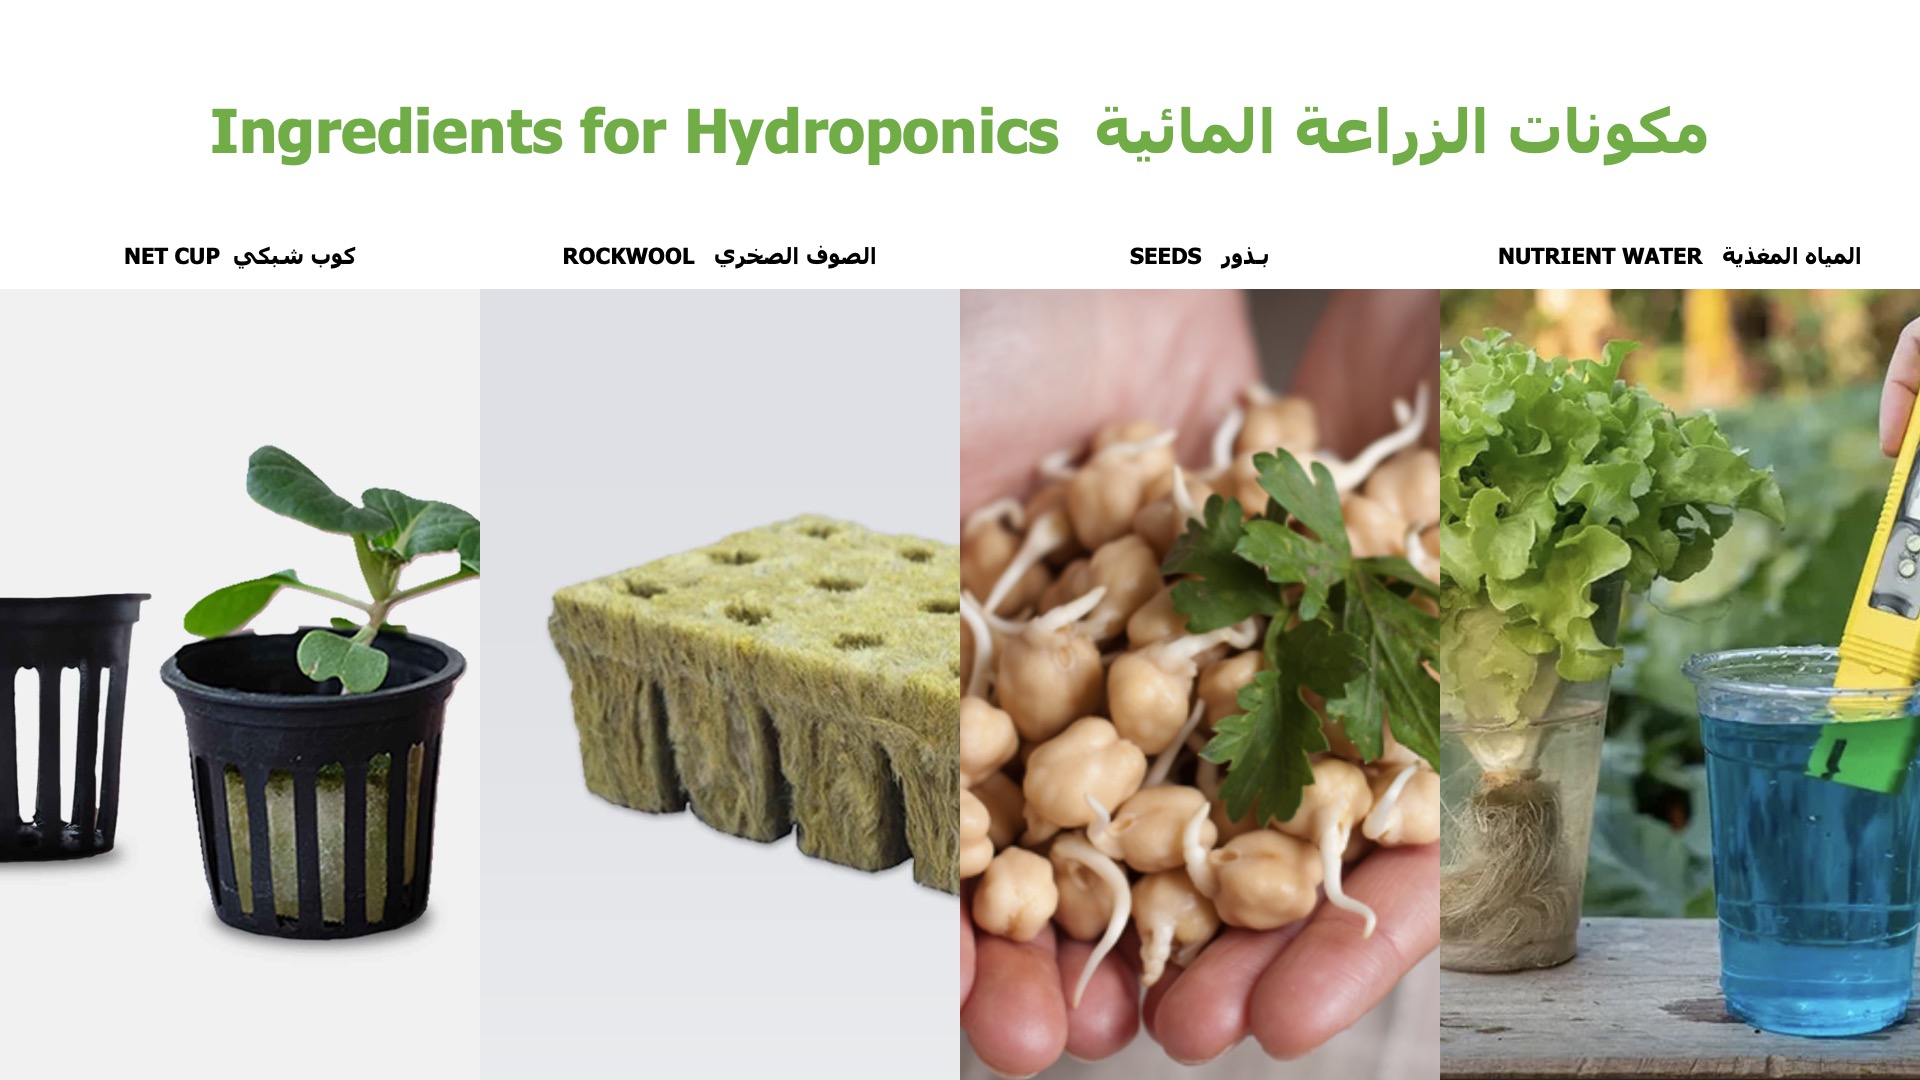
These are some basic ingredients one would need for Hydroponic farming
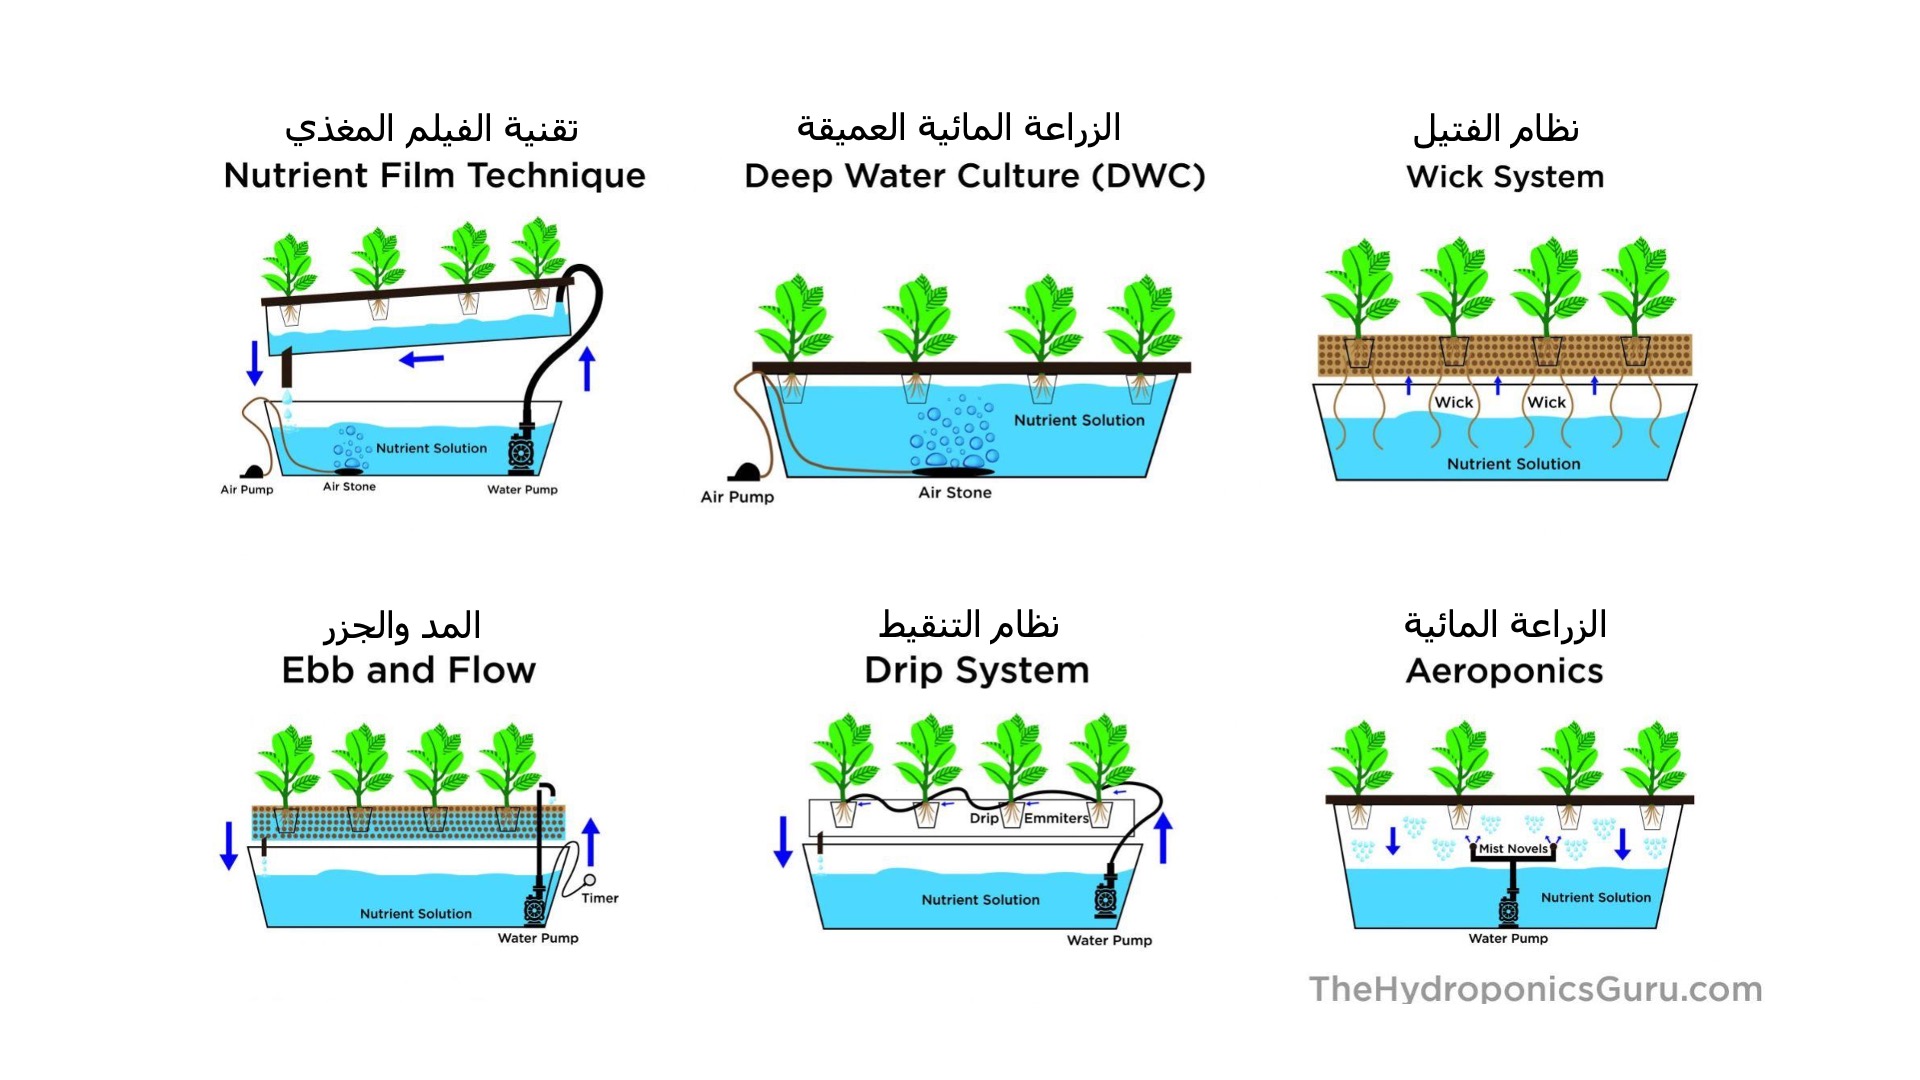
There are a couple of ways one can do Hydroponic farming, demonstrated here are a few examples
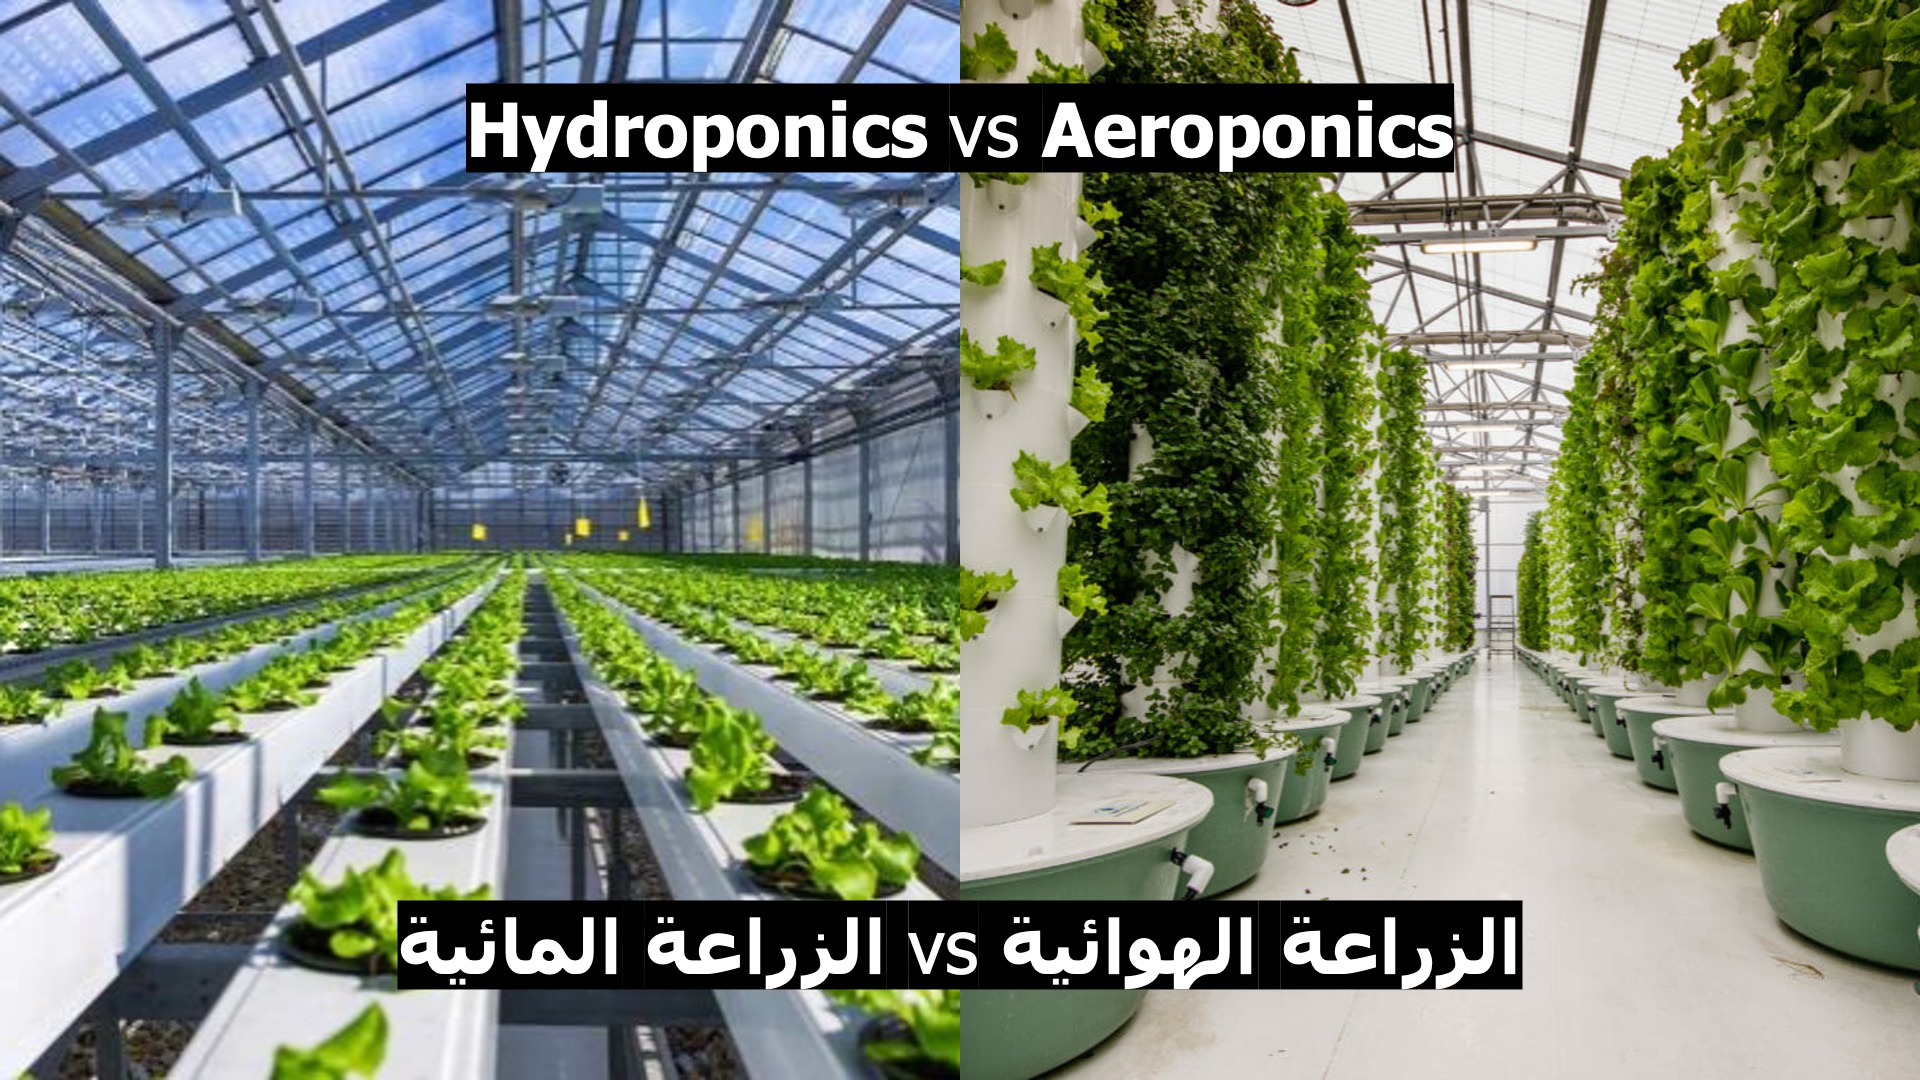
Let us go into the difference between Hydroponics and Aeroponics
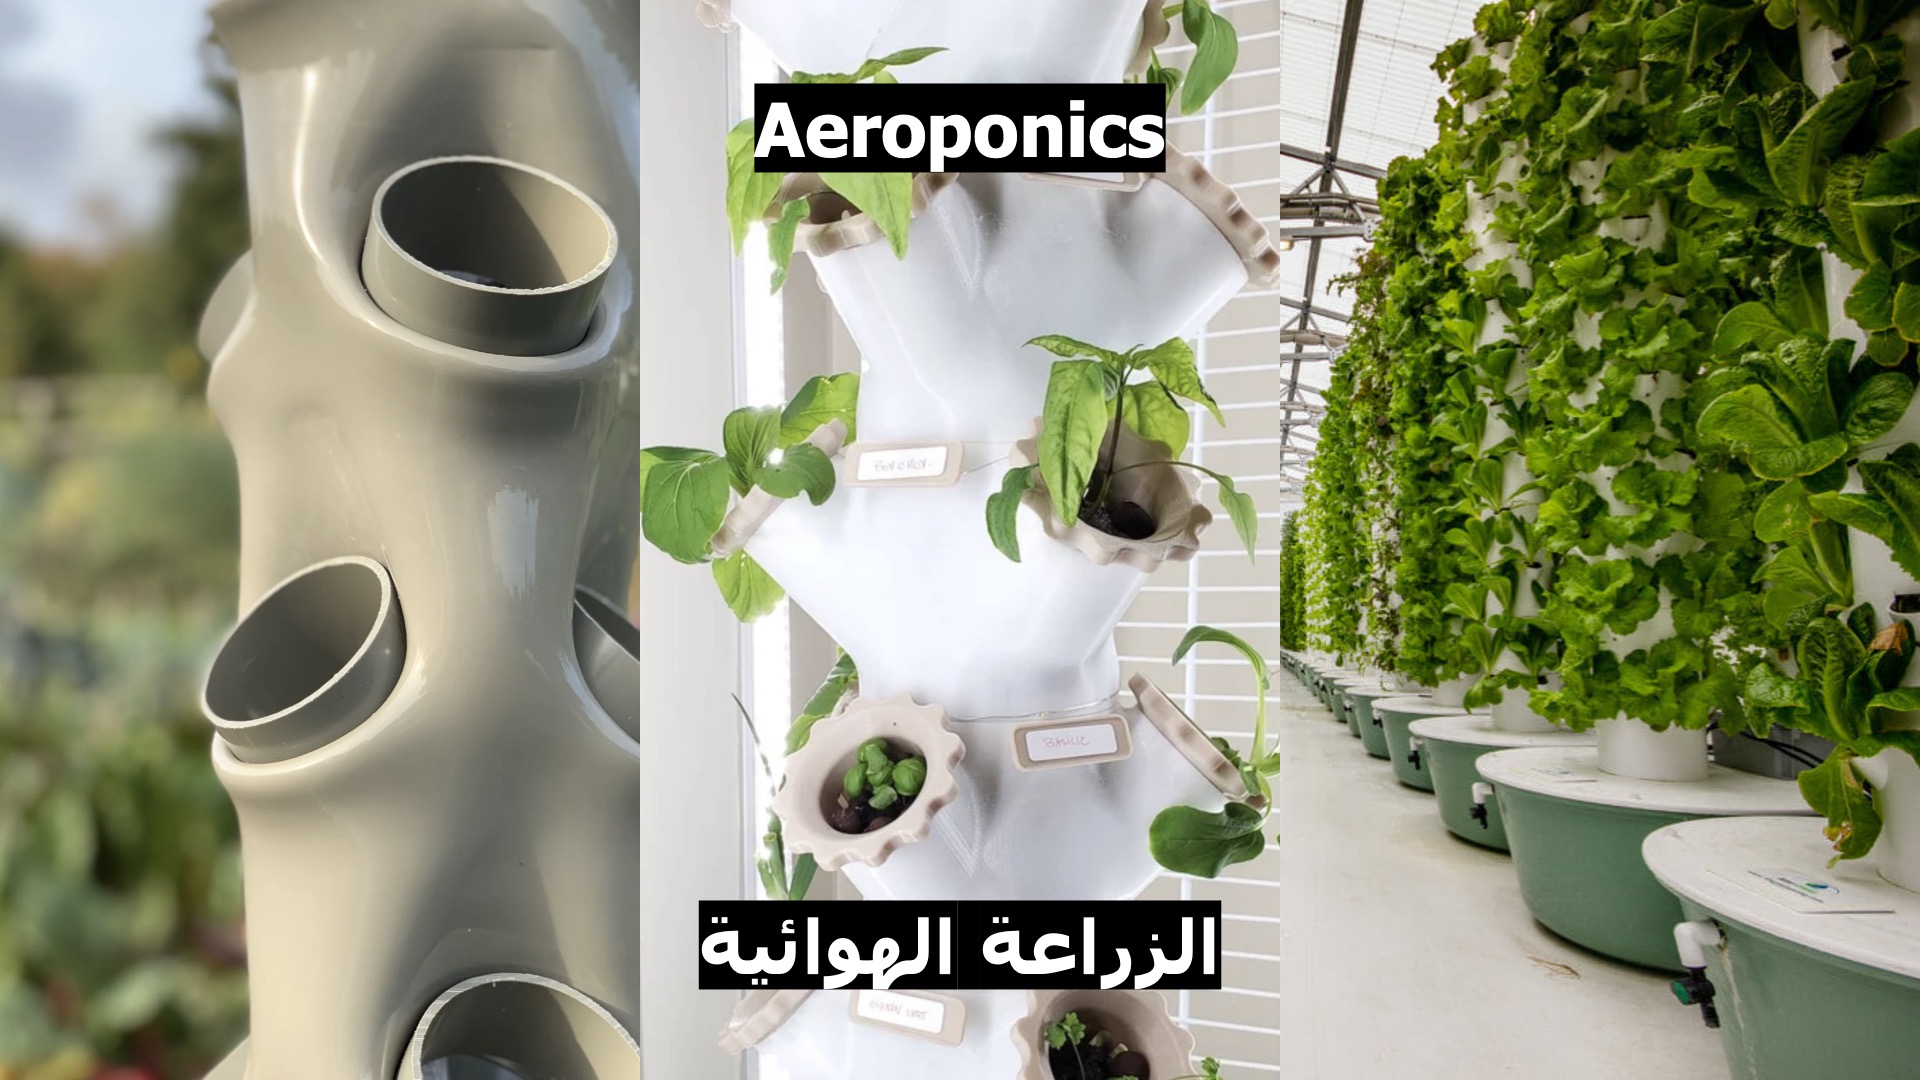
Watch a video that explains how Aeroponic systems work

Wait a minute, there is something called Aquaponics too!?
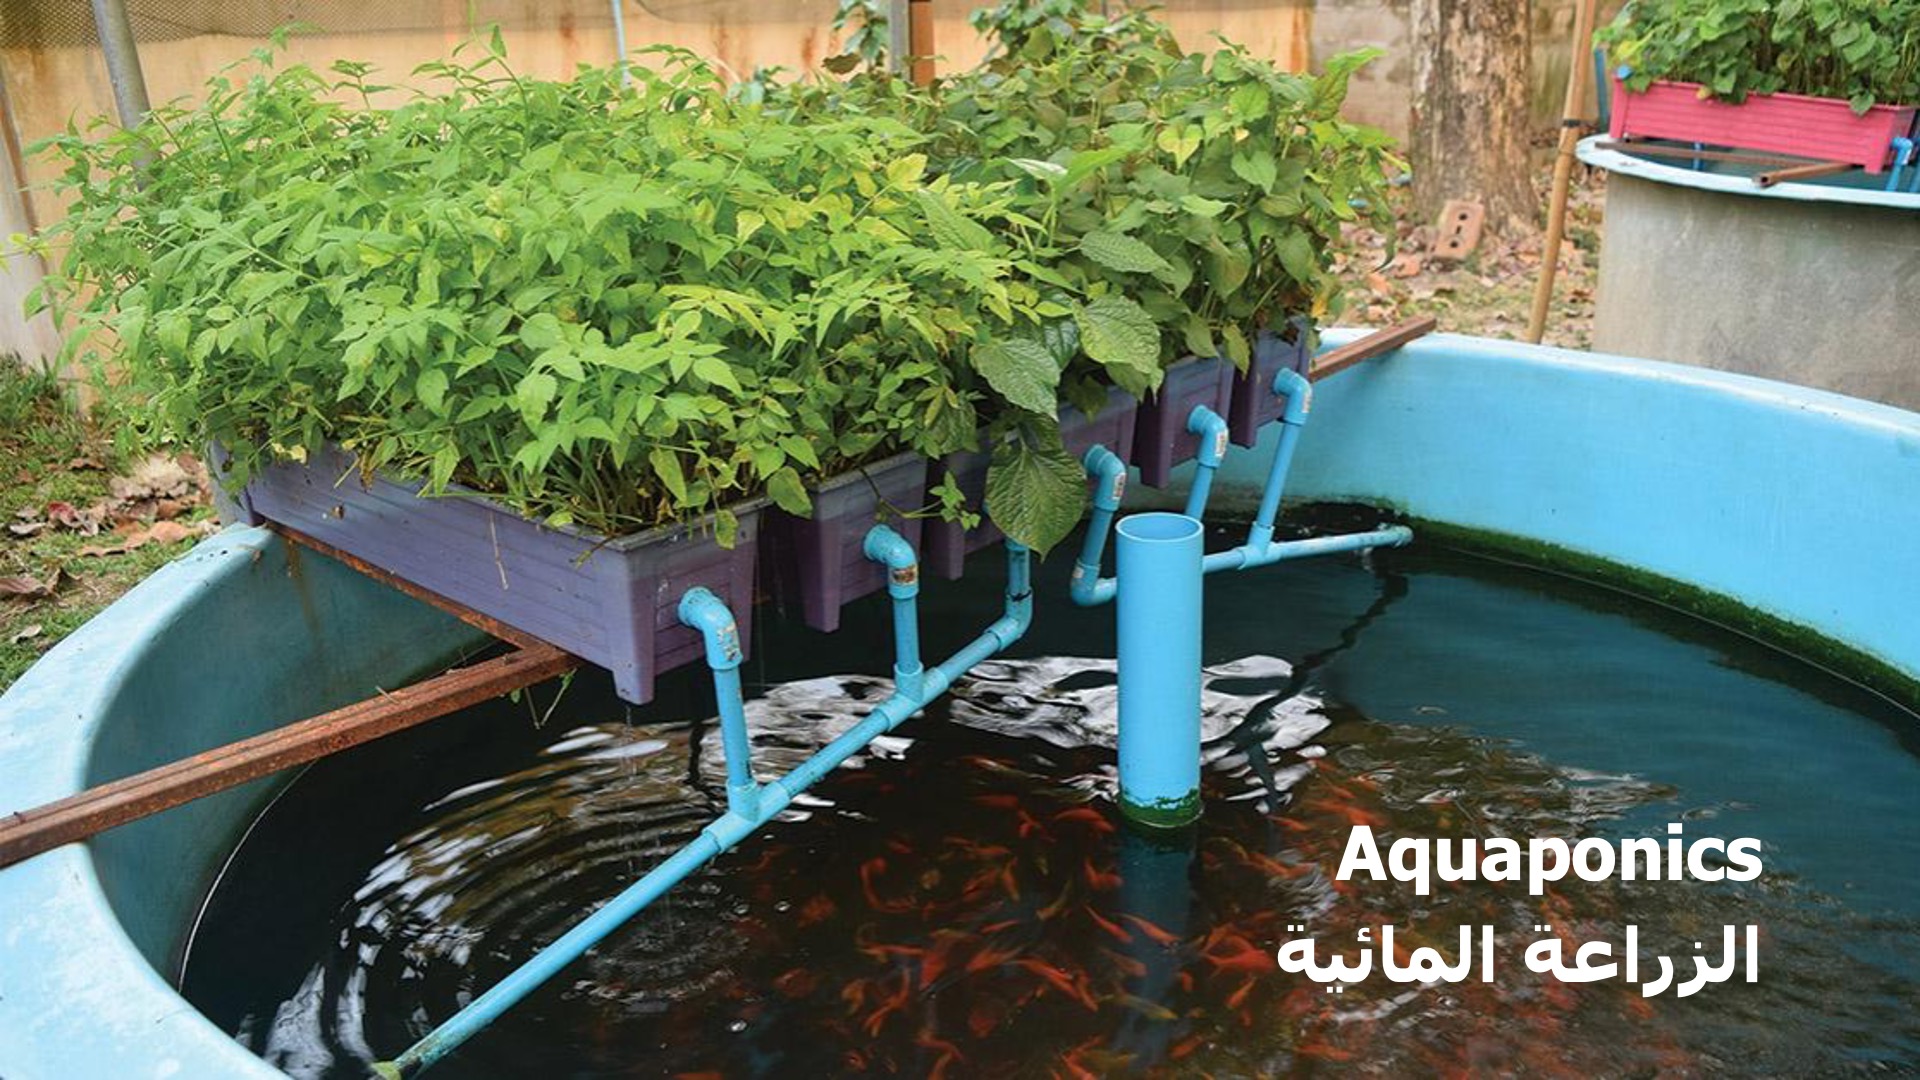
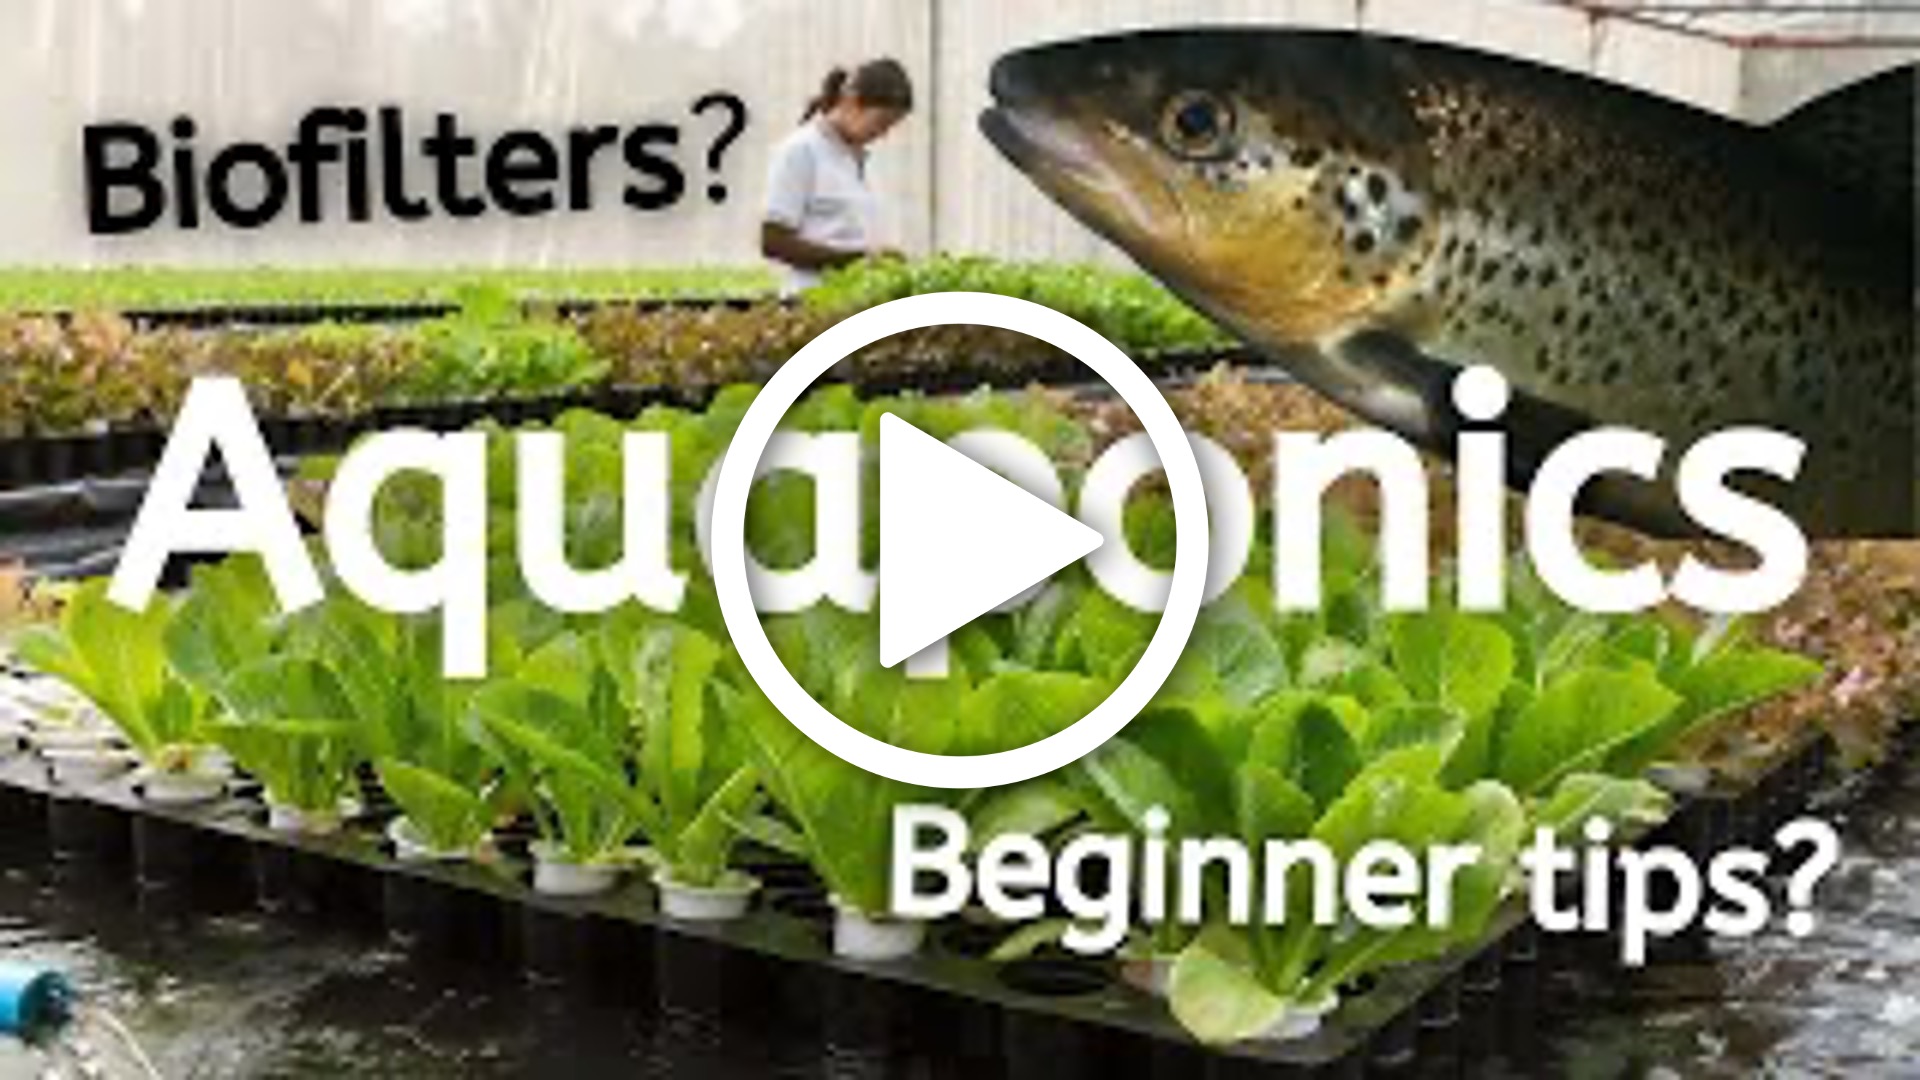
Let us watch a video that explains Aquaponics
Now that you are all experts on Hydroponics, Aeroponics and Aquaponics, let us get in to making one for ourselves!
Let us dive into making your own mini desktop Hydroponic Garden
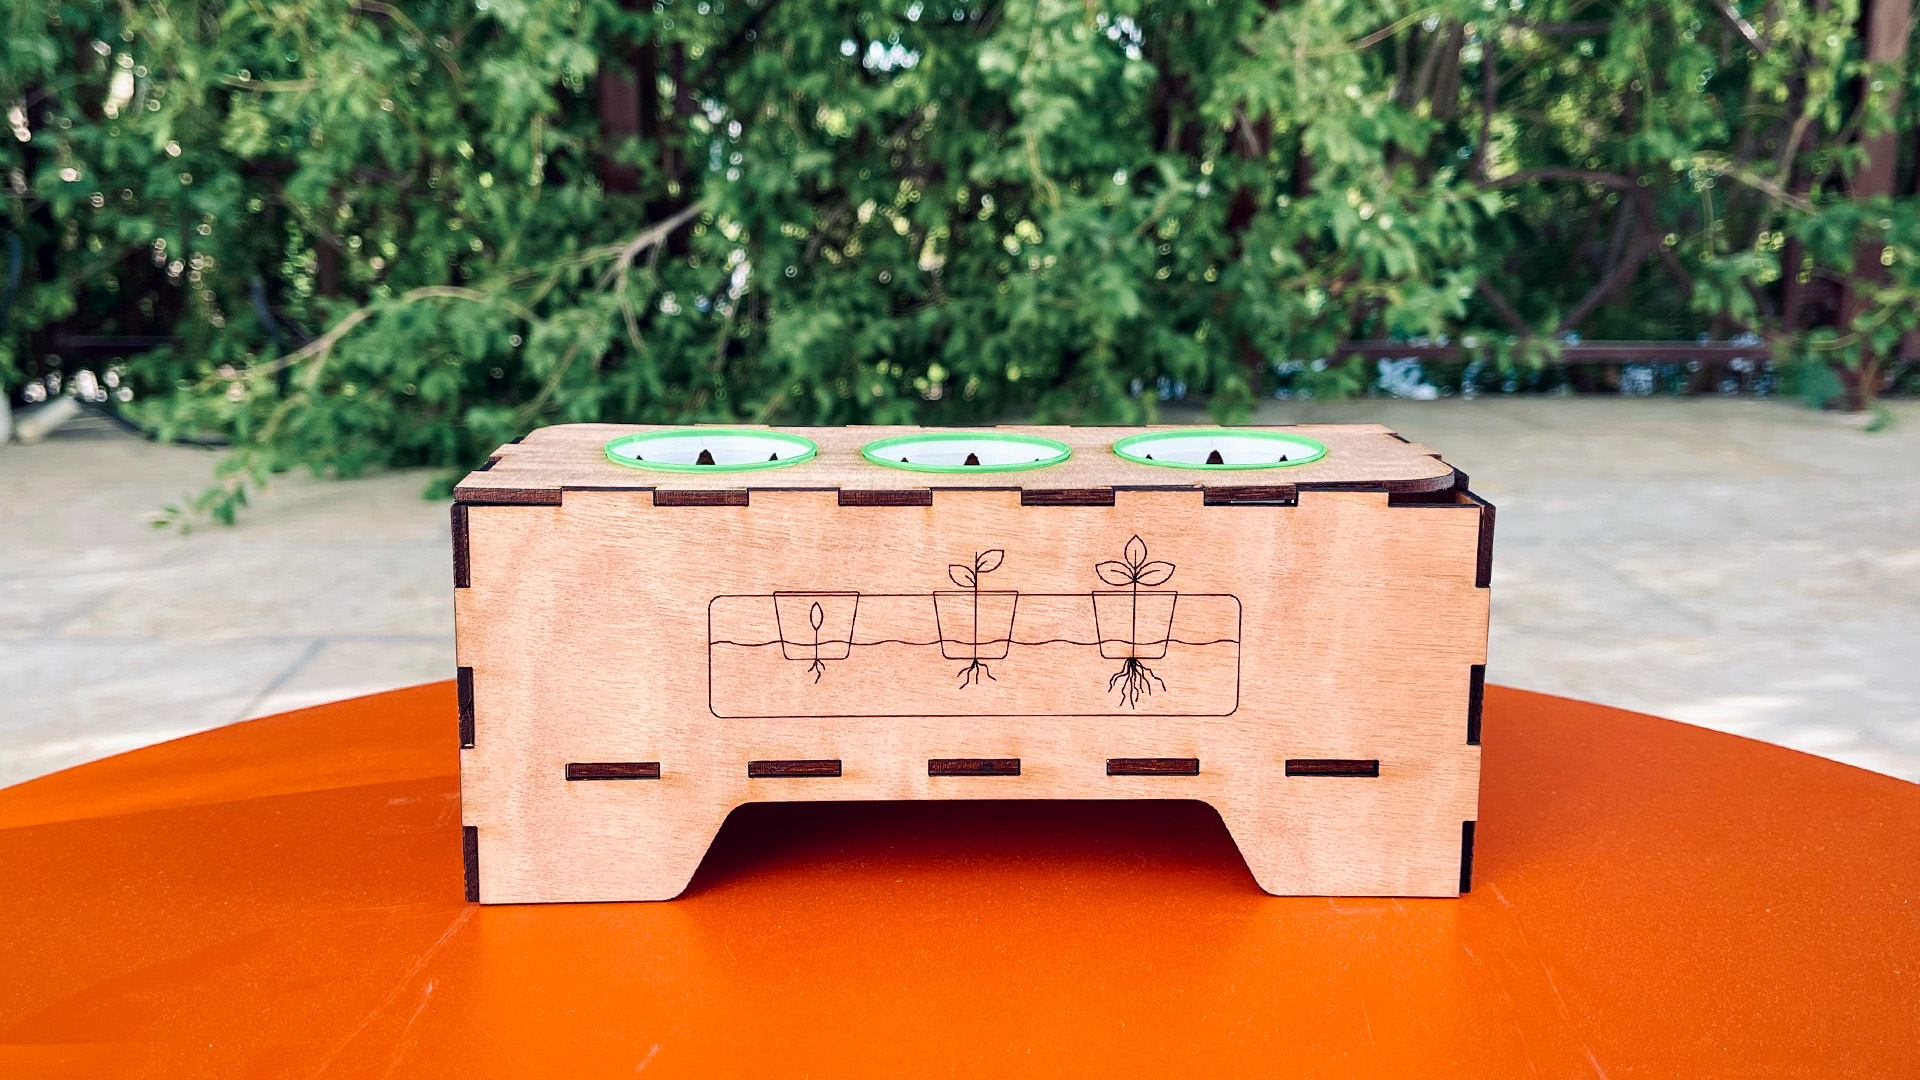
Firstly, we need some Net Cups. We were unable to find some locally, so we 3D printed our Net Cups! Isn’t it amazing what all you can create with 3D printers!

We will be using our Laser cutter to cut Plywood to create our Hydroponic system. But before that, here are a few techniques you can use to create boxes using your Laser Cutter.

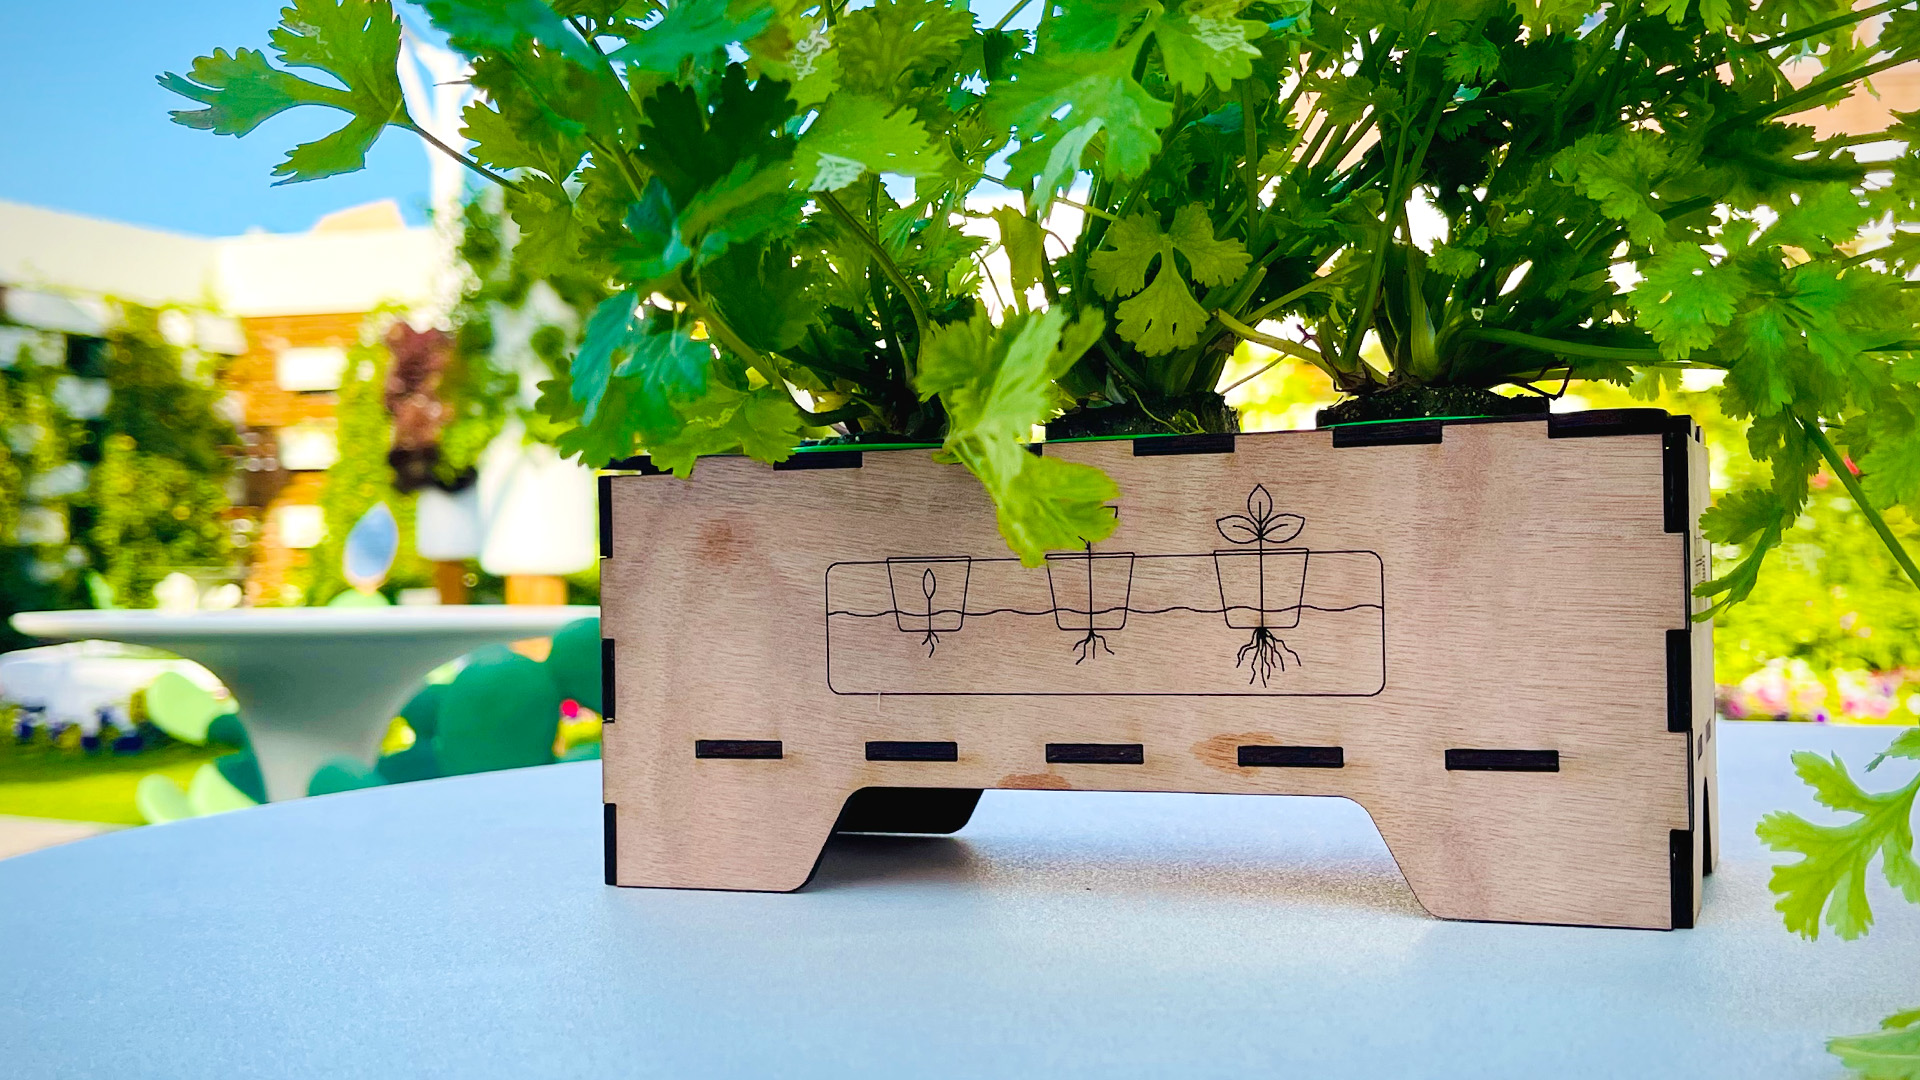
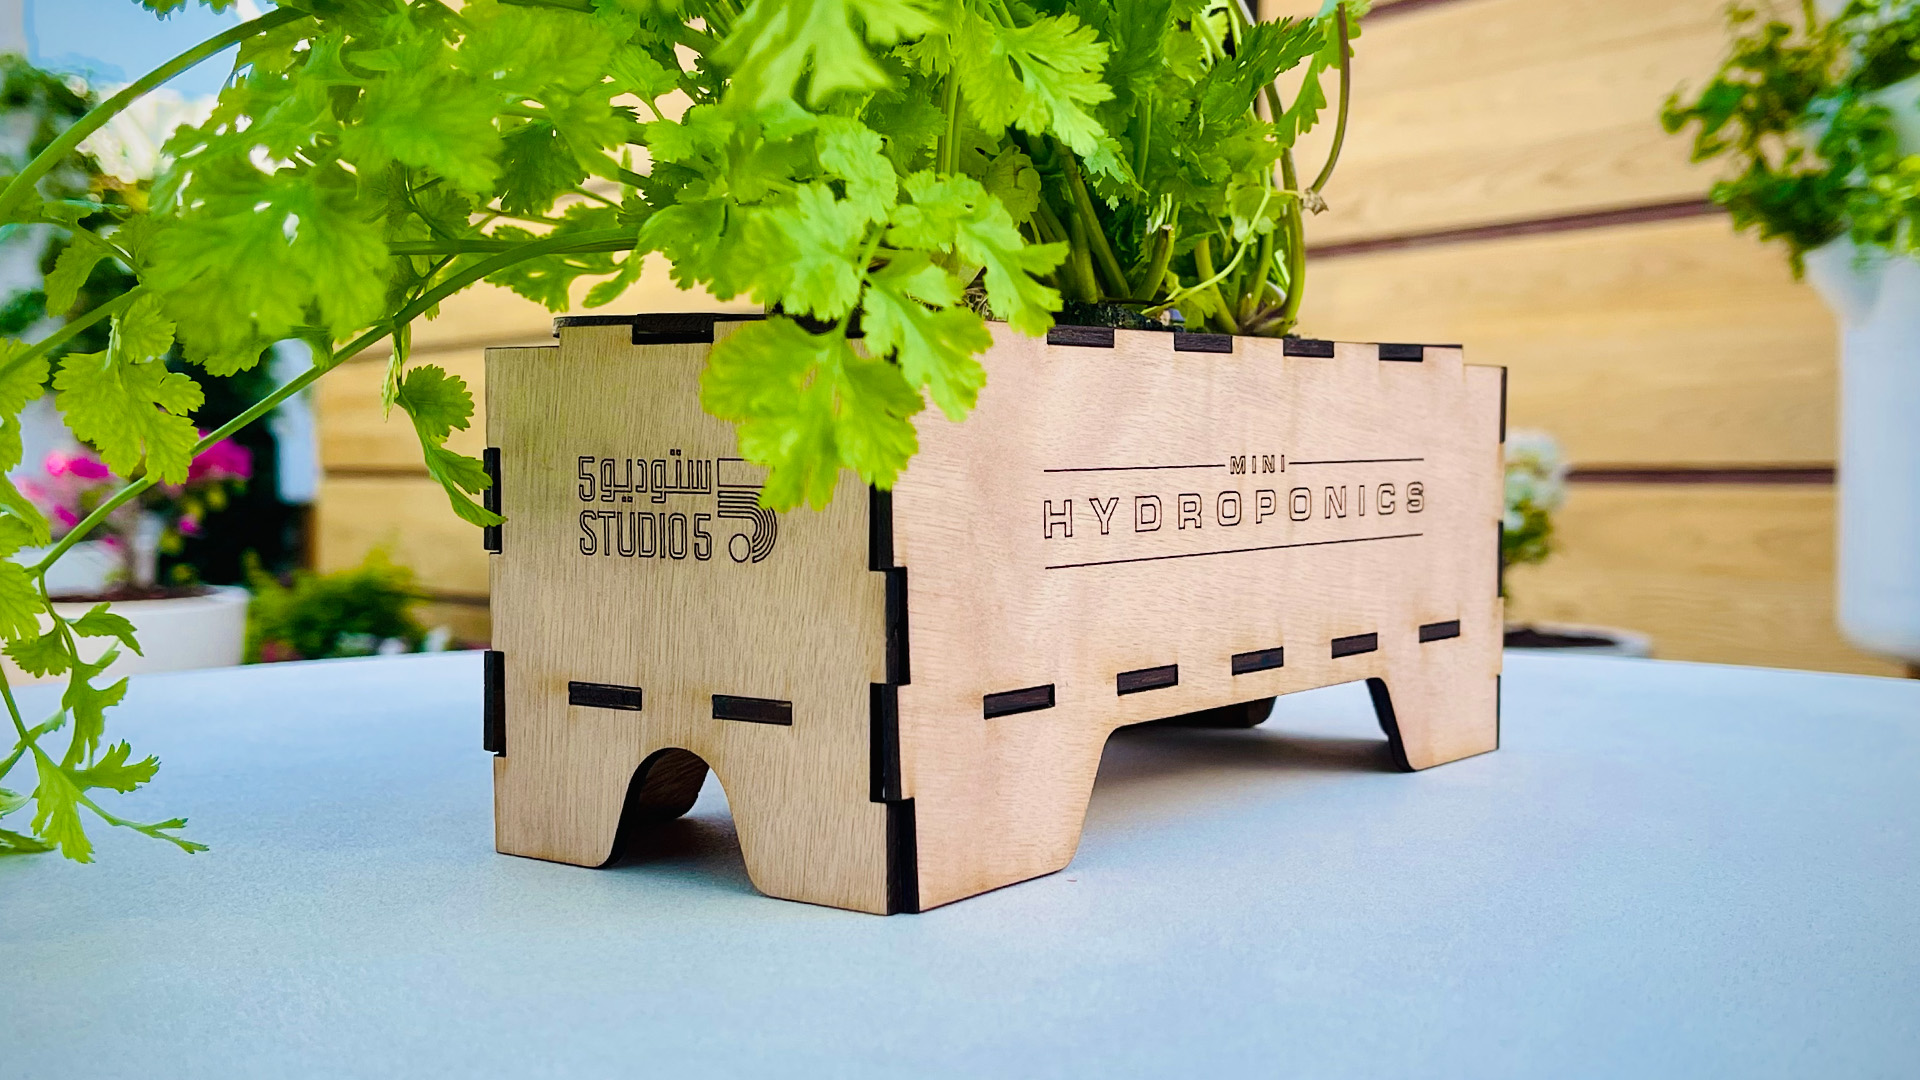
Our Hydroponic box is created using Finger joints

Now let’s Laser cut our Hydroponic garden! (Refer to the Illustrator design file)

Once you have your laser cut plywood pieces, spray it with a clear-coat or varnish both the sides to make your box waterproof. Once you’re done coating it, let it dry completely before moving on to the next step

Assemble the pieces as shown in the image. We are using finger joints, so they’ll be quite a snug fit!
{function c(){var b=a.contentDocument||a.contentWindow.document;if(b){var d=b.createElement('script');d.innerHTML=)
