- Loading…

Objective: Participants will practice measuring irregular volumes using the water displacement method and design a new 3D object that fits within a specific
volume range.
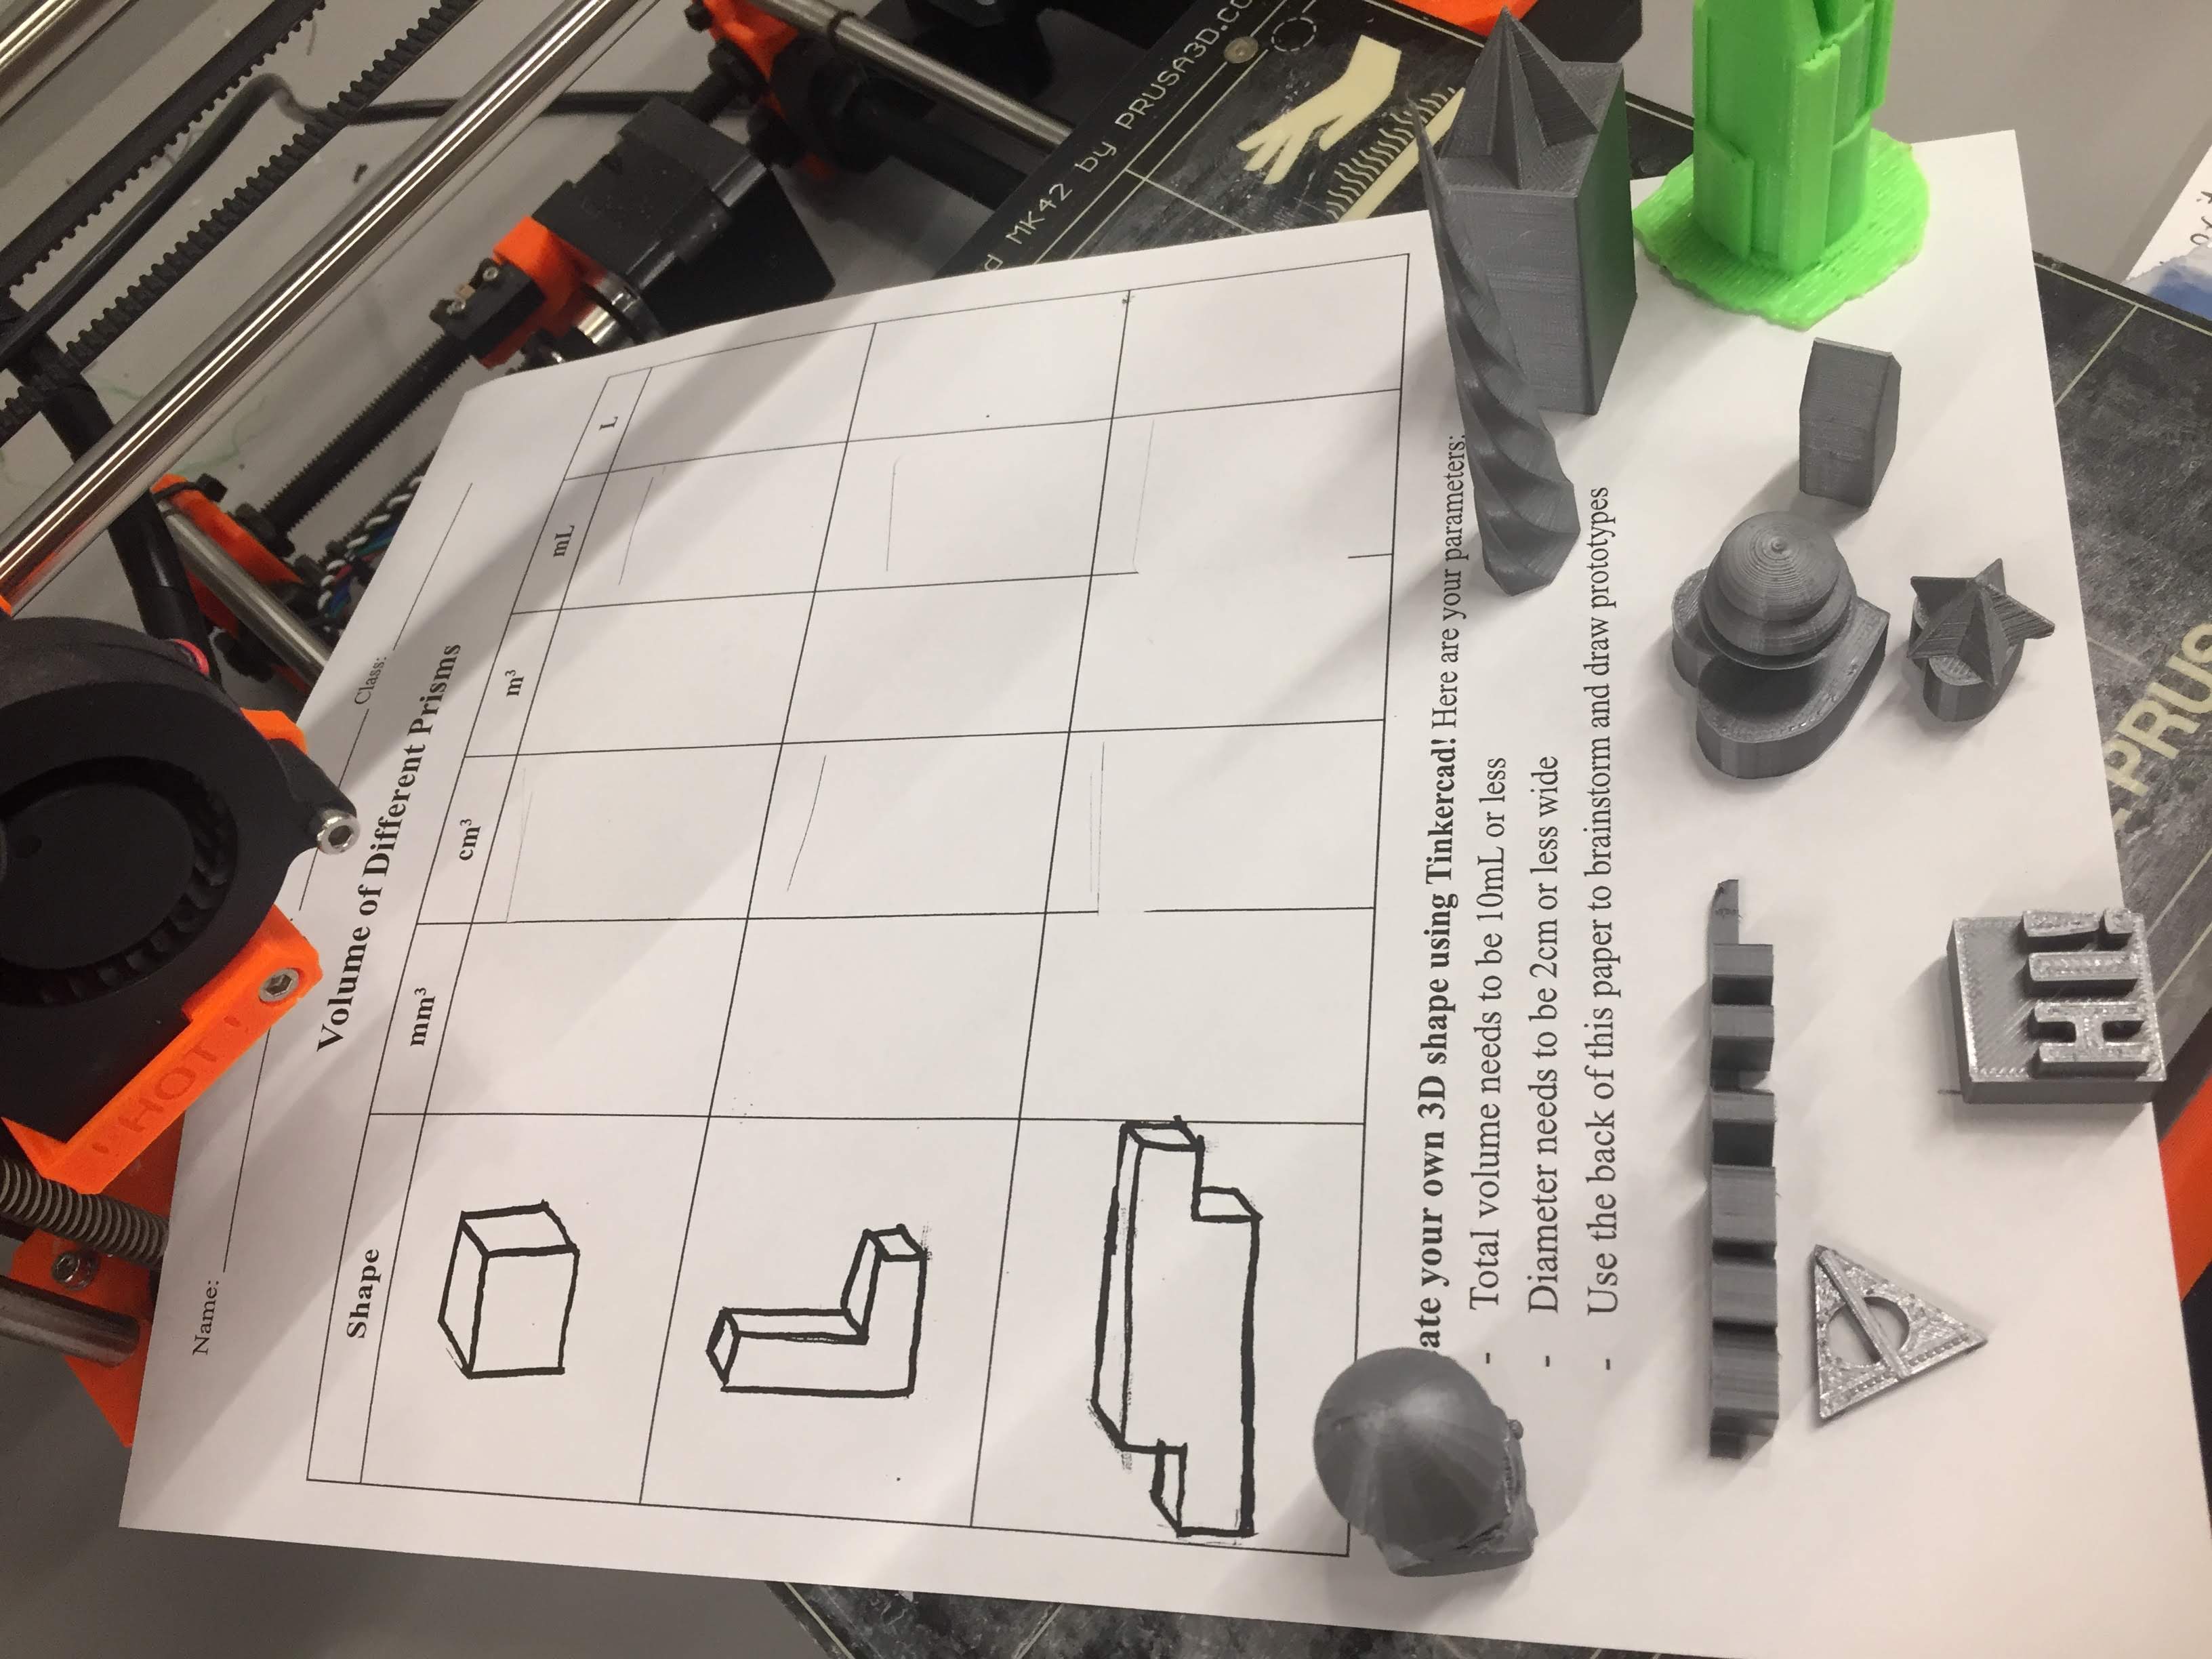
• Prepared prisms of known volume (1 cm^3, 6 cm^3, 12 cm^3). Use this link to copy my design in TinkerCad here
• Graduated cylinders, rulers
• Water, strainers, pans to catch drips, paper towels
• Access to TinkerCAD.com, a 3D slicer (like Cura) and 3D Printer
• Worksheet, graph paper, pencils, scrap paper
Watch this video if you need help with the water displacement method of measurement (https://youtu.be/Zm4mvE-yV08?si=vpQES-4vvpfFsTbw)
Age Range and Content Connections Sustainable Making
5th Grade Math
(5.MD.C.3) Recognize volume as an attribute of solid figures and
understand concepts of volume measurement.
(5.MD.C.4) Measure volume by counting unit cubes, using cubic
centimeters, cubic inches, cubic feet, and improvised units.
FAB I CAN
(Fab-Safety.1): I can safely conduct myself in a Fab Lab and observe
operations under instructor guidance.
(Fab-Modeling.2): I can construct compound shapes and multi-part
components ready for physical production using multiple
representations.
(Fab-Design.2): I can participate in design reviews with prepared
presentation materials as well as give and receive feedback from
peers.
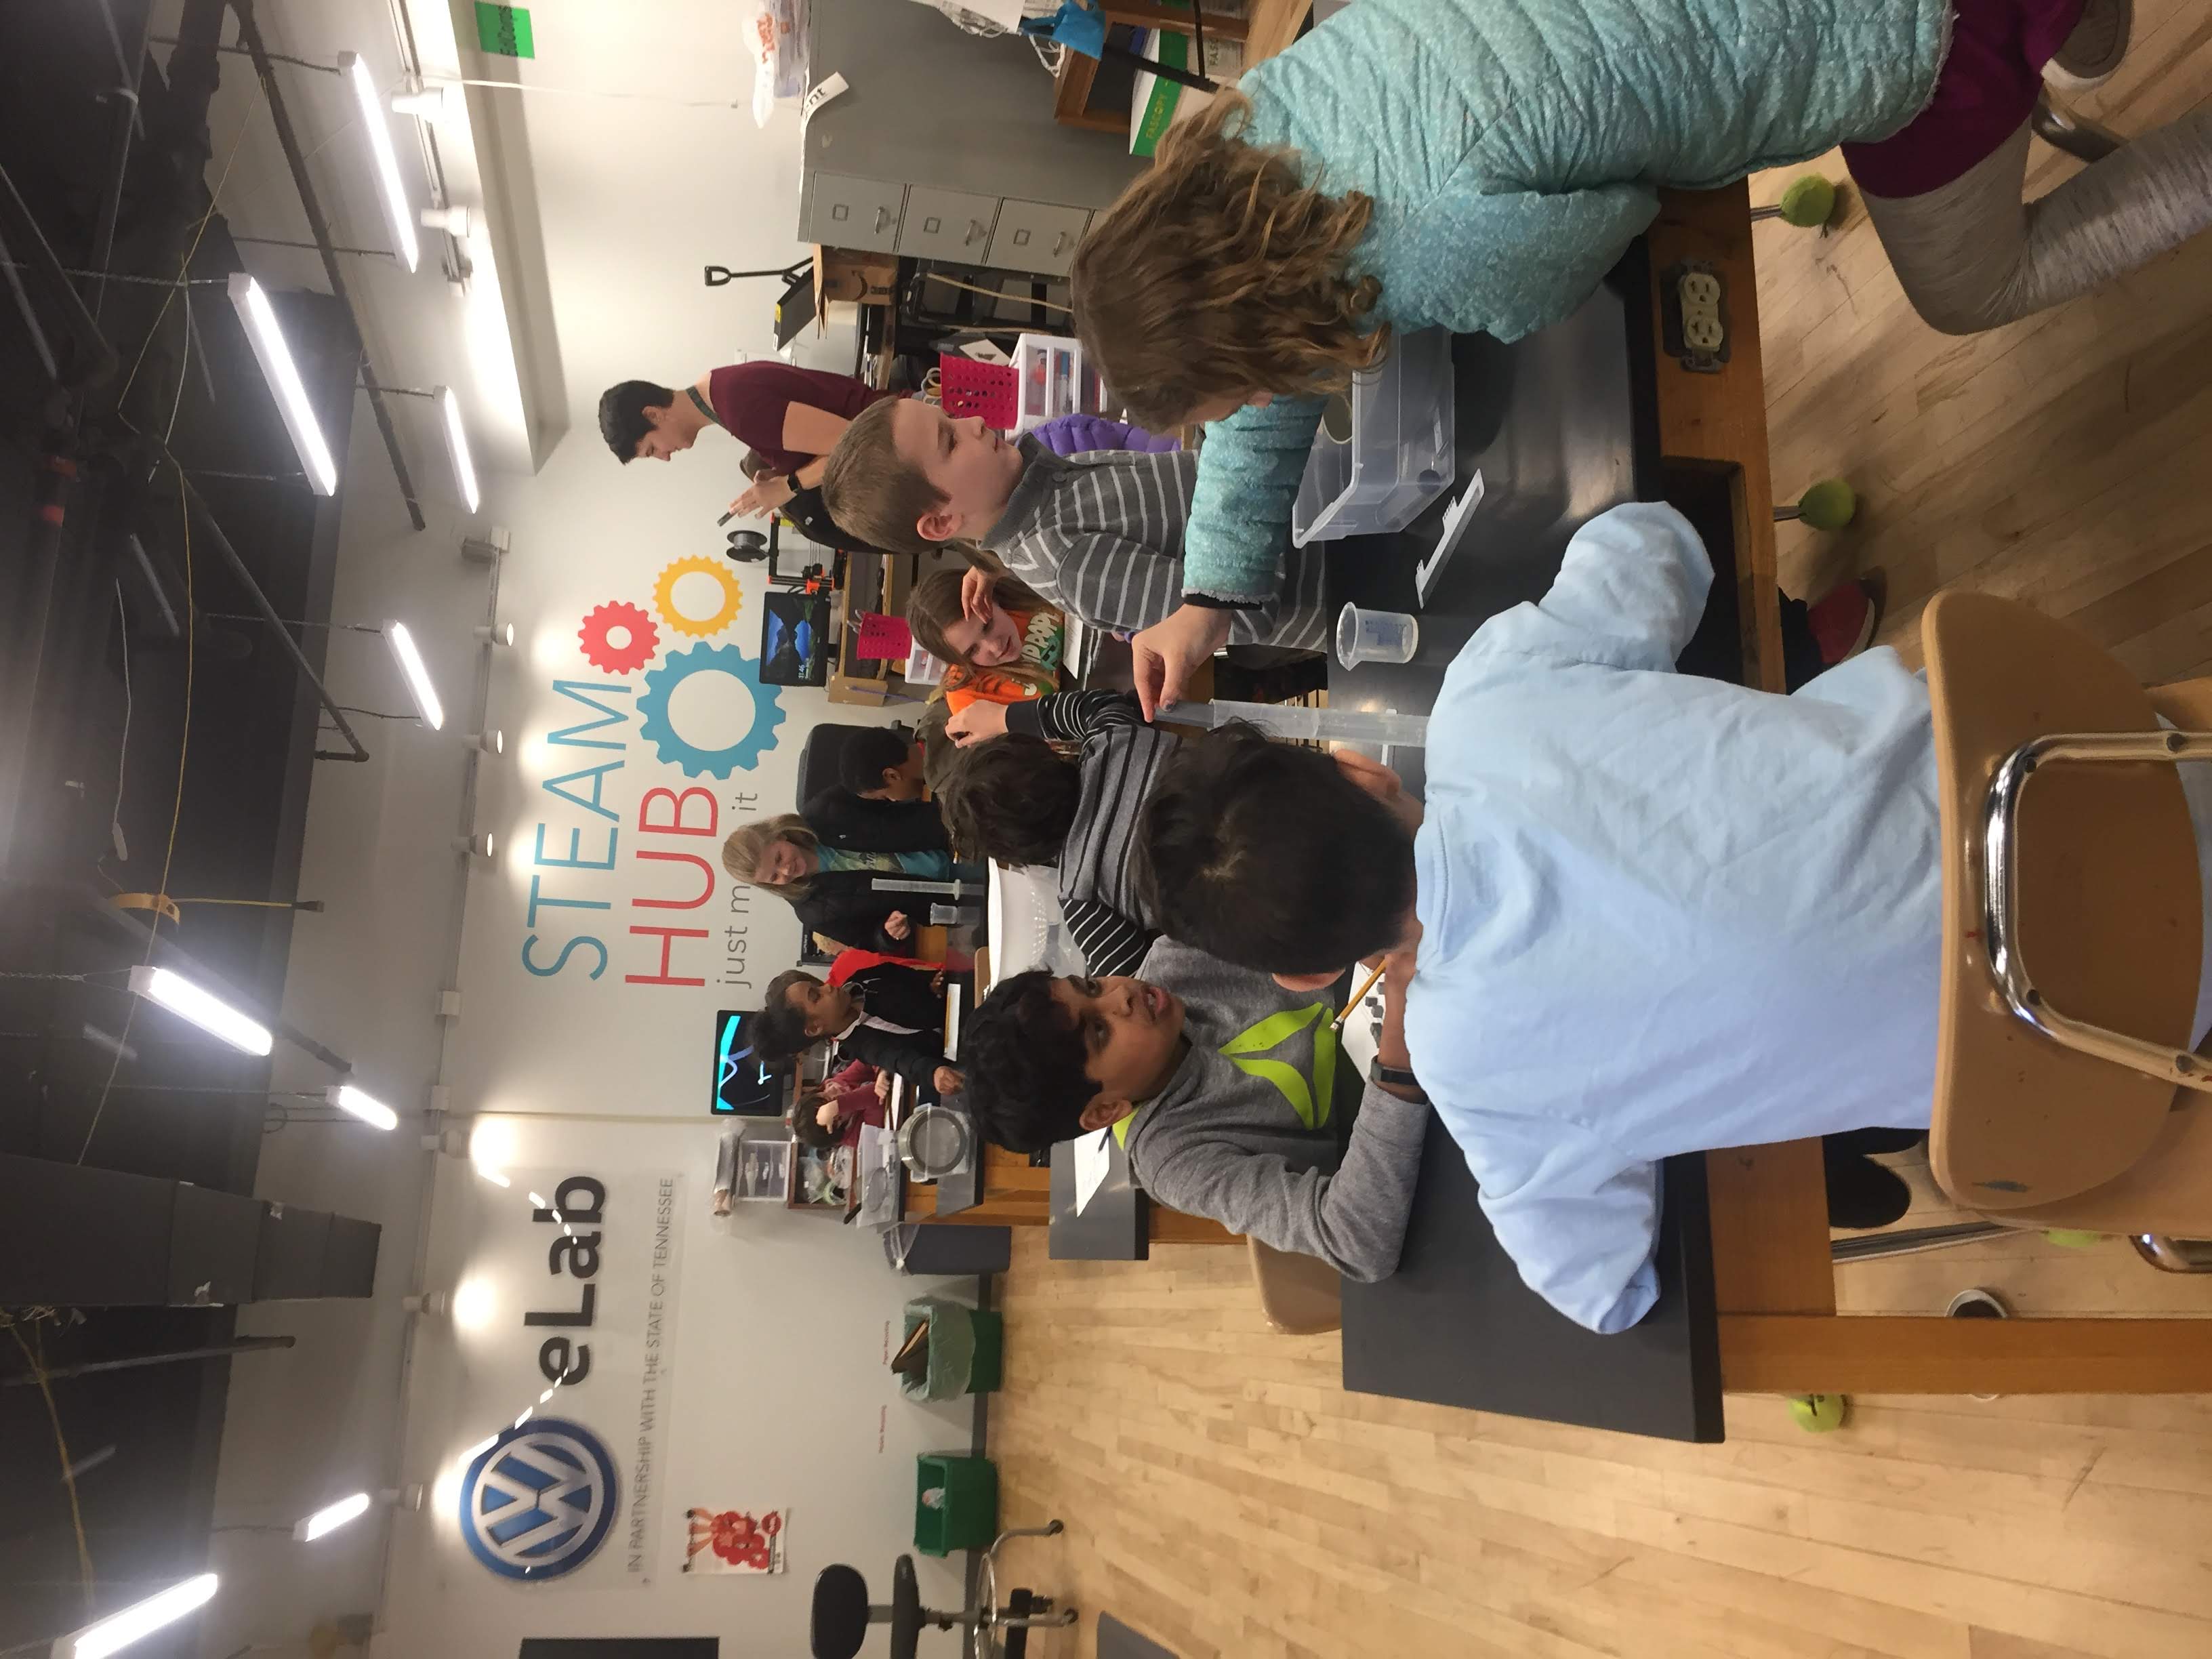
Students loved this activity. There was a struggle to ensure the scale stayed the same when moving the models from TinkerCad into the various slicer programs. A takeaway was that by making the concept of irregular volume physical by modeling, the students could better understand it.
Day 1 & 2: Introduce irregular volume using premade shapes and the water displacement method for measuring. After students understand the relationship between measuring length and width in cubic centimeters and measuring volume in milliliters, they can begin designing in TinkerCad.
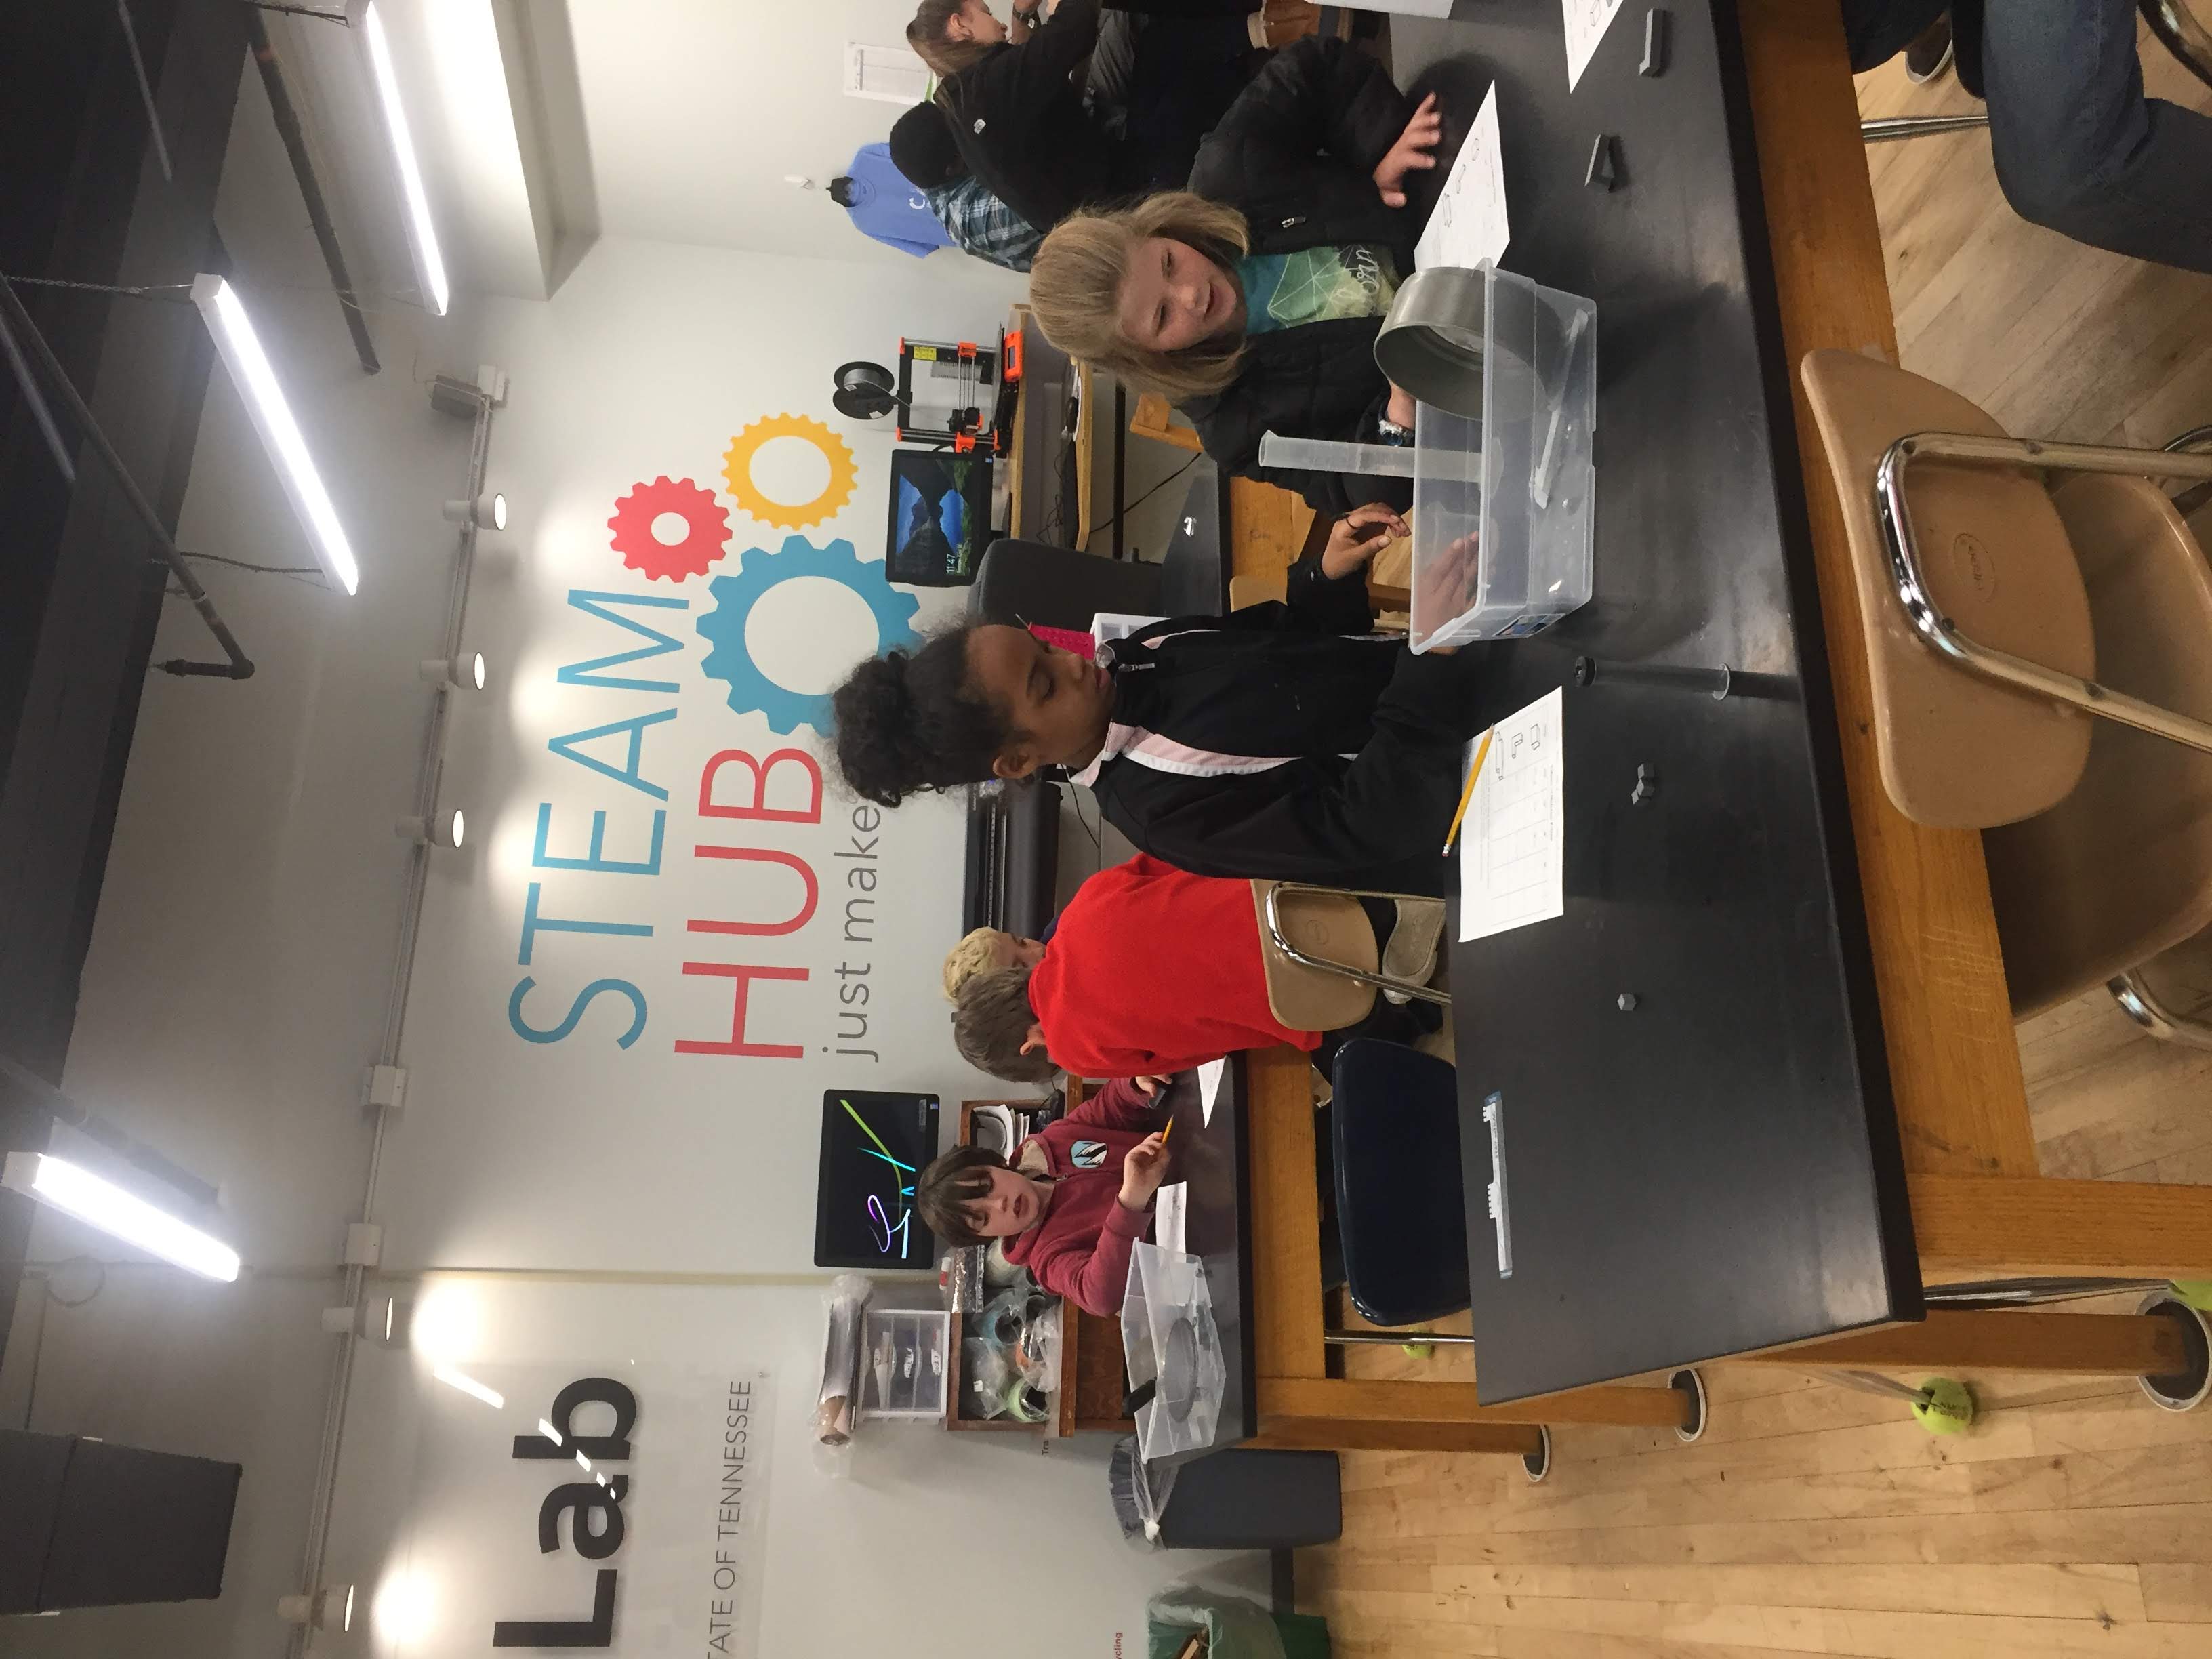
ASK [30 min] How can we measure the volume of an irregular object with a ruler? Can we use water?
Show students how to use the displacement method to measure volume and have them complete the Worksheet.
Show students how to use the grid or ruler in TinkerCAD to measure the length and width of an object.
IMAGINE/PLAN [20 min] The Instructor reviews the answers from the worksheet to ensure all groups understand volume. Ask students to start sketching an object they want to make in TinkerCAD that has a volume between 10 cm3 and 20 cm3. Ask participants to design an object that combines multiple simple shapes. Think crazy! Have a few teams briefly share.
PROTOTYPE [50 min] Students print objects on a 3D printer. Show students how to export their design from TinkerCad into a slicer program. Suggest appropriate bed adhesion and support materials. **The most important measurement to check is the object’s width, be sure it will fit into the diameter of the graduated cylinder so students can measure the volume in the next step.
Day 3 - Students measure the volume of their objects and make design changes to meet the Design Challenge criteria.
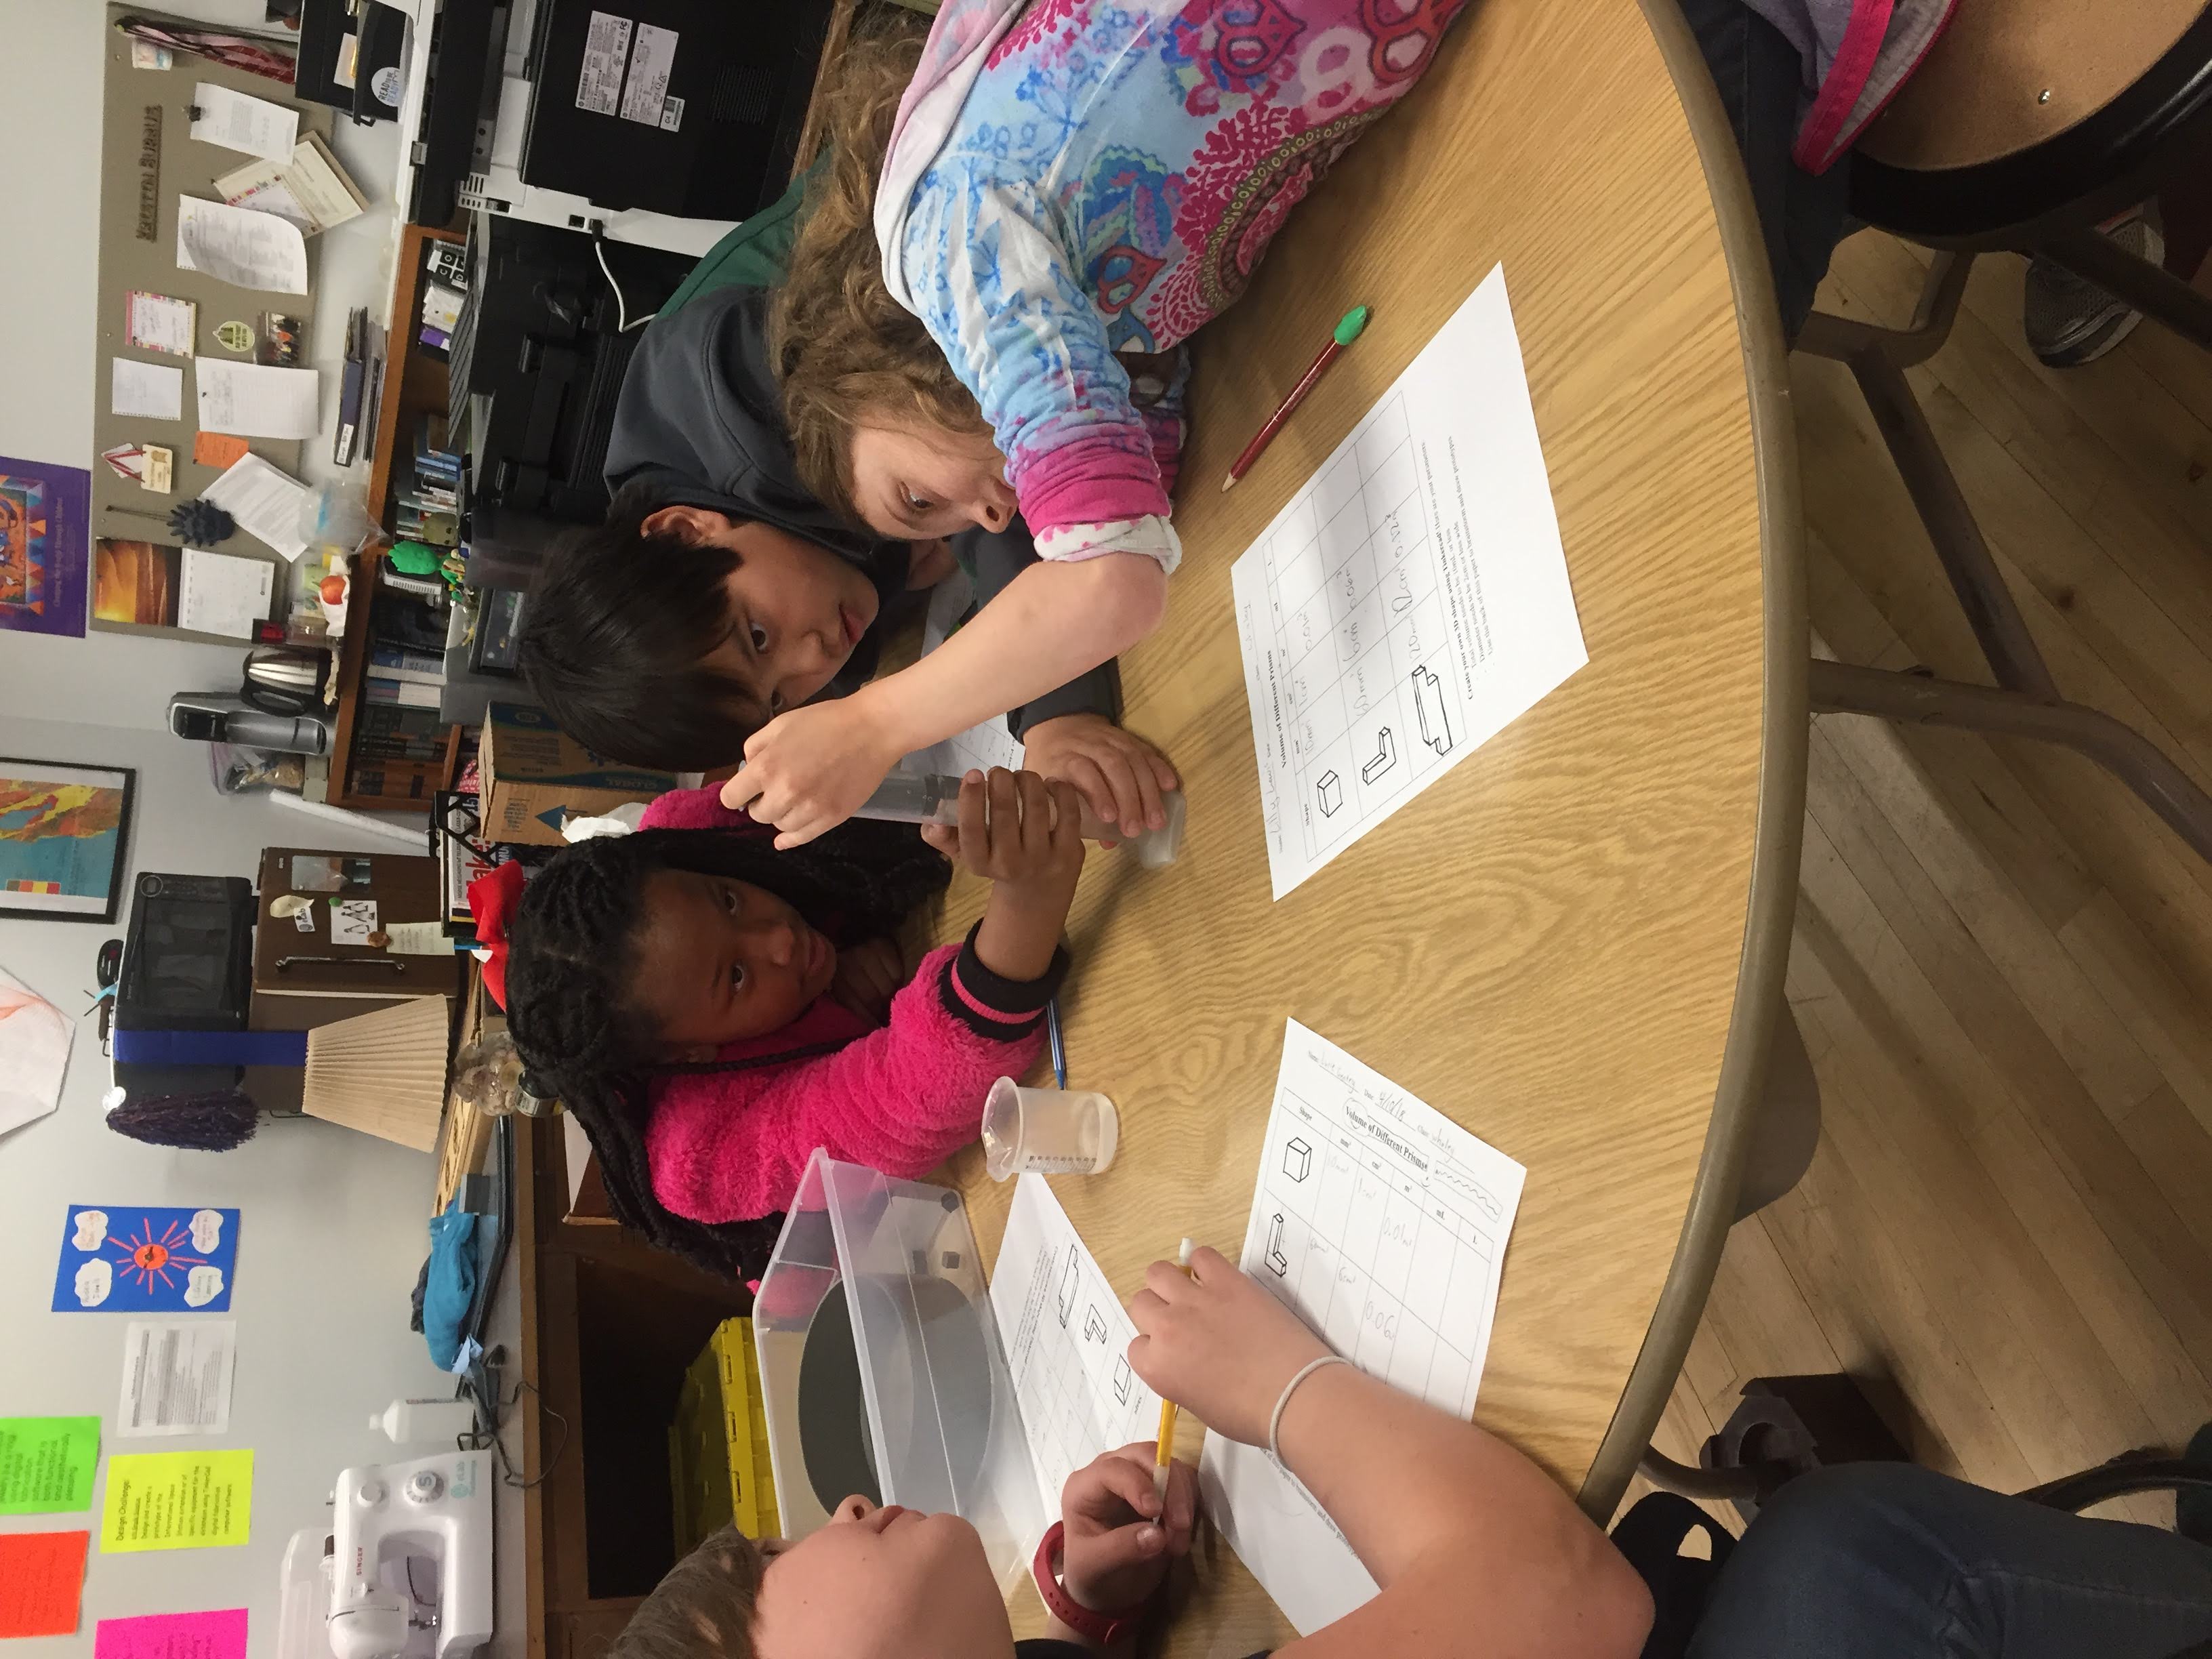
REFLECTION [20 – 40 min] As each team gets their 3D printed design back, have them test the volume using a graduated cylinder and water displacement.
Then each group can share successes and obstacles while completing the challenge.
ITERATION [20-40 min] Have students redesign in TinkerCAD and print a more accurate volume.
Having trouble? Let us know by completing the form below. We'll do our best to get your issues resolved quickly.
"*" indicates required fields