This workshop aims to deliver the know-how about Global warming and its causes, in addition participants are going to be introduced to the ways they can interfere in order to solve this planet dilemma.
By learning how to create a device that collects data, using electronic sensors, Arduino board and coding, they can analyze this data and act accordingly.
Computer, Arduino, MQ135, DHT22, Breadboard, cardboard pack.
Presentation
1- Introduce the participants to Studio 5.
2- Introduce students to each other (Ice breaking). / Start introducing the workshop through a series of questions and thoughts about global warming.
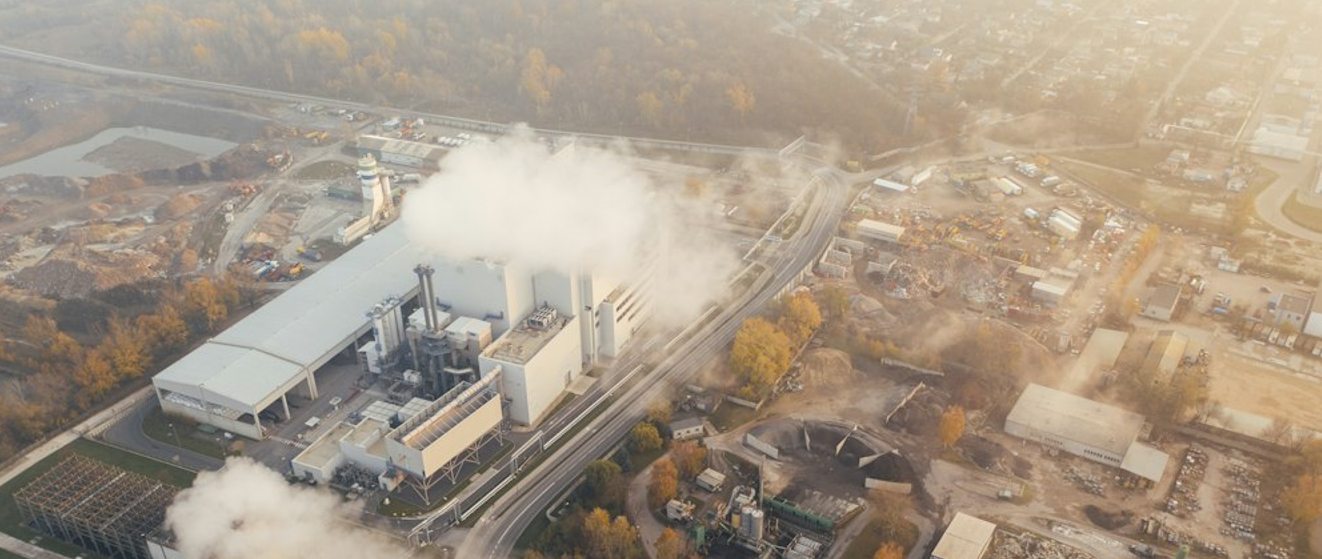
3- Introduce the team and the zones of studio 5 and what studio 5 is about as a fabrication laboratory.
4- Series of questions to introduce the topic we are about to explain and presenting a video related to what we are doing.
5- Describe the global warming problem and The solution presented to solve this problem worldwide.
6-Our contribution to solve this problem.
7- How we can monitor the percentage of CO2.
8- How CO2 Sensor works.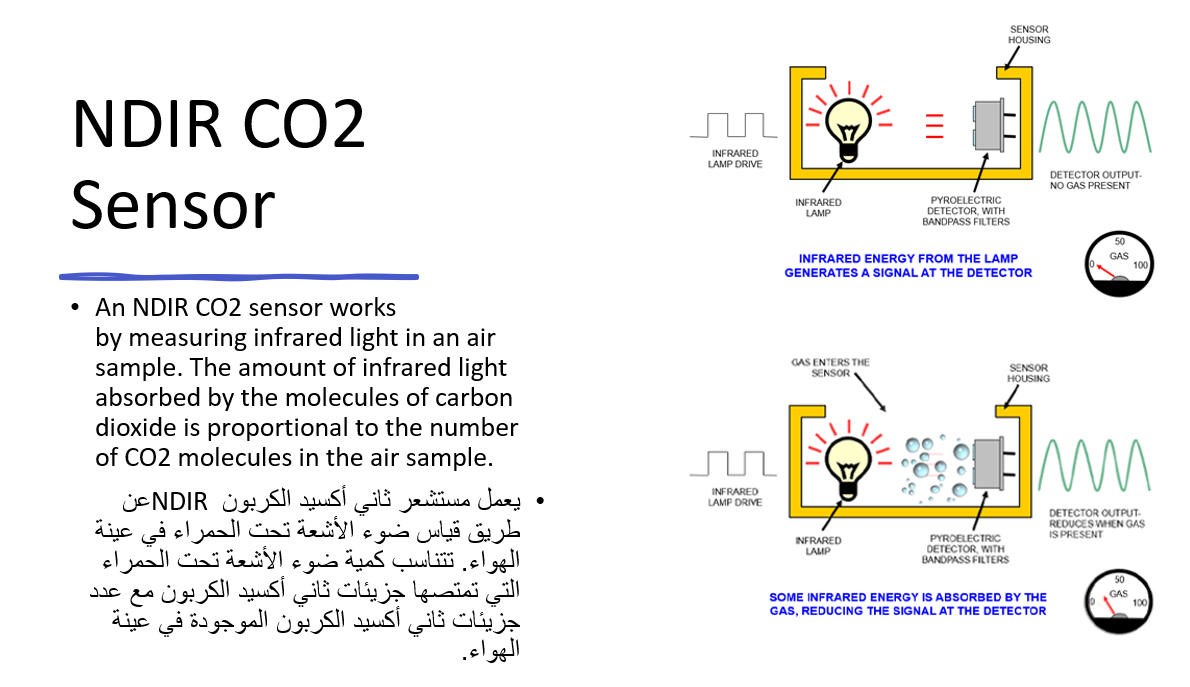
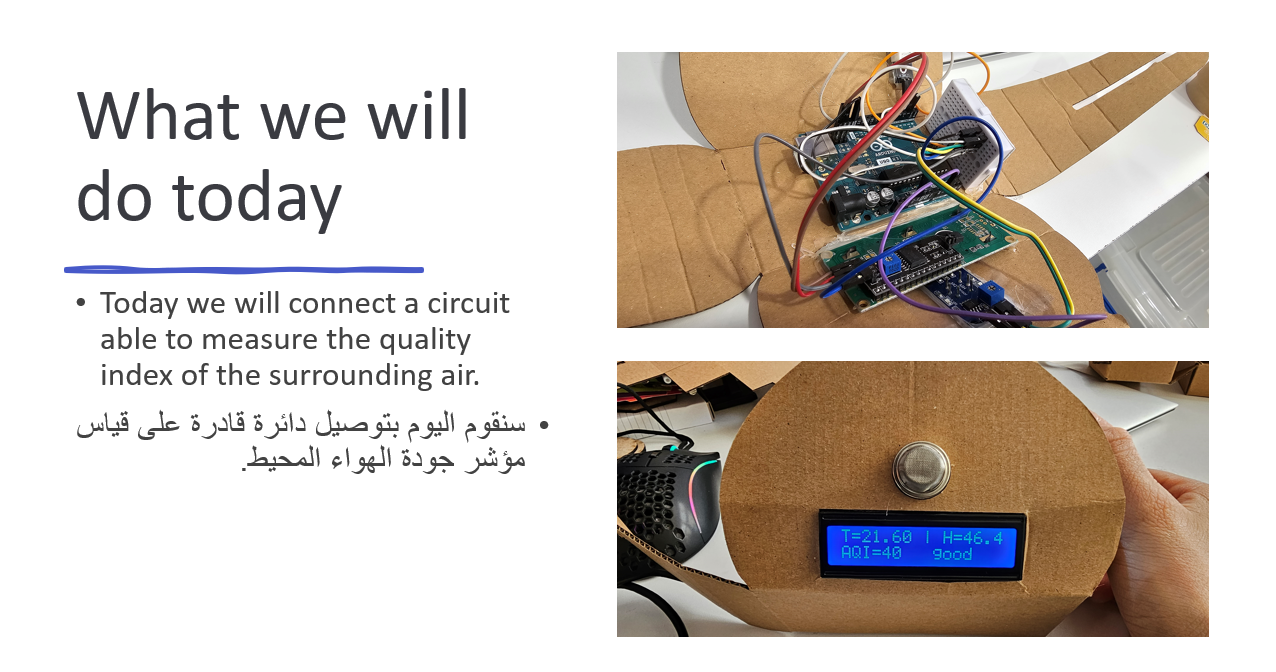
9- Describe what we are going to do, and the material needed for it.
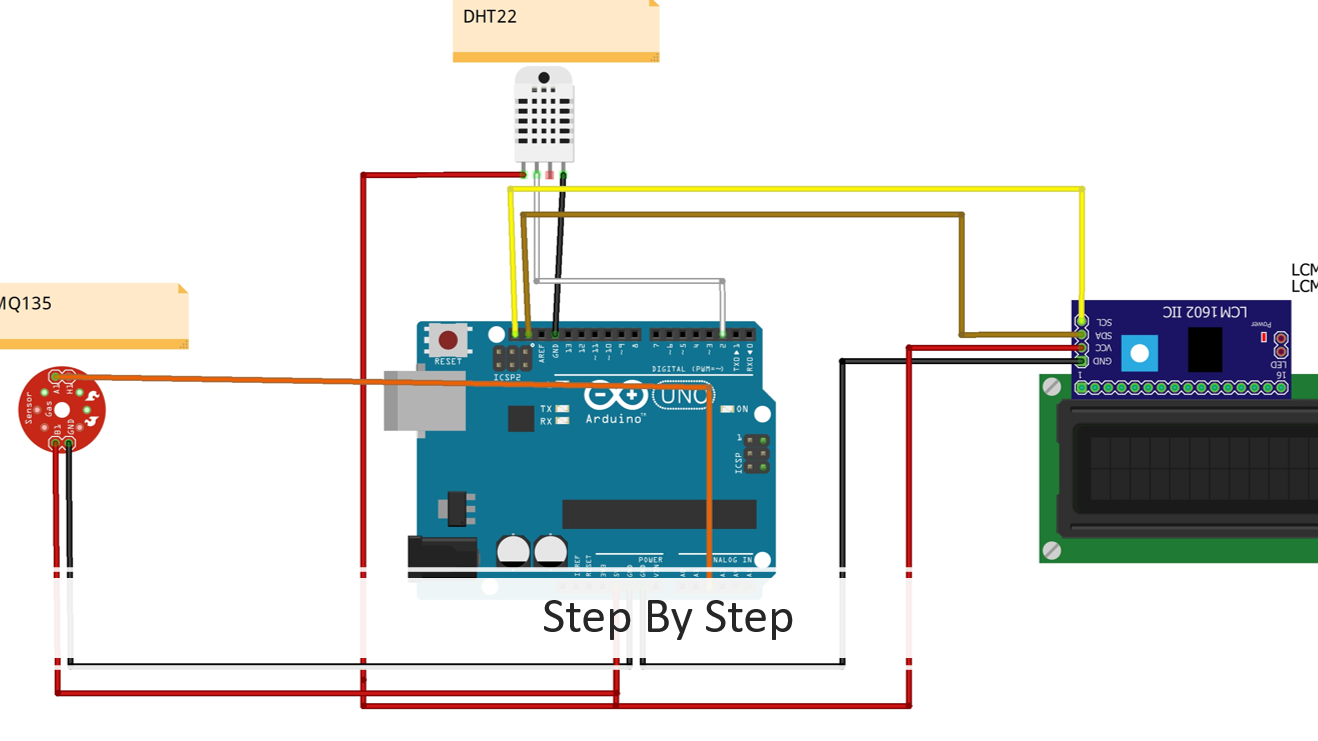
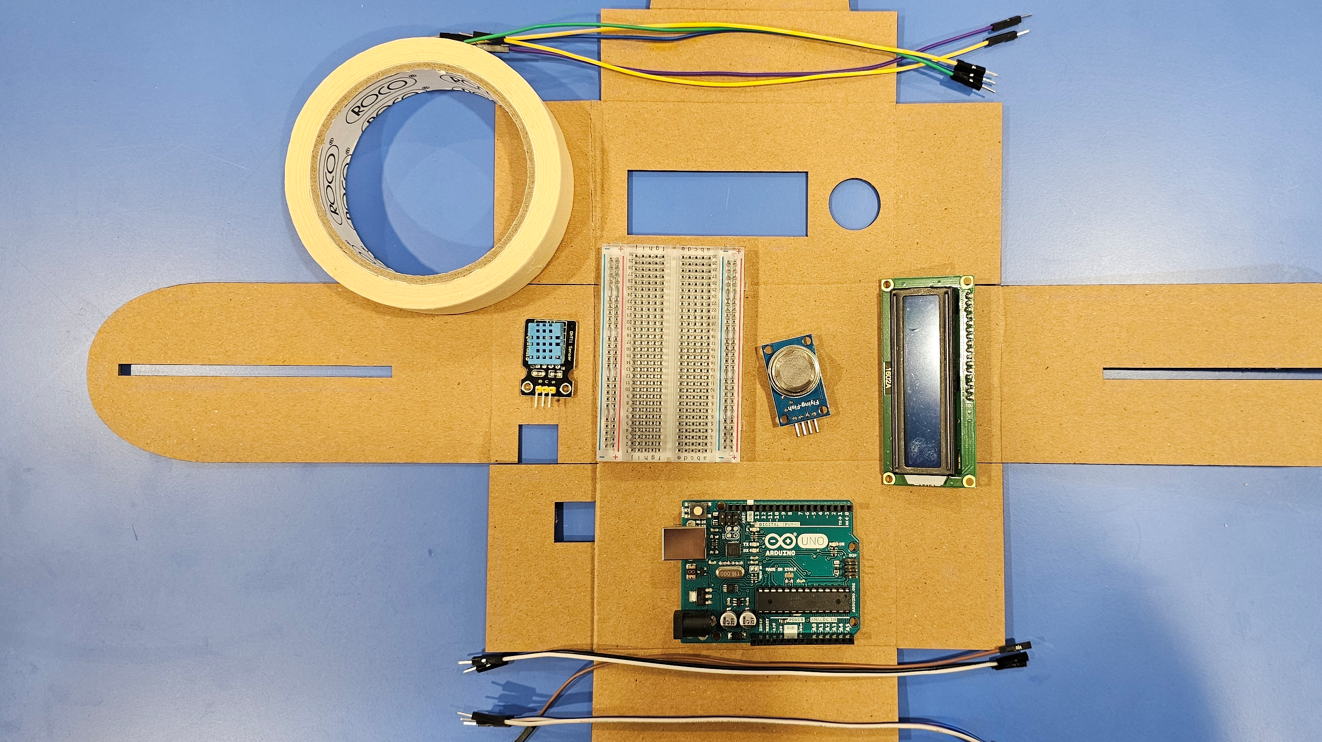
10- Show the participant how to apply everything step by step.
Prototype
1- We will start by giving a brief about each component we are going to use.
2- Then we will start following the steps of assembling the component together on the card board and also the electronics wiring.
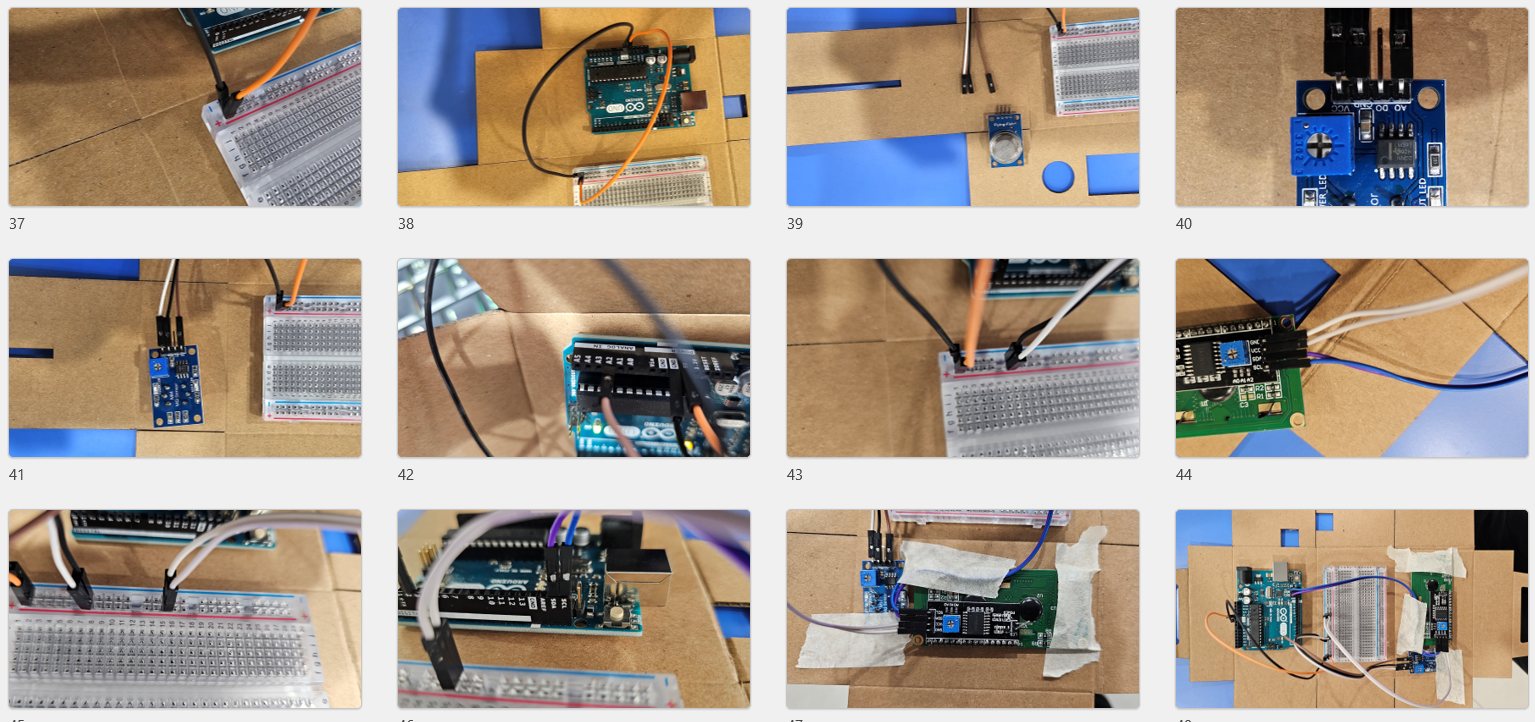
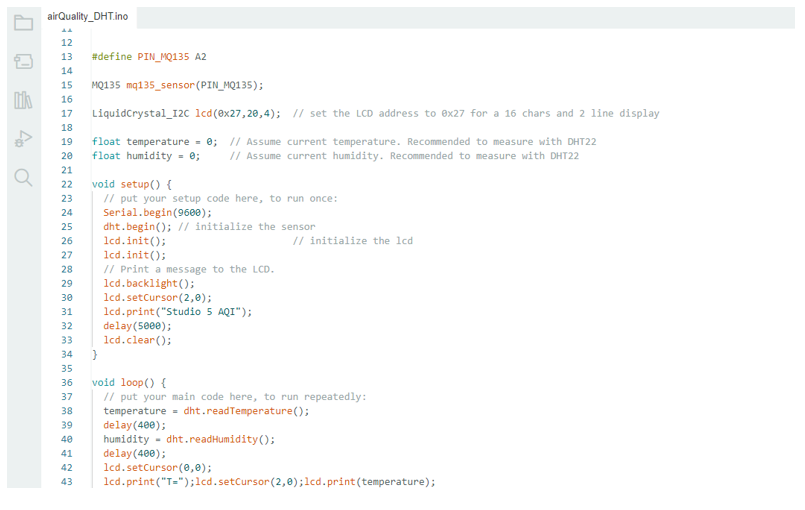
3- After finishing all the steps of wiring we will connect the Arduino to the computer to upload the code.

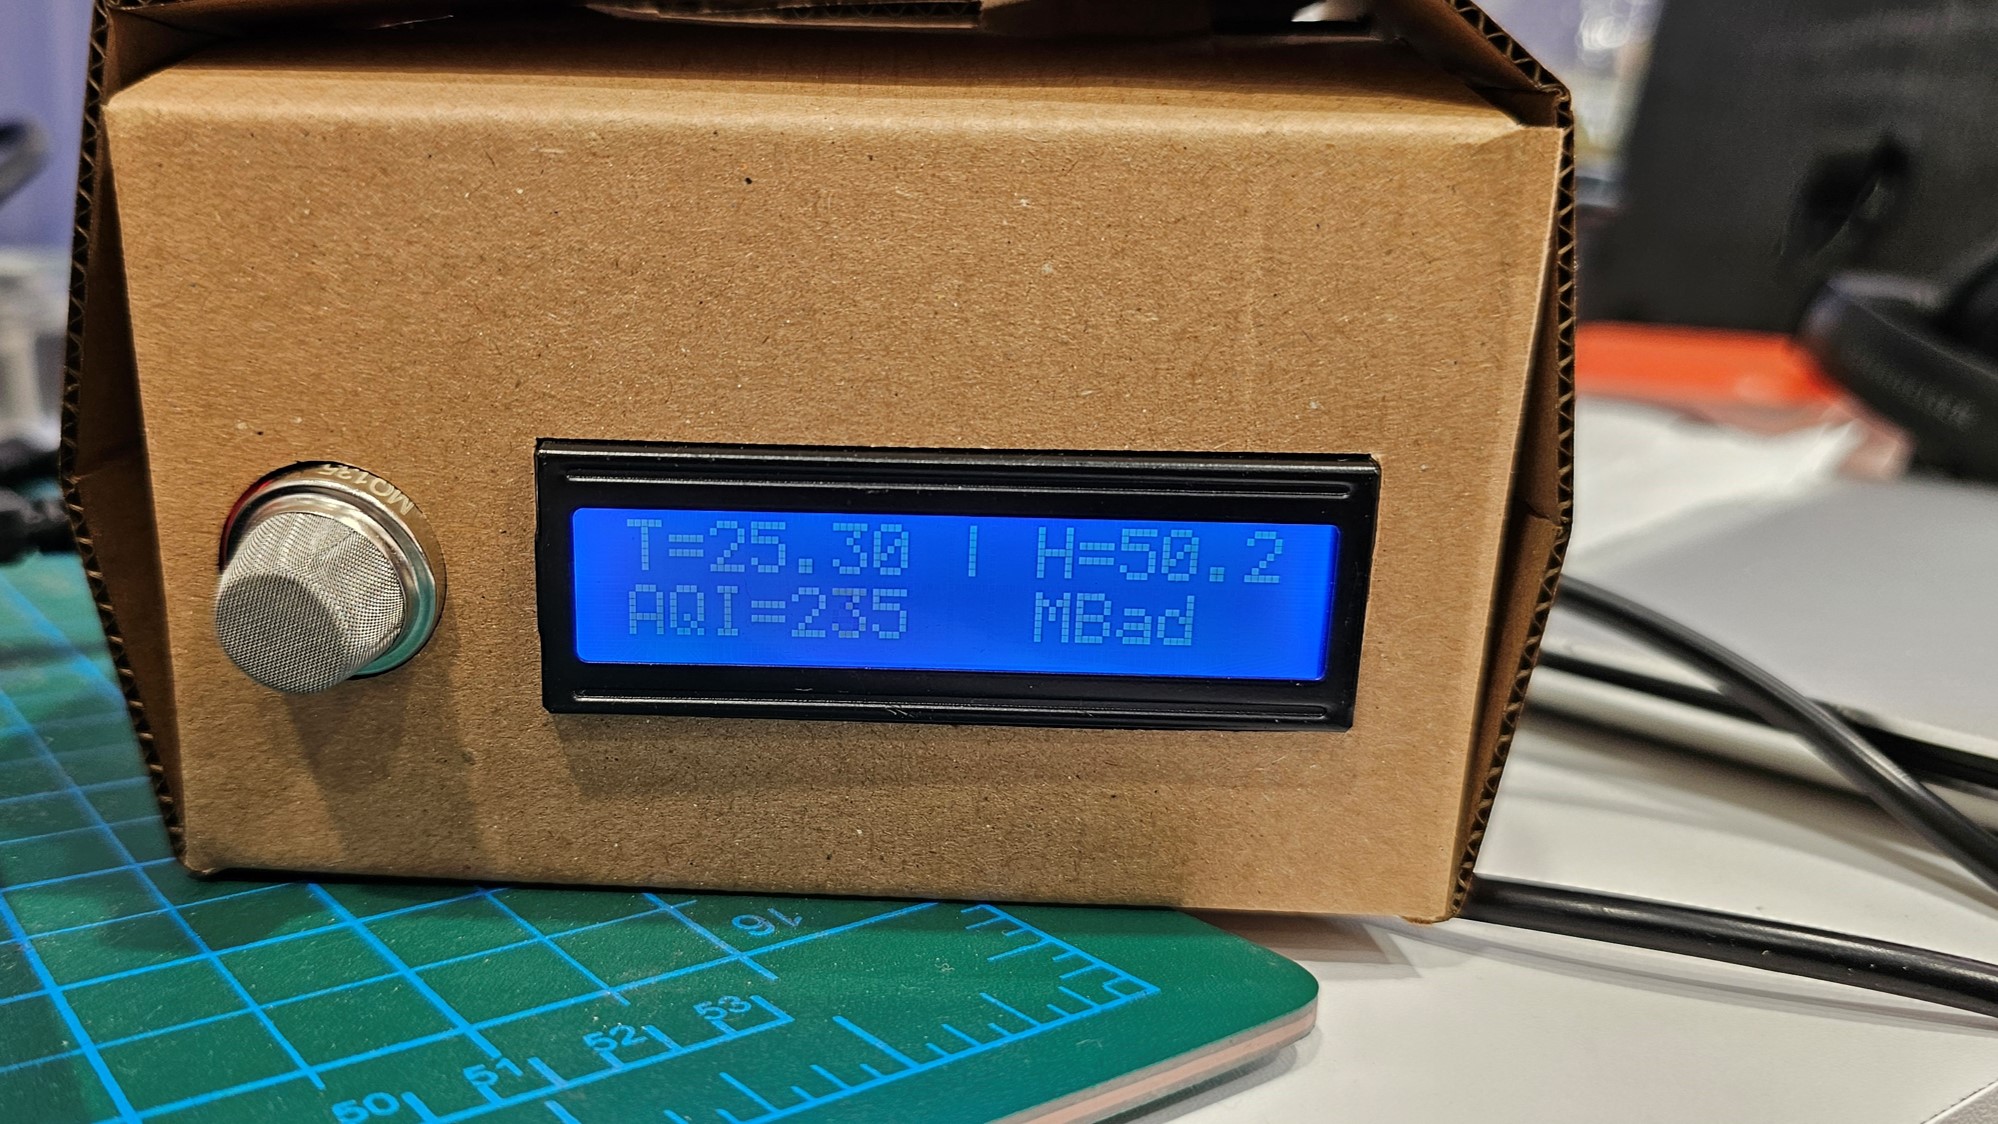
4- Then we are ready to close the package.
Consideration
1- Make sure each student connects the correct wiring for each component.
2- SCL and SDA pins change according to the Arduino version.
Having trouble? Let us know by completing the form below. We'll do our best to get your issues resolved quickly.
"*" indicates required fields