- Loading…
In this lesson, we will be teaching upper primary school students how to use Micro:bit to program a small robot car. This is a bit of an advanced coding program for Micro:bit, so I suggest running through the tutorials on the Microsoft makecode website first with students.
To see the results, check here!
Two Micro:bits
an iPad or computer with Microsoft MakeCode
5 AA batteries
USB to MicroUSB wire if using a computer (to transfer the code.)
Students will be able to understand battery powered electrical systems and some of their products.
Students will be able to use their iPad to program, create, code, and adjust coding for their Micro:bit to move the car.
Students will become more familiar with coding language and terms.
Language, while not the key point of the lesson, is very important for understanding how to use Makecode. In a classroom of EAL students, this could be a very challenging project.
Get students excited about their project!
Show students the the car in working order. Students will then understand the goal of what they are striving to accomplish. If you haven’t finished making the car, feel free to show them the video posted in the summary.
In this step, students will learn how to code the car so that it can automatically drive on the pre-made track.
Open the slides attached. Good gifs to add to a presentation can be found here. Introduce the Cutebot. Ensure that you go through the safety trainings along with getting students invested in keeping it safe so everyone can try.
Introduce the key coding terms they will be using, as well as how to access the site.
Make the car go vroom vroom.
In this section of the presentation, you will be teaching the students what code to enter and why this code does what it does. Ensure that you are pausing for questions and understanding so students of all levels can create the code. Create the policy of show a friend, then show me, so that they are double checking and helping eachother before moving on. Coding the car to work automatically on the track will take at least one lesson, and the coding is attached in the presentation.
If students finish early, I encourage playing with the other code to try to get the kids to figure out how to turn the lights on/off, slowing the car down, speeding it up on the track, etc.
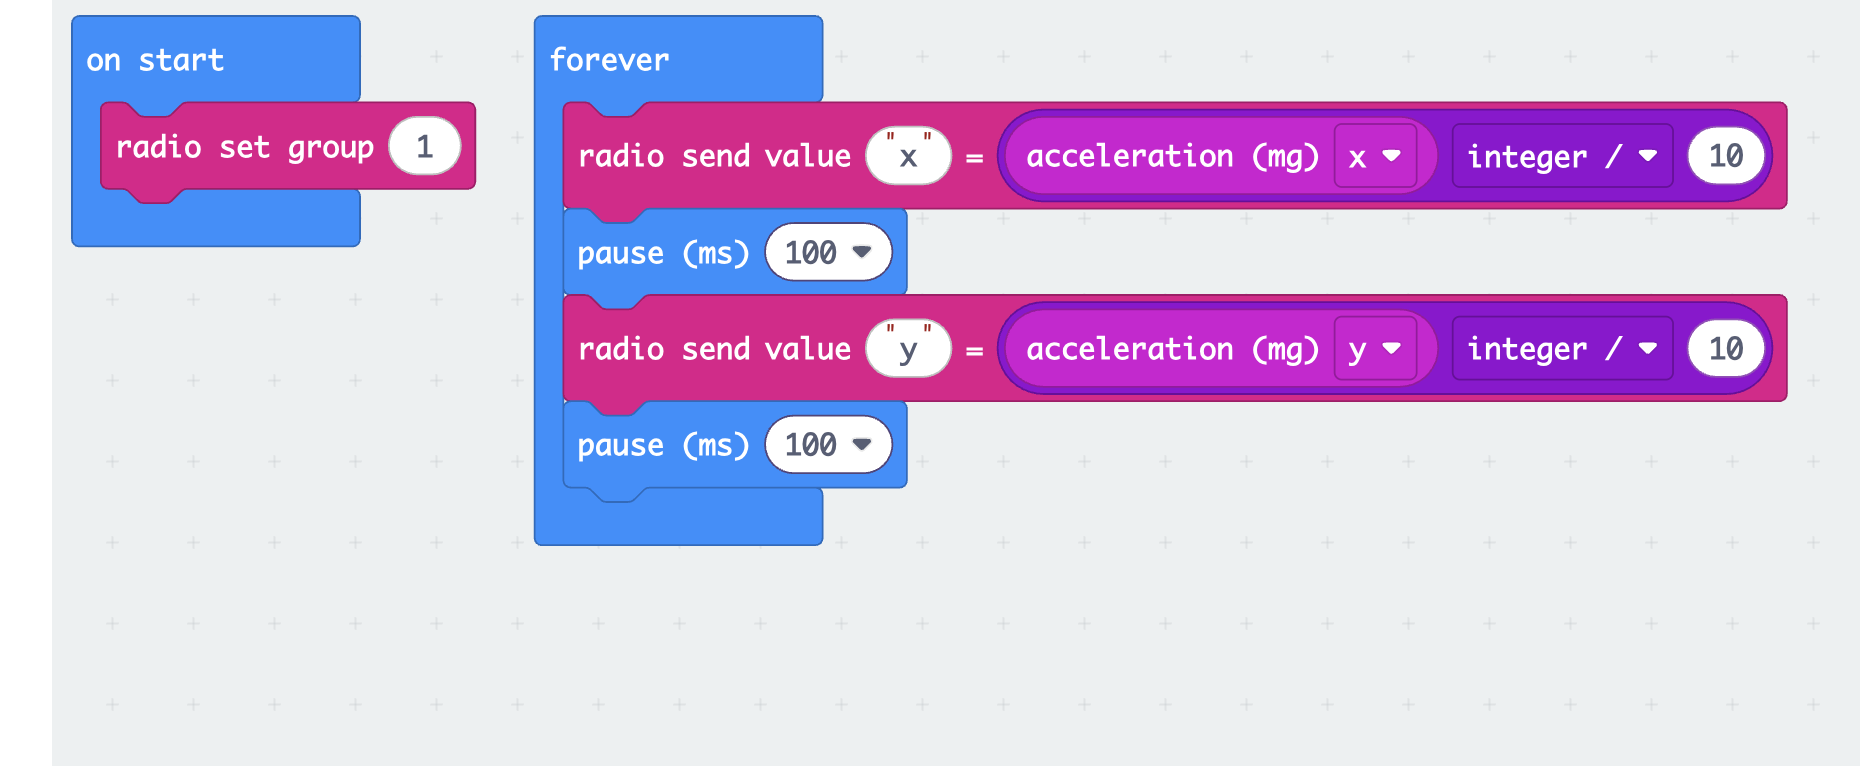
In the next steps, students will have to program the controller, and re-program the car.
This part is quite difficult as it turns the remote control into a joystick essentially, instead of using the buttons to move the car. Advanced students may be able to program the joystick to make the remote control car work, or the bottons to do things like turn the lights on or whatever else they can do, but I am not one of those advanced students! Allow the students to play with their code, upload it to their Microbit, and test it in the car whenever possible. If you do not have one car per student, then I encourage you to have them work in partners or small groups, and allow each group to spend a time limit of maybe 3-4 minutes with the car. Allow students to check out other students codes as well.
Having trouble? Let us know by completing the form below. We'll do our best to get your issues resolved quickly.
"*" indicates required fields