Digital Fabrication and Programming – SCOPES-DF

Lesson Details

Age Ranges *
Author
Additional Contributors

Author

Sarah Judd

Summary

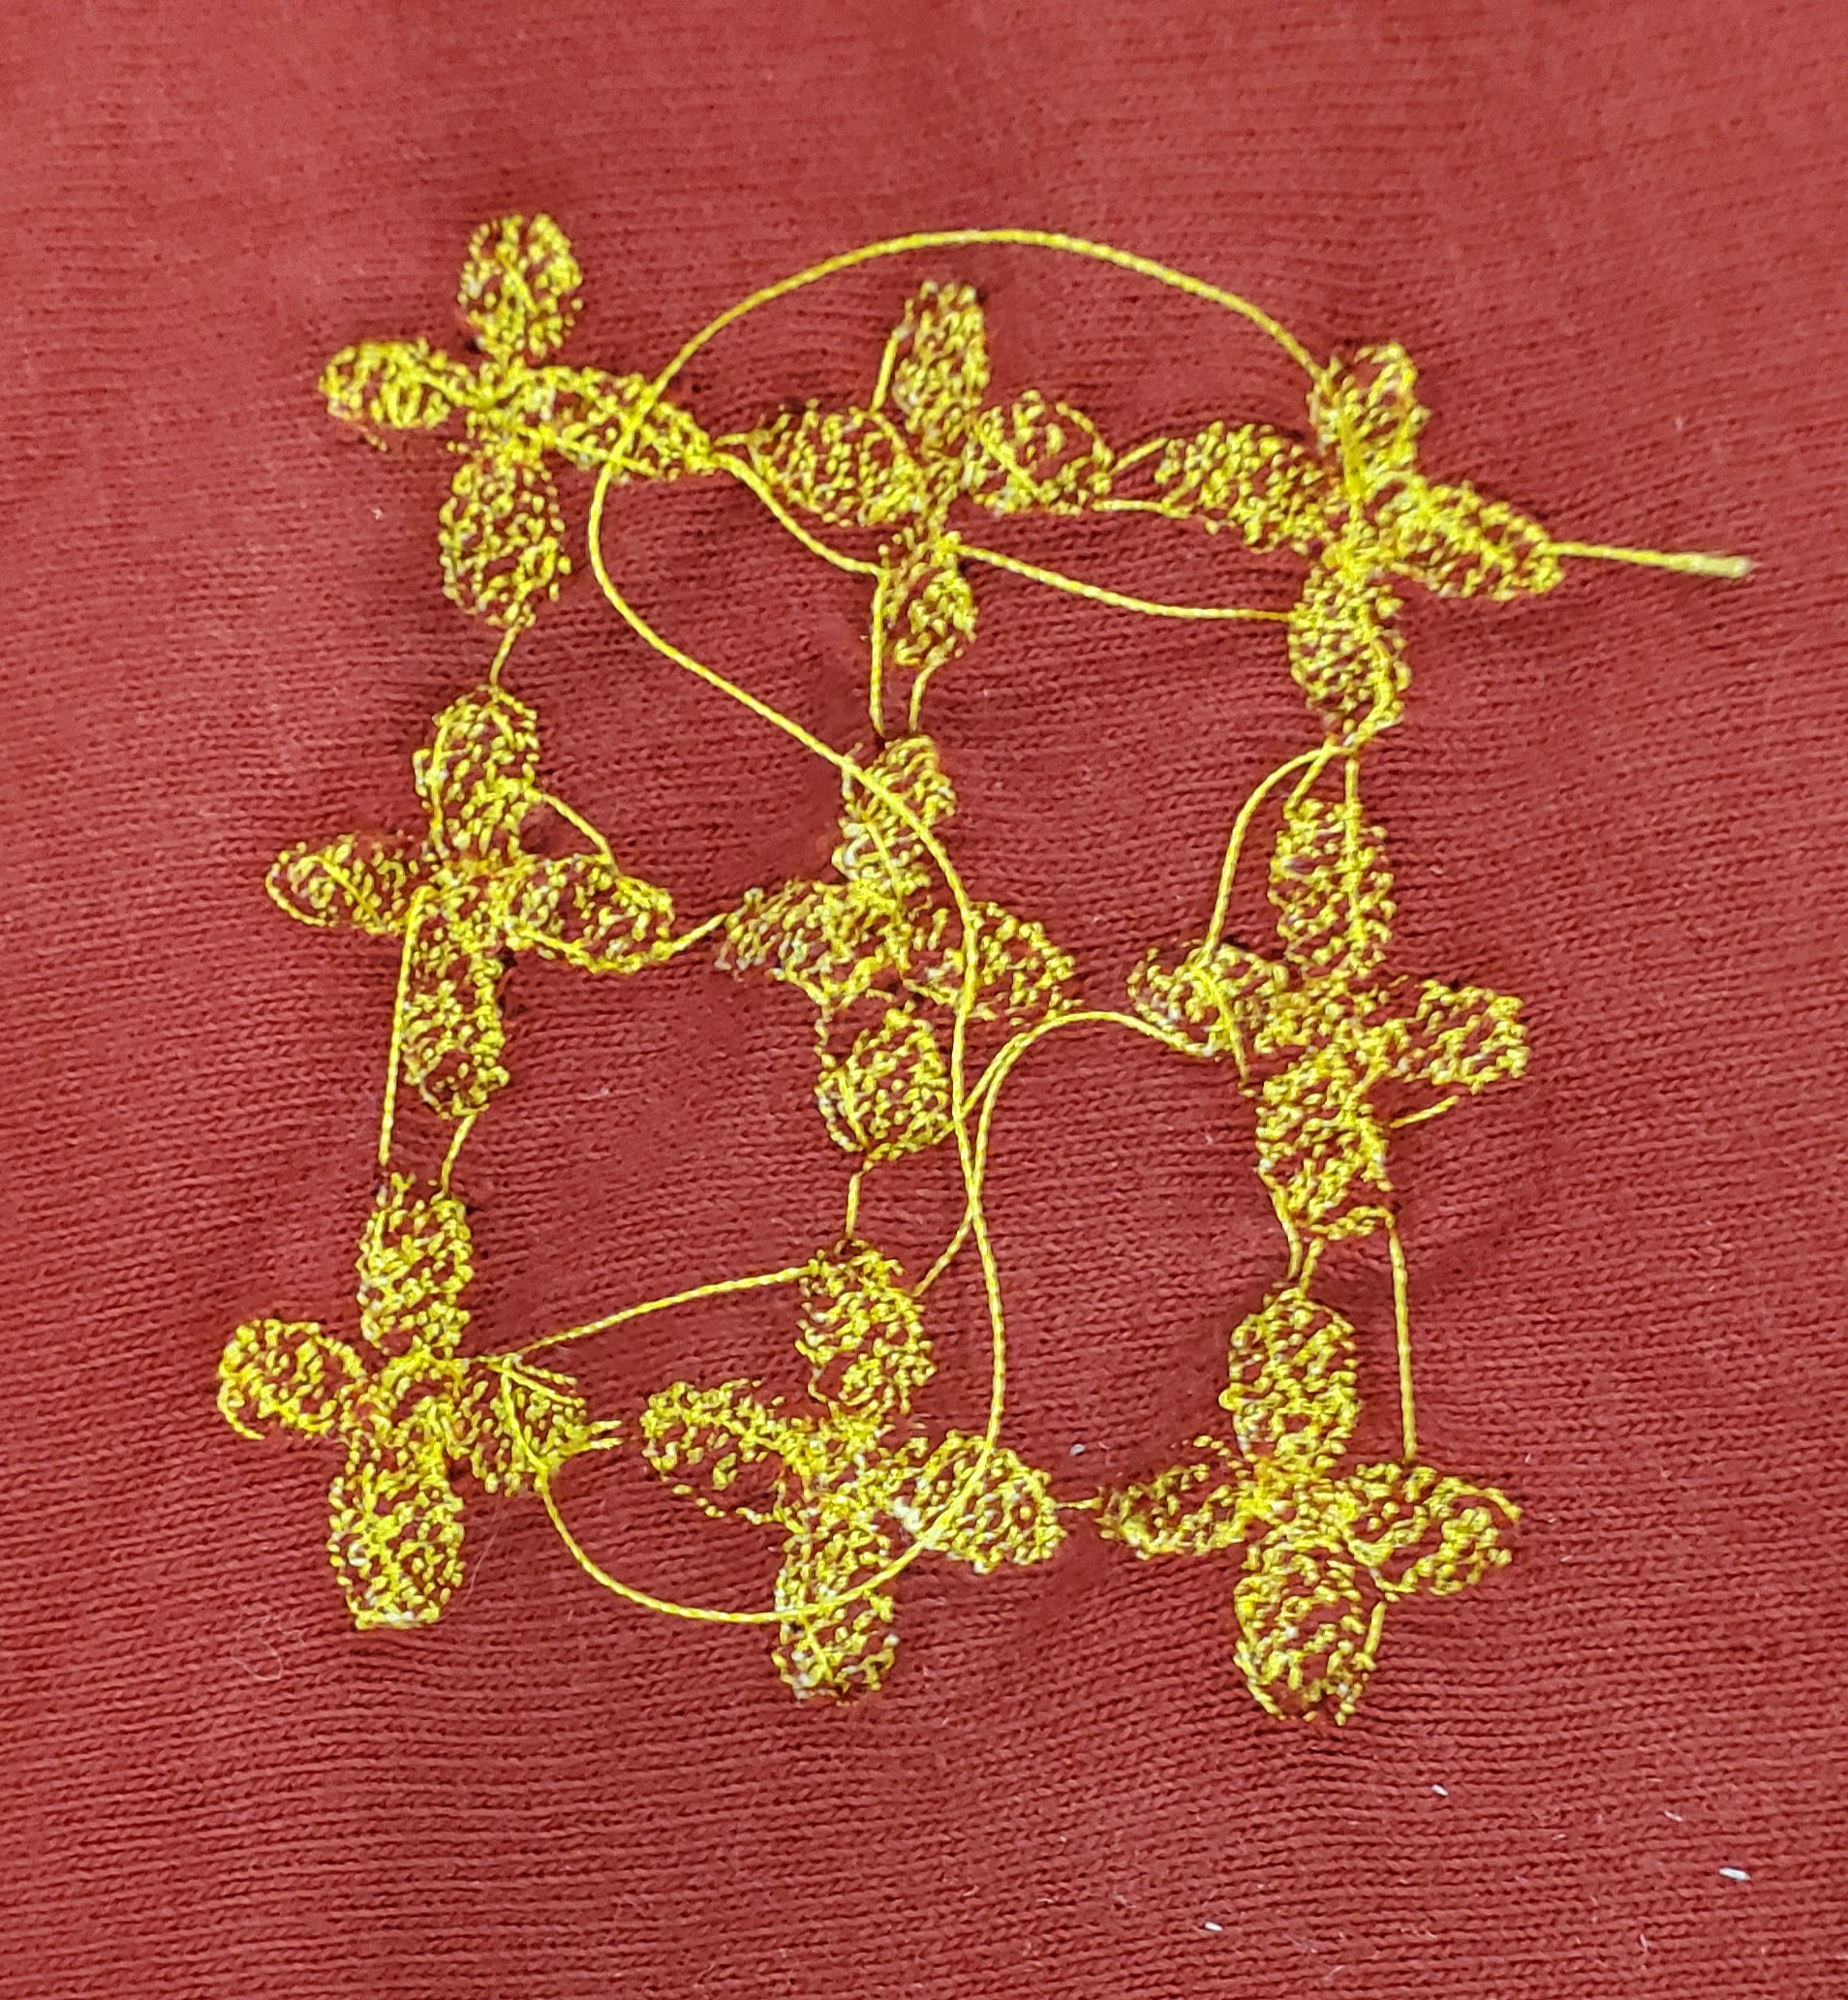
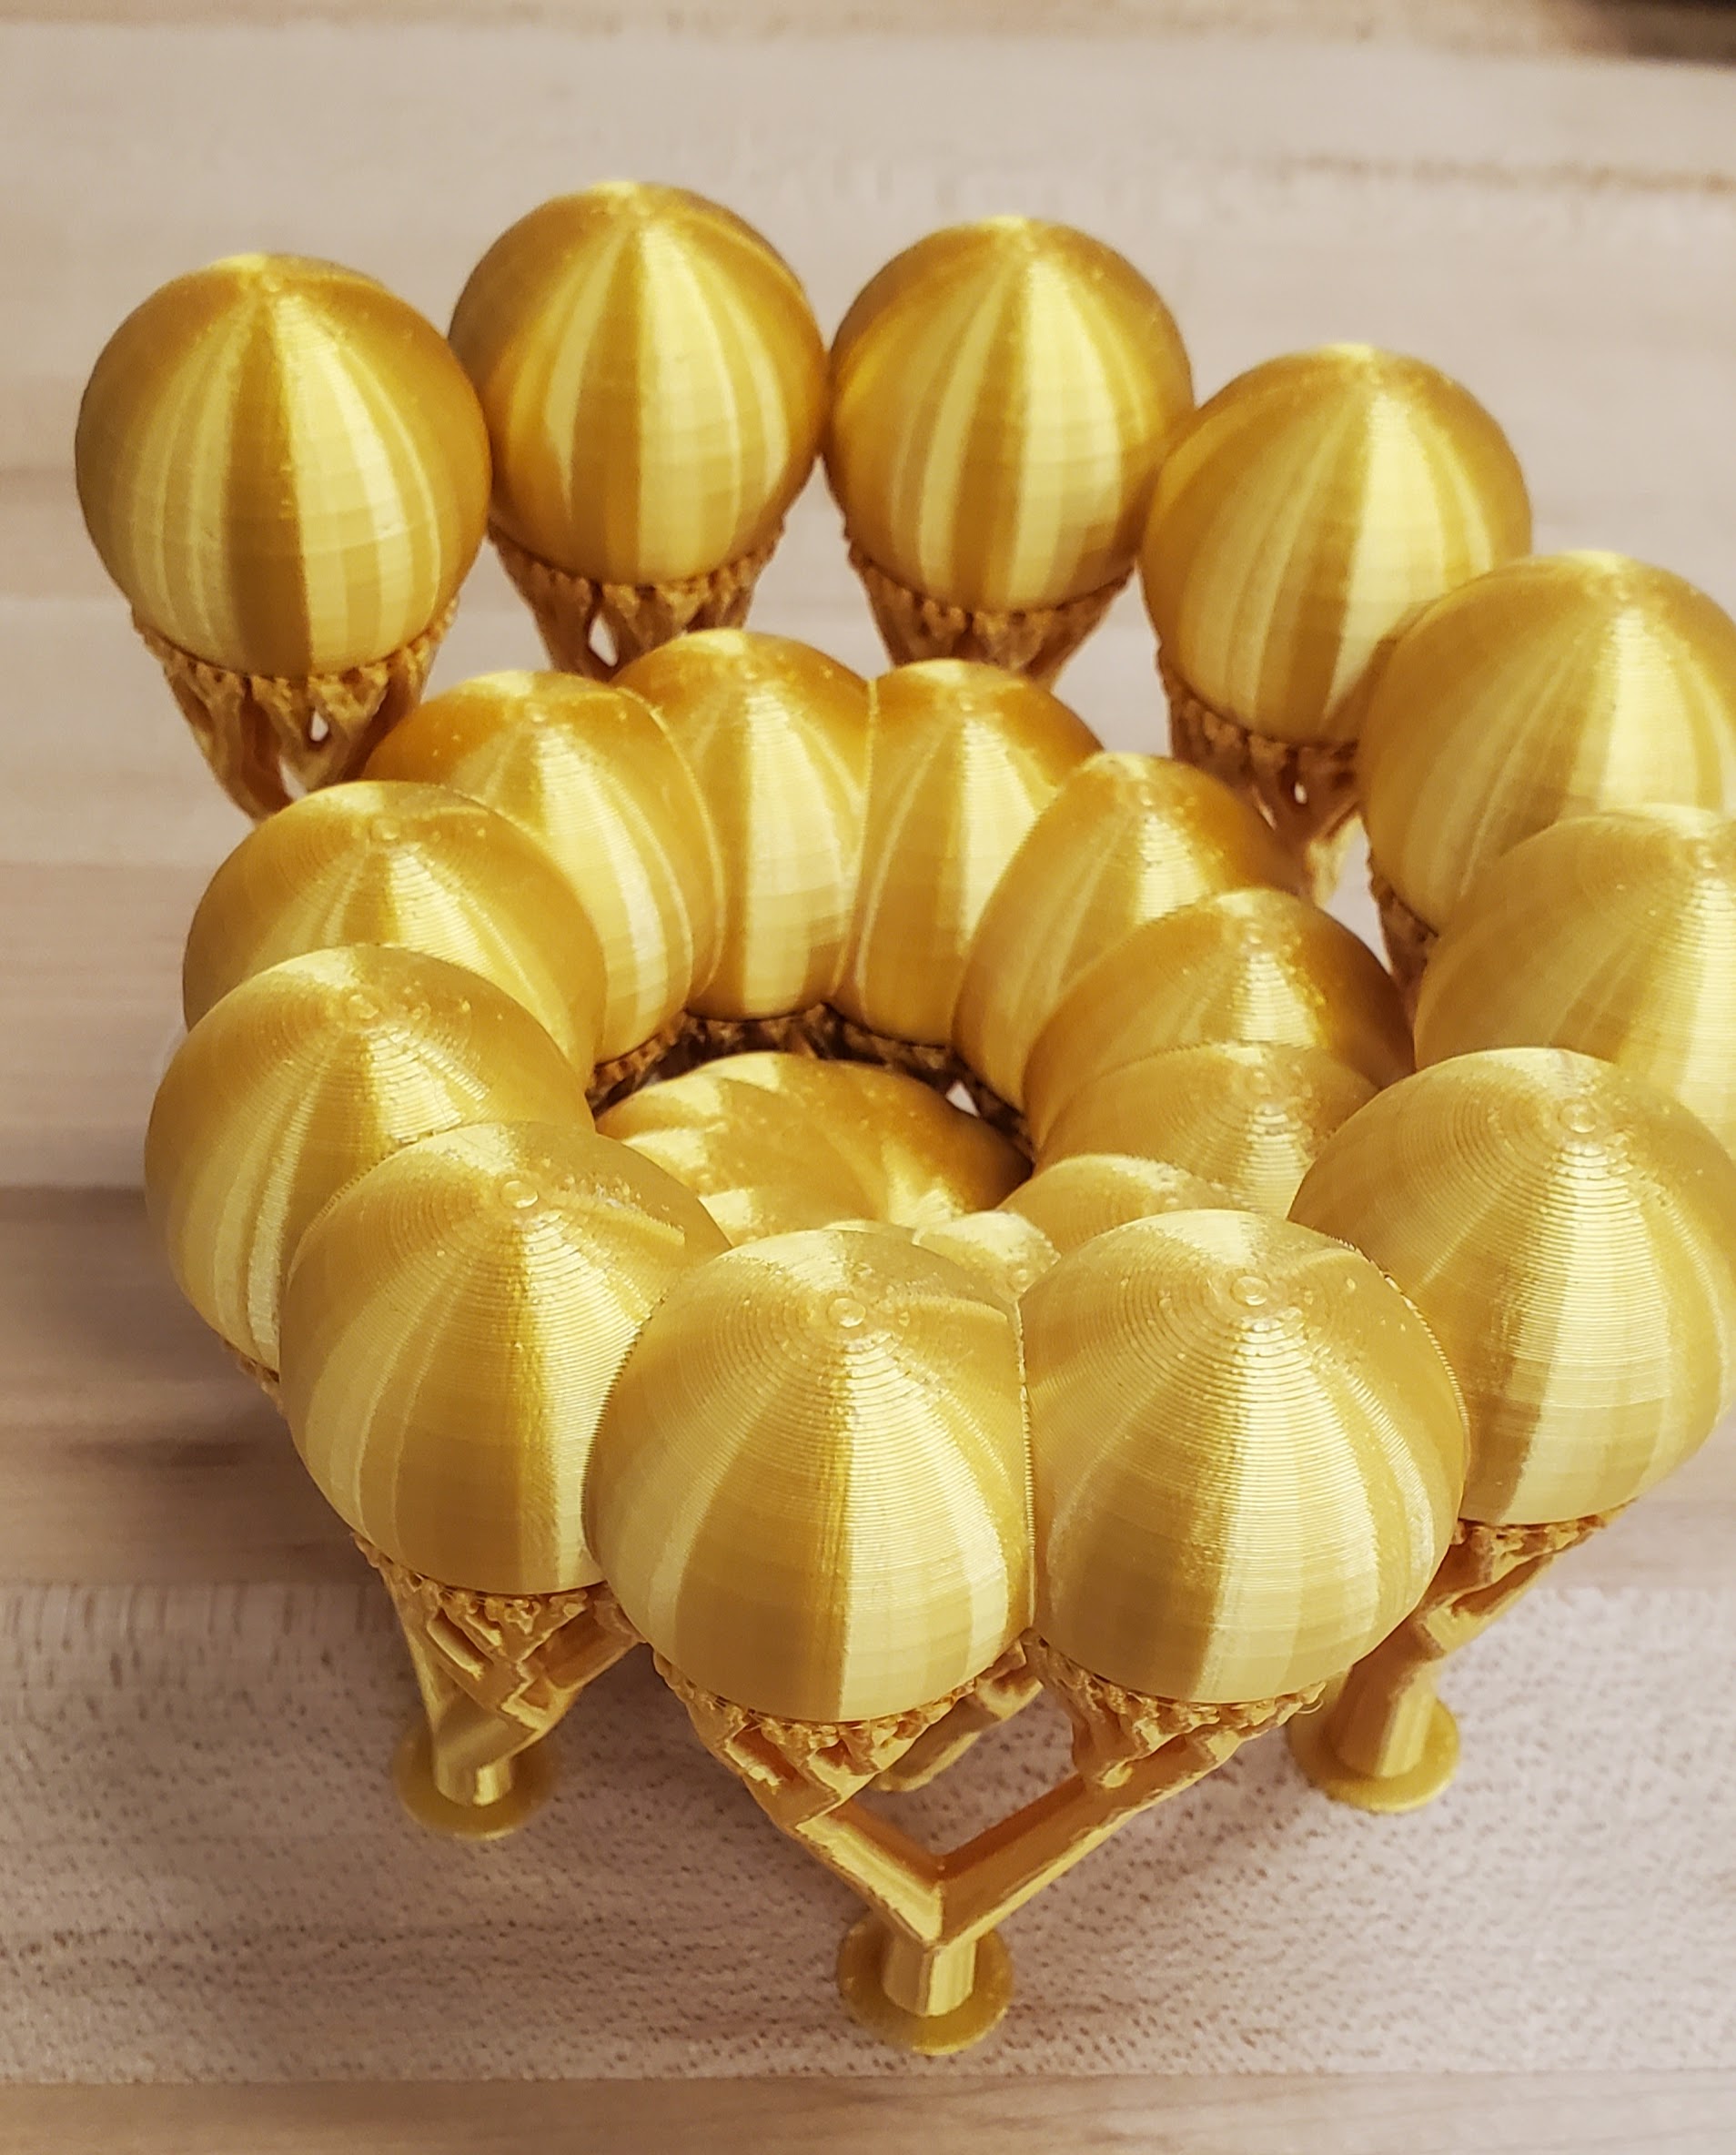
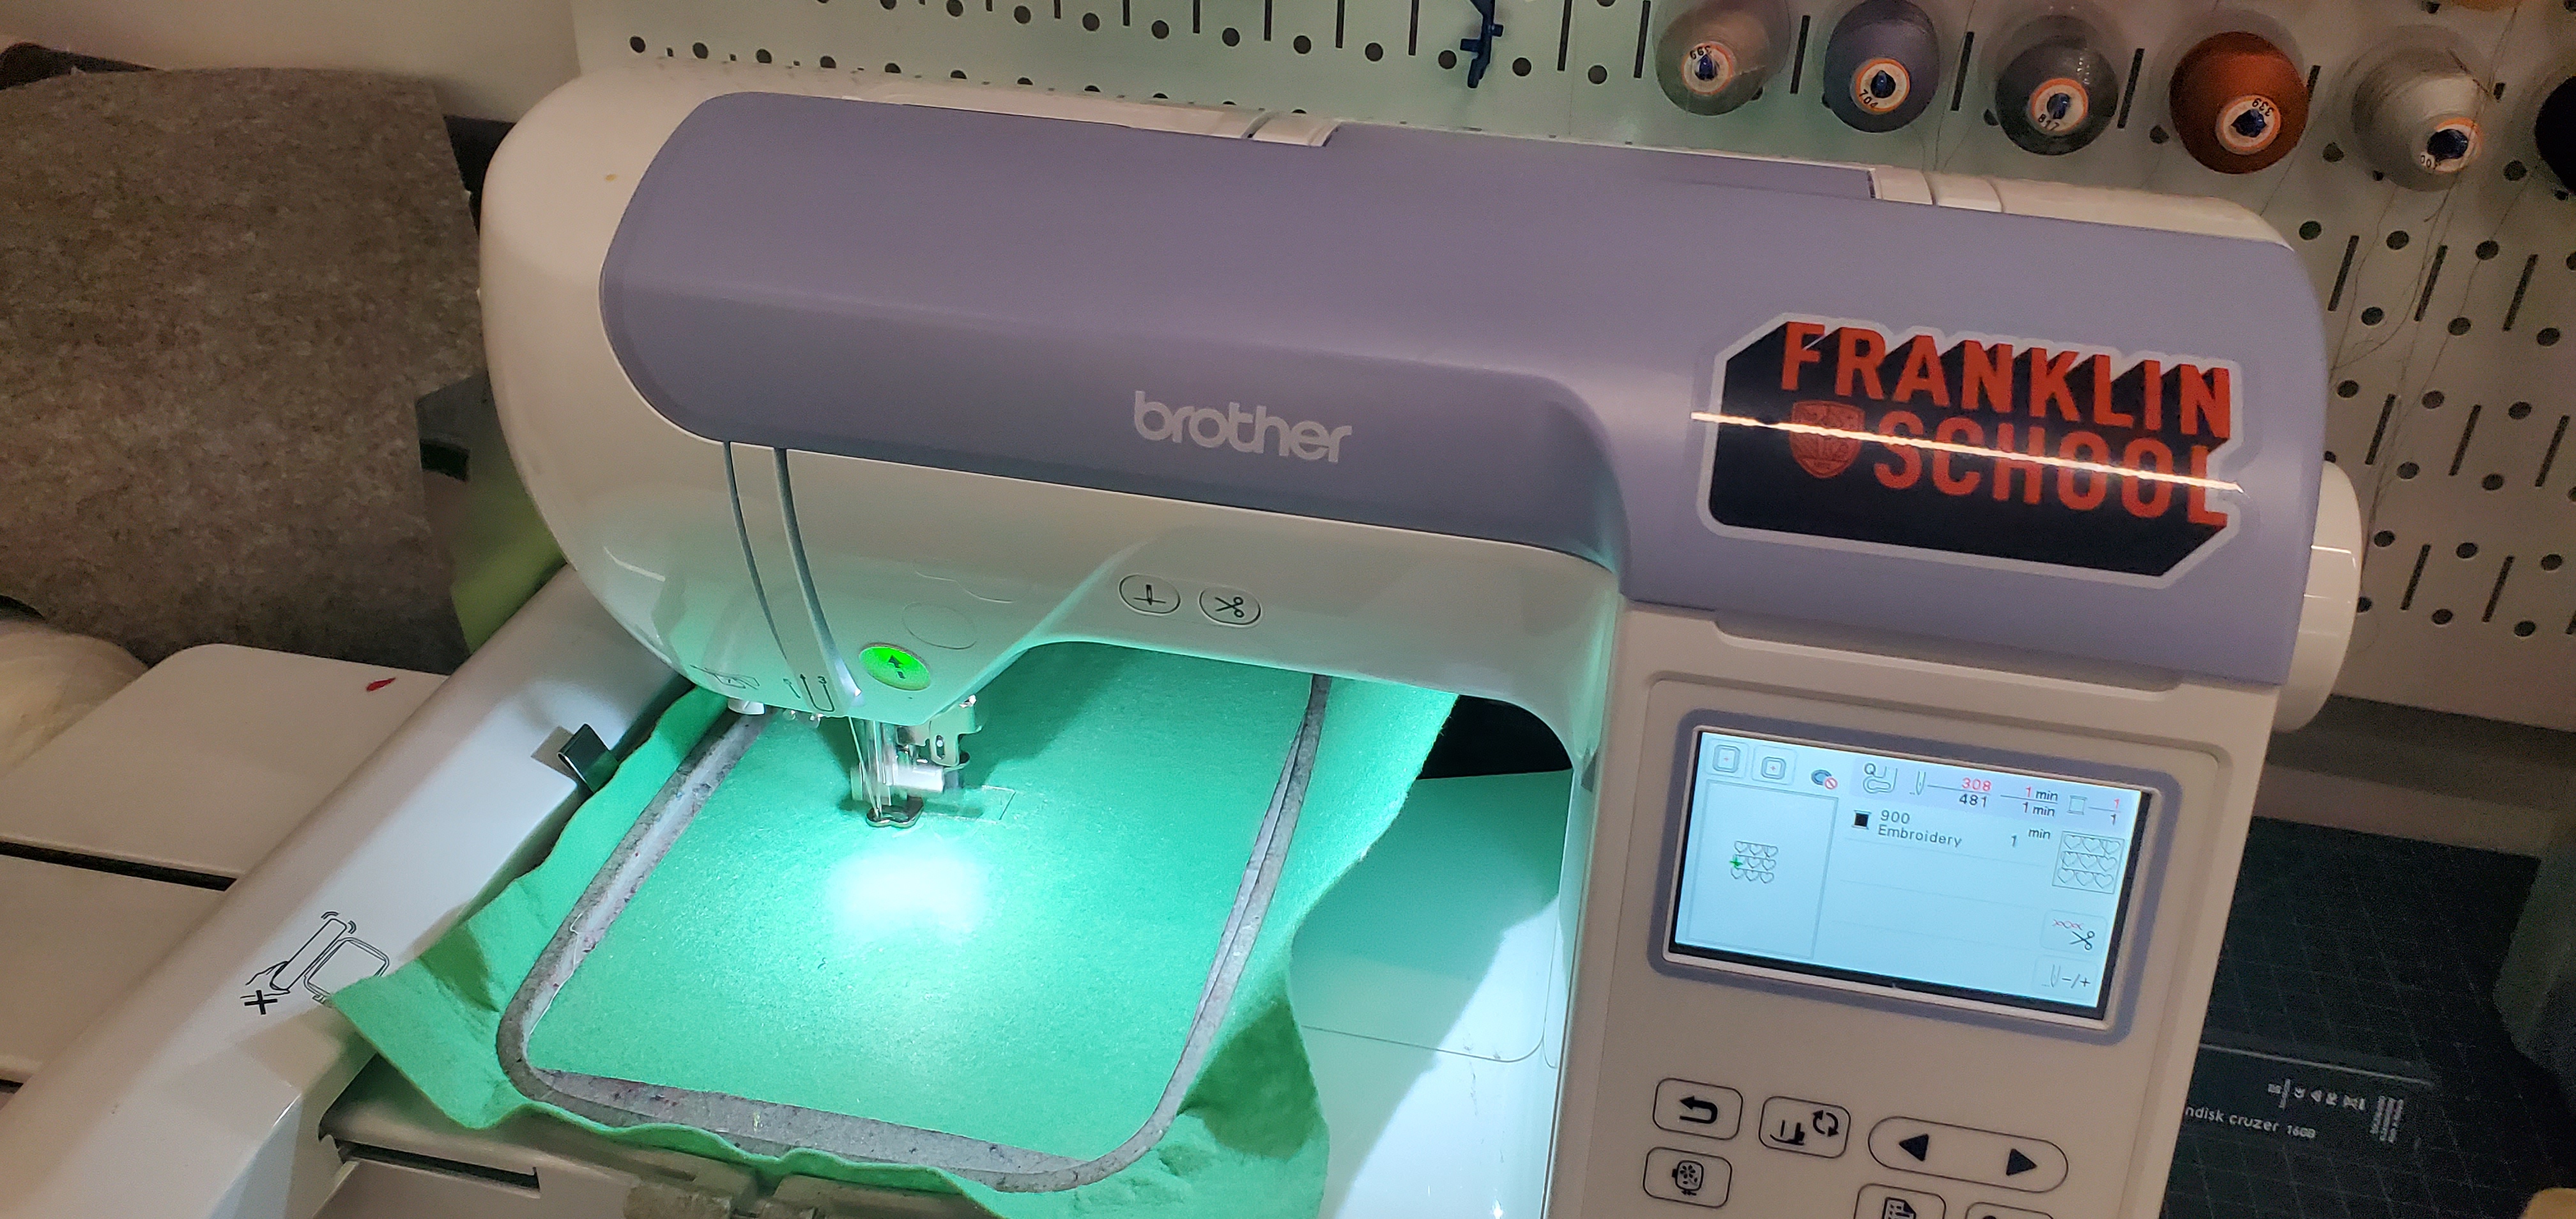
Students create a design that has a repeating element using TurtleStitch, PEmbroider, Tinkercad Codeblocks, then embroider or print it

What You'll Need

  • It is helpful to have a webpage with all necessary links to downloads, websites where you can program or tutorials
  • Computers with internet connection
  • The PEmbroider Library loaded on students’ computers
  • Slicing software for your 3D printer on your computer
  • 3D printers, laser cutters, and embroidery machines
  • Fabric and thread to embroider with
  • Cardboard or wood to engrave on
  • PLA (or whatever you are 3D printing with)

Lesson Materials

Learning Objectives

Students will be able to:

  • Use a variable and a repeating loop to create a decorative object
  • Use the familiar concept of loops and variables in a new context, making the concept of loops and variables more salient than the specific syntax.
  • Recognize that programming with loops can make it faster and easier to create certain designs.
  • Comment and indent code that makes it readable for someone else.

Reflection

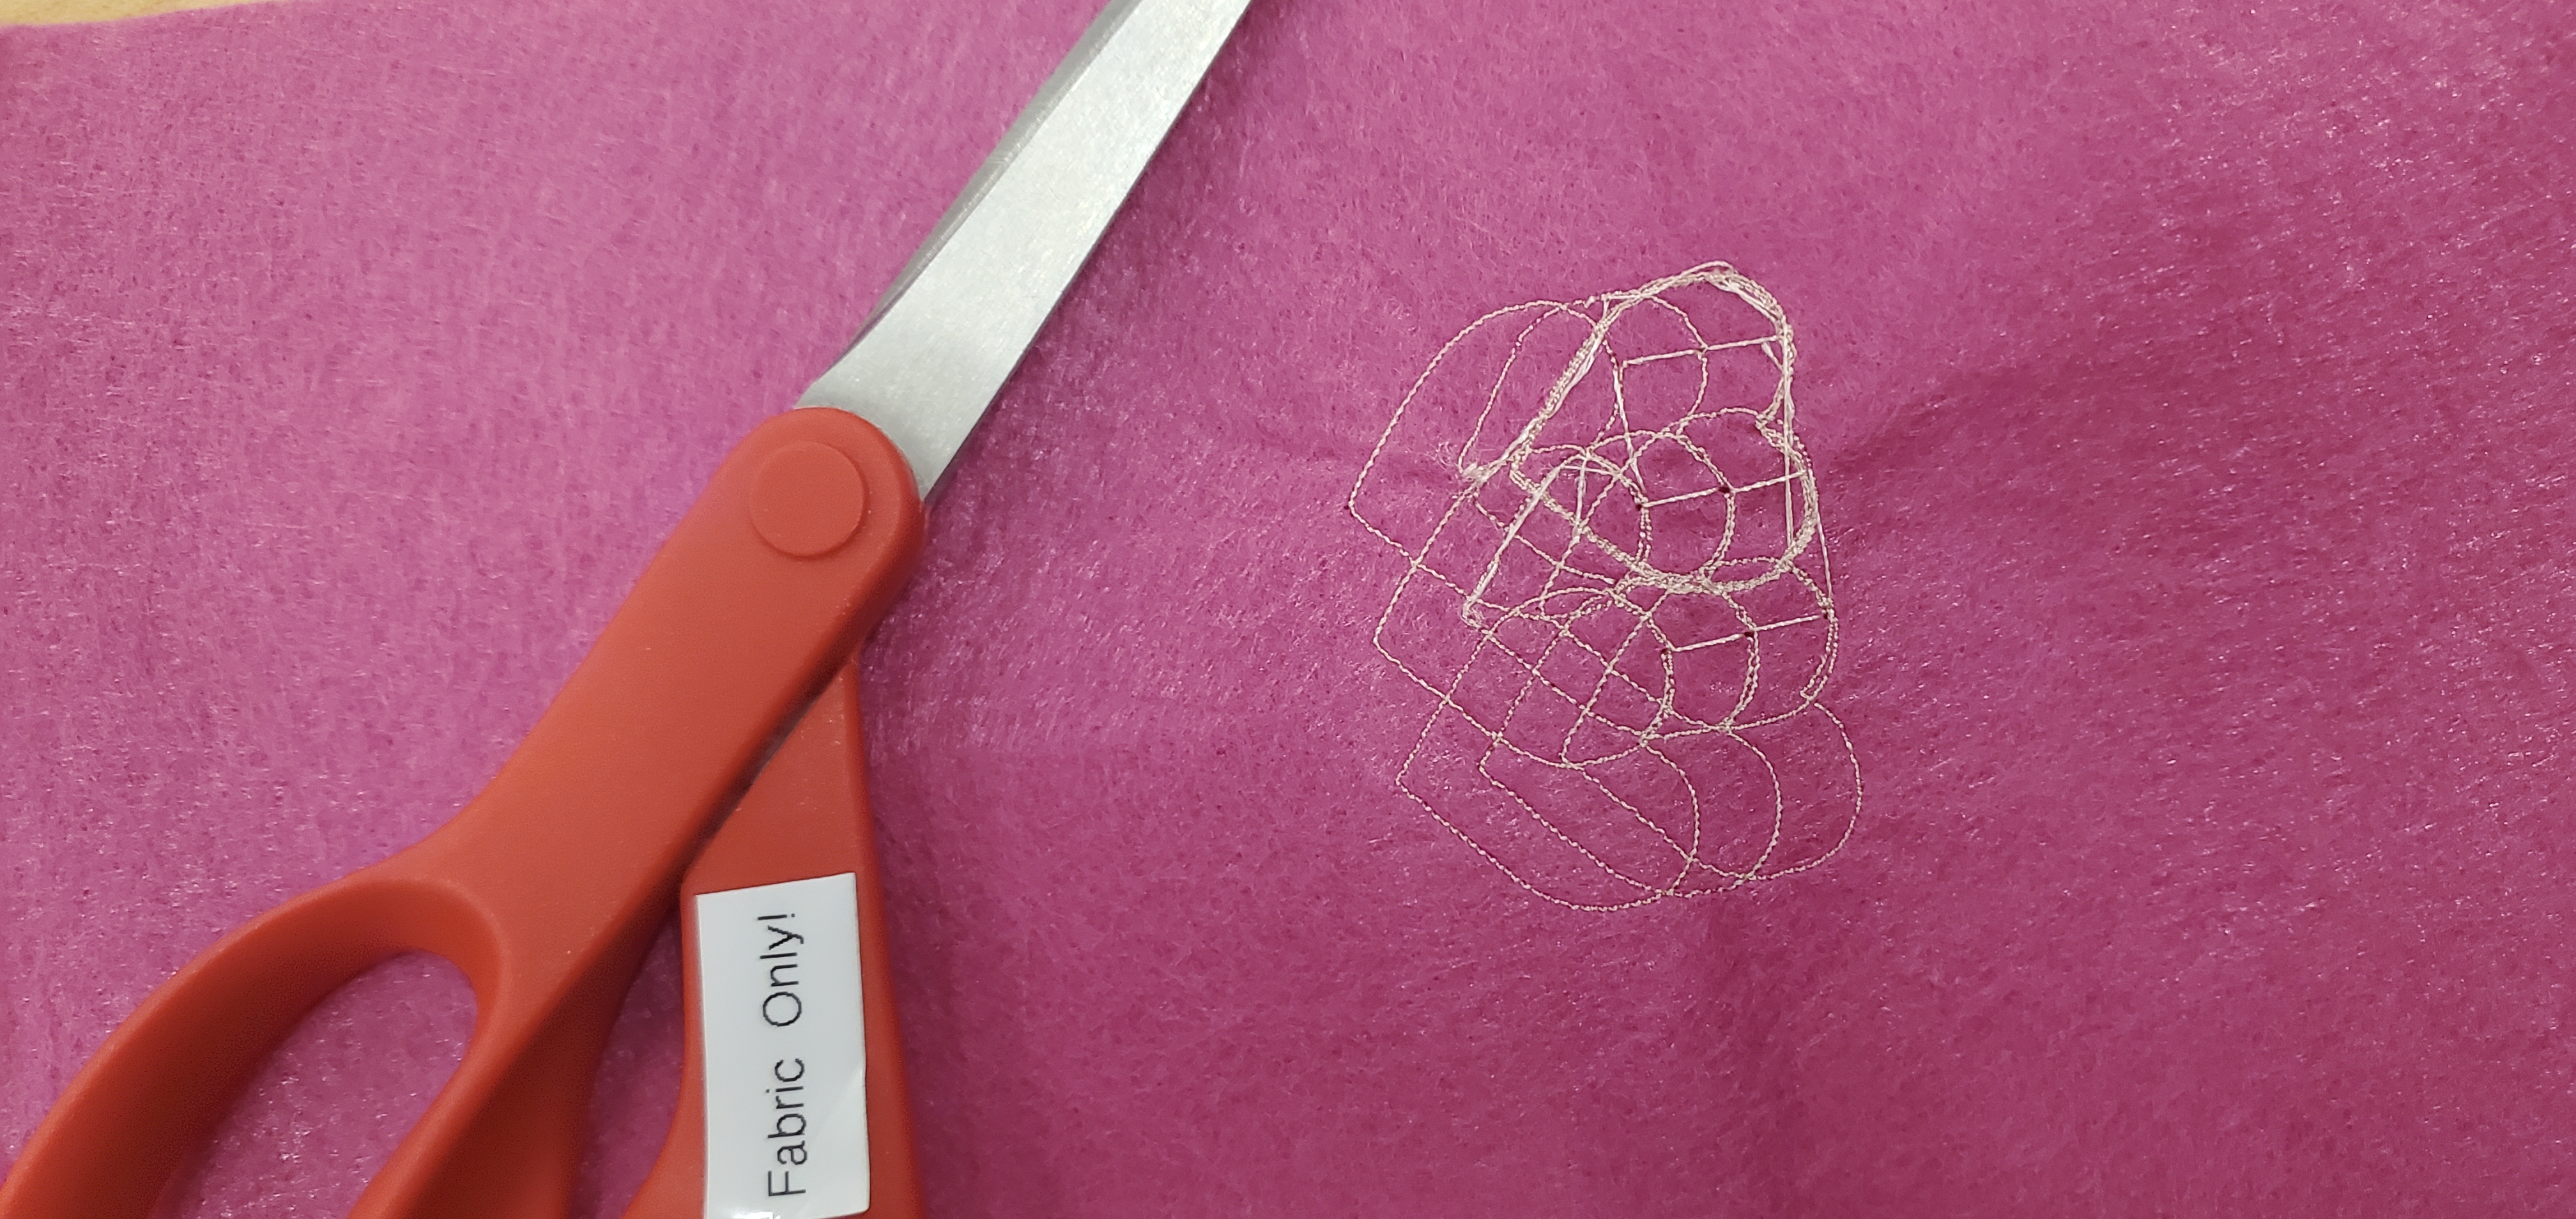
I was hoping that this project would be motivating for students. I found that particularly the ones who were embroidering wanted to do the minimum possible work. That said, some were proud of their pieces, and cut and saved them. I had expected that offering such different options would all

The Instructions

Introduce the project

Students should already have some background creating loops in their main language. In this introduction, students will recognize that physical objects and designs have repeating patterns, and will see how to use the programming languages and libraries built specifically for a few different mediums to create repeating patterns.

  1. Show the students a fidget toy created out of a bunch of rings. Each ring gets smaller and smaller. Ask students what they notice
  • Students noticed that this was definitely a bunch of the same thing
  • Ask students: what do we do with a bunch of the same thing?
  • Students should remember that this is a loop
  • So, there is a programming language that we can use to make 3D objects, and any time we would be using a for loop, we can use this “repeat” block.
  1. Show the code for the fidget. What do they notice?
  • What is being repeated 
  • The use of a variable that changes each loop that is defining the size of the rings
  1. Introduce the code that you will use to embroider
  2. In Turtlestitch, I opened up the program
  3. In the case of PEmbroider, I showed them the code and had them realize that the code is exactly the same as just drawing to the screen, but with an “E.” in front of it. I then showed them the code that created the E Object, reminding them of a previous class where we had talked about objects with attributes and methods (in this case, all the same drawing methods they’ve been using)
  4. I also defined “Library” here – a collection of code that someone else has written that you can use in your code for a specific purpose
  5. Let students know they can choose either of these options, or create a usual image and then laser cut it for this assignment.
  6. Go over the rubric the assignment will be graded on.


Design and Code your Decorative Object

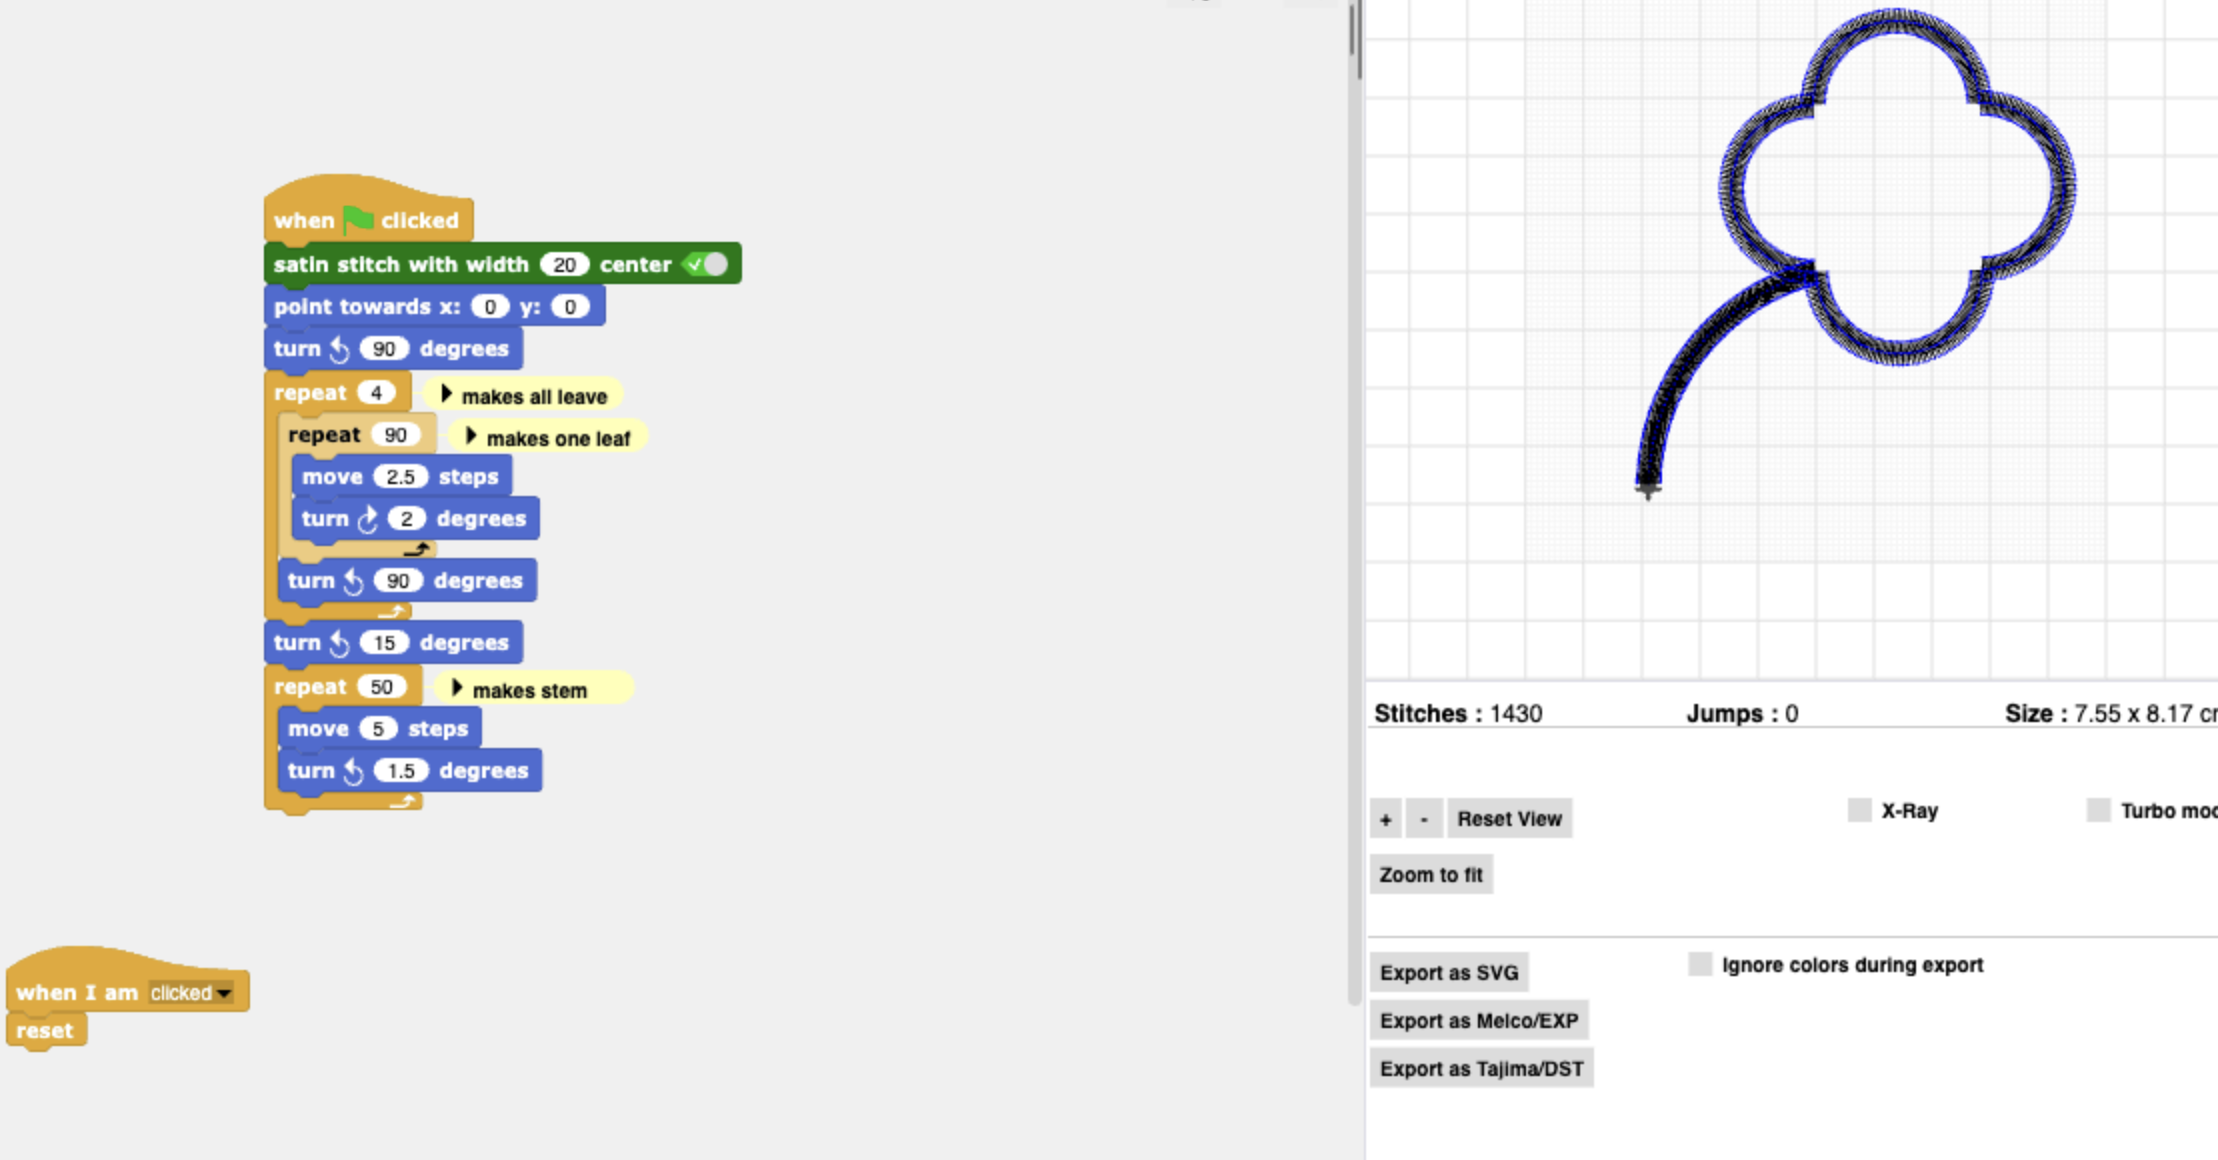
Students choose what kind of object they would like to make, they design it, and begin programming it.

  1. Students choose what medium they want to work in – 3D printing, embroidery, or laser or vinyl cutting.
  2. Students brainstorm the design.
  3. Students program and debug their design in the programming language.


This process will take a lot of debugging — as the teacher, make sure to be circulating and helping students understand errors and get through their frustrations at this process.

Create the design

Once the students are ready, make the project real by having them actually print their designs in the medium of their choice.

Students will complete the program at different times.


  1. Show students where and how to look for how to use the embroidery machine, laser cutter, or 3D printer, or guide them through this step by step.
  2. As more students who were working with the same medium complete their projects, have them show each other how to use the machines in question.


Readability

Make sure someone else could read your code and understand what it is doing!

  1. Show students some code that has been properly commented and indented vs code that has not.
  2. Ask them to note what properties make code easier to read
  3. Tell them to edit their code so that it is easier to read
  4. Make sure to indent anything between {}
  5. Keep } at the same indentation level as the thing that starts the {}
  6. Comment what the for loops do not just that they repeat, but that they create a bunch of concentric rings.
  7. Comment on each created variable with where it is used.

Closing - Exit Ticket

Students answer reflection questions in their journals

To reflect on the process, have students answer the following questions in their design journals:


1. Why might it be useful to be able to use programming to create a physical object?

2. What are you most proud of?

3. What might you do differently next time?


Read and comment on their design journals to get a better understanding of what they enjoyed and what they learned?

Lesson Feedback

ΒΆ

Contact us

Having trouble? Let us know by completing the form below. We'll do our best to get your issues resolved quickly.

"*" indicates required fields

Name*
Email*
This field is for validation purposes and should be left unchanged.
?