- Loading…
In this lesson, students will be introduced to the basics of microscopy, the concept of magnification, and learn and apply the lens and magnification equations. Students will engage in hands-on creation and experimentation with lenses of different sizes.


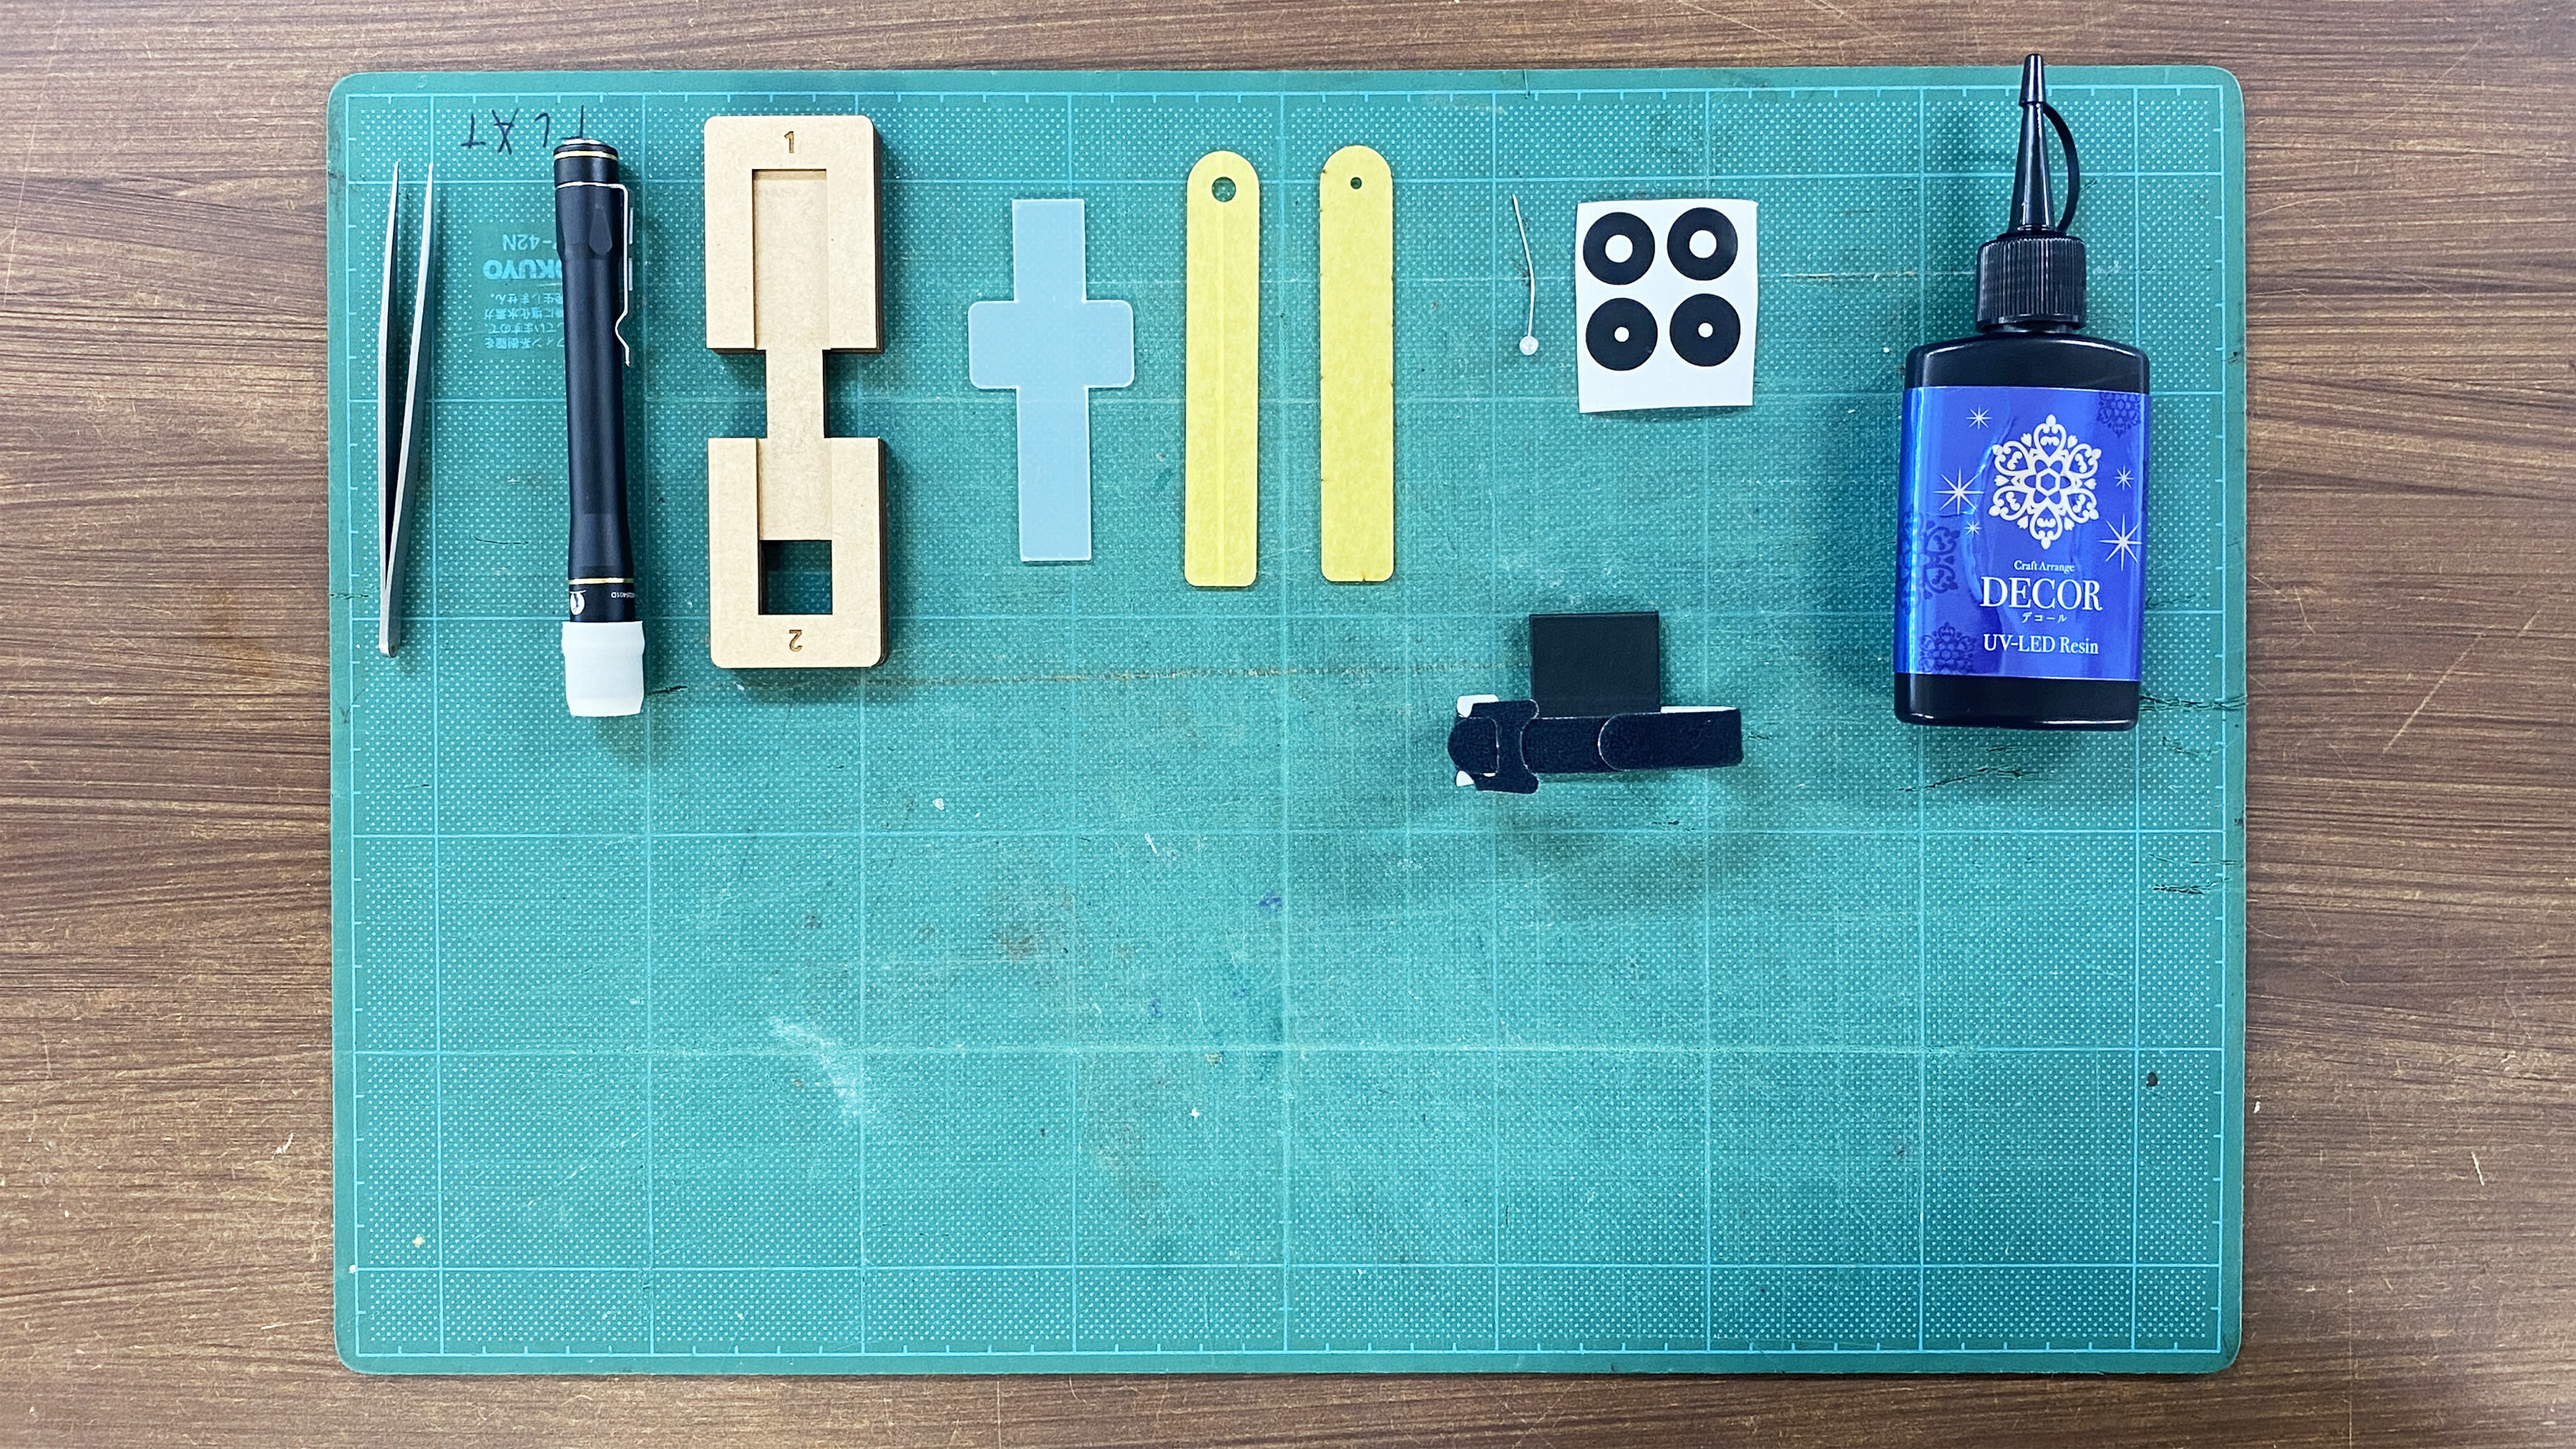


UV resin: UV fast curing resin for crafts (1 bottle per group)
UV flashlights: 365 nm UV light flashlight (1 per group)
Ruler: Ruler with metric units (1 per group)
Velcro Cable Tie: 250 mm x 12 mm Velcro Cable Ties (1 per group)
Phone attachment: STL files for 3D printing phone attachments (1 per group)
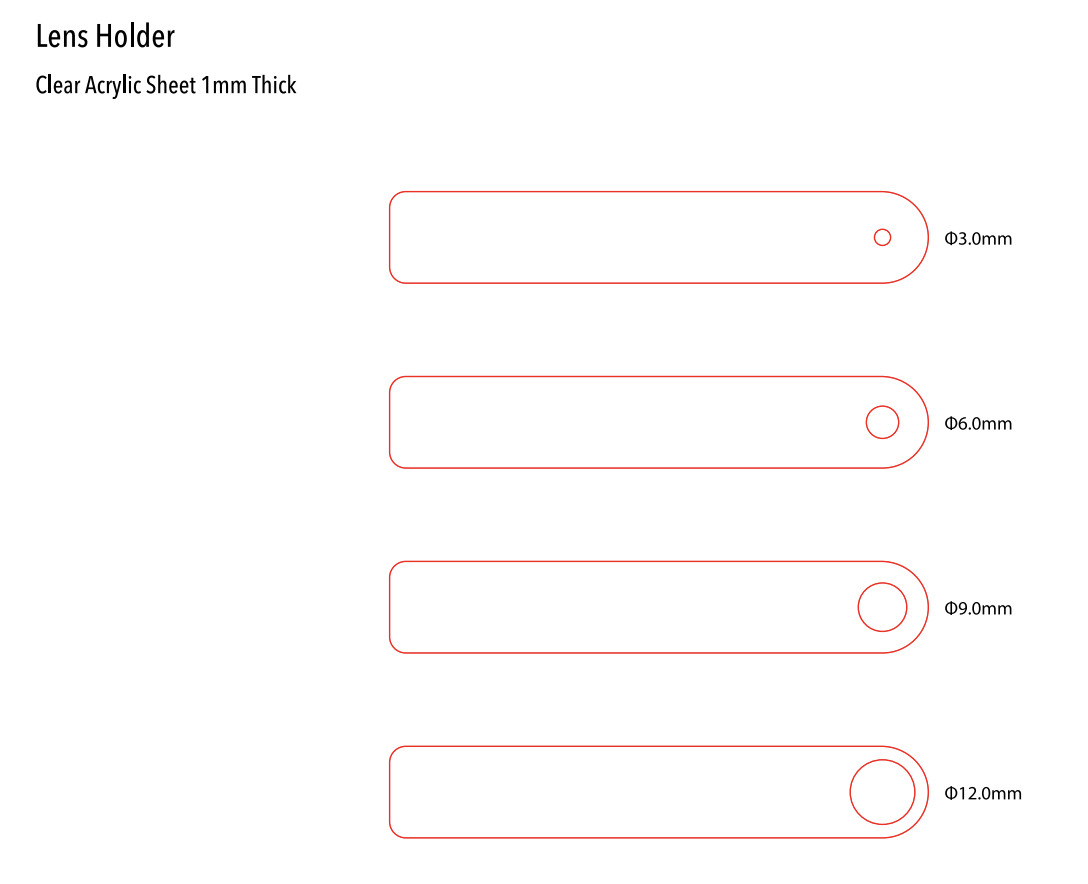
Lens holders: 3 mm, 6 mm, 9 mm, and 12 mm diameter lens holders, SVG files for laser cutting included (1 set per group)
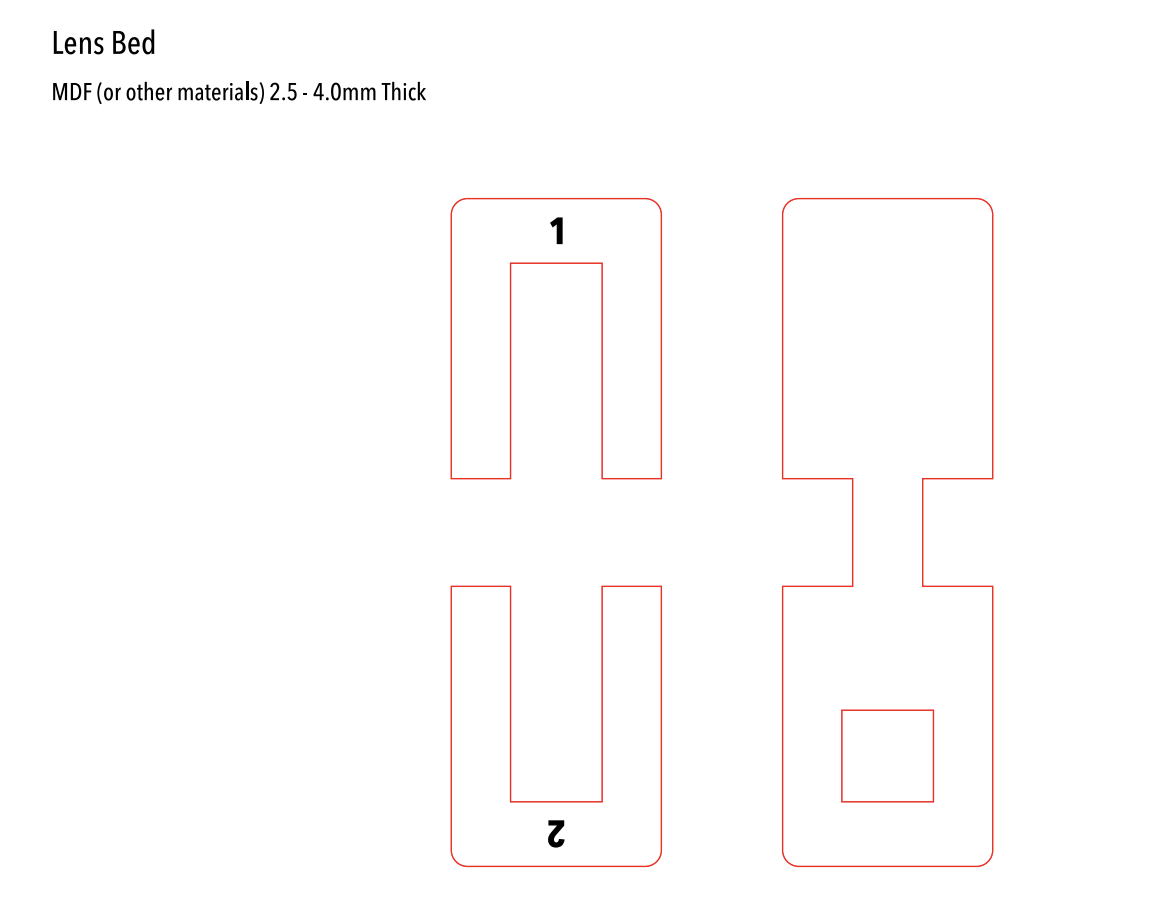
Lens bed: SVG files for laser cutting included (1 per group)
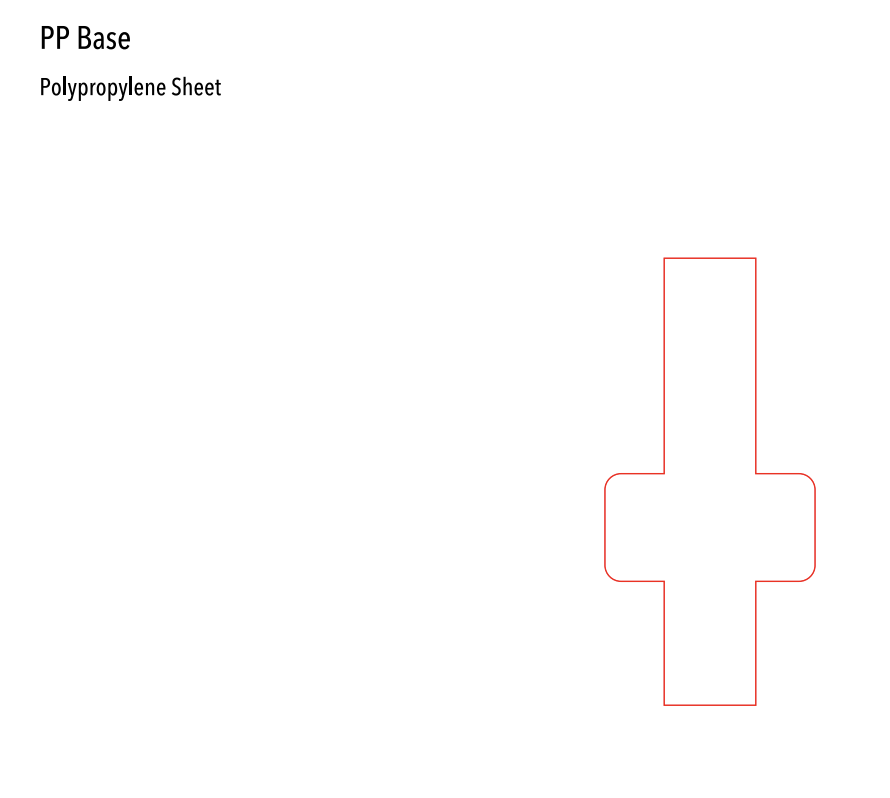
Polypropylene base: SVG files for laser cutting included (1 per group)
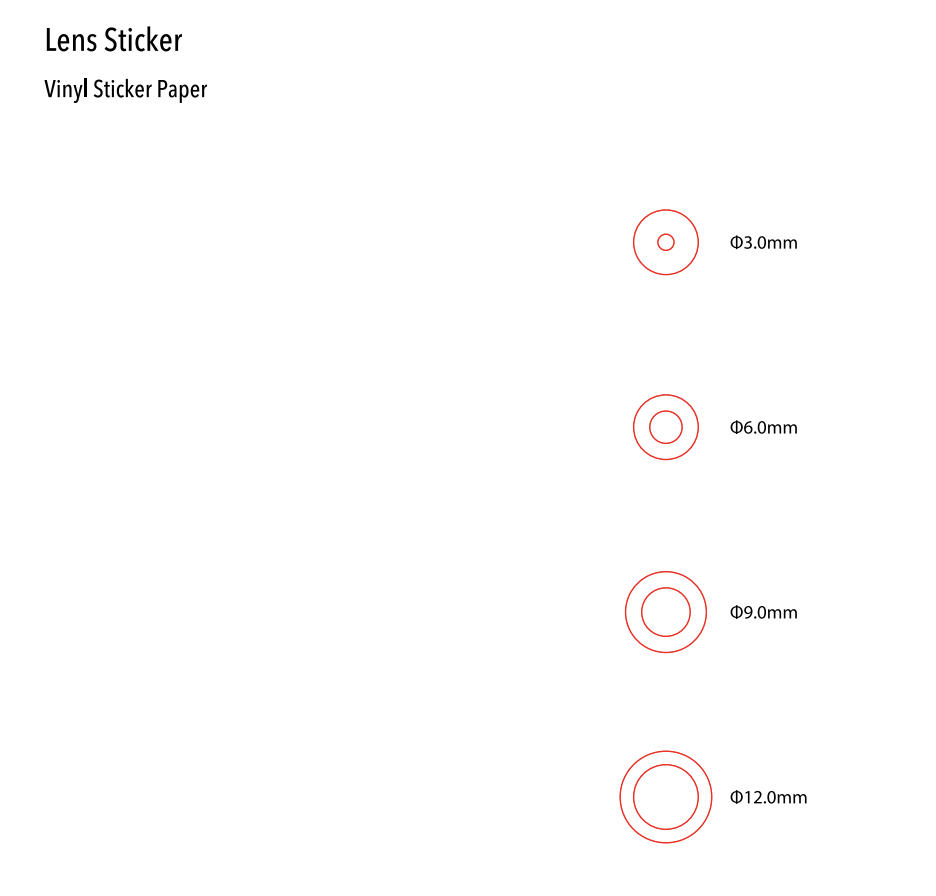
Lens stickers: 3 mm, 6 mm, 9 mm, and 12 mm diameter lens stickers, vector files for vinyl cutting included (1 set per group)
Phone or Tablet with camera: Students’ personal devices (1 per group)
Pin: Safety pin or sewing pin (1 per group)
Forceps: Metal or plastic forceps (1 per group)
Student Handout 1.1: UV resin lens challenge lab (1 per student)
Students will leave this lesson with a hands-on understanding of how lenses work and their role in microscopy. They’ll connect abstract concepts like magnification and focal length to real-world applications, gain problem-solving skills through lens design and improvement, and appreciate the intersection of science, engineering, and creativity in innovation.
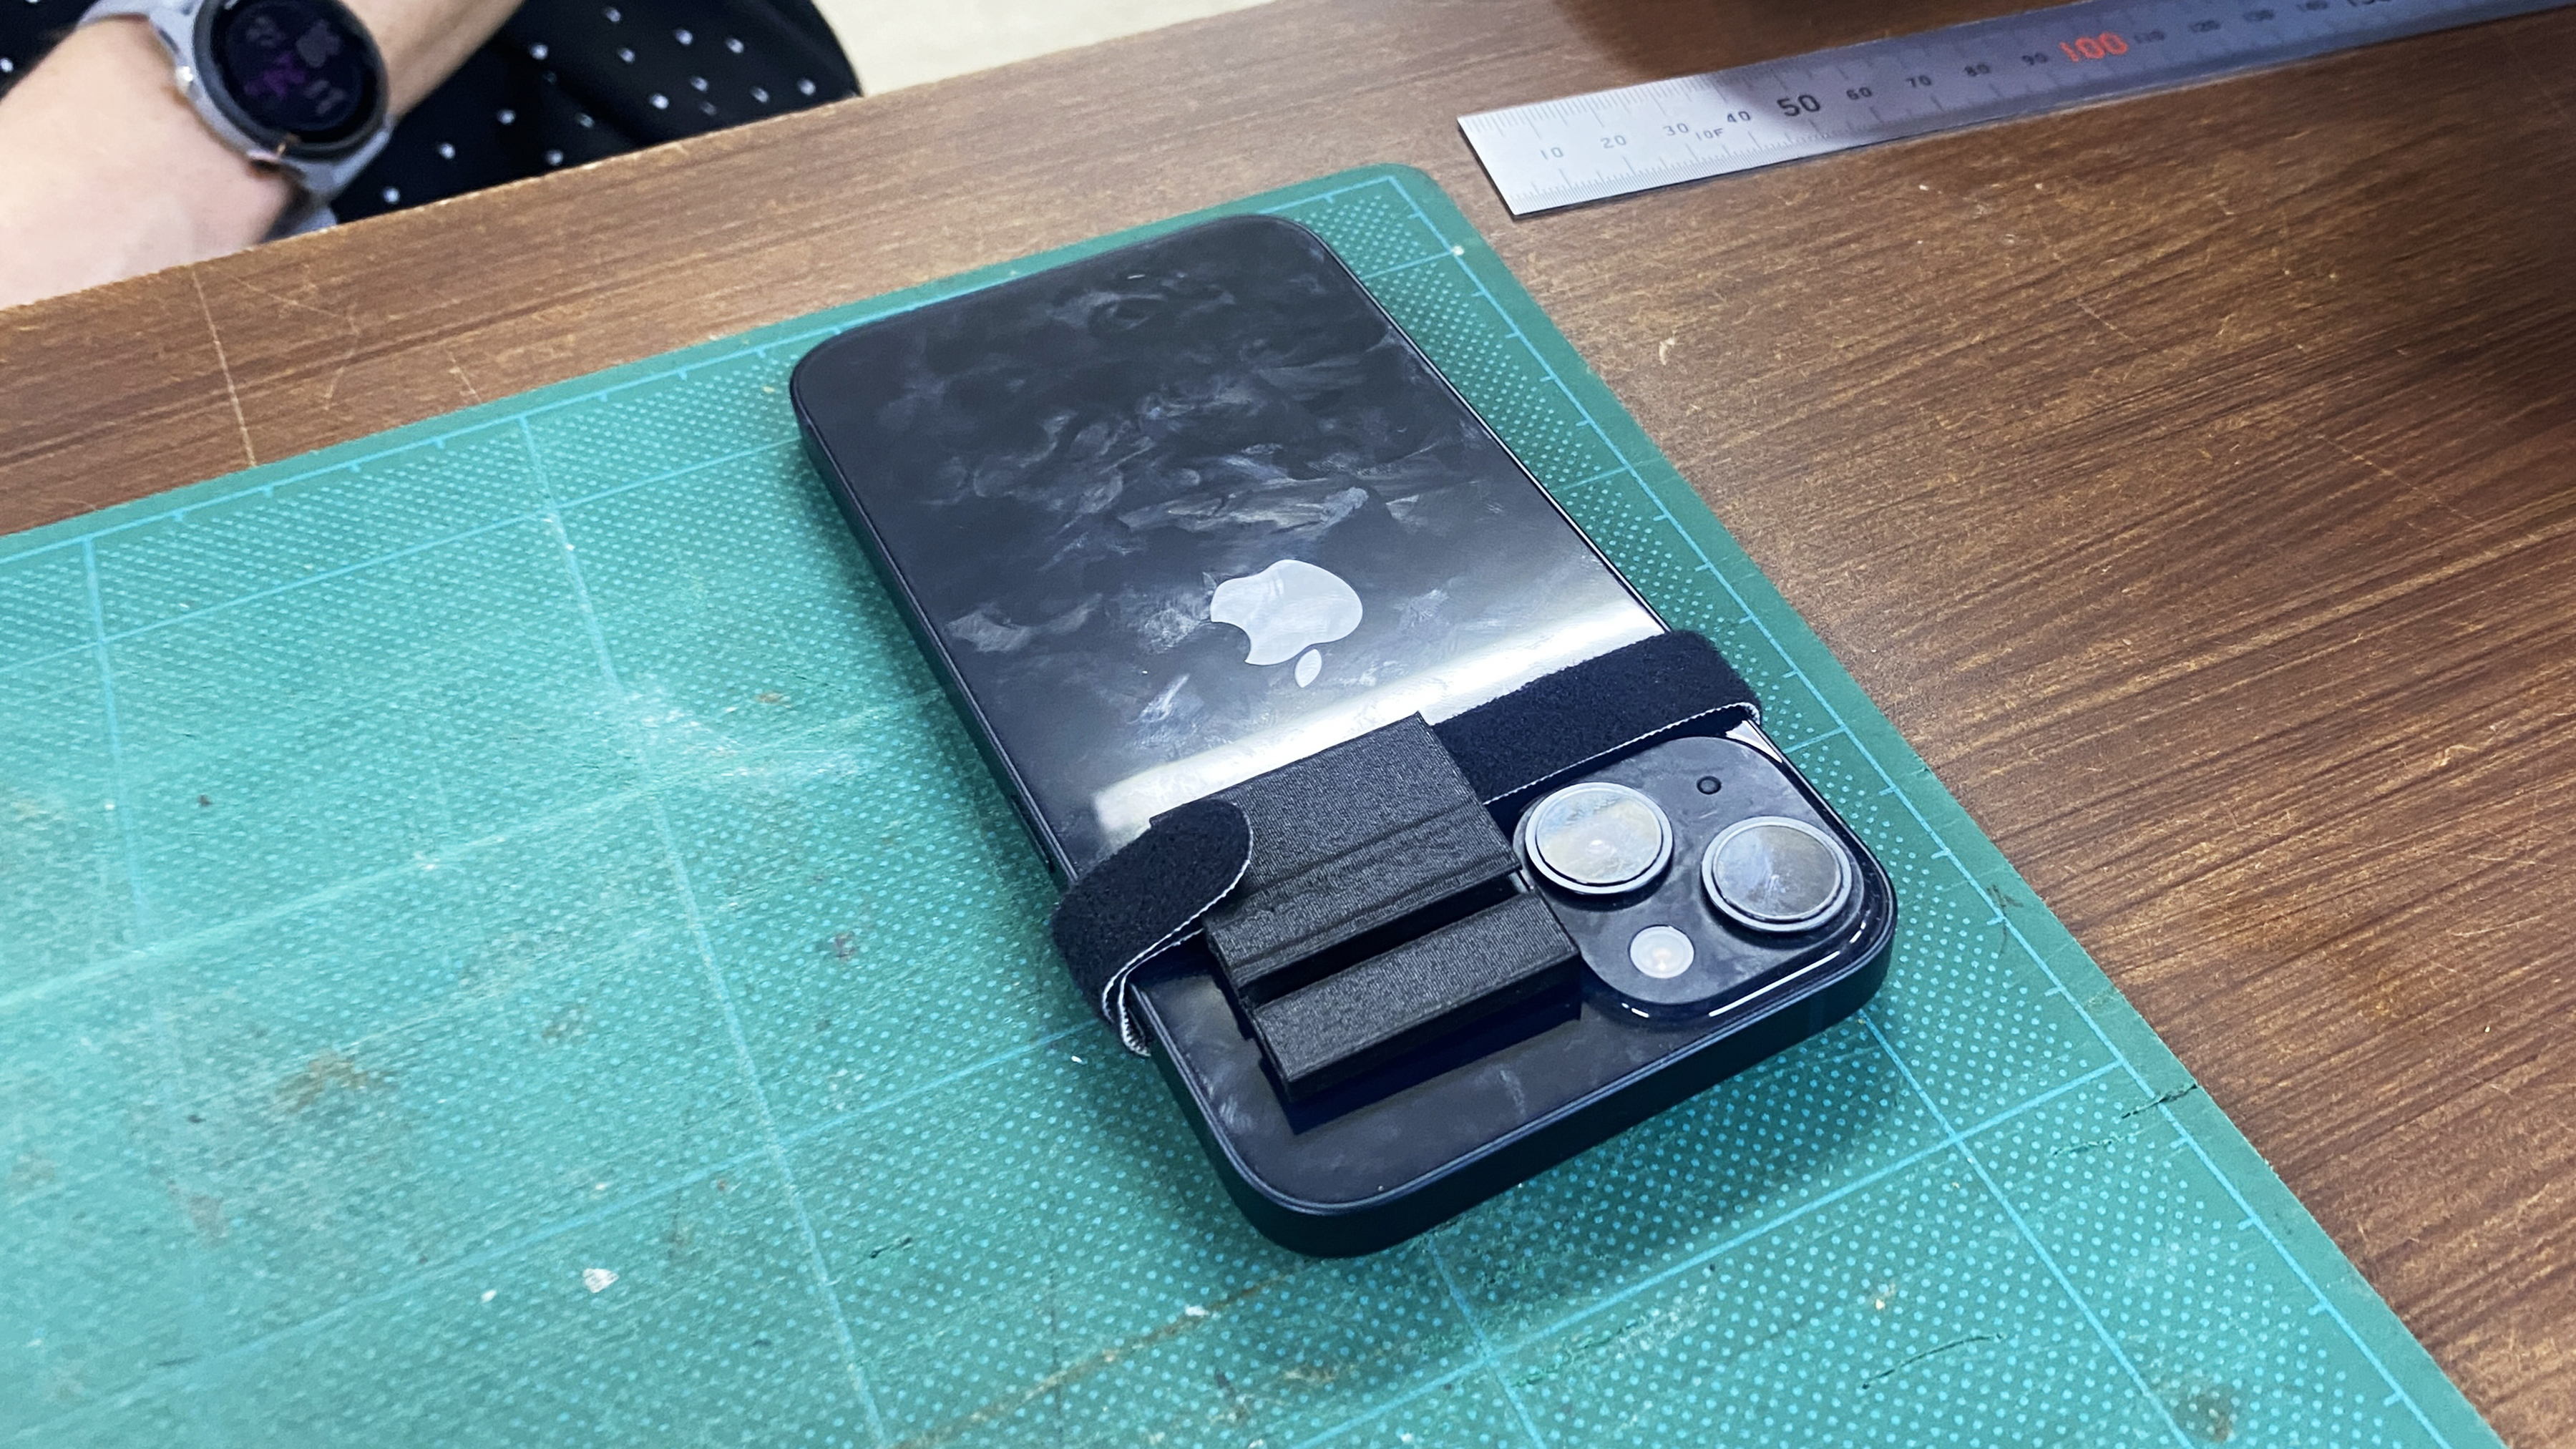
To prepare the UV resin lens kit, begin by 3D printing the phone attachment using the provided STL file and PLA material, ensuring the model is oriented correctly before printing. After printing, secure the attachment to a phone using a 12 mm Velcro cable tie. Next, laser cut the polypropylene base, lens holder, and lens bed using the corresponding SVG files. Finally, use a vinyl or laser cutter to precisely cut the lens stickers from the provided design file.
UV Resin Lens Kit Preparation:
1. 3D Print the Phone Attachment
Download: Download the phone_attachment.stl file.
Material: Use PLA
Slicer Settings:
Layer height: 0.3 mm
Wall line count: 3
Infill: 25%
Supports: Not required
Adhesion: Skirt
Orientation: The model is designed to print vertically. Rotate the model to the correct orientation before starting the print.
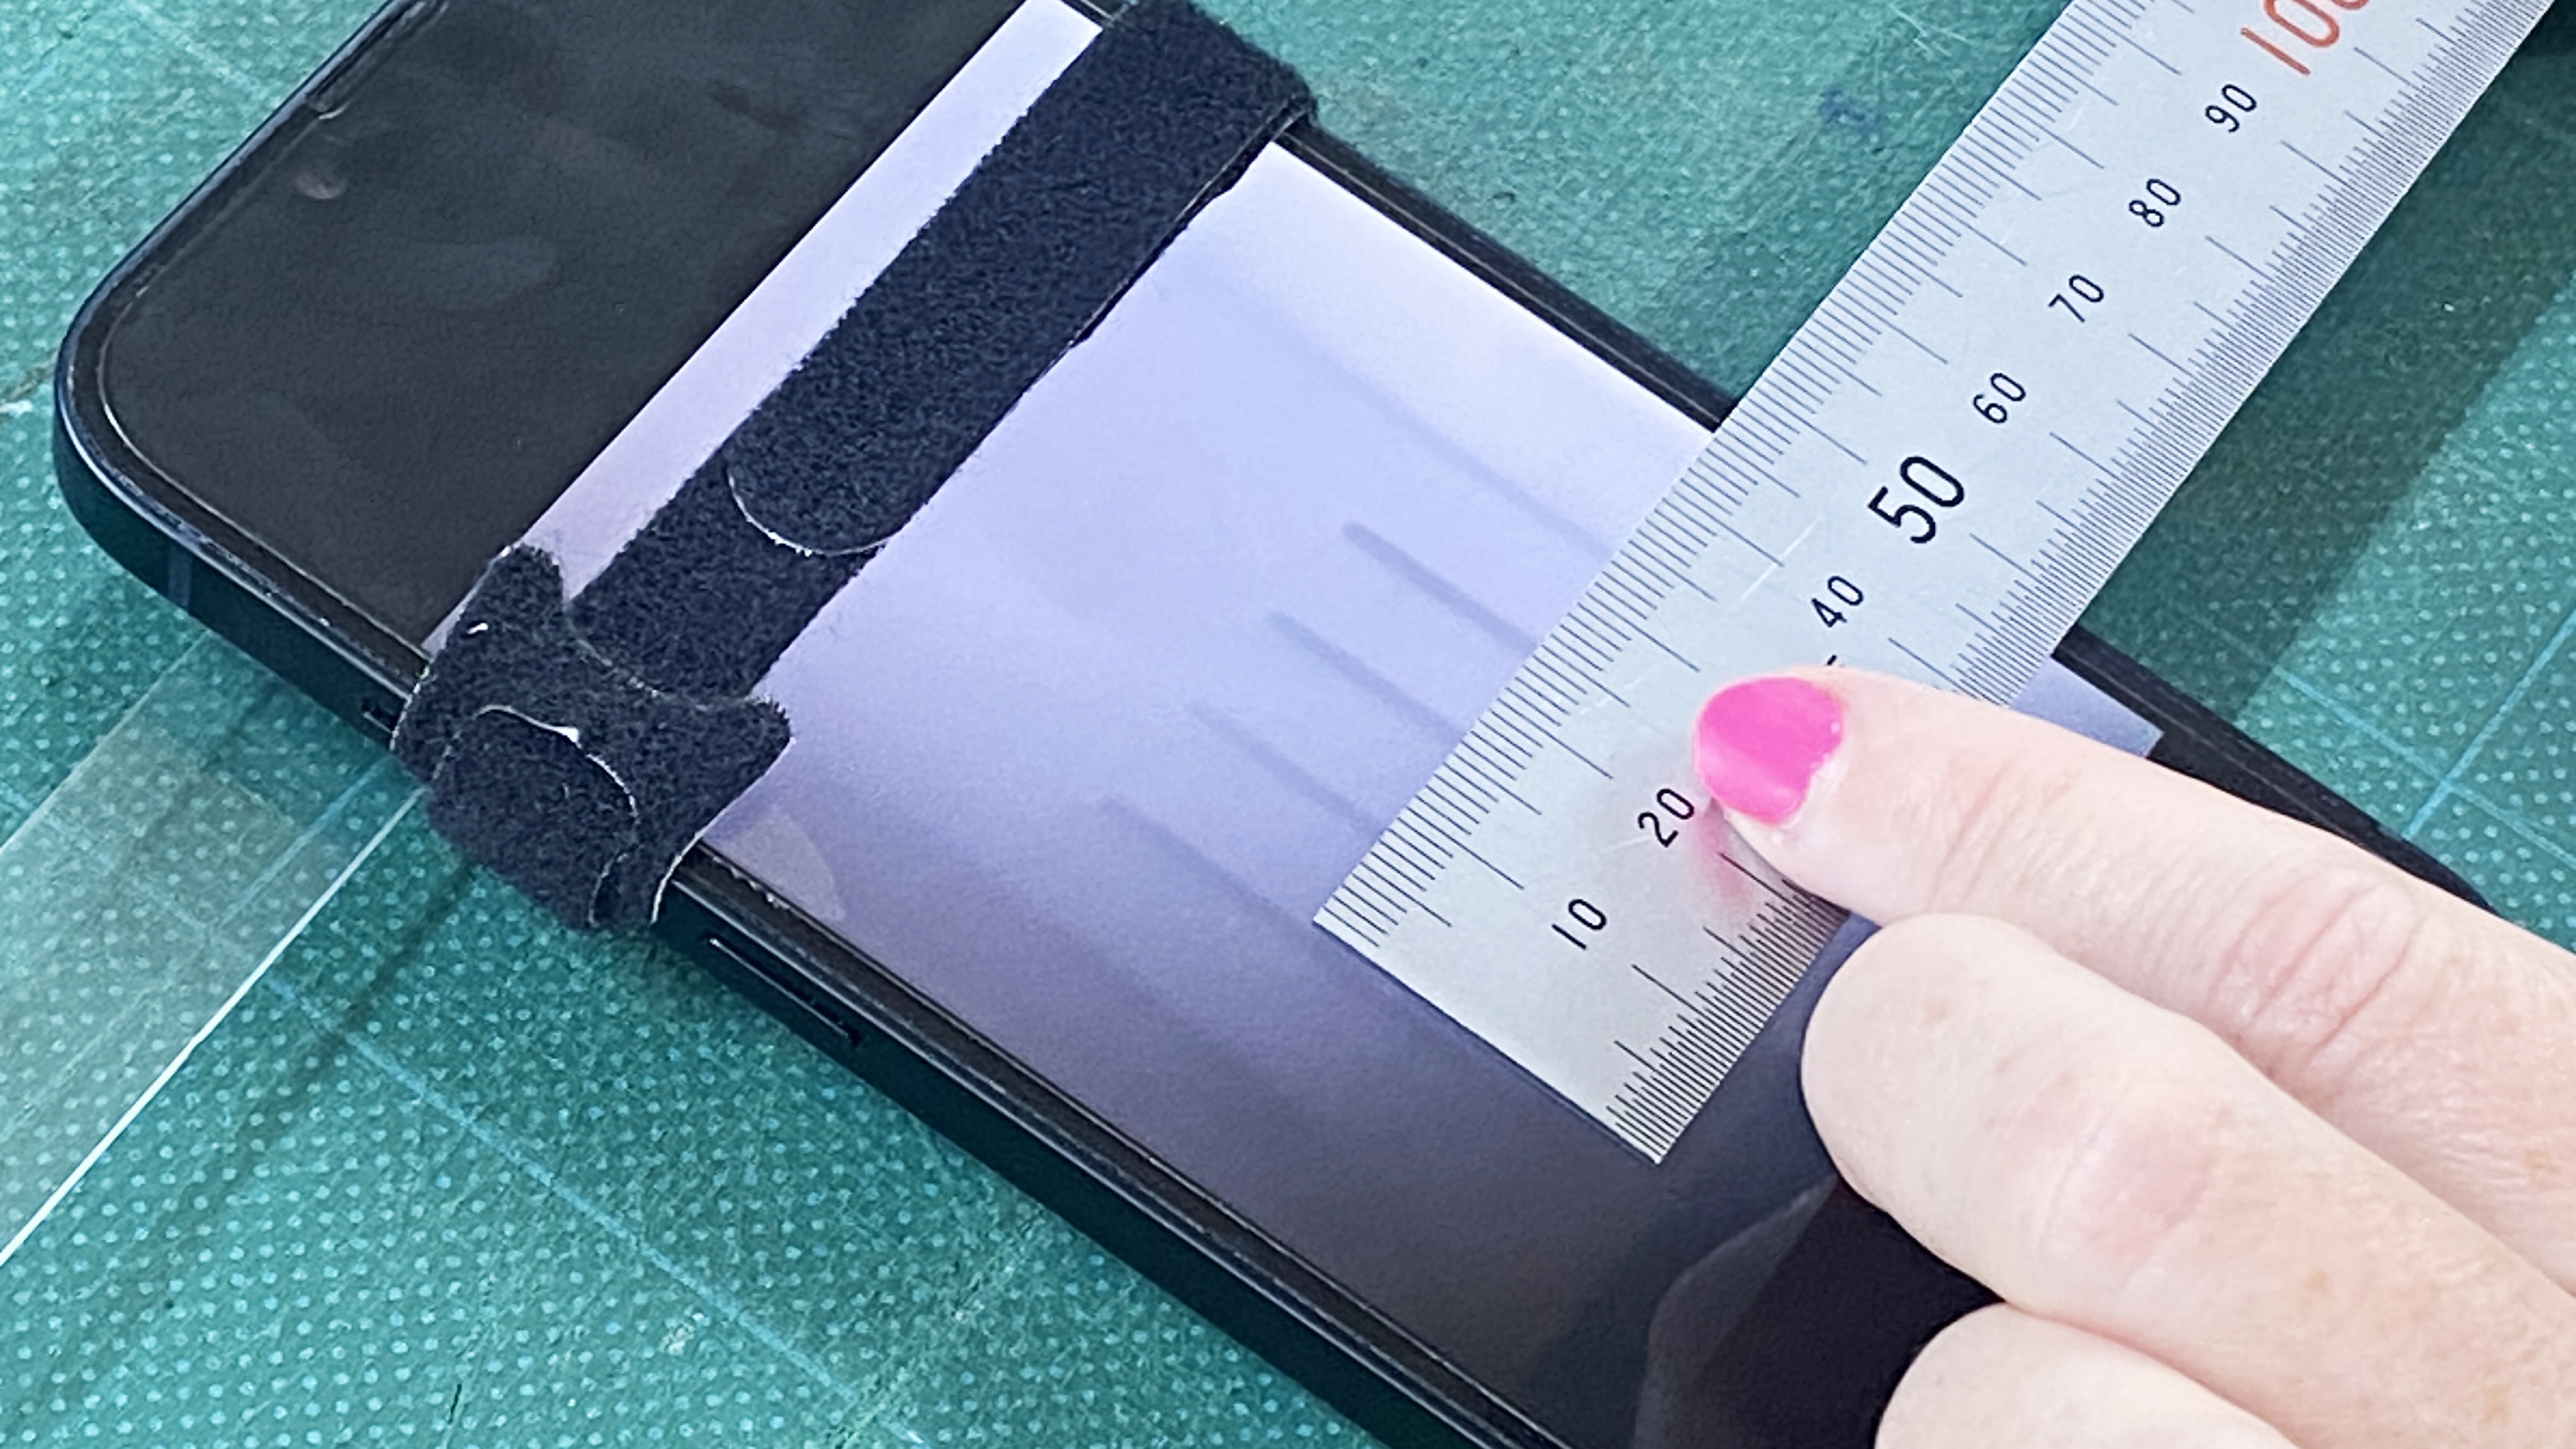
Attachment: After printing, secure the phone attachment to your phone using a 12 mm wide Velcro cable tie.
2. Laser Cut the Polypropylene Base, Lens Holder, and Lens Bed
Download Files:
Polypropylene base: PPbase.svg
Lens holder: lensholder.svg
Lens bed: lensbed.svg
Use a laser cutter to cut each component following the downloaded file specifications.
3. Cut the Lens Stickers
Download File: lenssticker.svg
Use either a vinyl cutter or a laser cutter to cut the lens stickers based on the provided file.
To engage students, begin by discussing the role of microscopes in scientific research and everyday life, highlighting their use in fields like biology, medicine, and materials science. Provide students with magnifying glasses to observe small objects and prompt them to explain how convex lenses magnify objects by bending light. Facilitate a discussion on the importance of lens shape, linking curvature to focal length and image clarity. Conclude by introducing the basic principles of convex lenses and teaching the lens equation and the magnification equation.
Engage: Understanding microscopy – history, lens principles, and key equations.
Ask students, “What do you know about the role of microscopes in scientific research and everyday life?”
Provide each student with a magnifying glass and ask them to observe various small objects, such as text on a page or fine details on a leaf. Ask students, “Can you explain how a convex lens helps magnify objects?”
Ask students, “Why do you think the shape of a convex lens is important for its function?”
Discuss basic principles of how lenses work, focusing on convex lenses.
1/f = 1/do+1/di
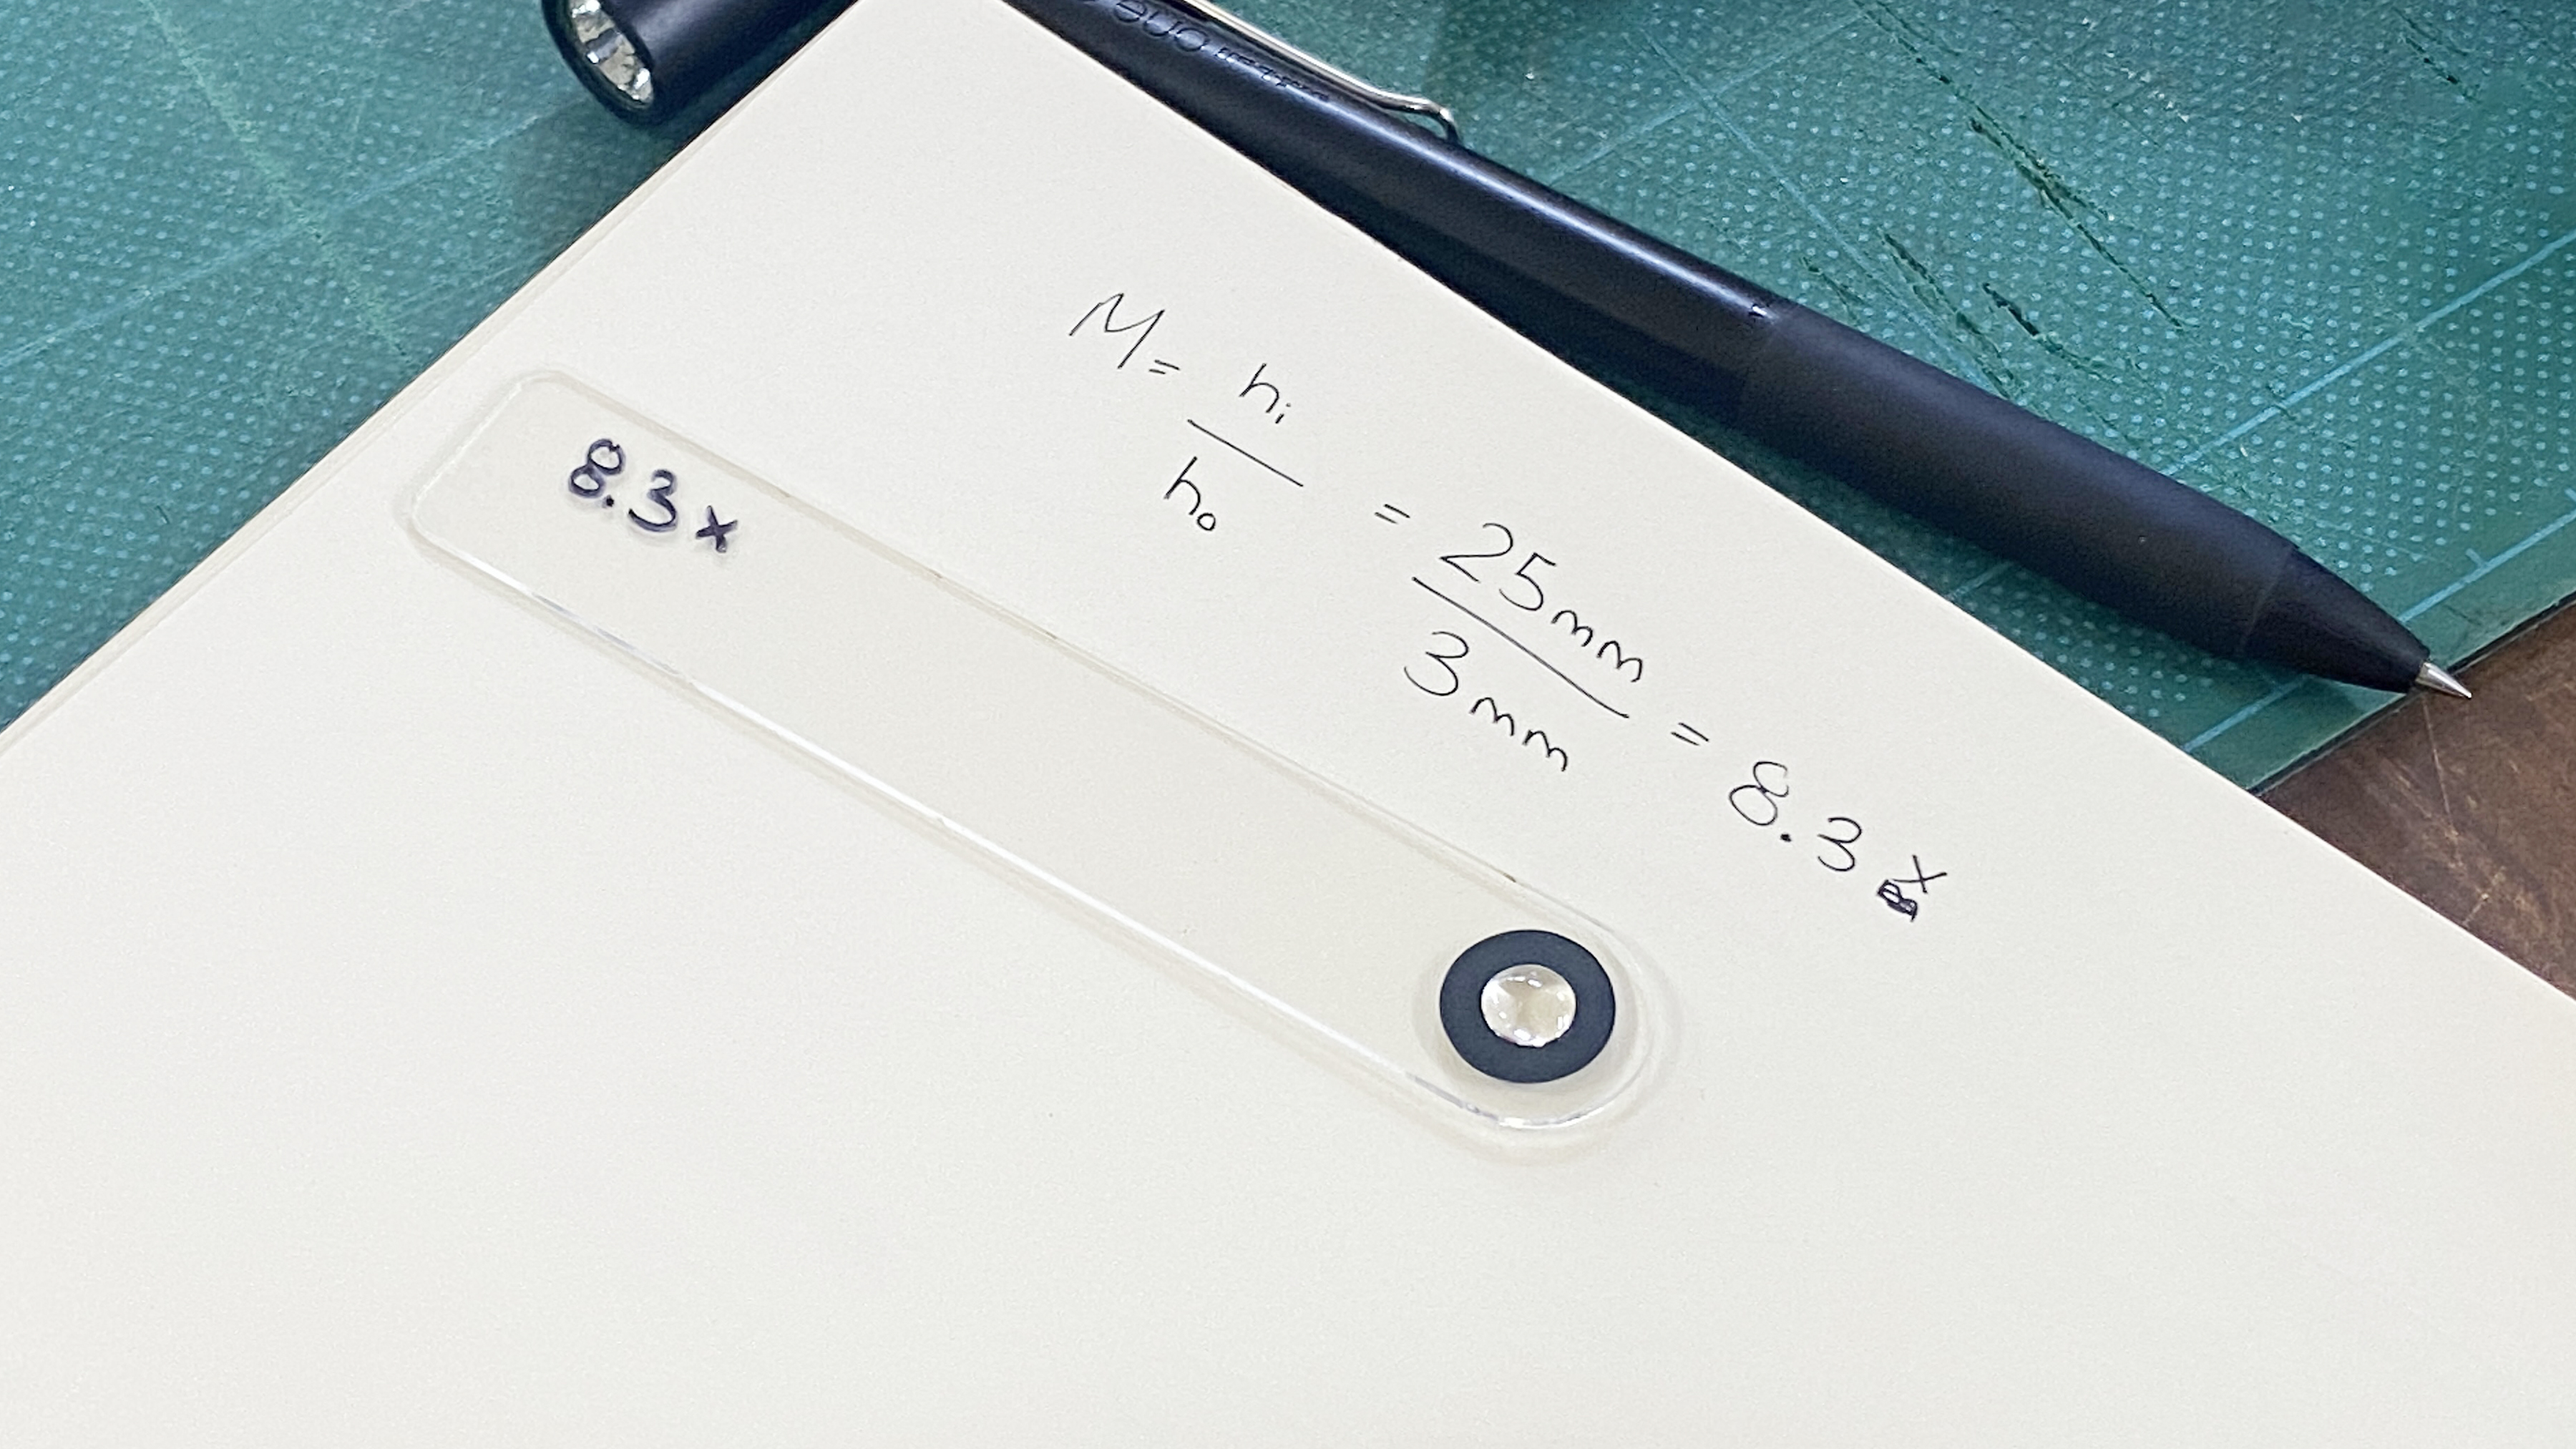
M = hi /ho = -di /do
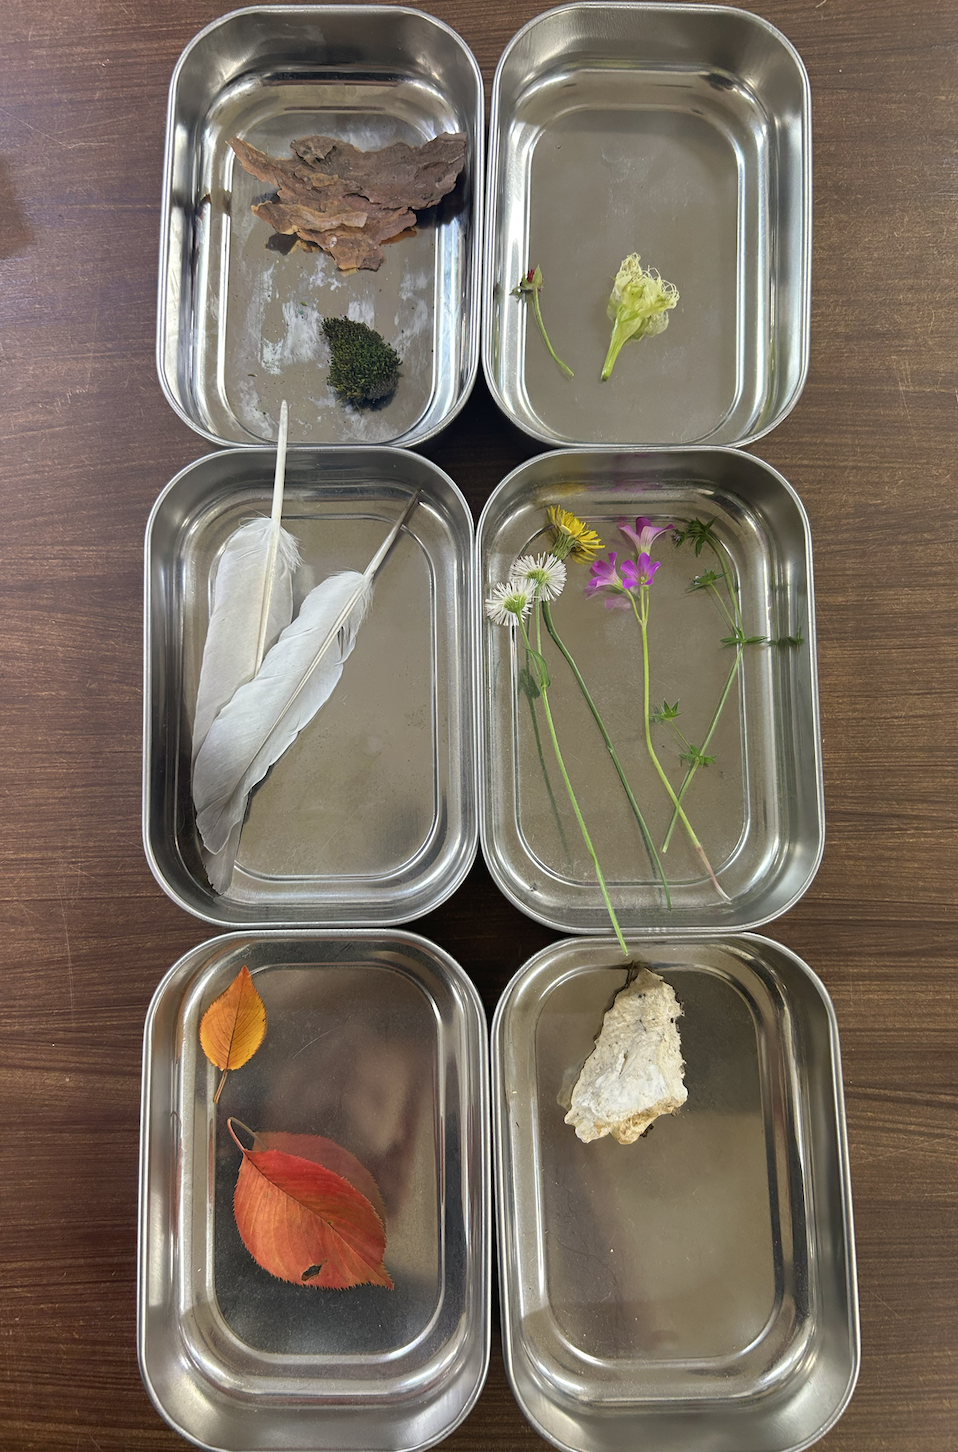
In this exploration, students work in pairs to create and test convex lenses using UV resin. Following the steps in Student Handout 1.1, they assemble lens holders with stickers, carefully apply resin to form biconvex lenses, and cure the resin with UV light. This process is repeated for four lens sizes (12 mm, 9 mm, 6 mm, and 3 mm). Once completed, students attach the lenses to phone cameras, measure object distance and image height using a ruler, and calculate magnification, image distance, and focal length using the provided equations. All measurements and calculations are documented for analysis.
Explore: UV resin lens challenge – making convex lenses.
Assign students a partner to work with. Provide each group with the materials they will need to create their lenses. Students will follow the instructions in Student Handout 1.1 to guide them through the procedure, documenting their measurements and calculations along the way.
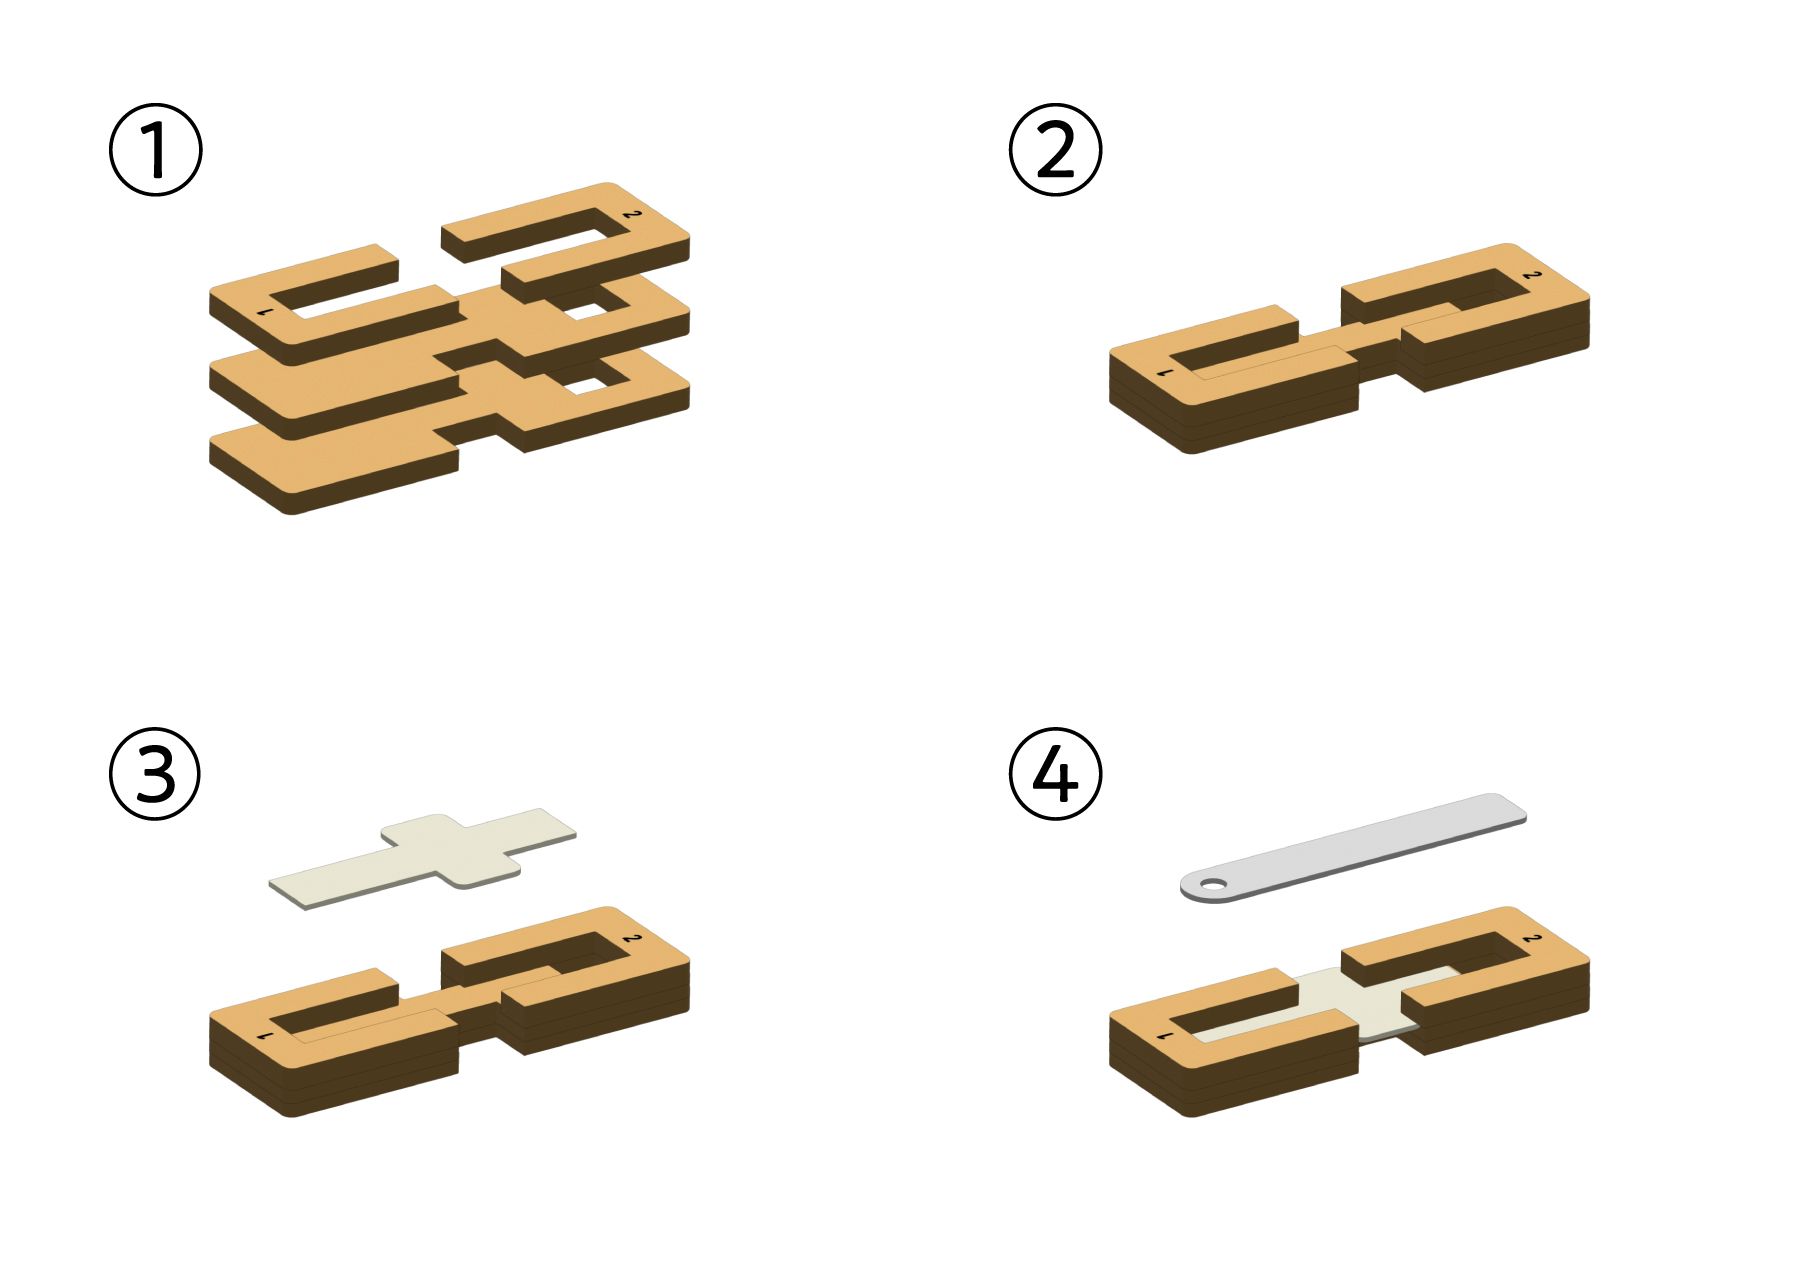
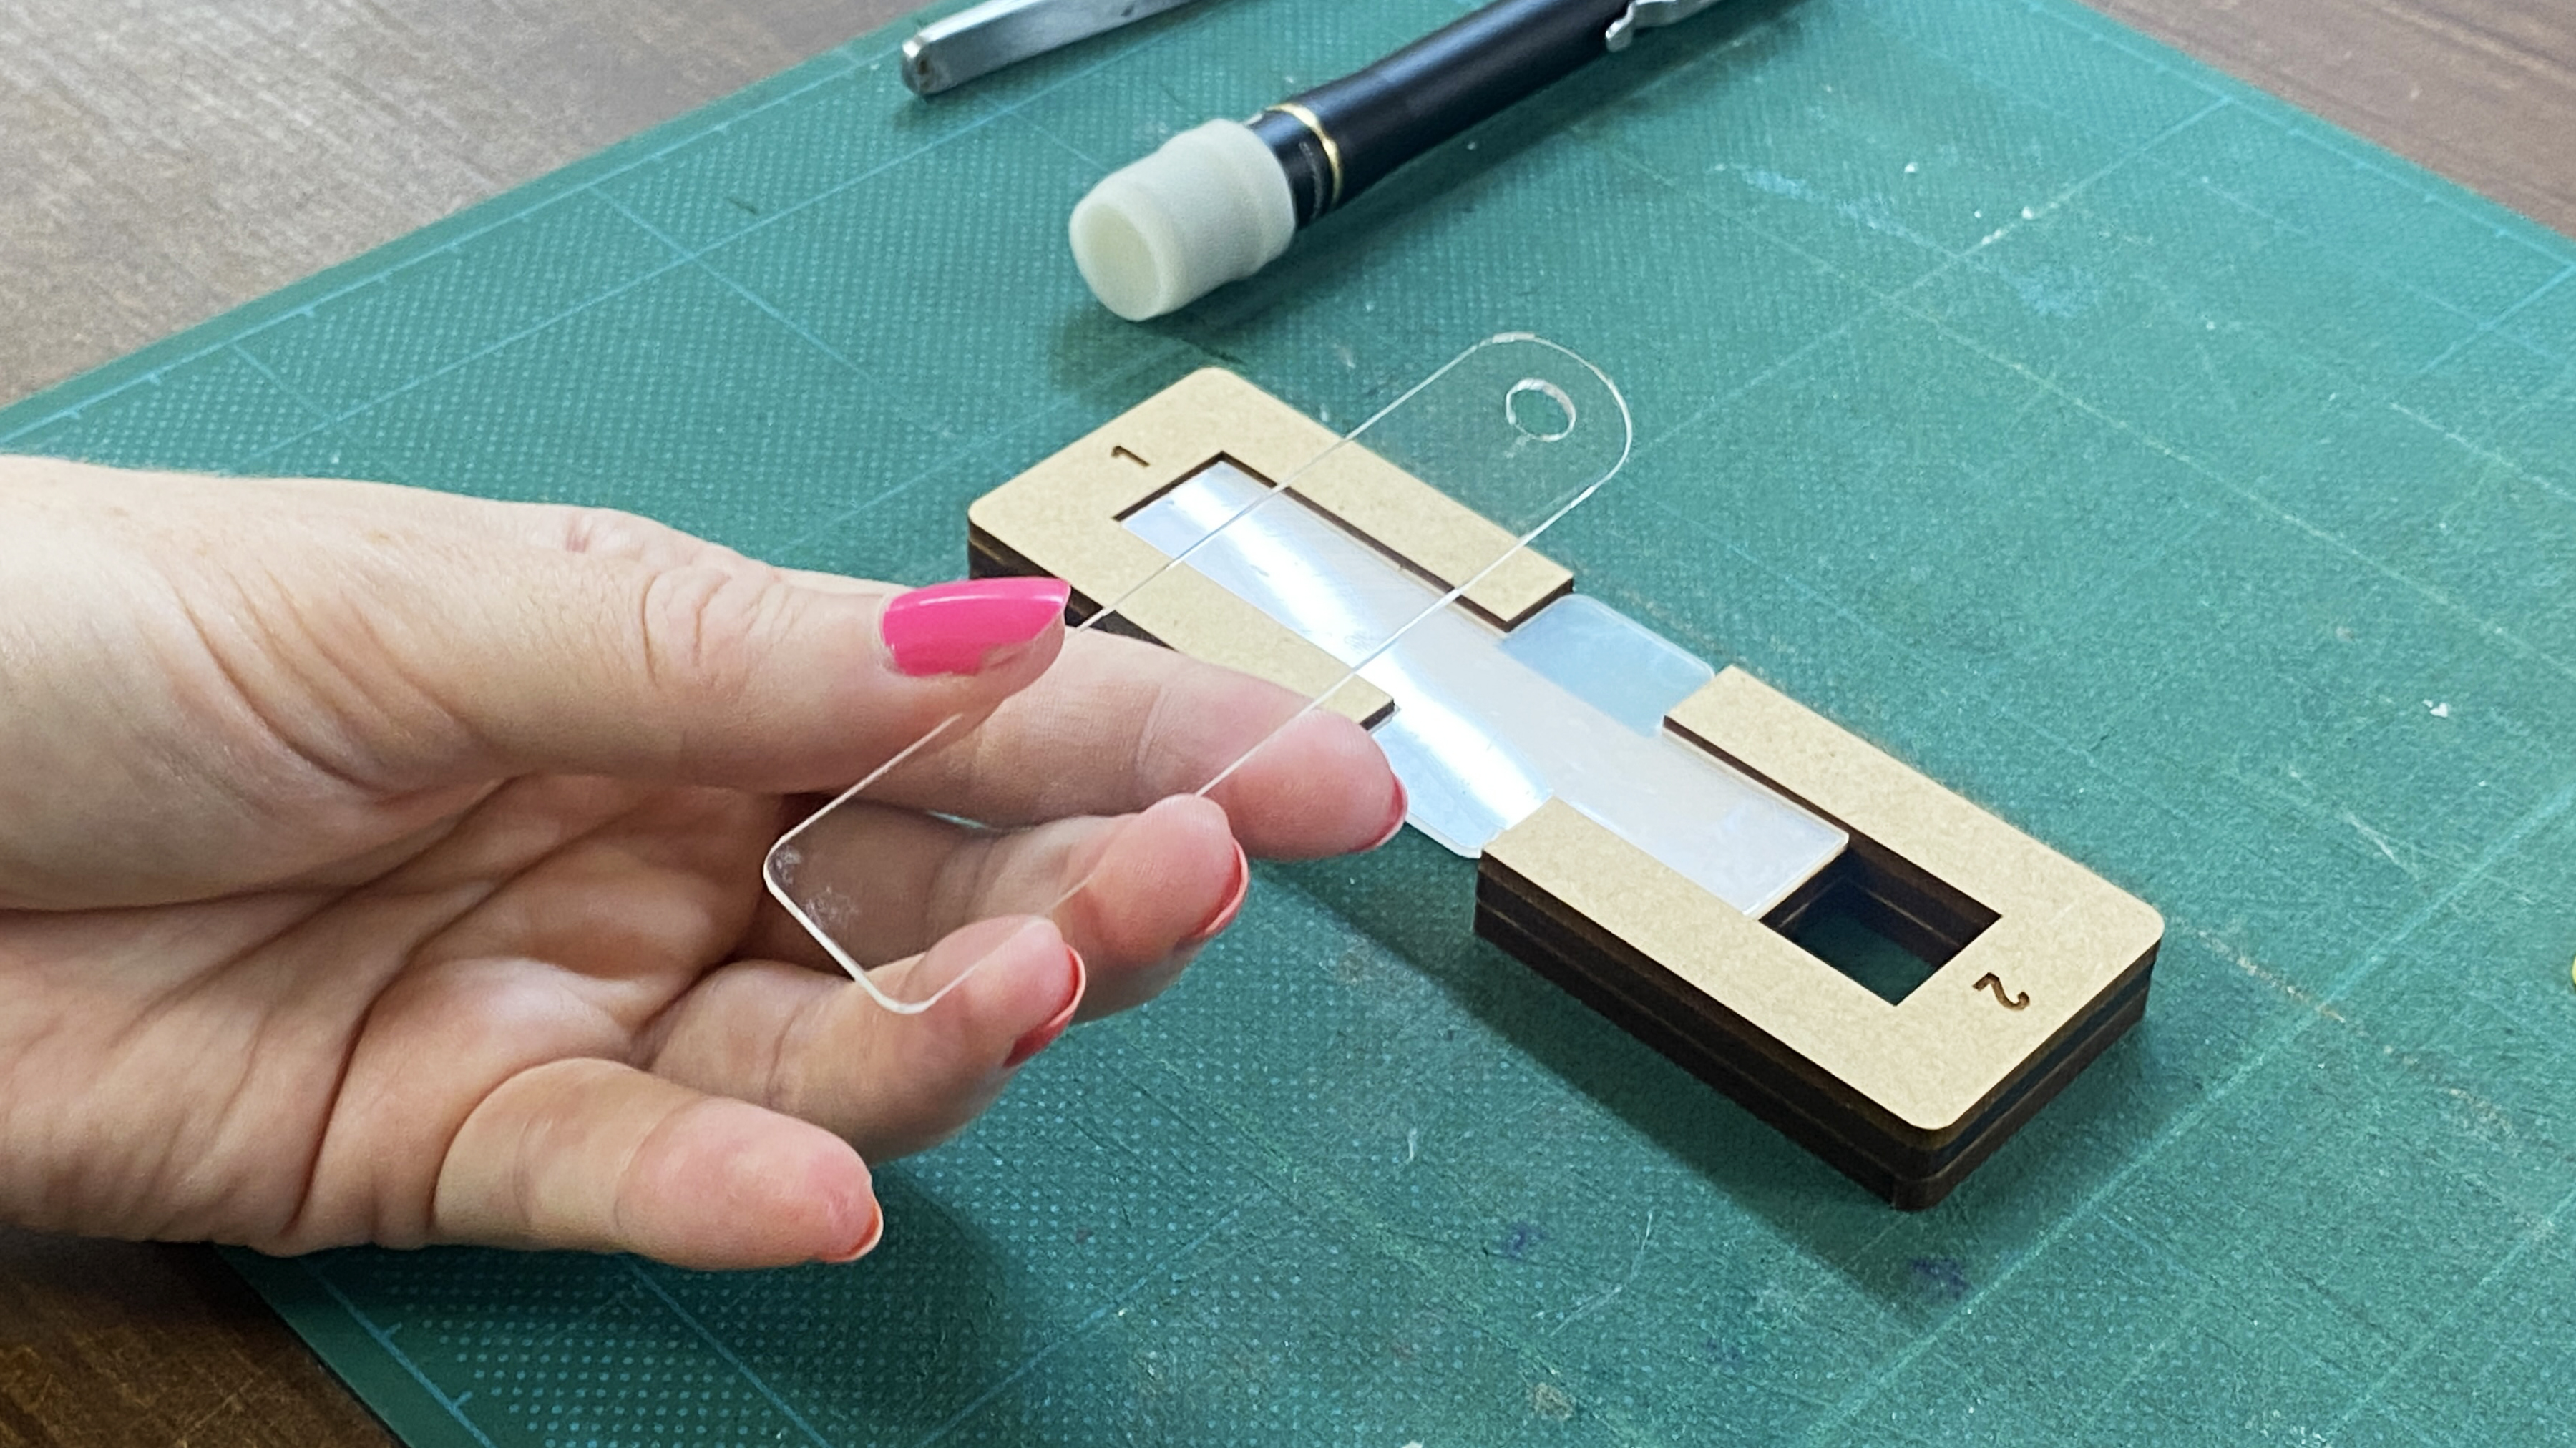
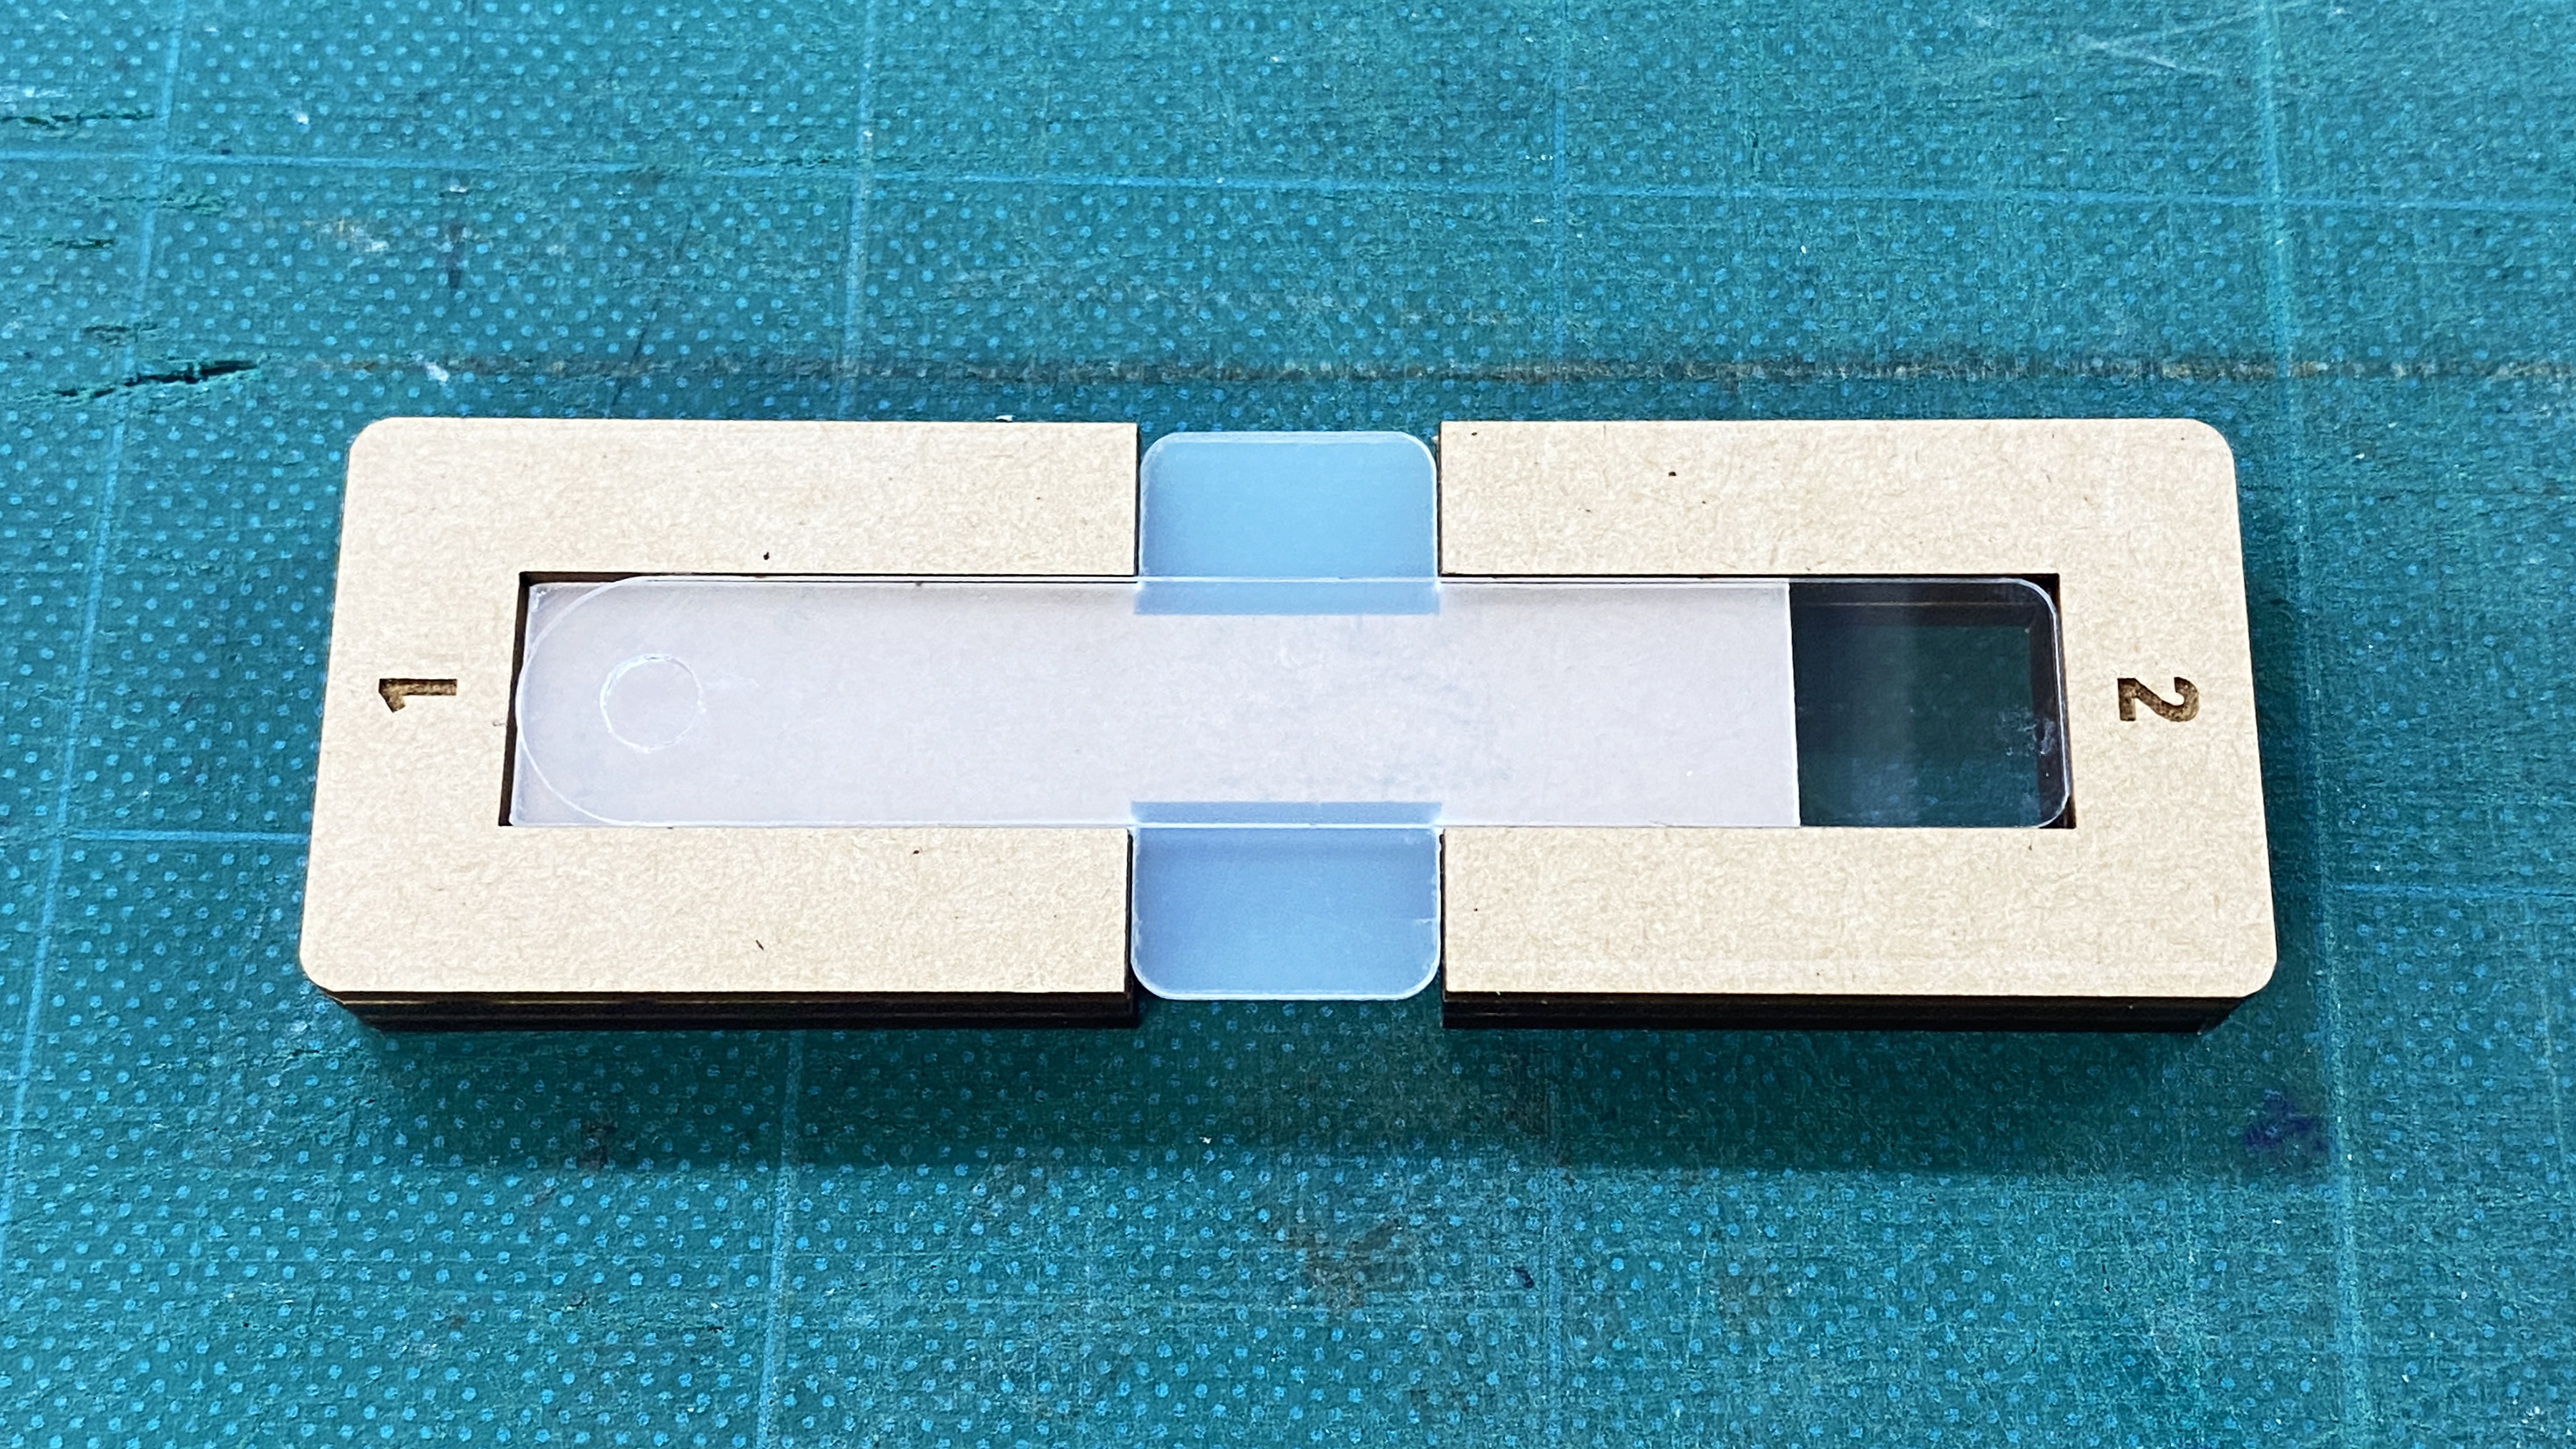
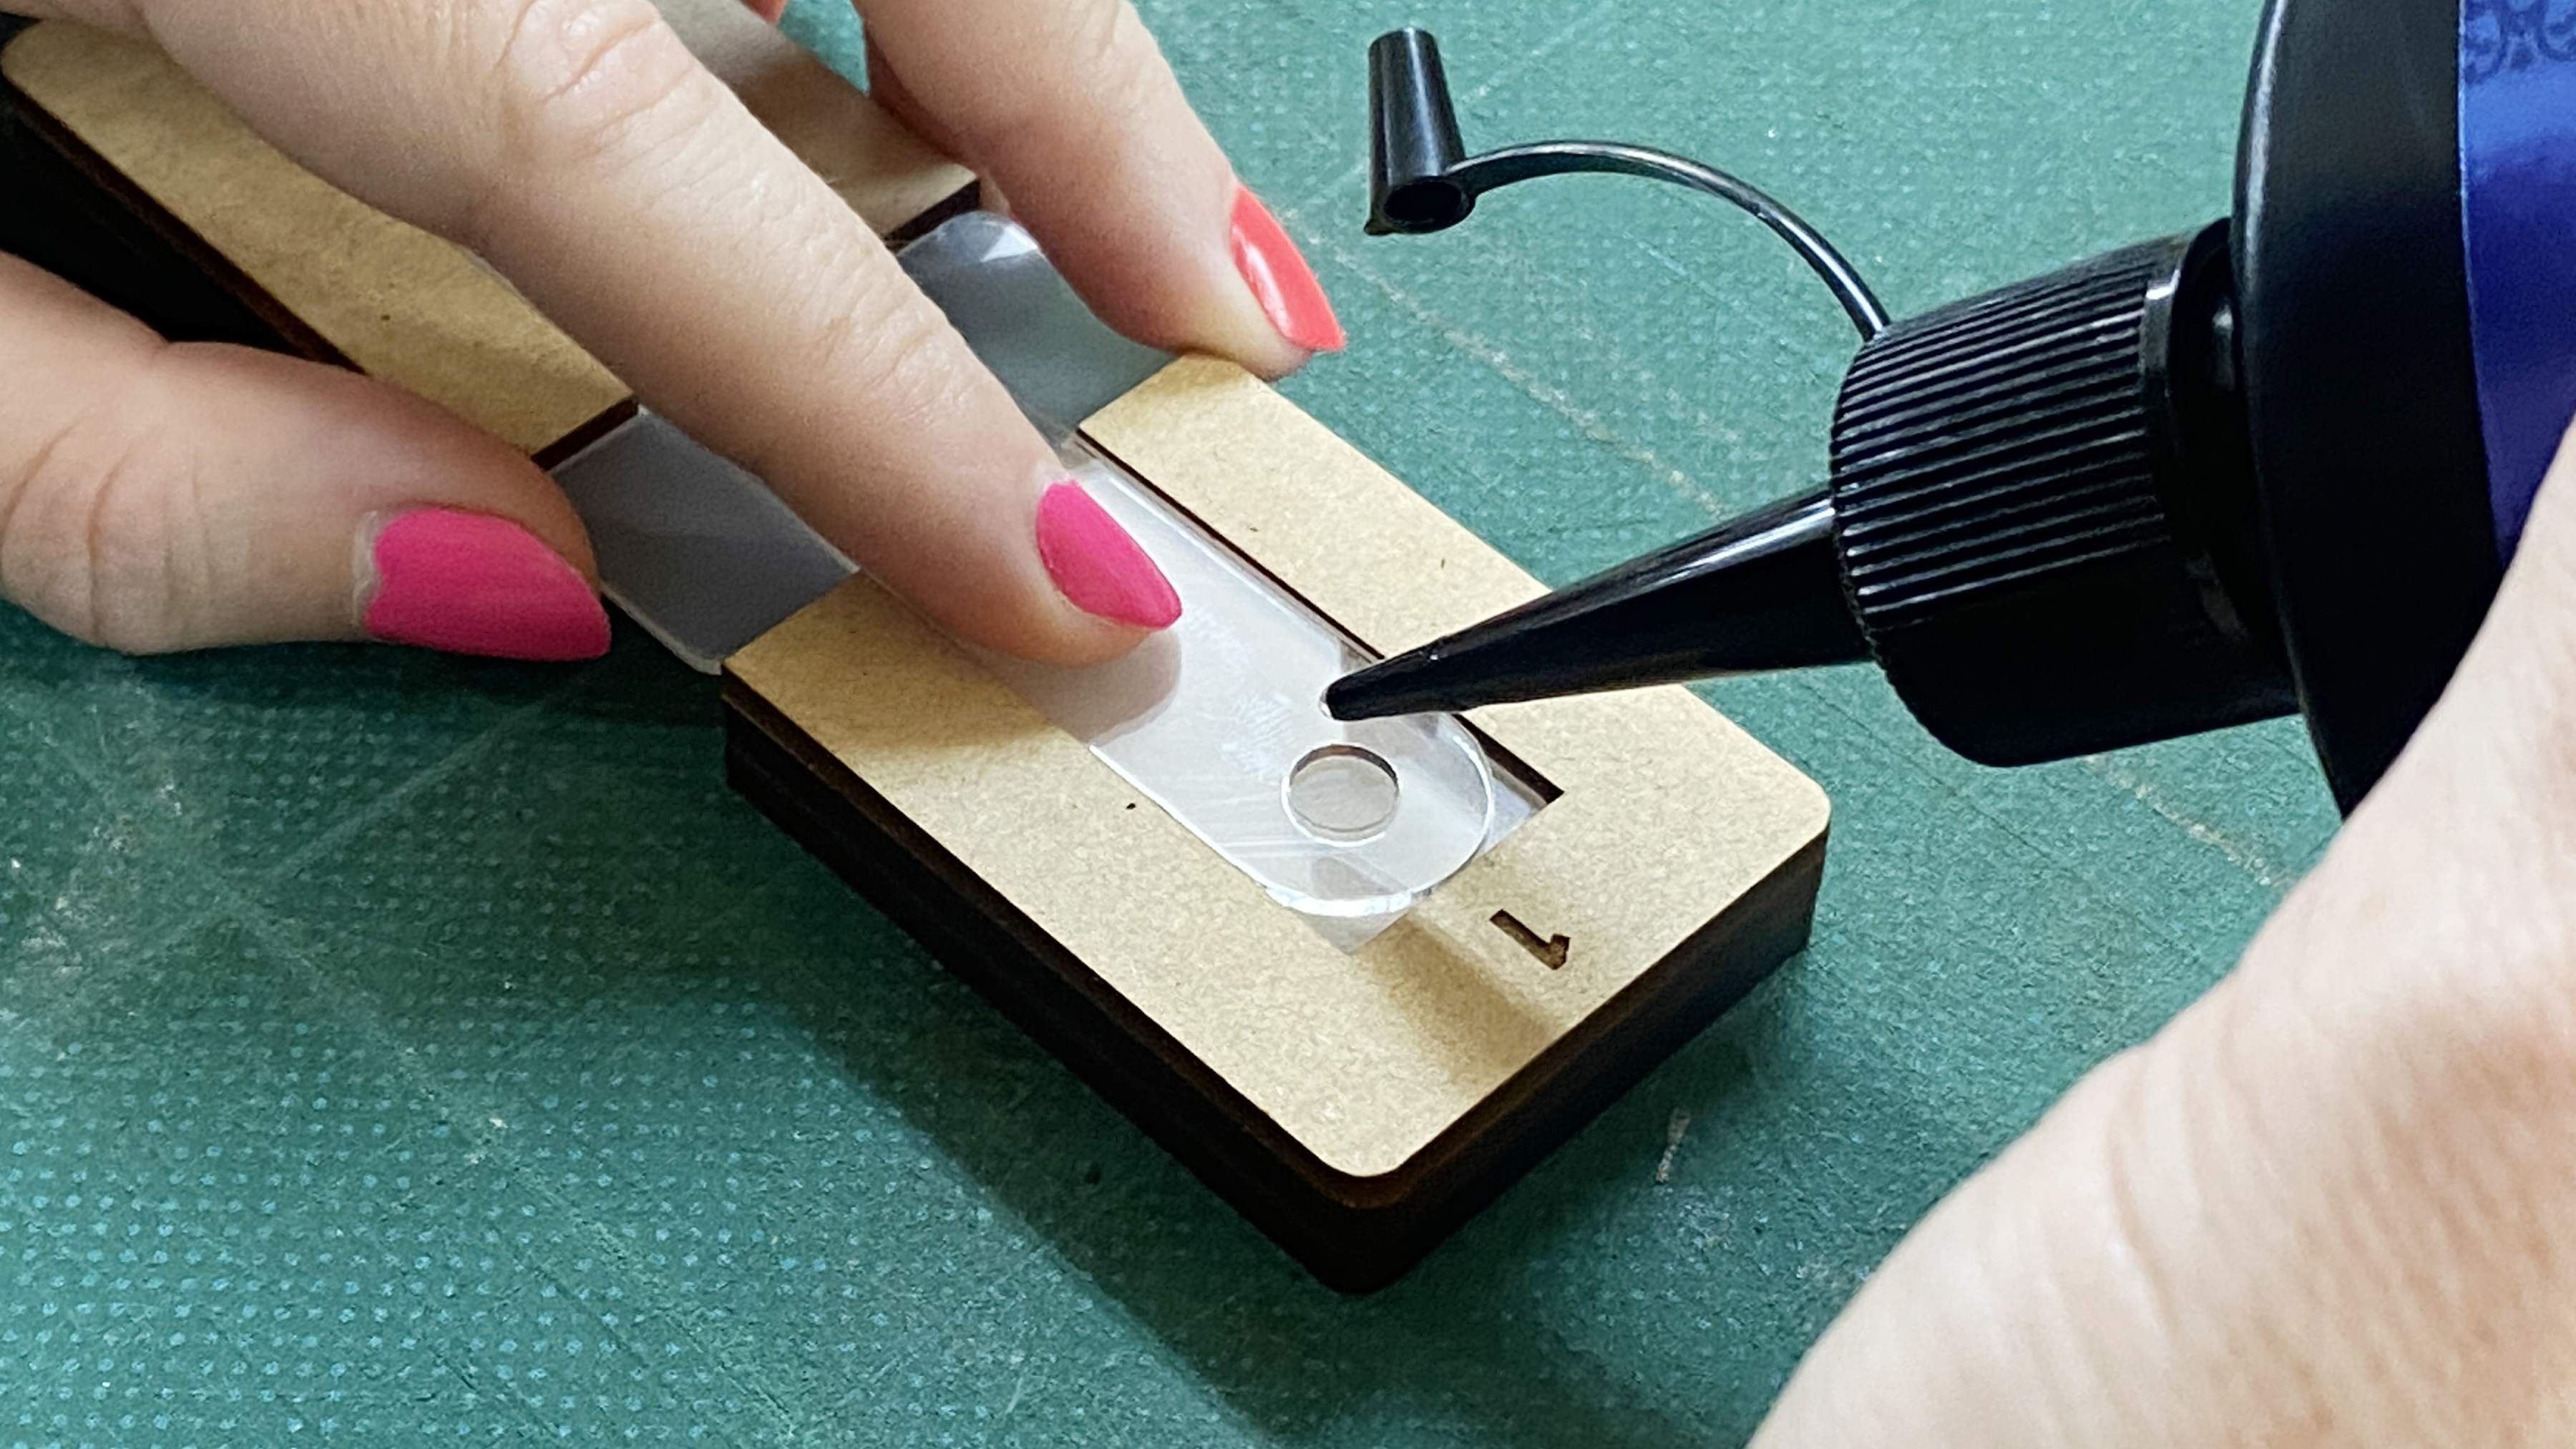
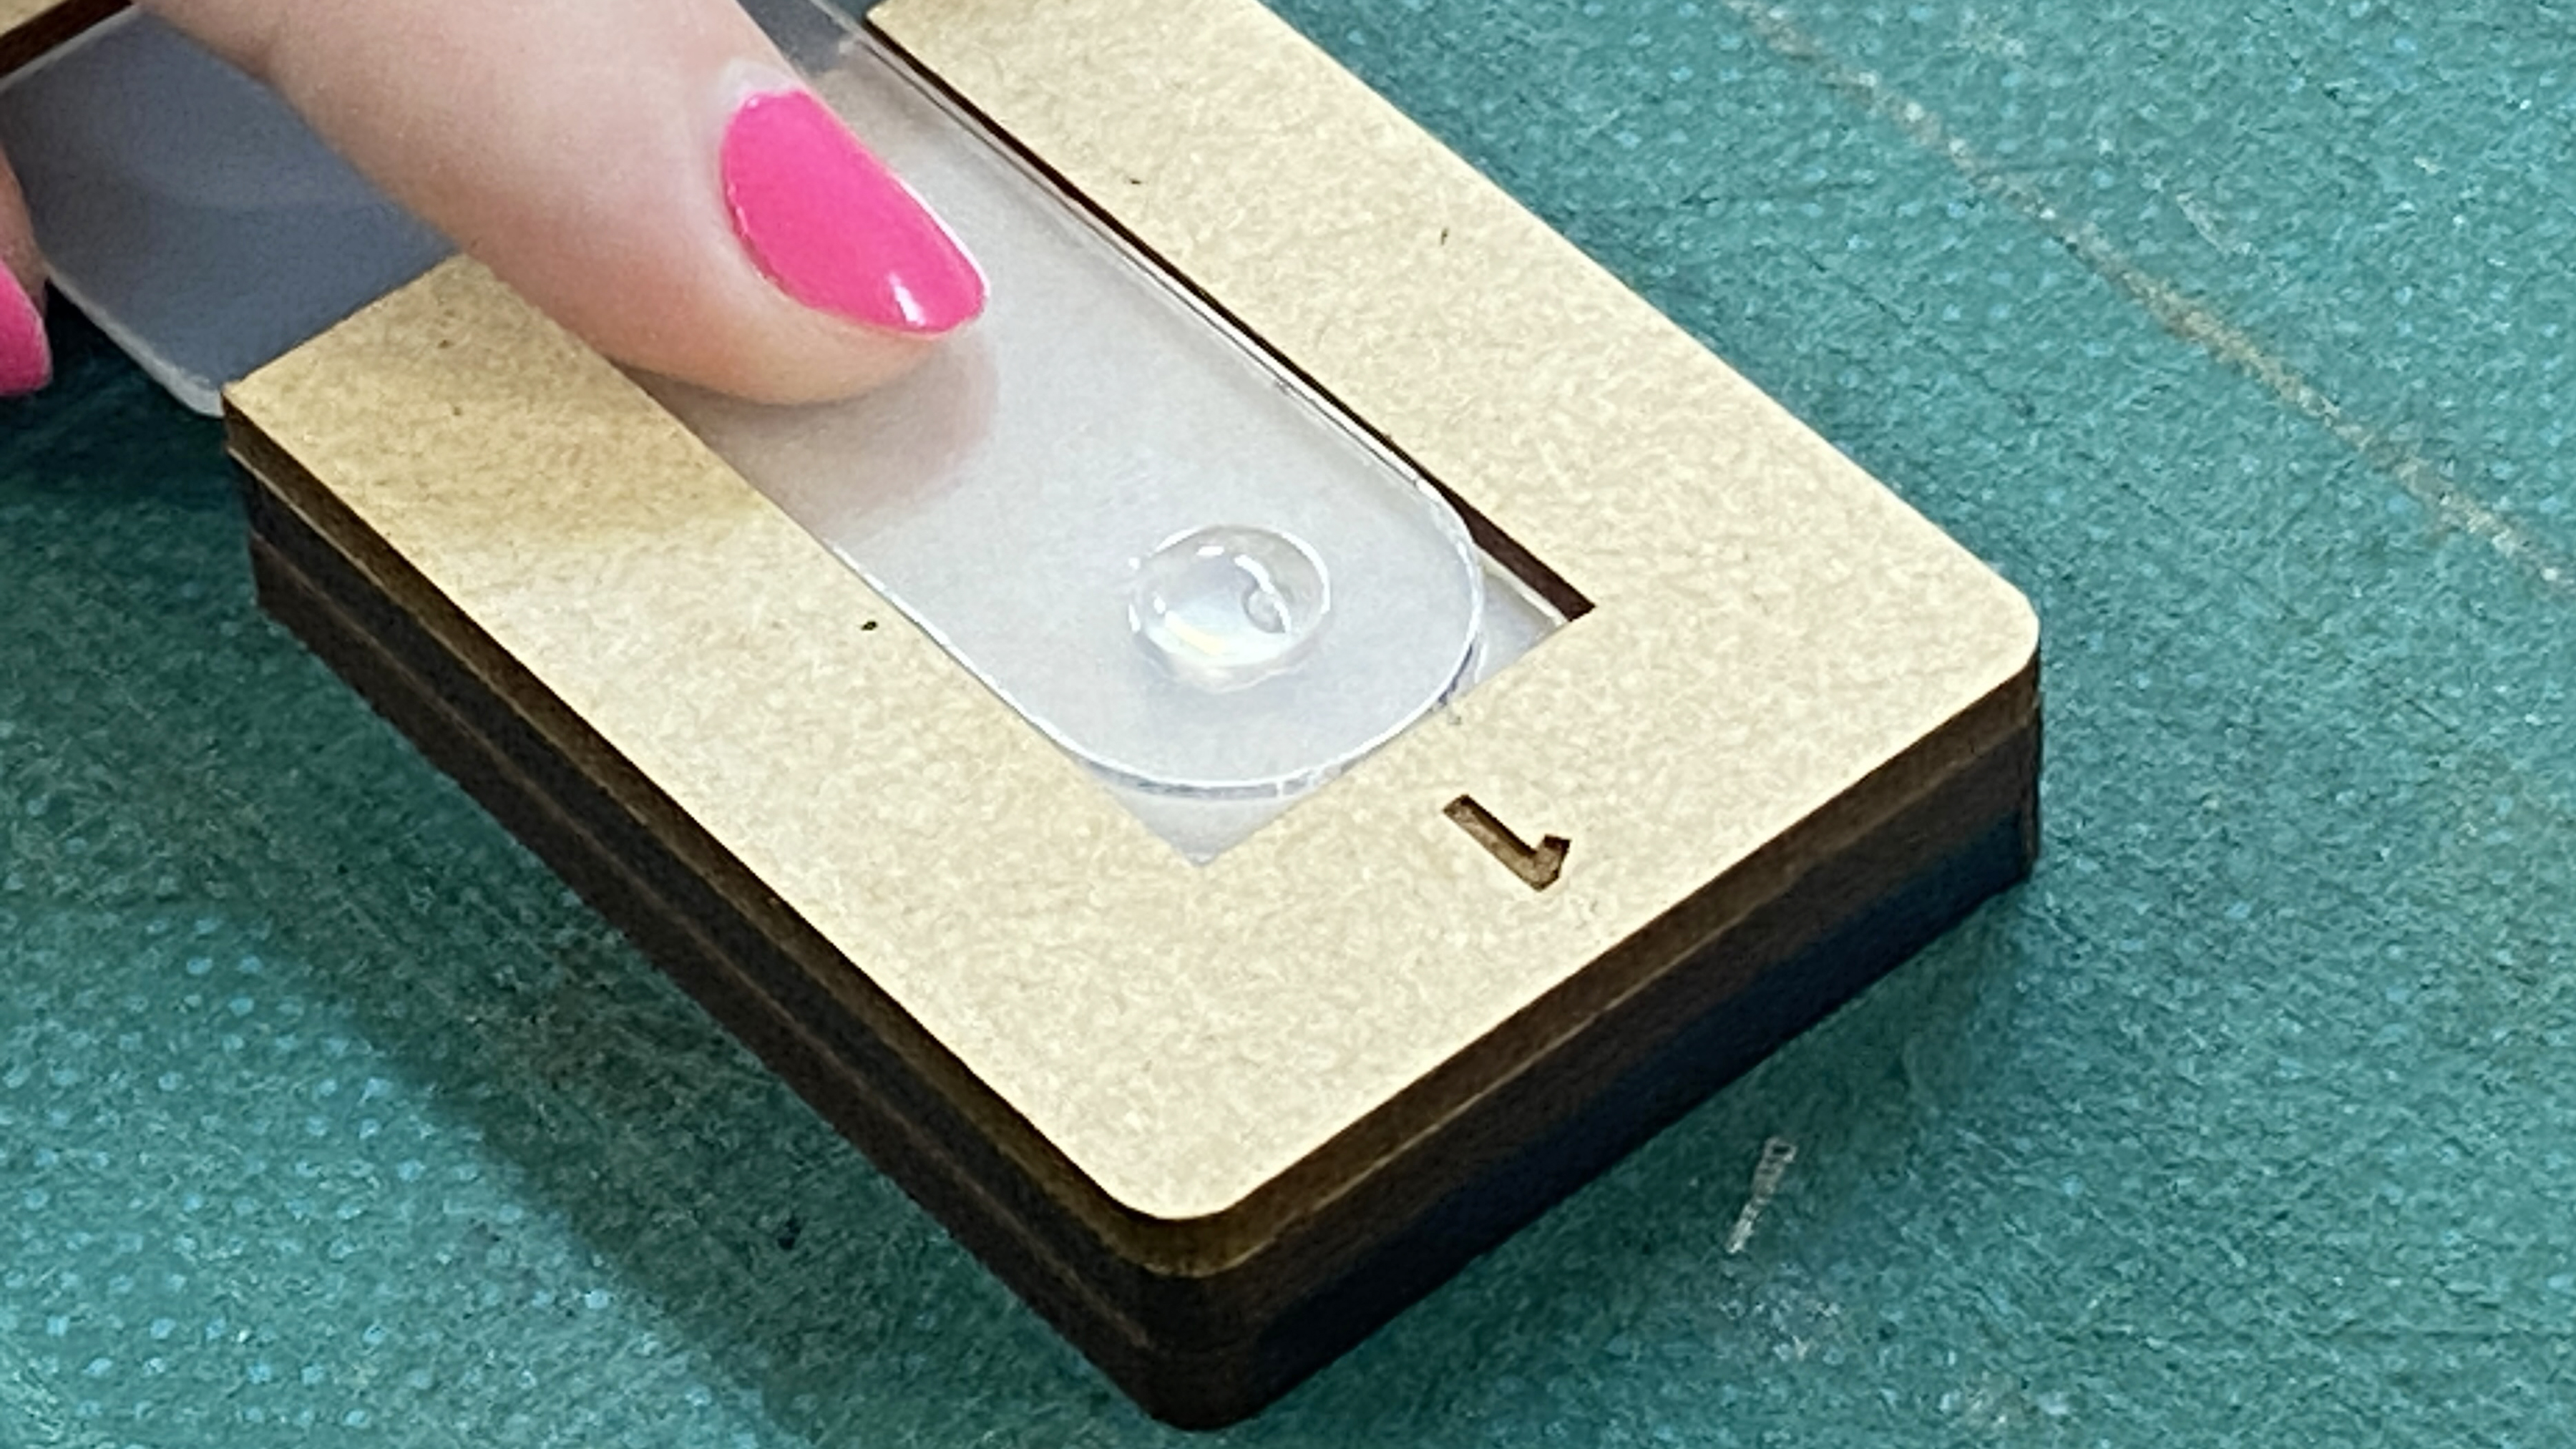
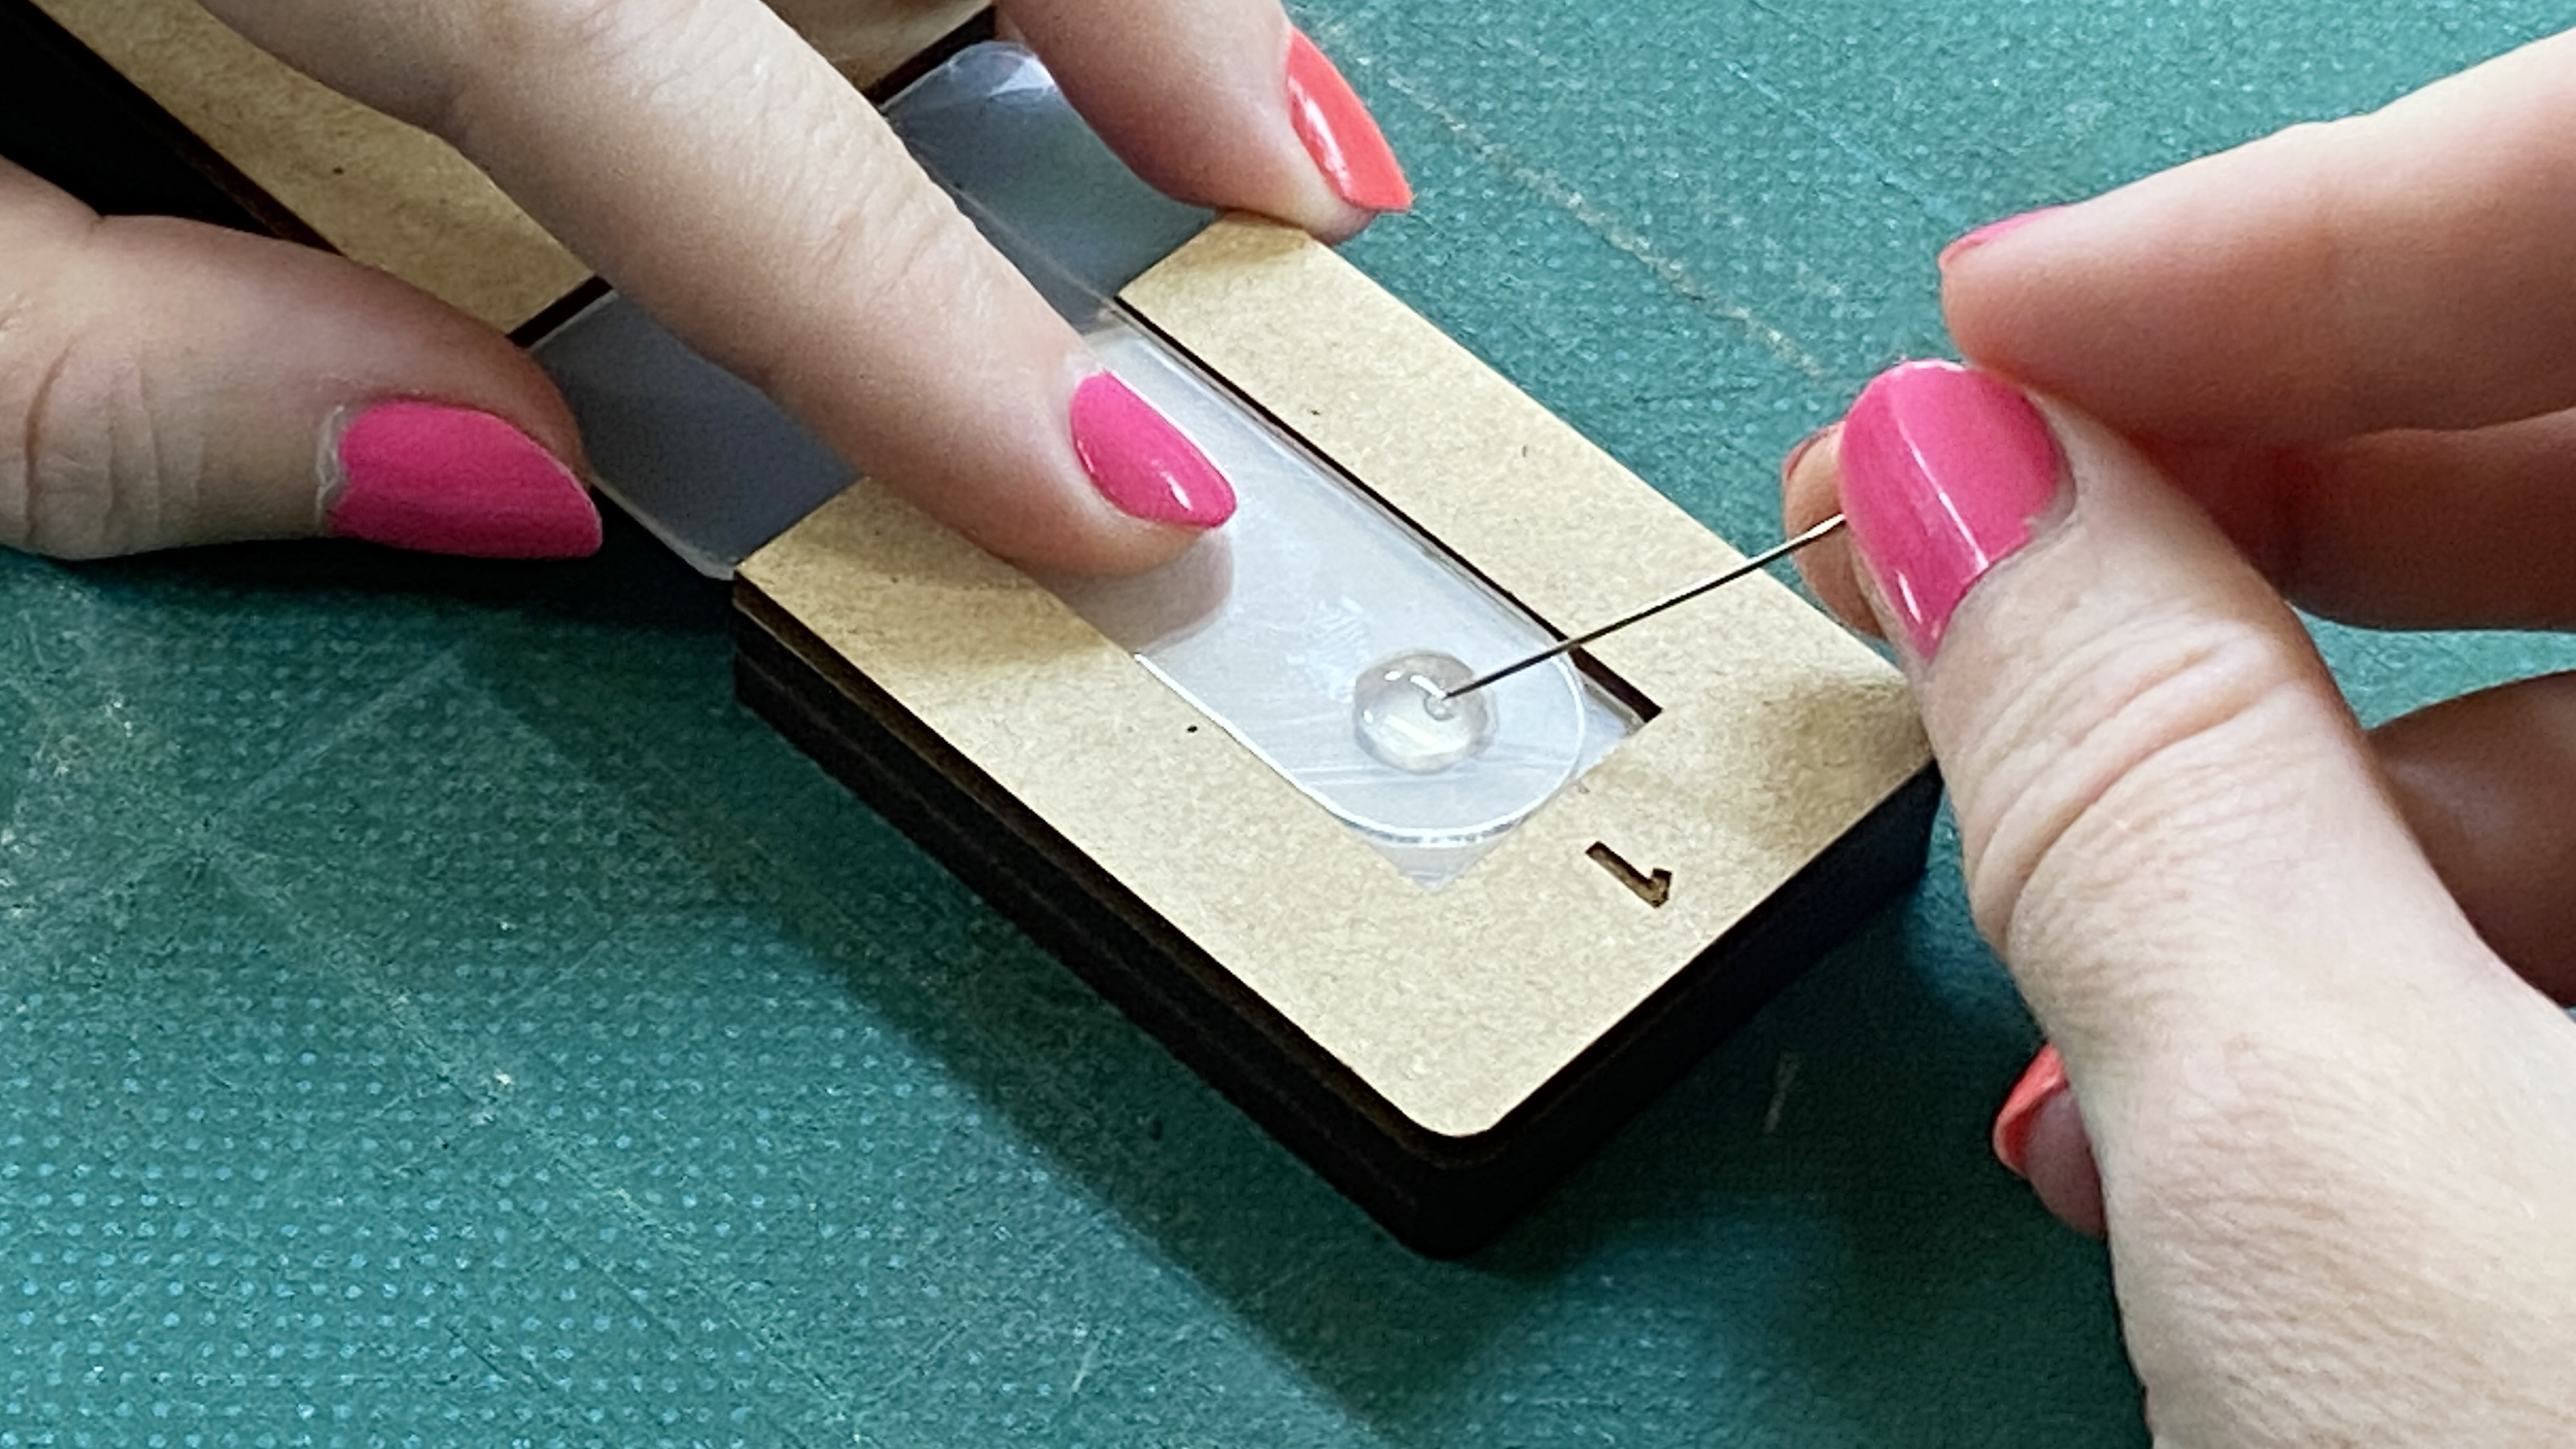
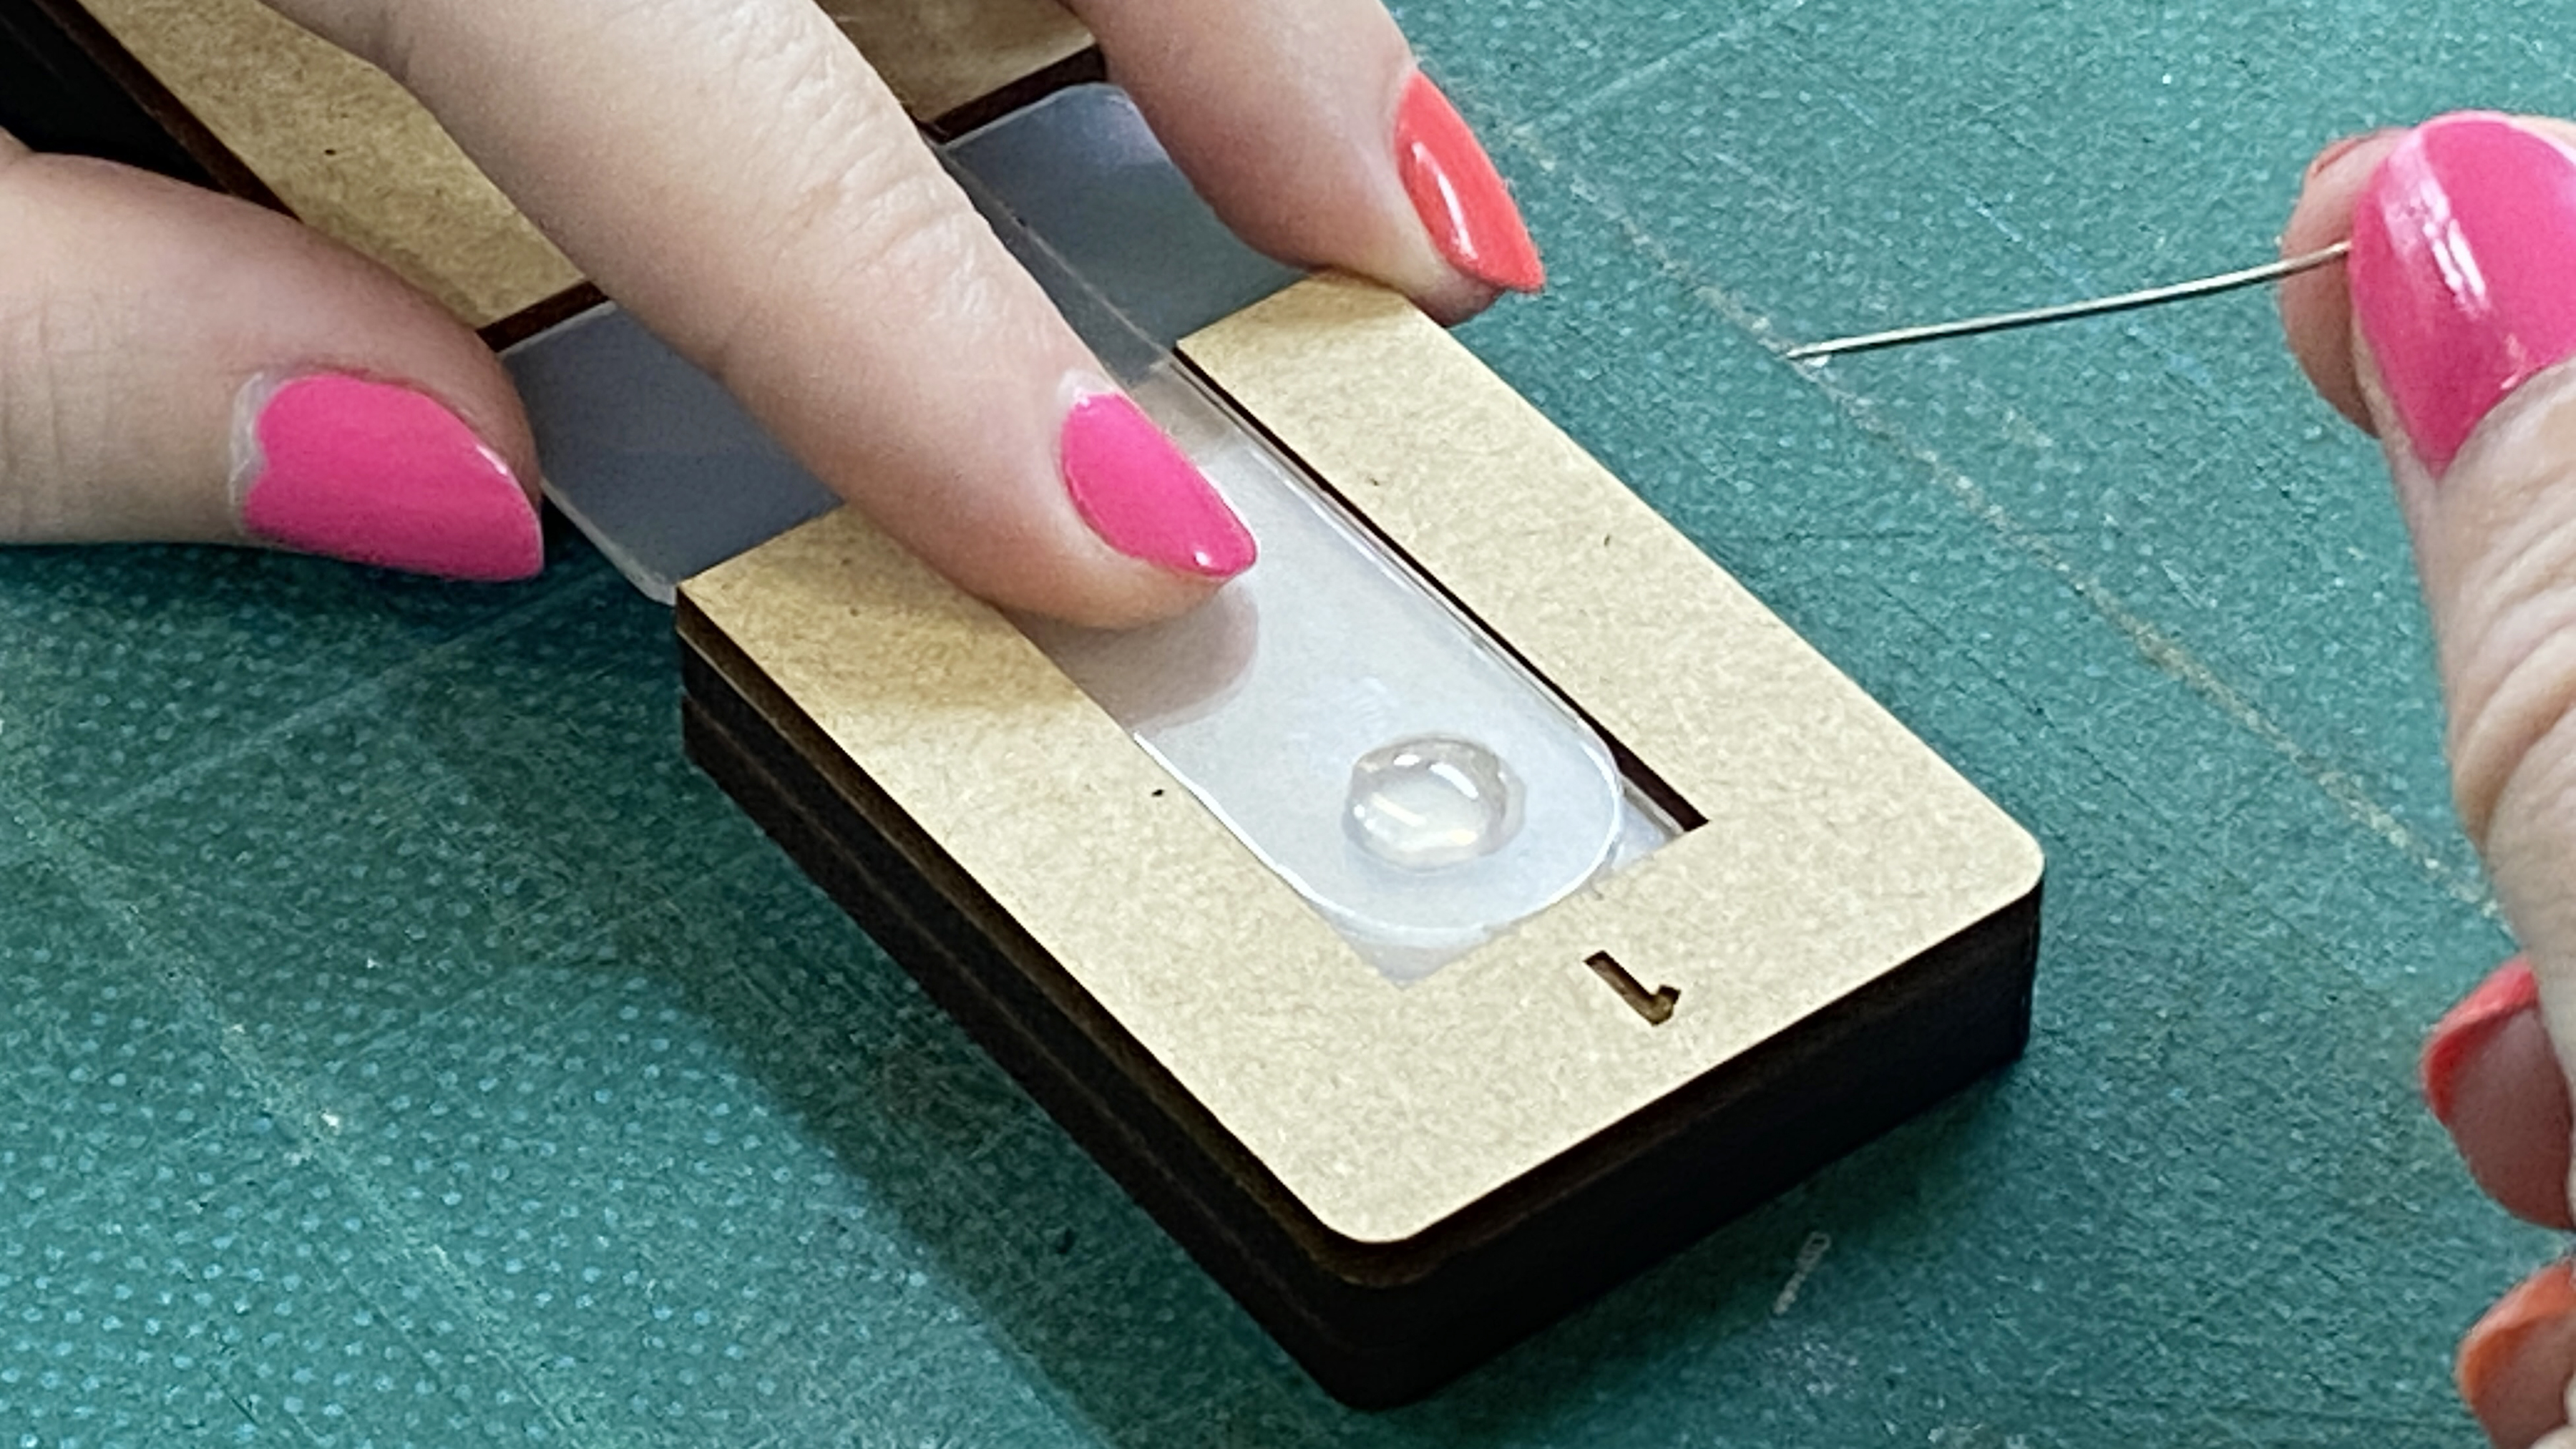
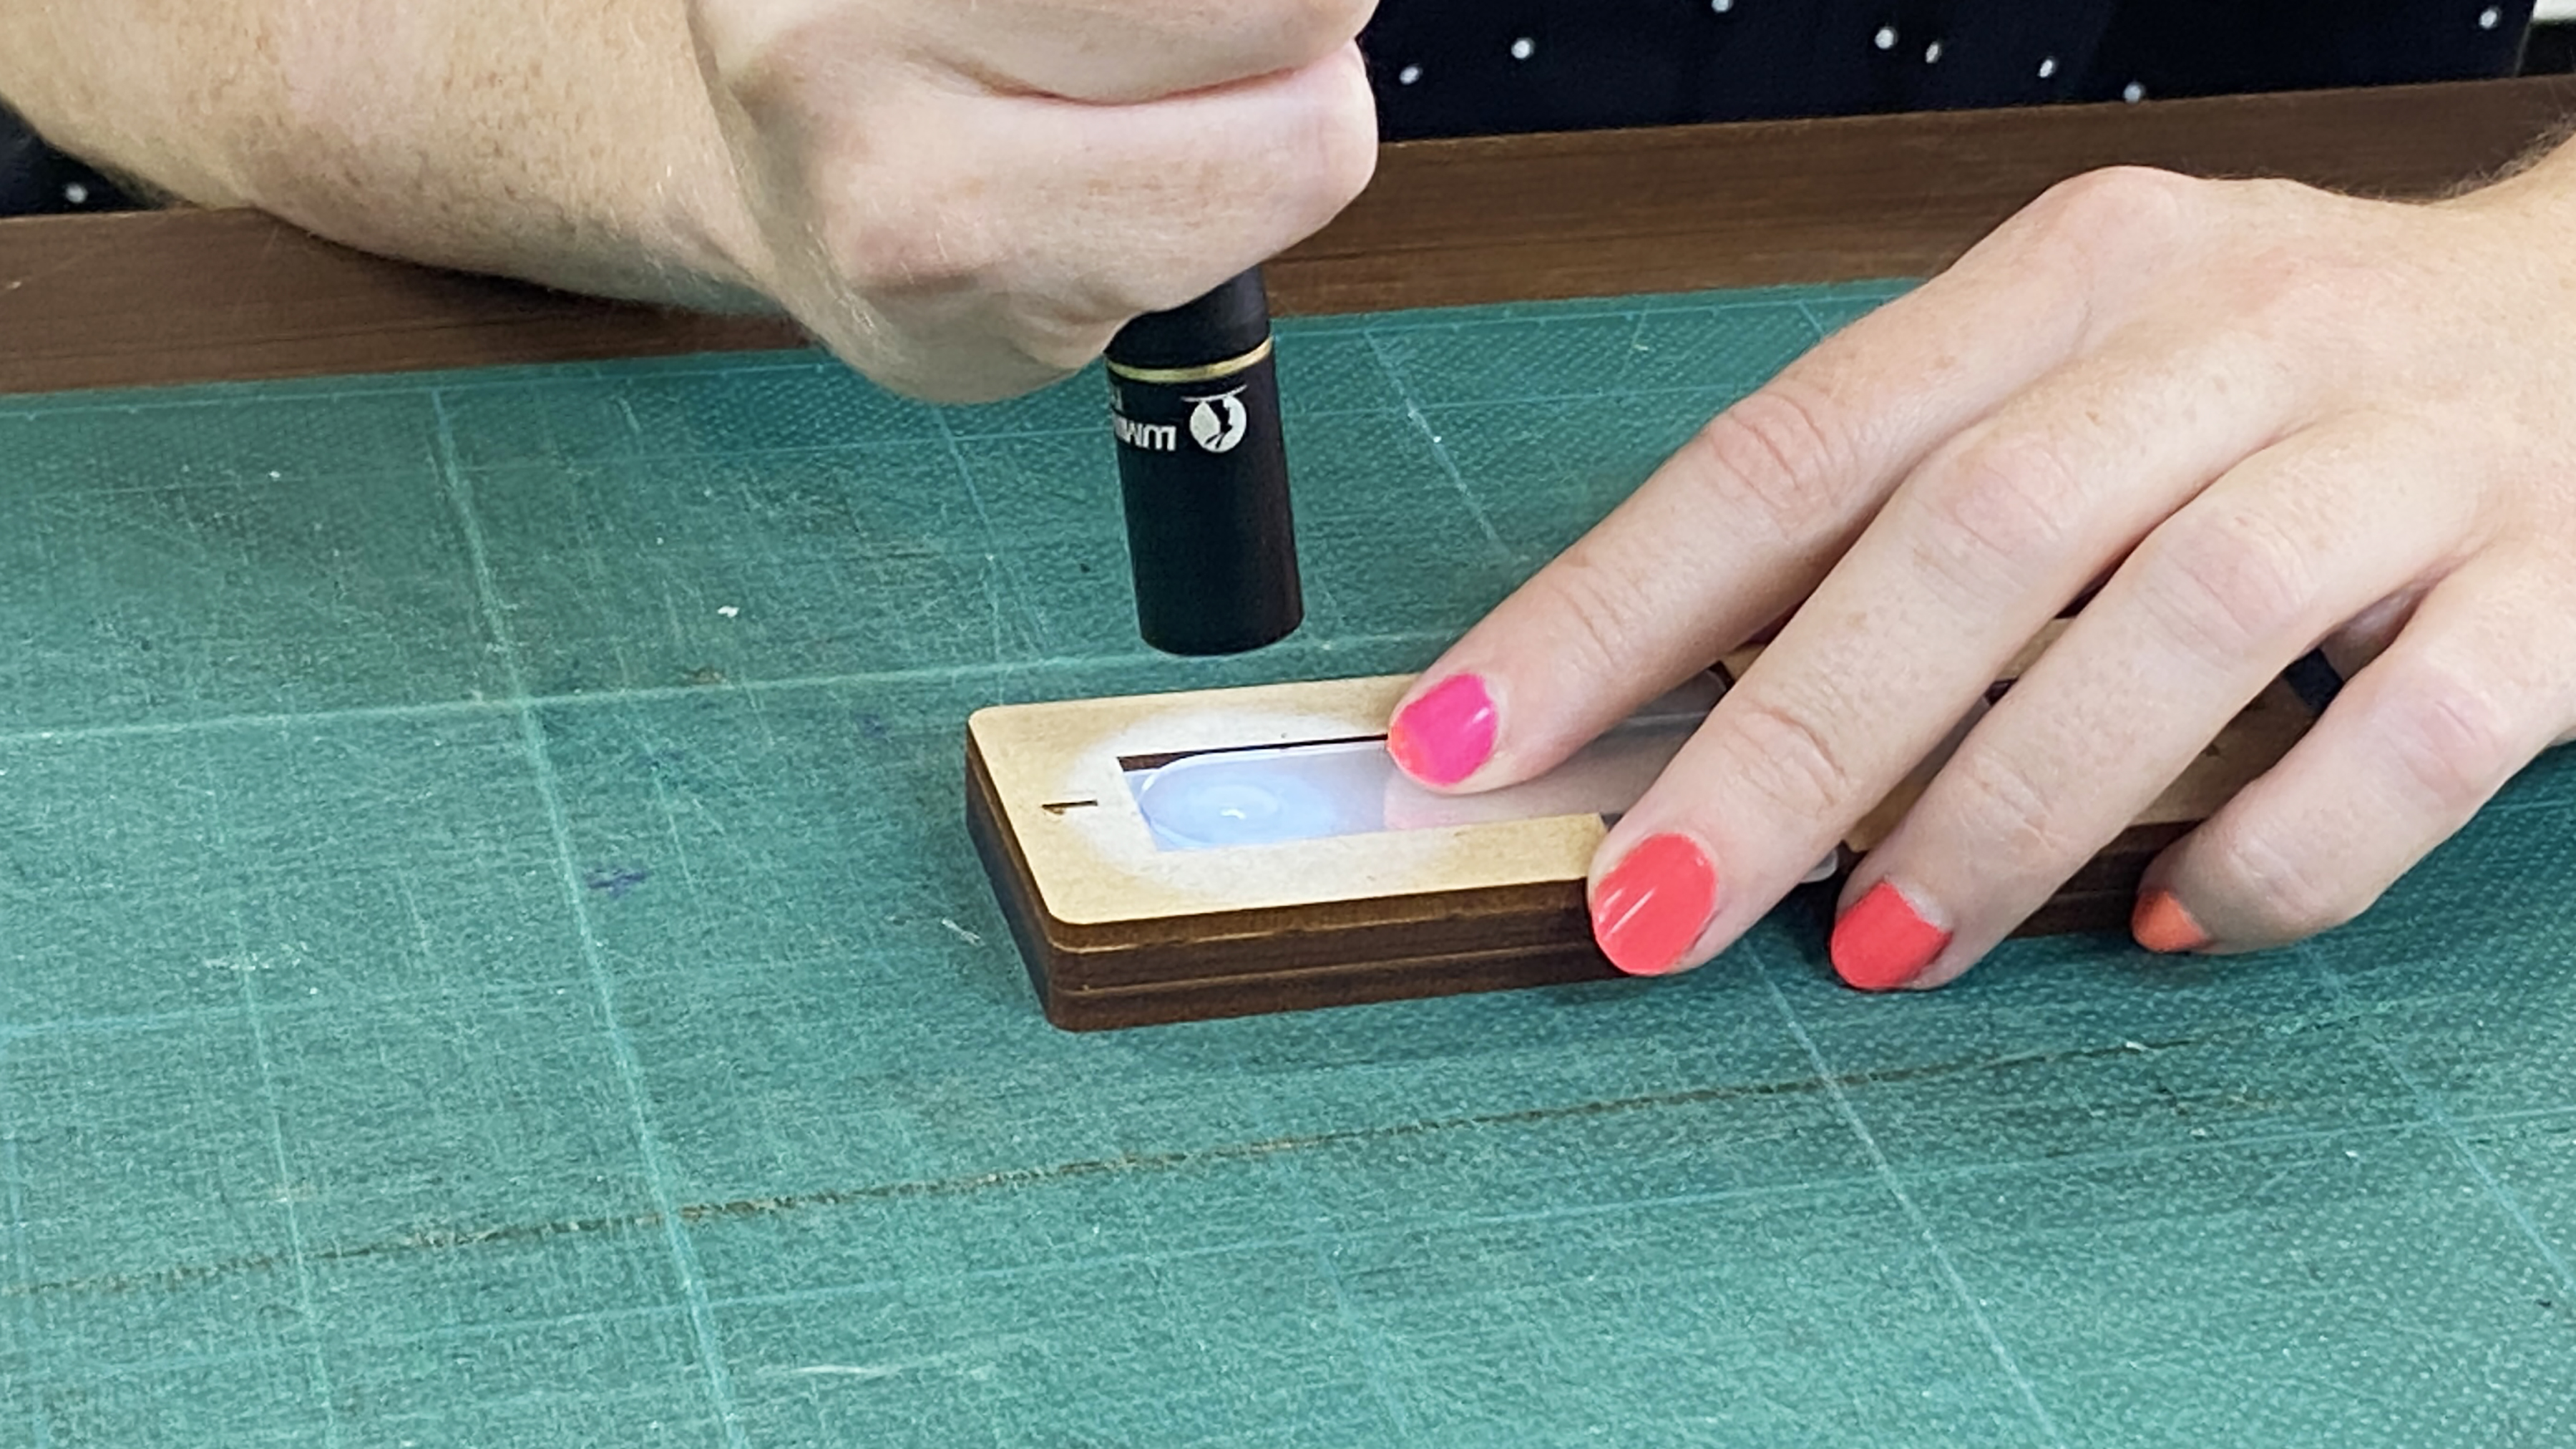
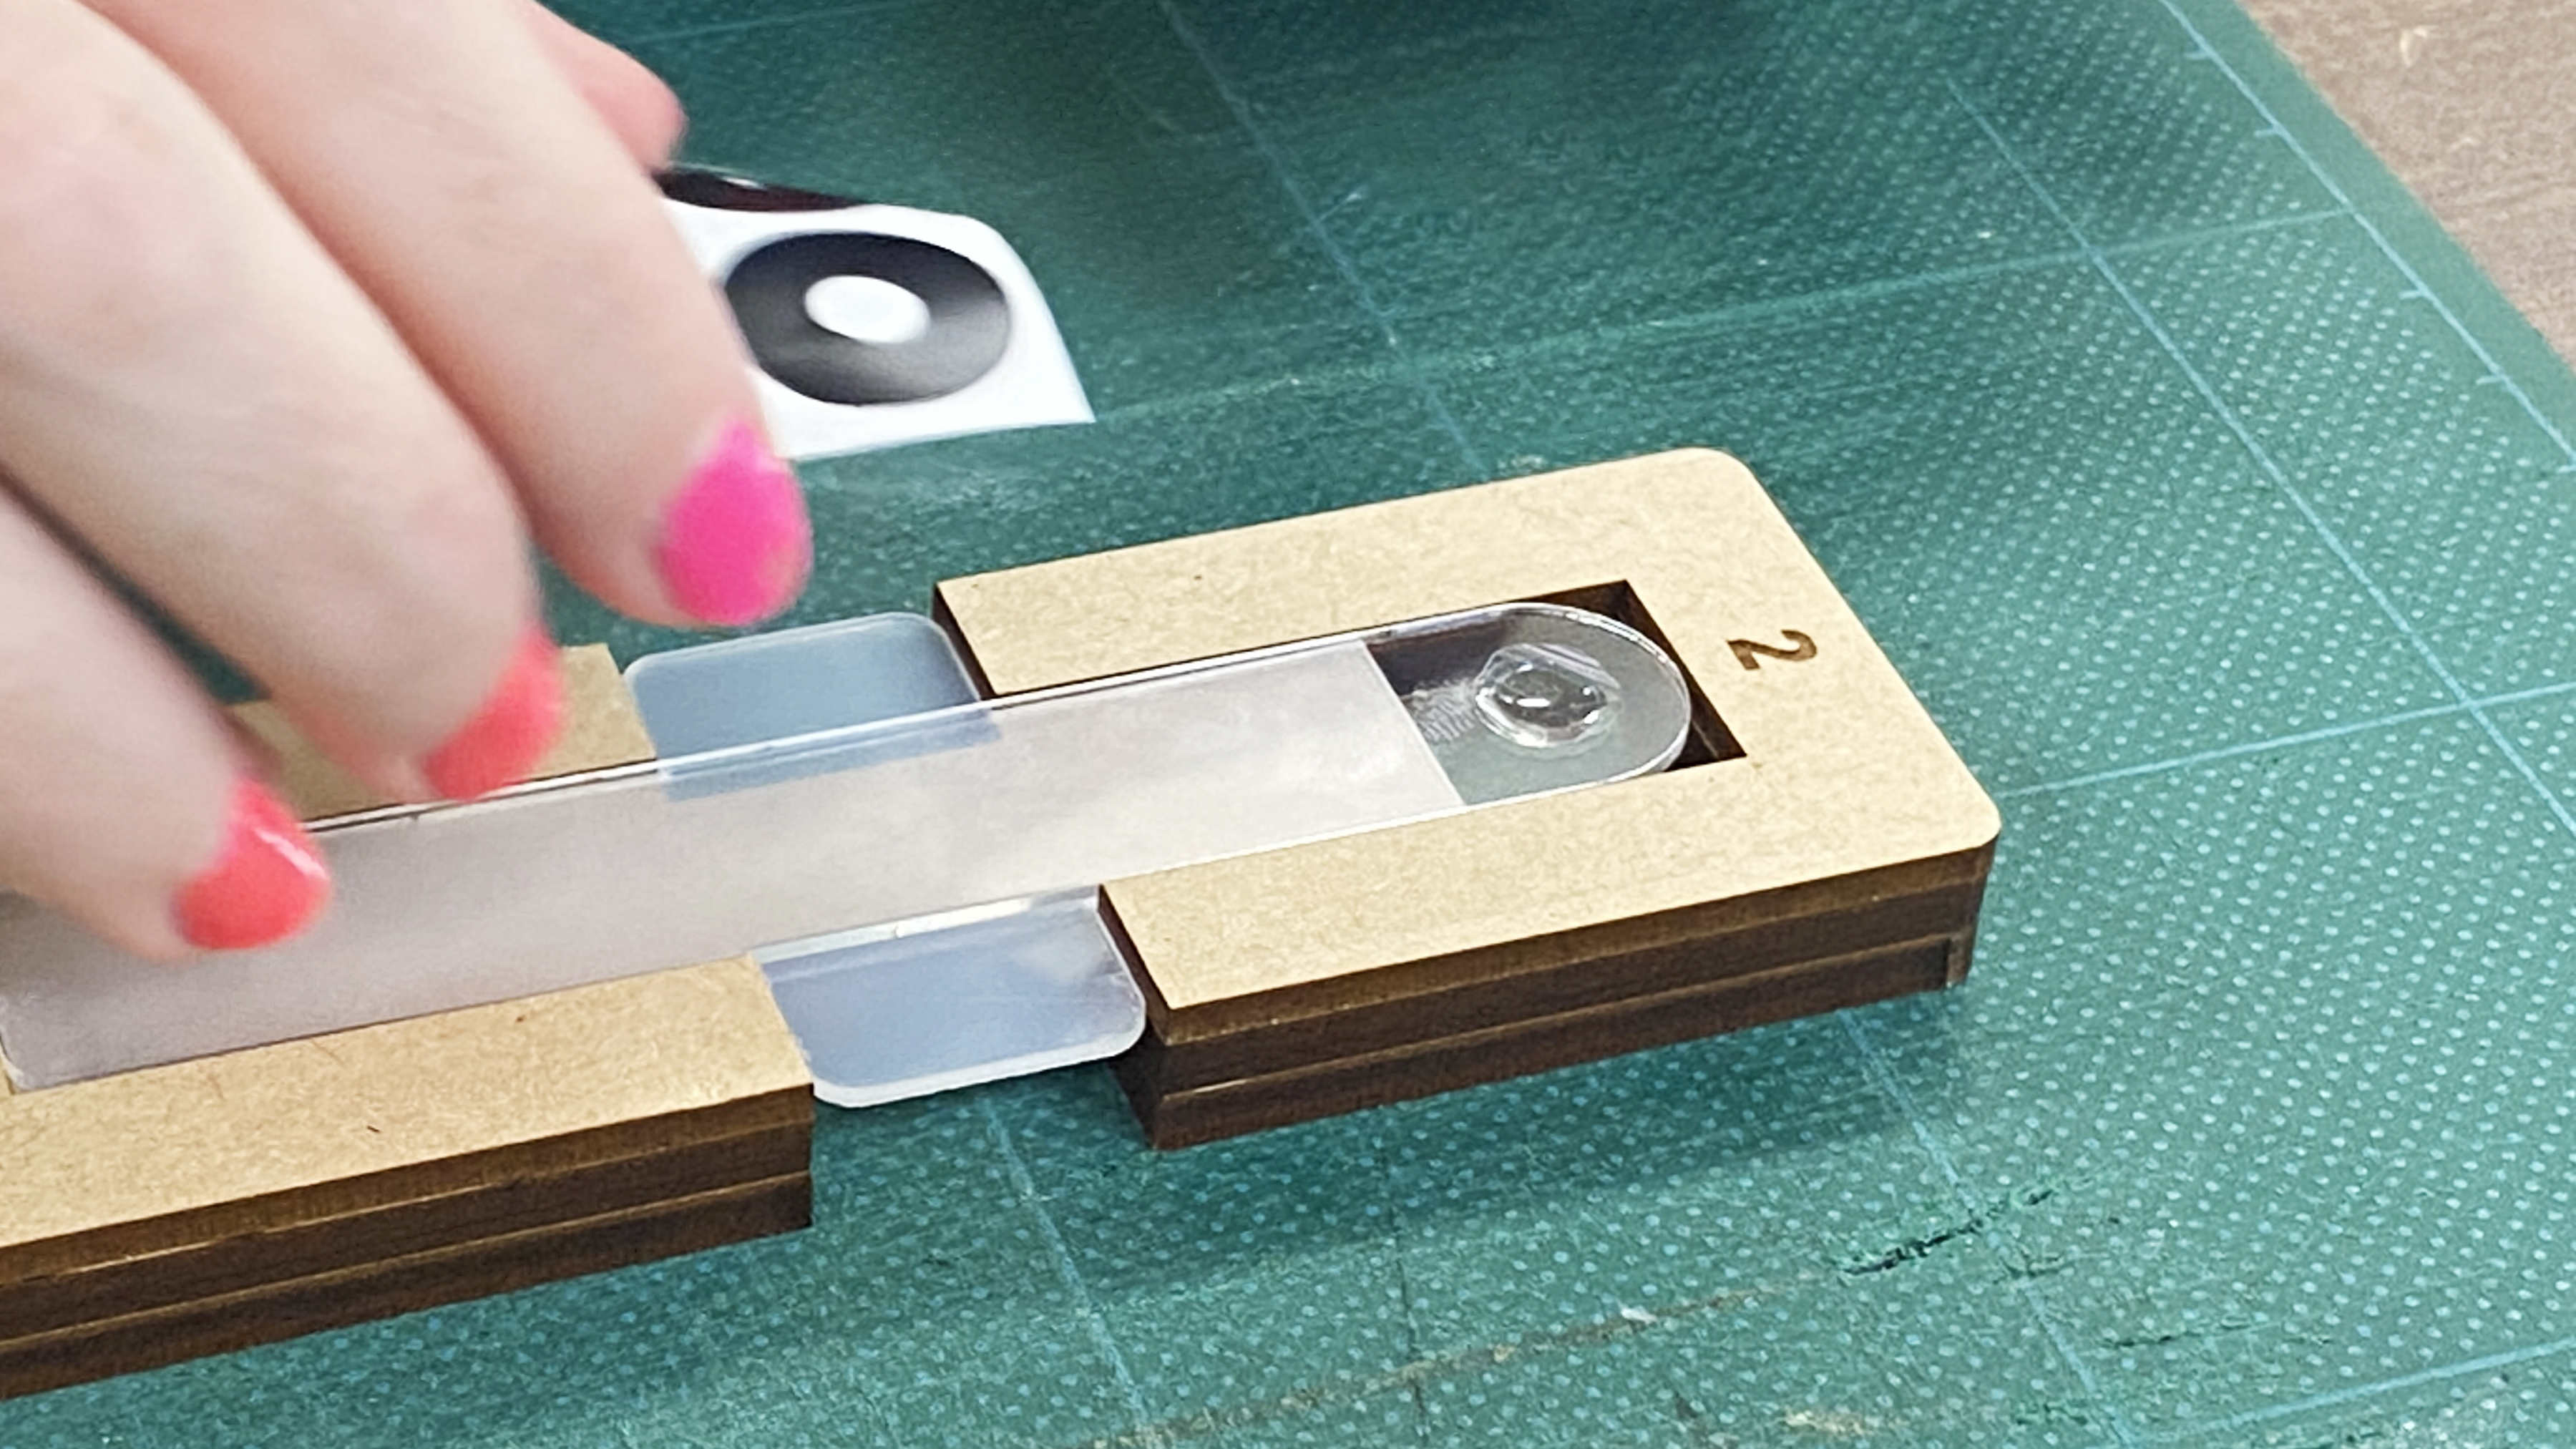
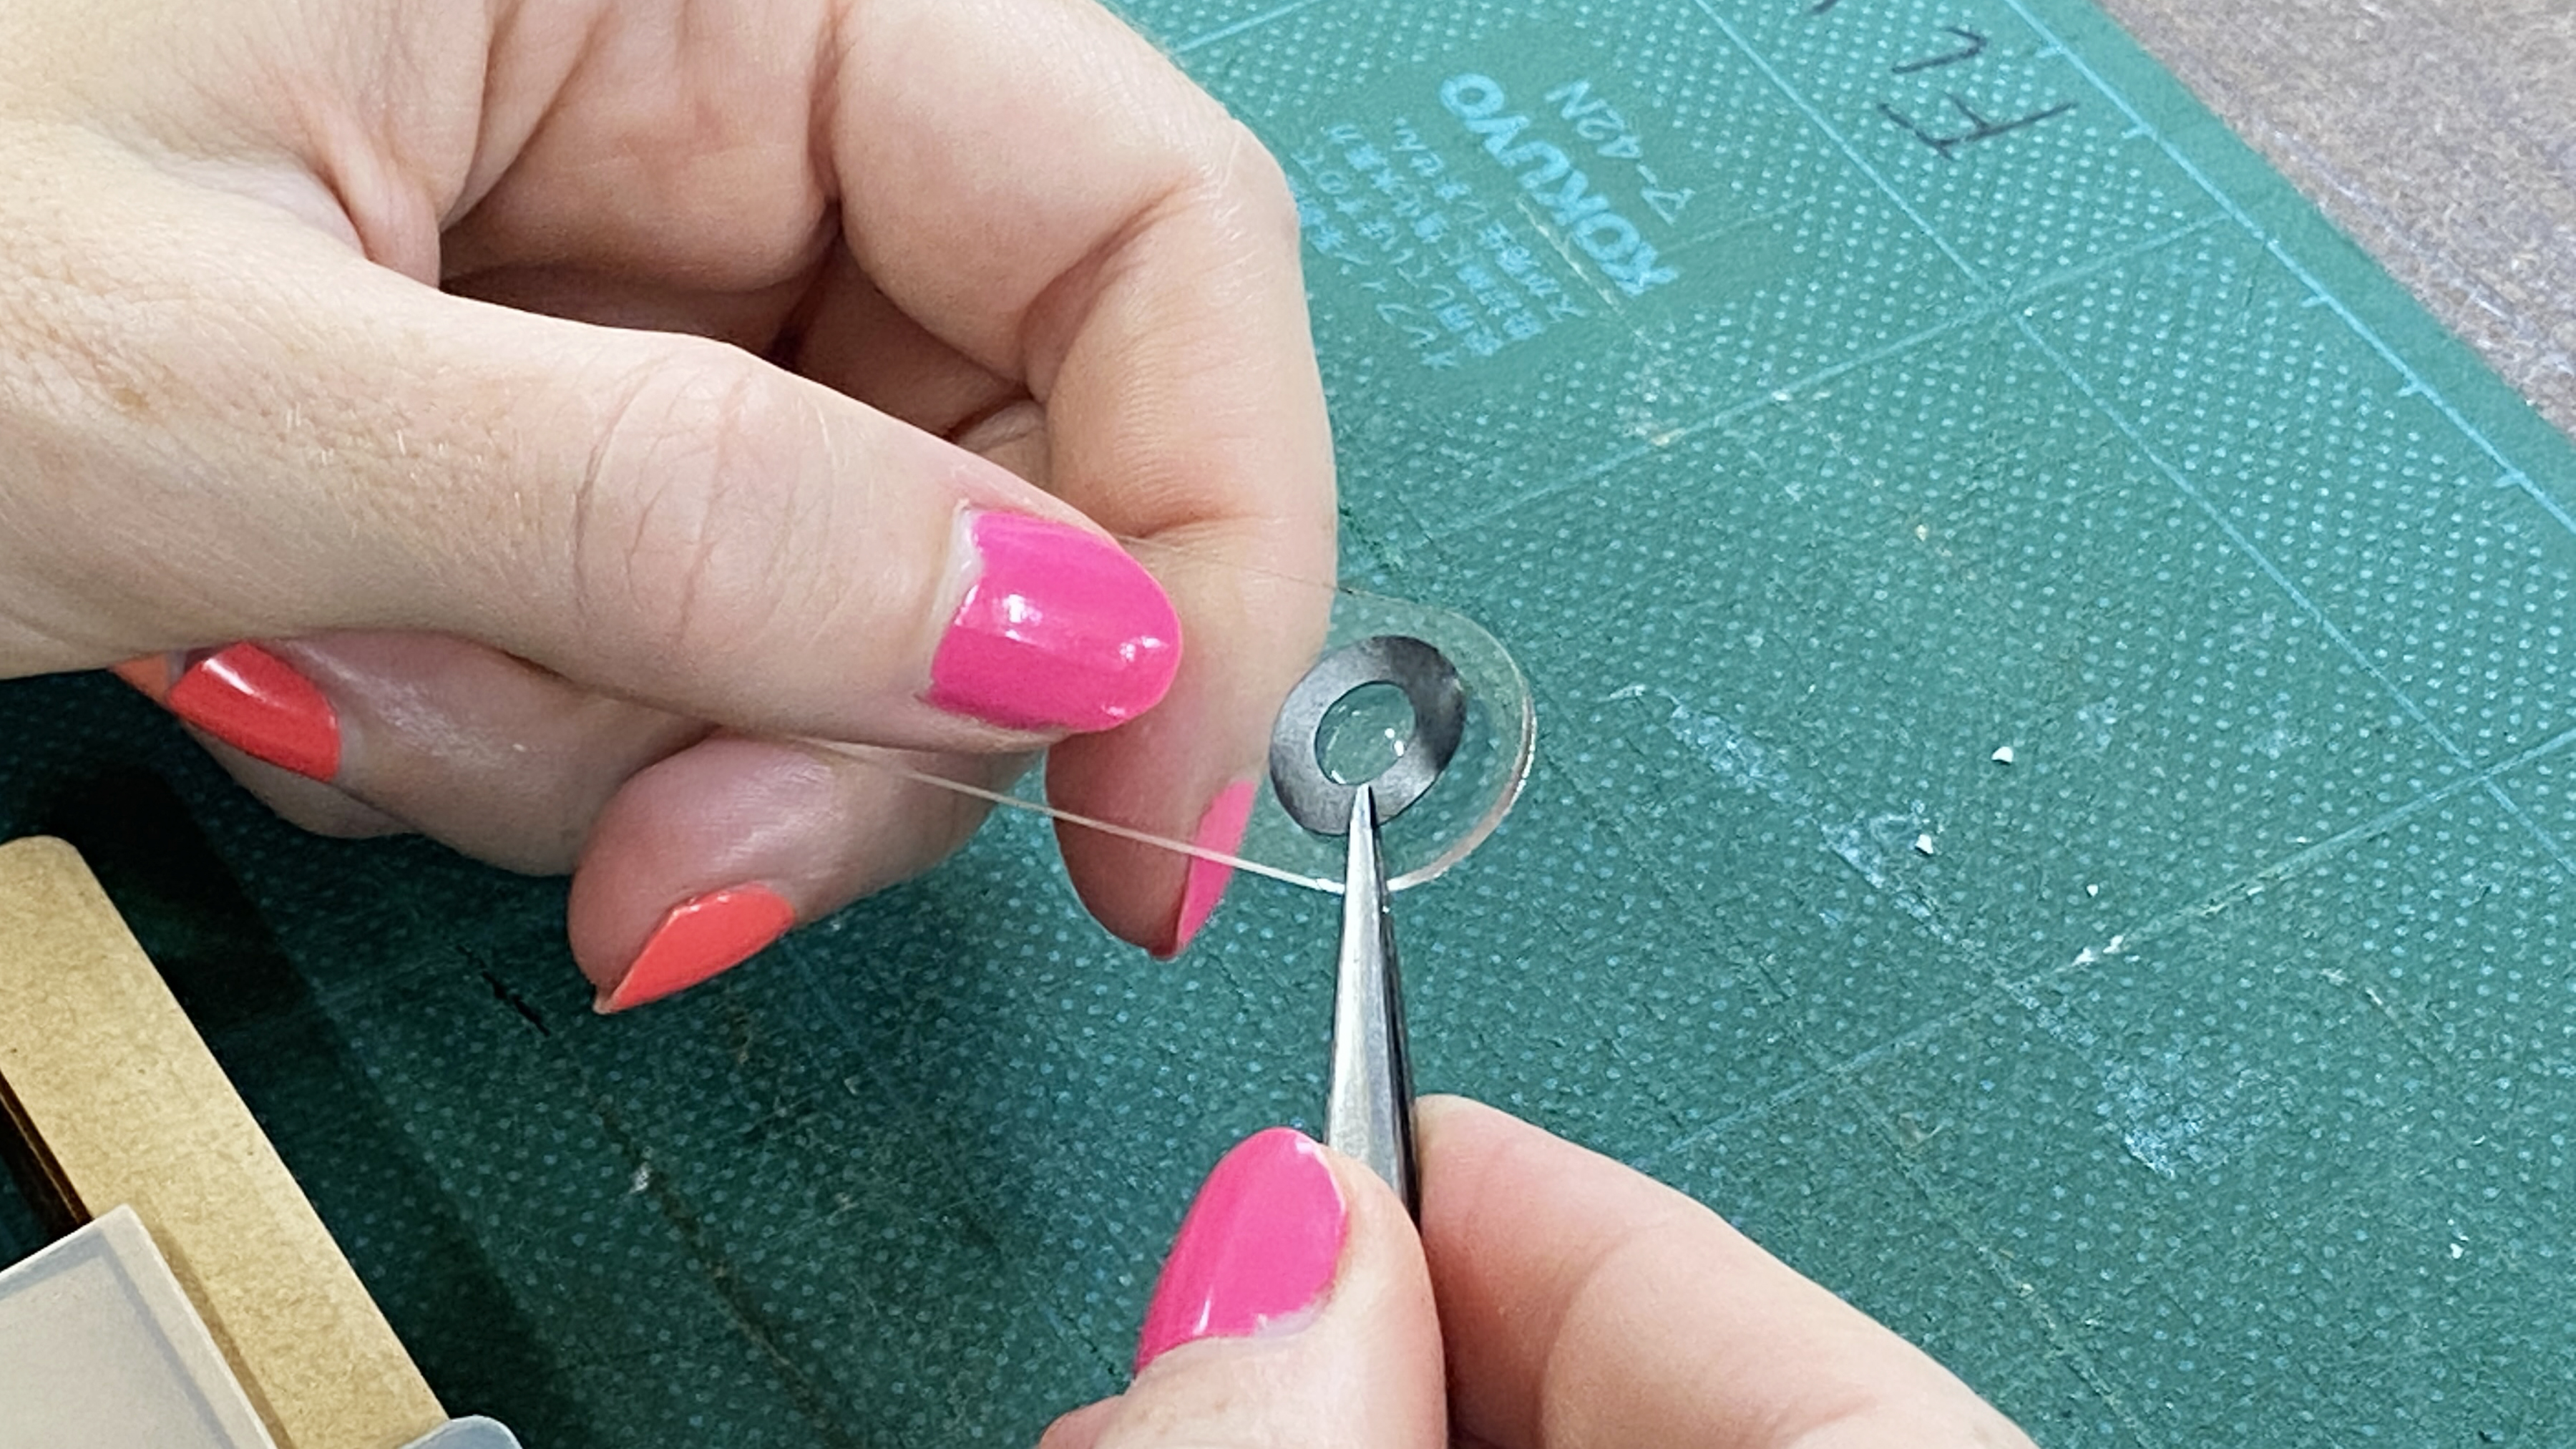
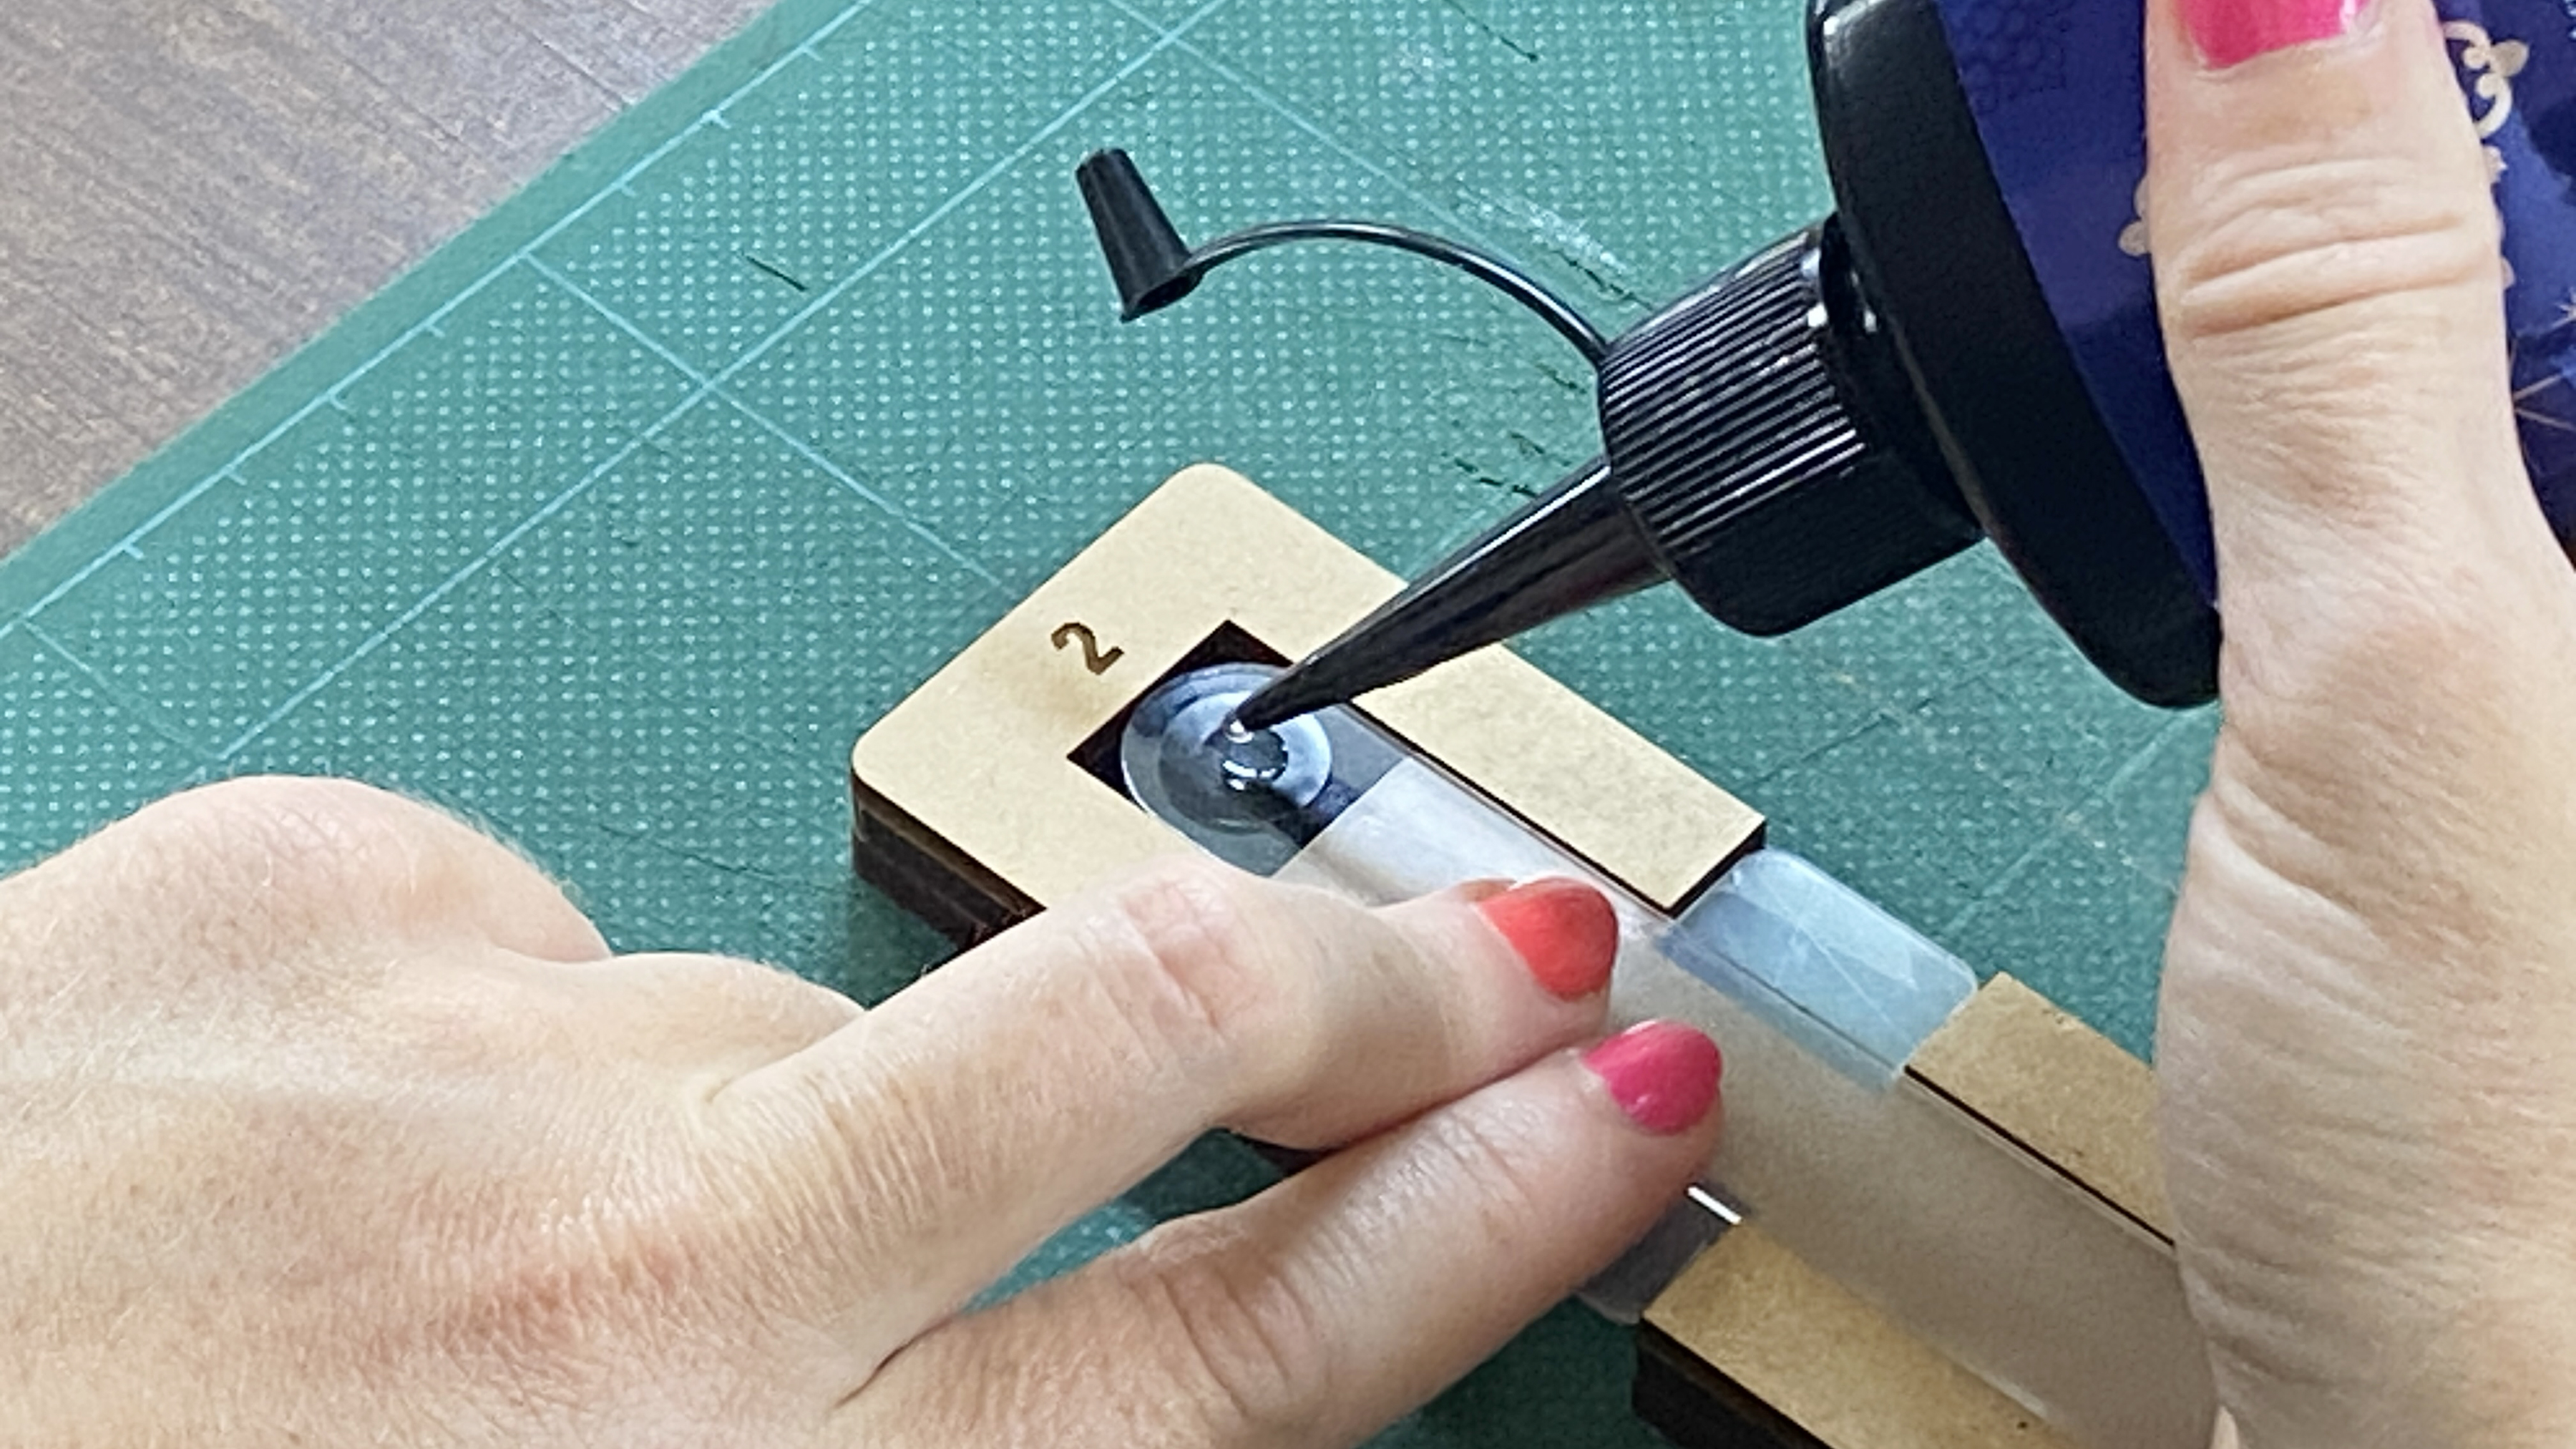
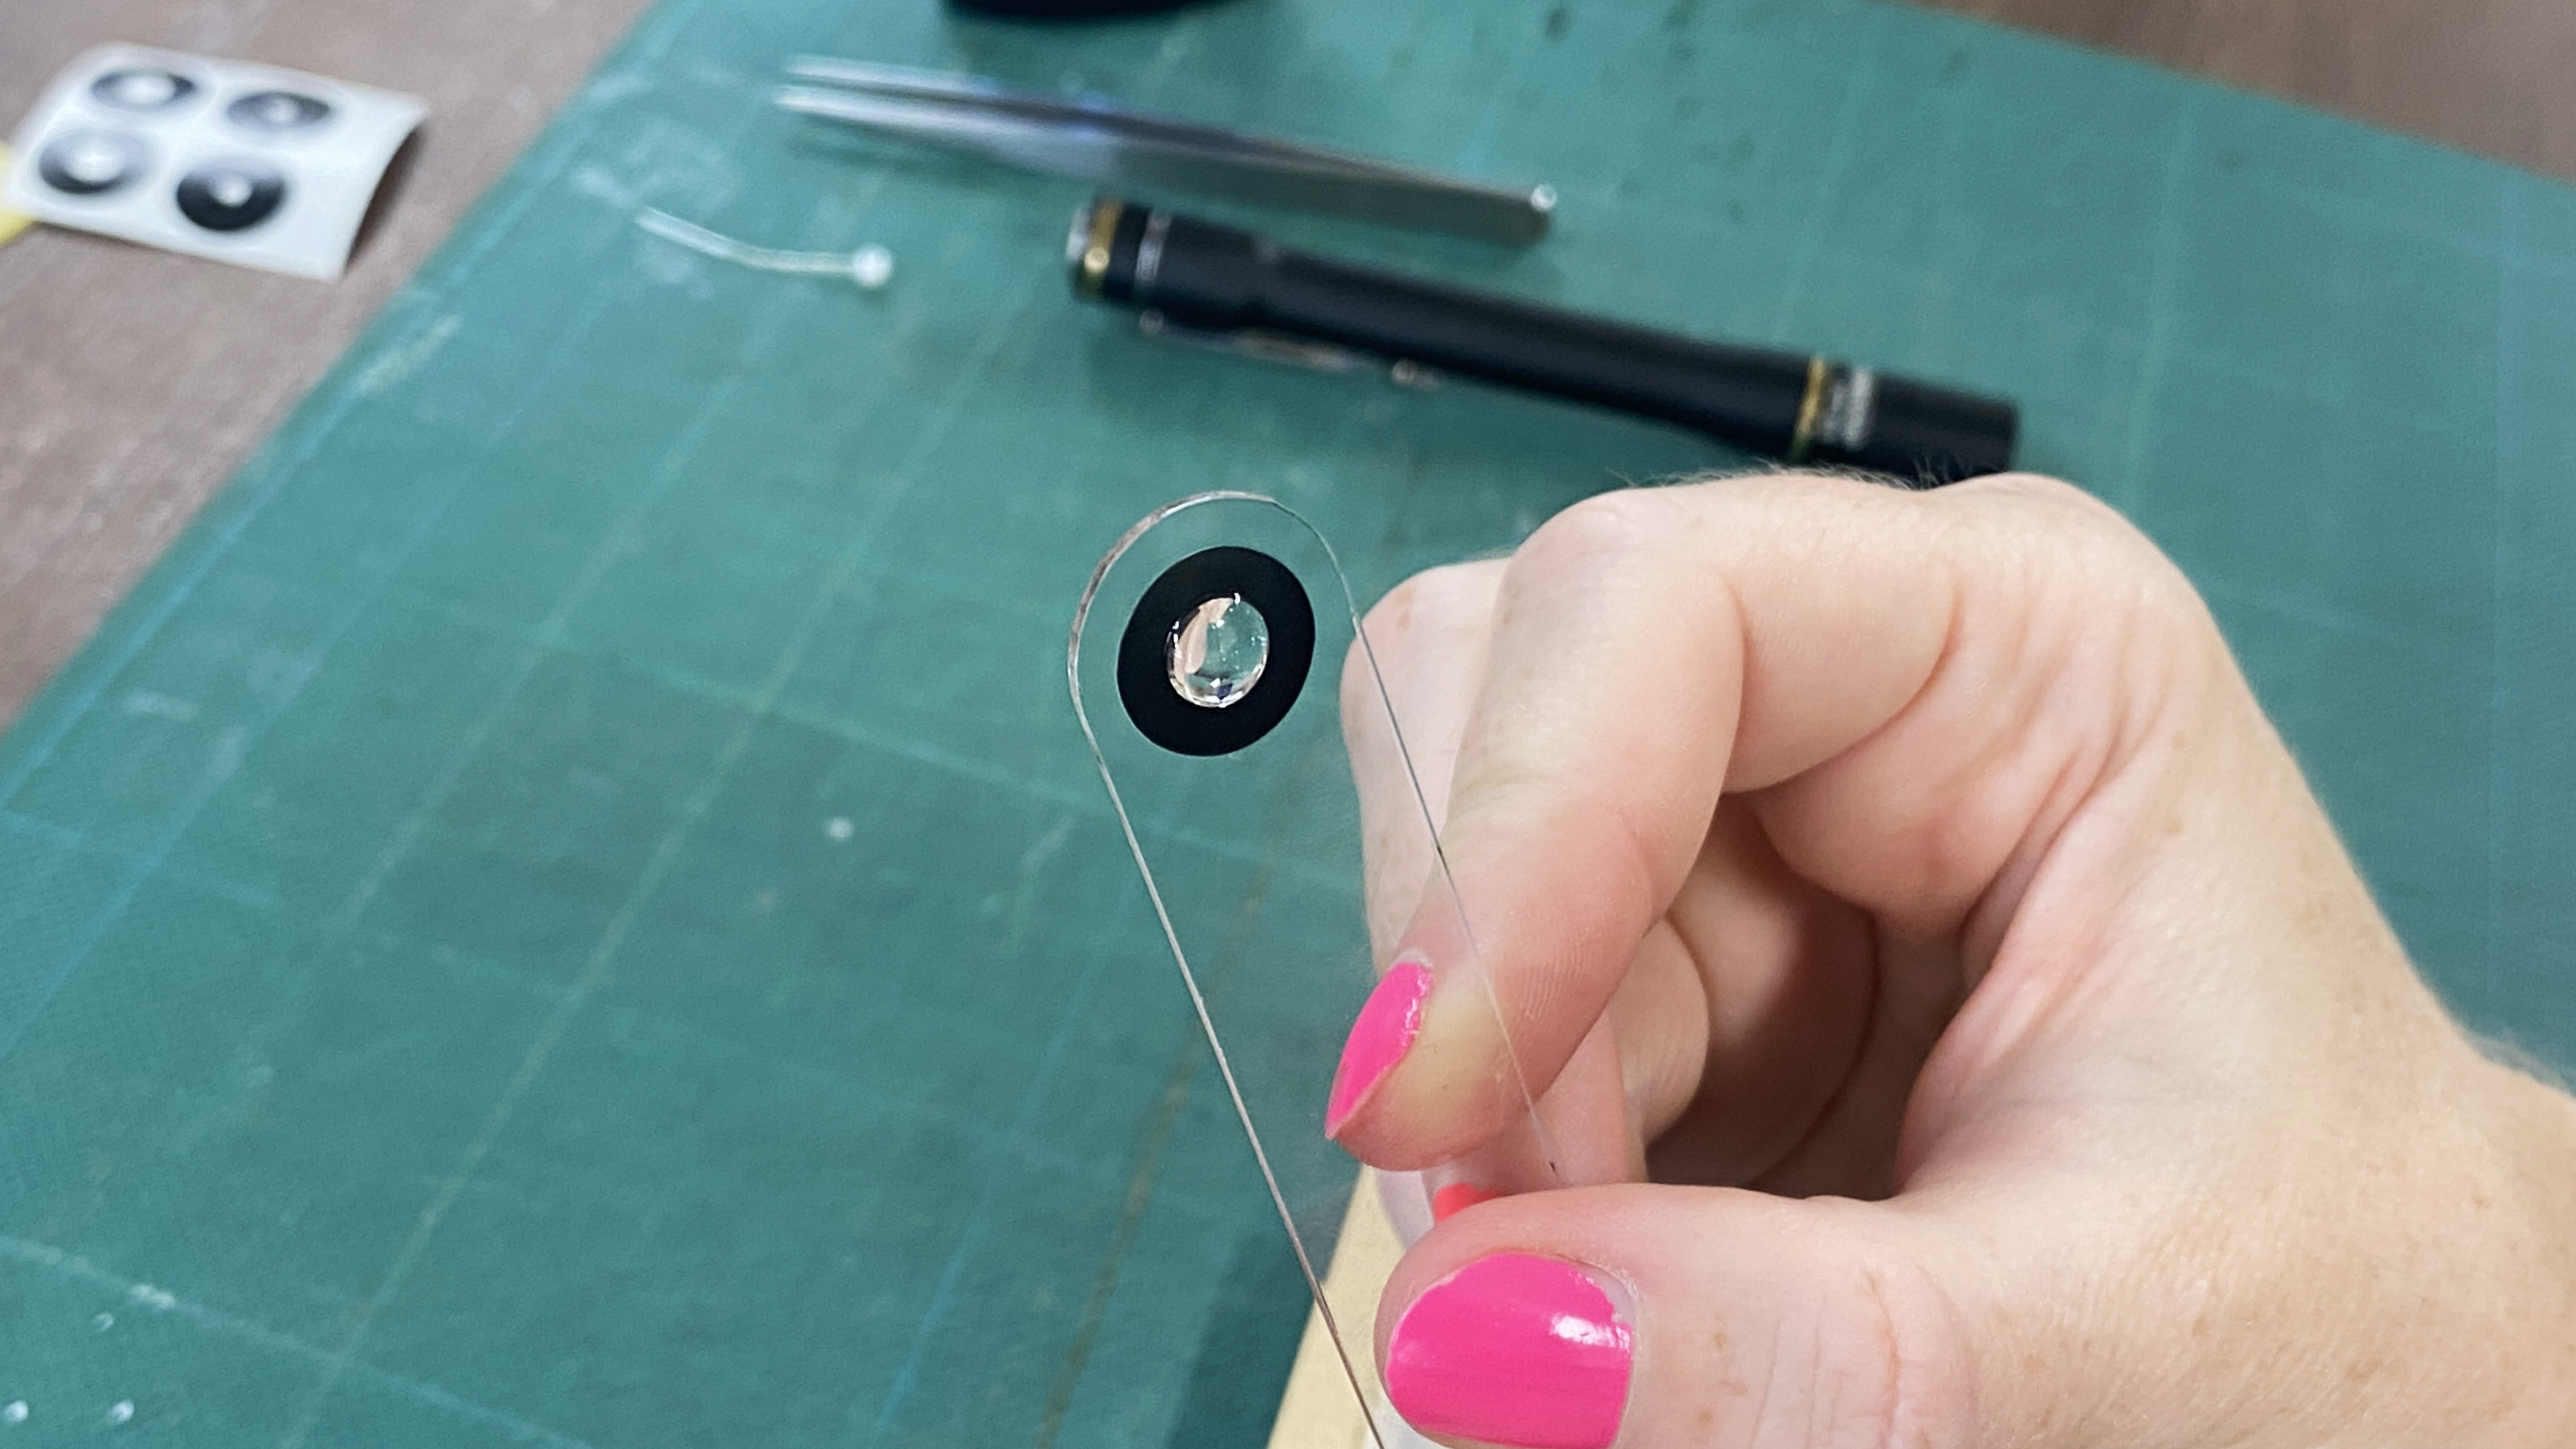
To make the lenses, students will first place the polypropylene base onto the lens bed. They will start with the 12 mm diameter lens holder and remove the protective tape from both sides, then carefully attach the 12 mm diameter sticker to one side of the lens holder. Next, they will place the lens holder, sticker side down, on the polypropylene base in the lens bed at position #1. Students will carefully drip UV resin into the hole while holding the lens holder flat, continuing until a visible curved shape forms above the lens holder surface, being careful not to add too much resin to prevent spillage. They will then shine the UV flashlight on the resin for about 30 seconds or until it hardens. After flipping the lens holder over and placing it sticker side up at position #2, students will apply resin using the sticker as a guide to form an equivalent curved shape, hardening it with the UV flashlight for another 30 seconds. Once complete, they will remove the lens holder to reveal a biconvex lens with a curved bulge on both sides. This process is repeated for the 9 mm, 6 mm, and 3 mm lens holders, resulting in a collection of four different sizes of lenses.
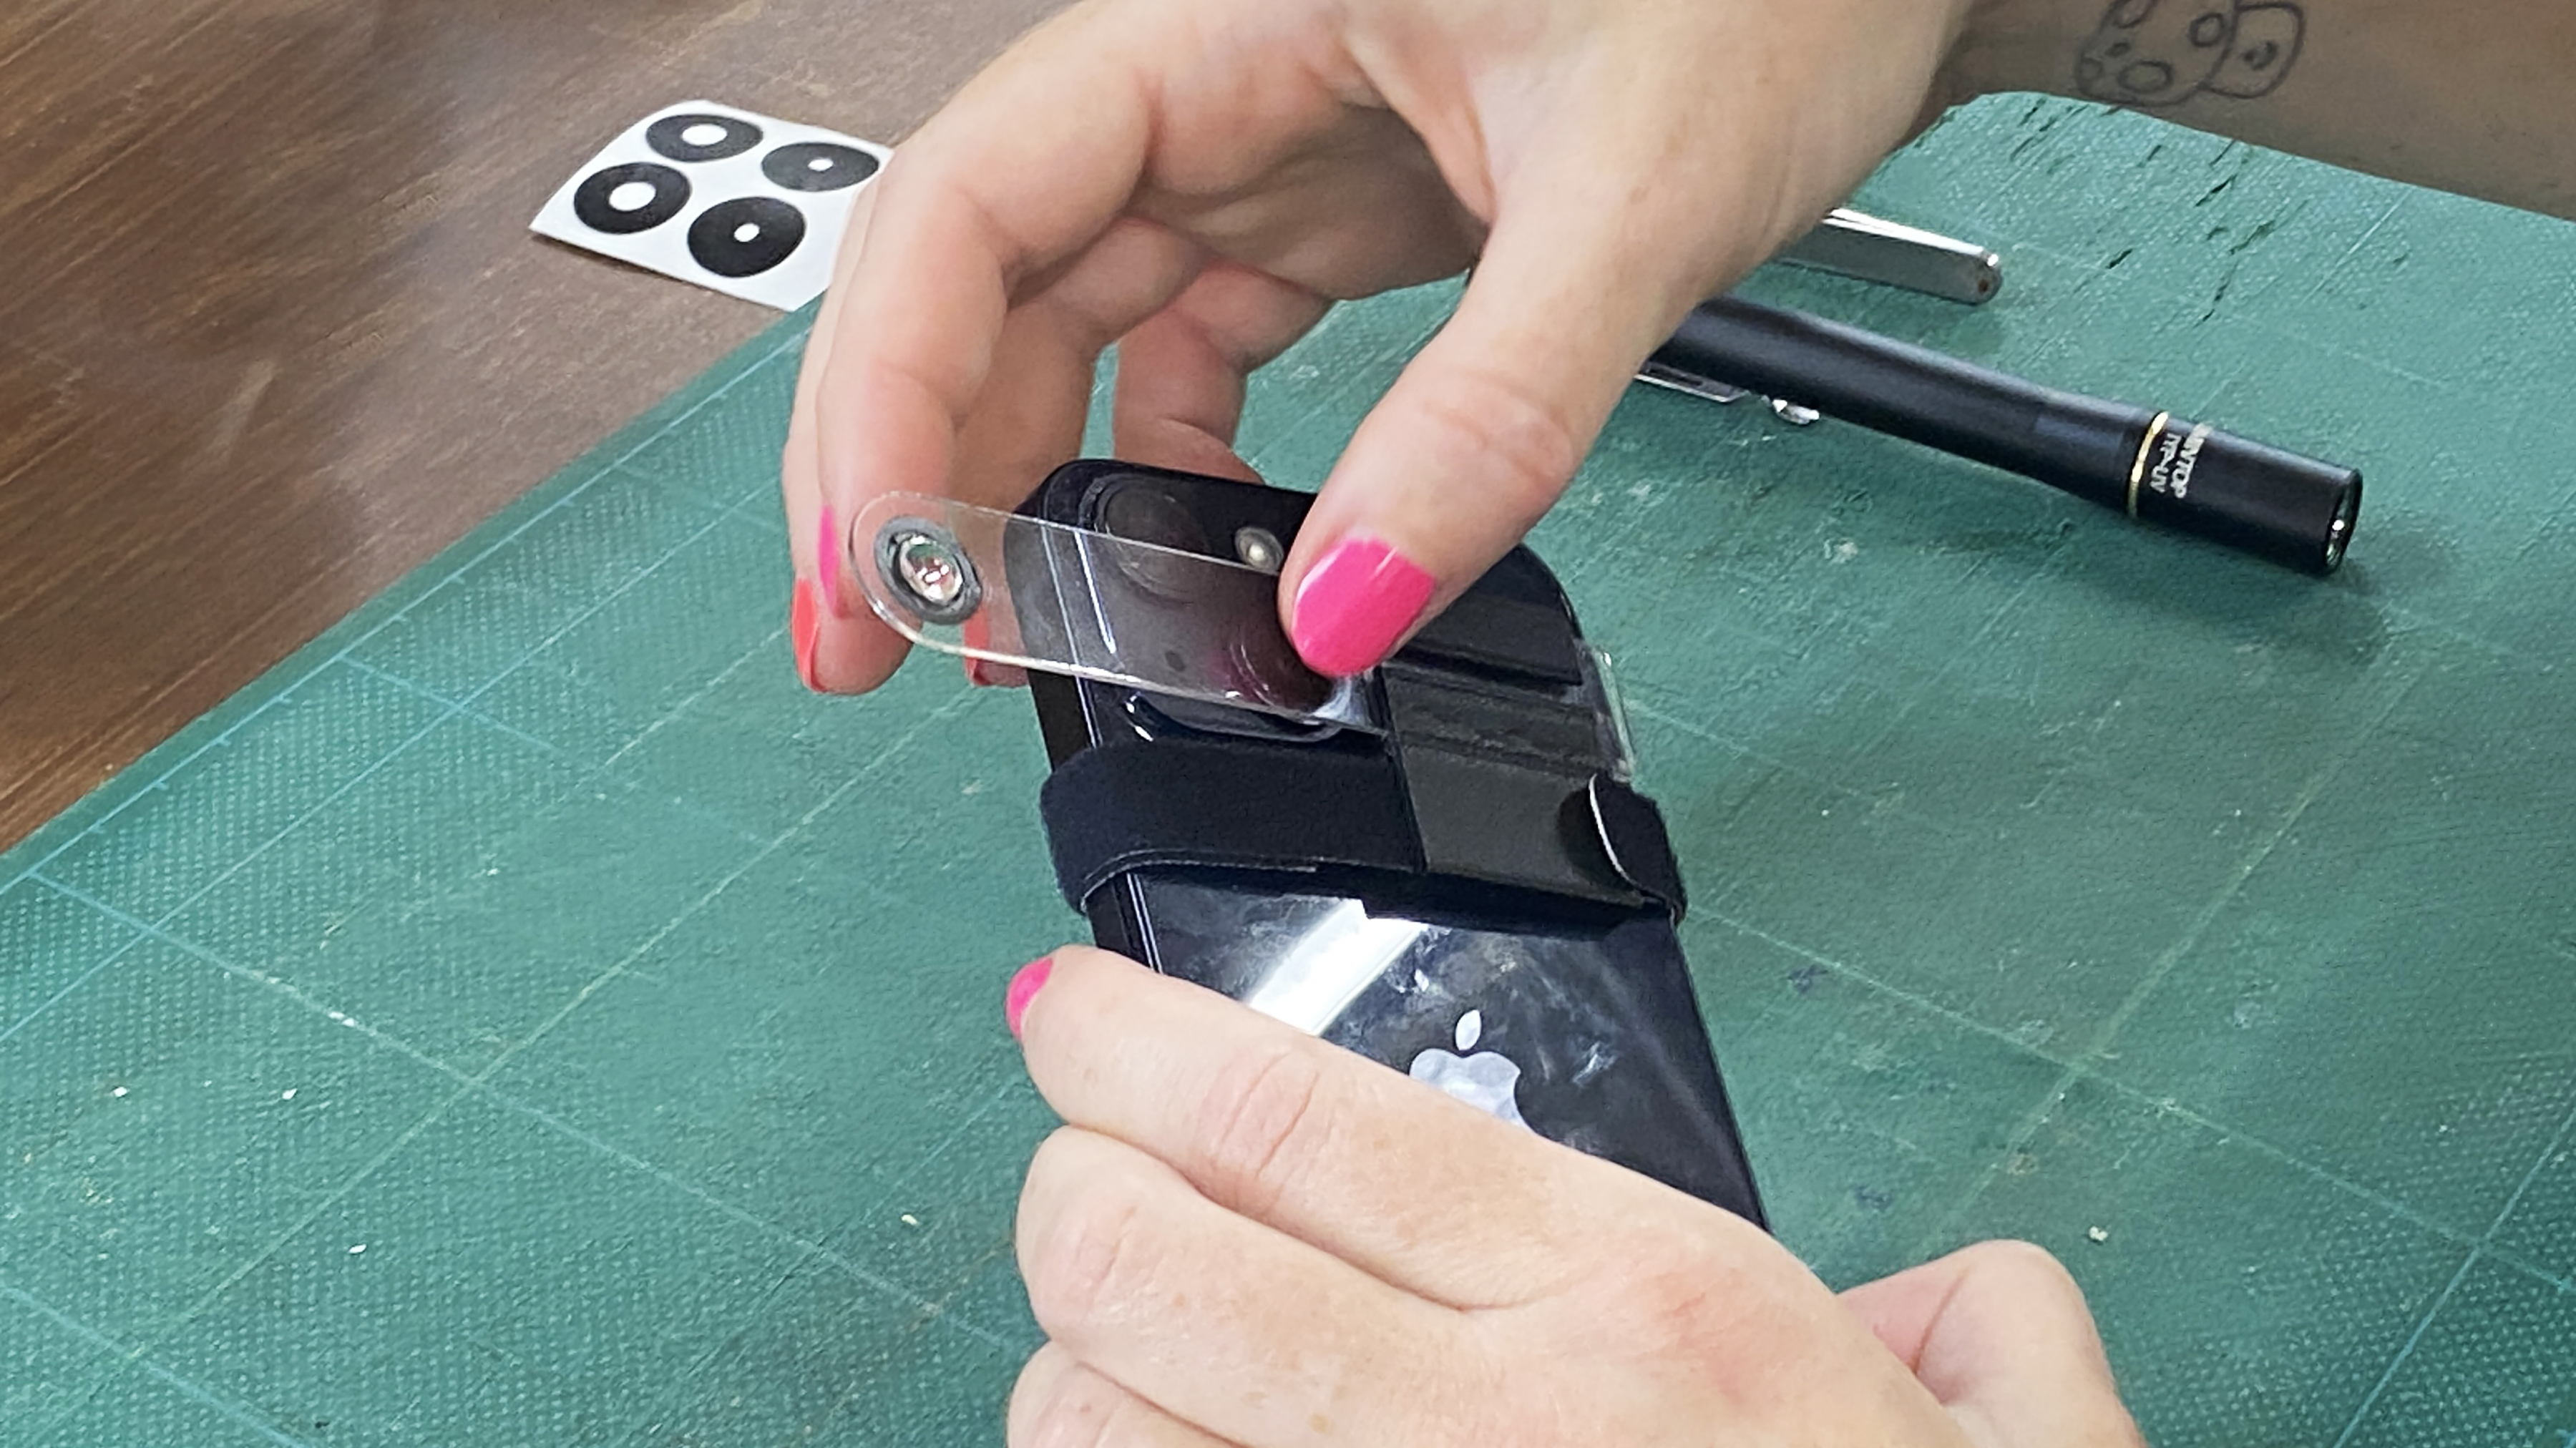
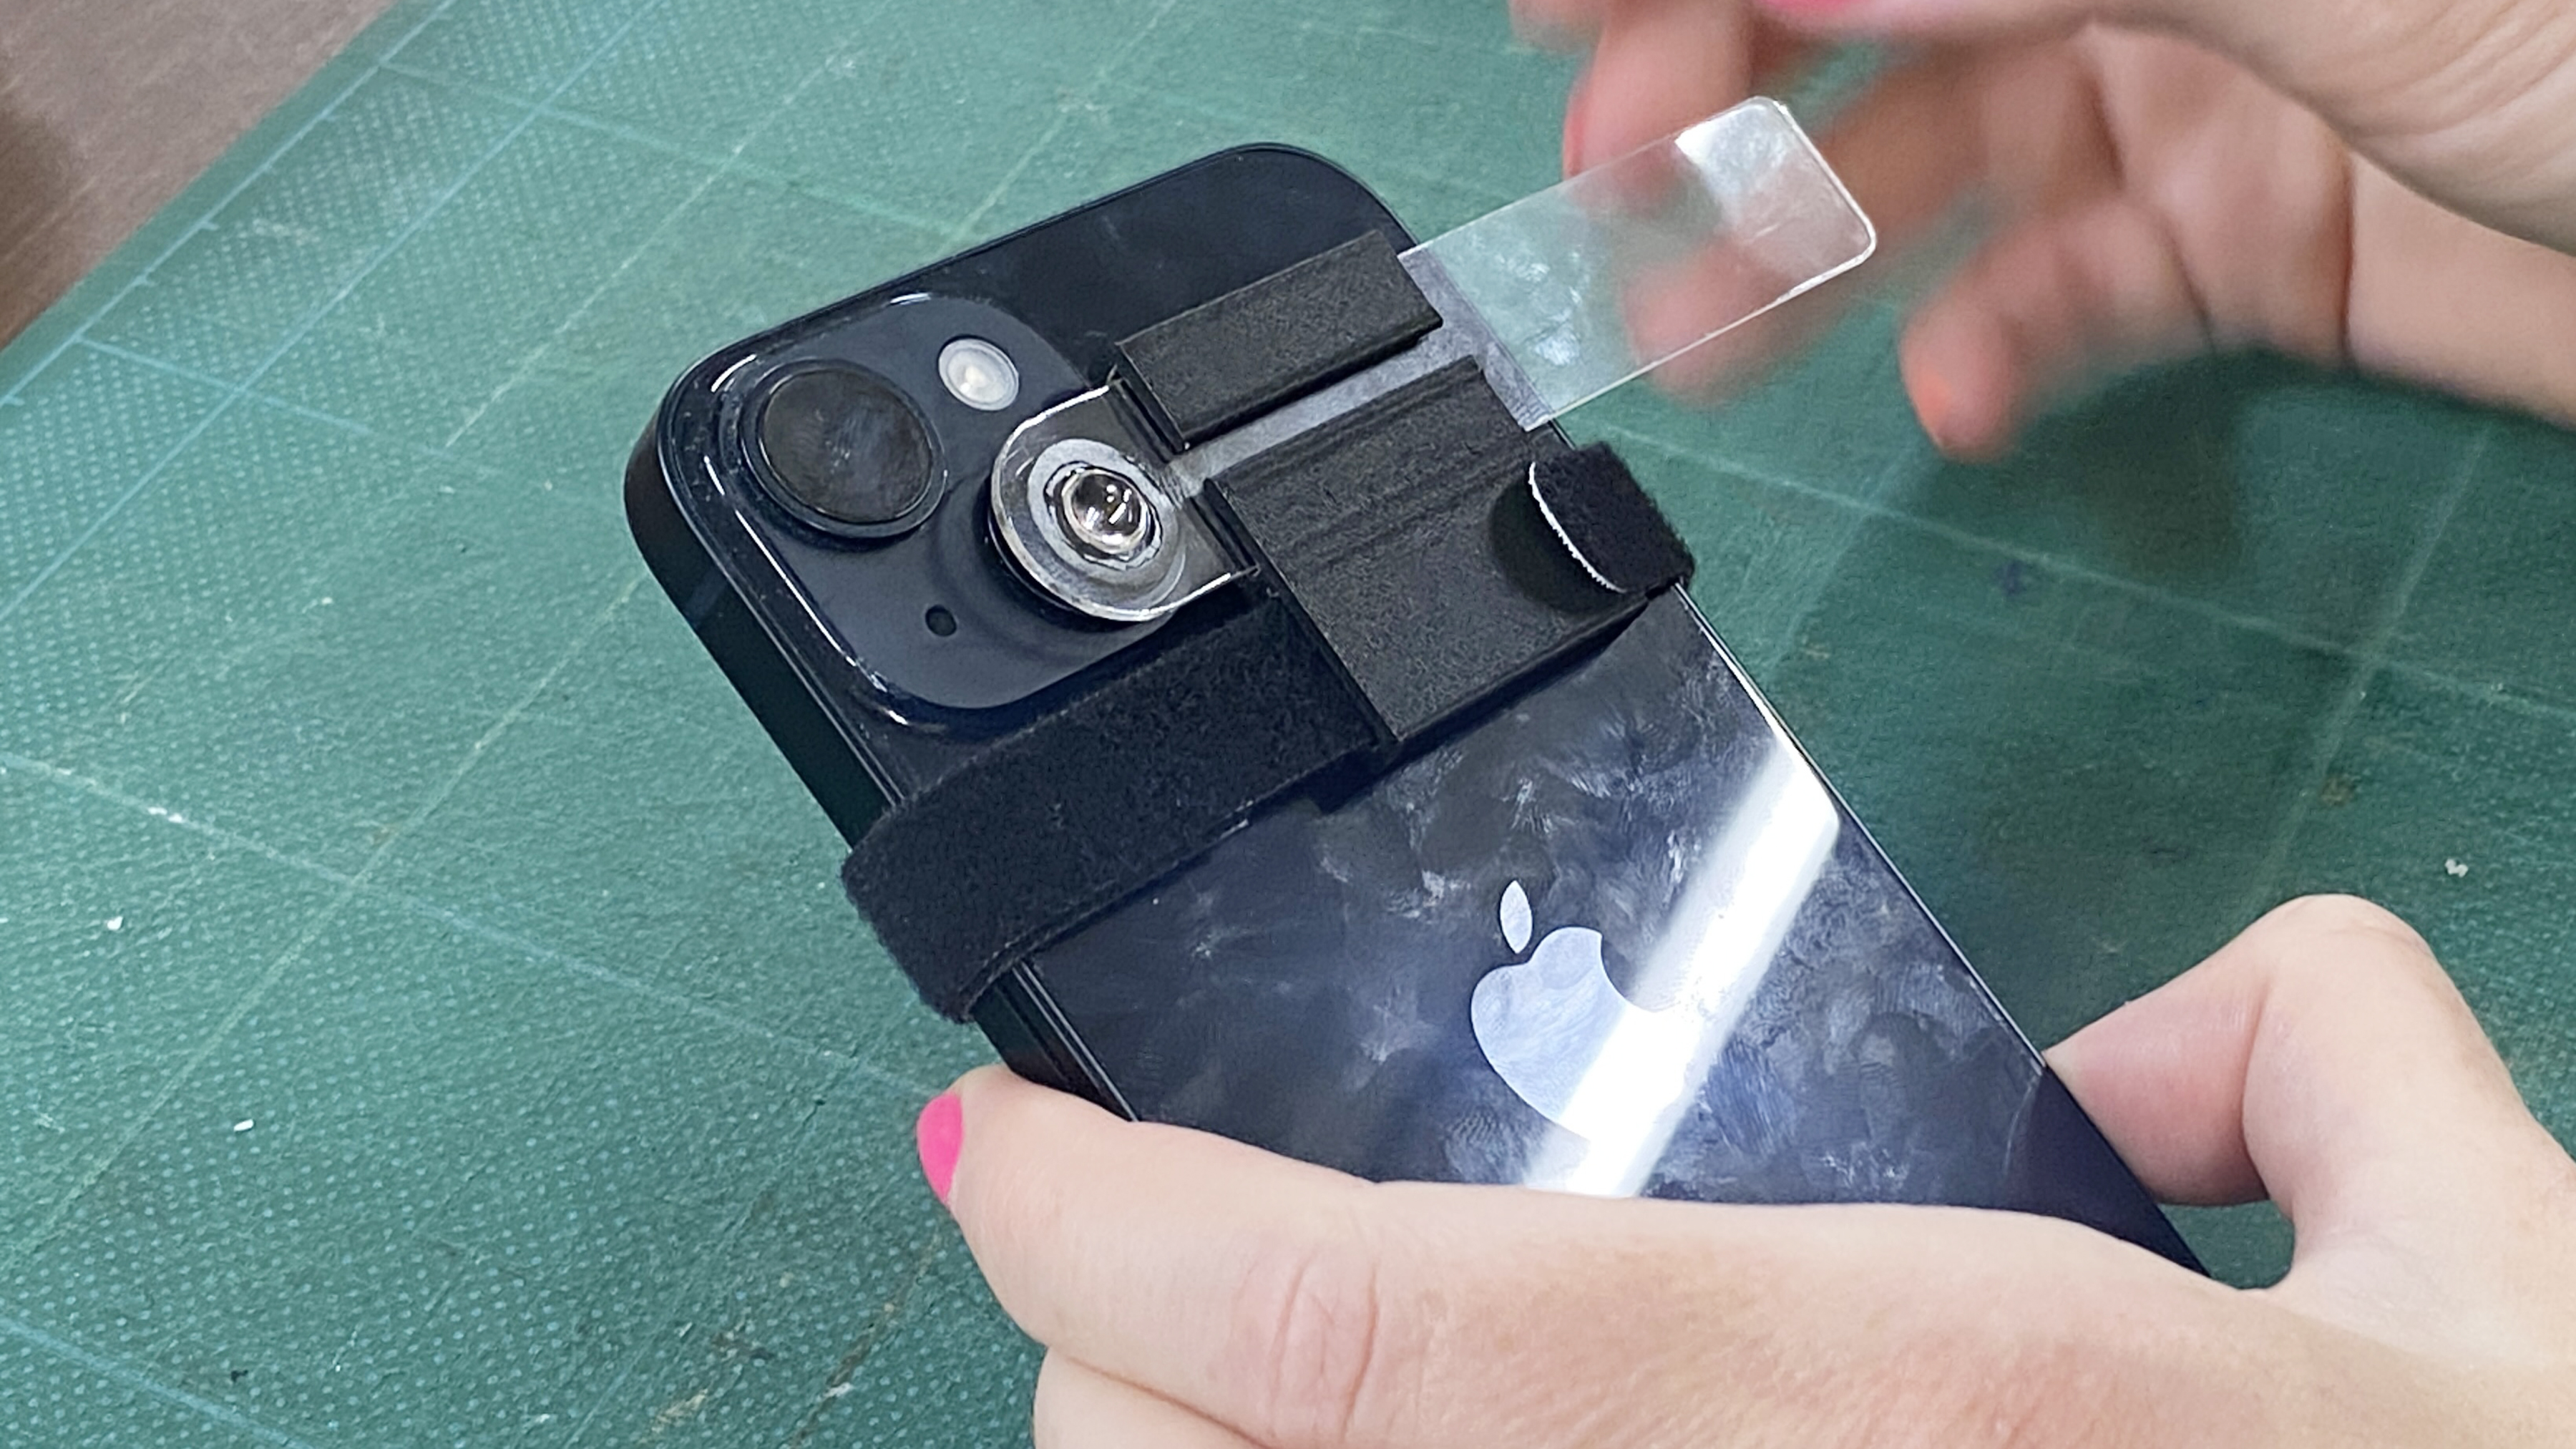
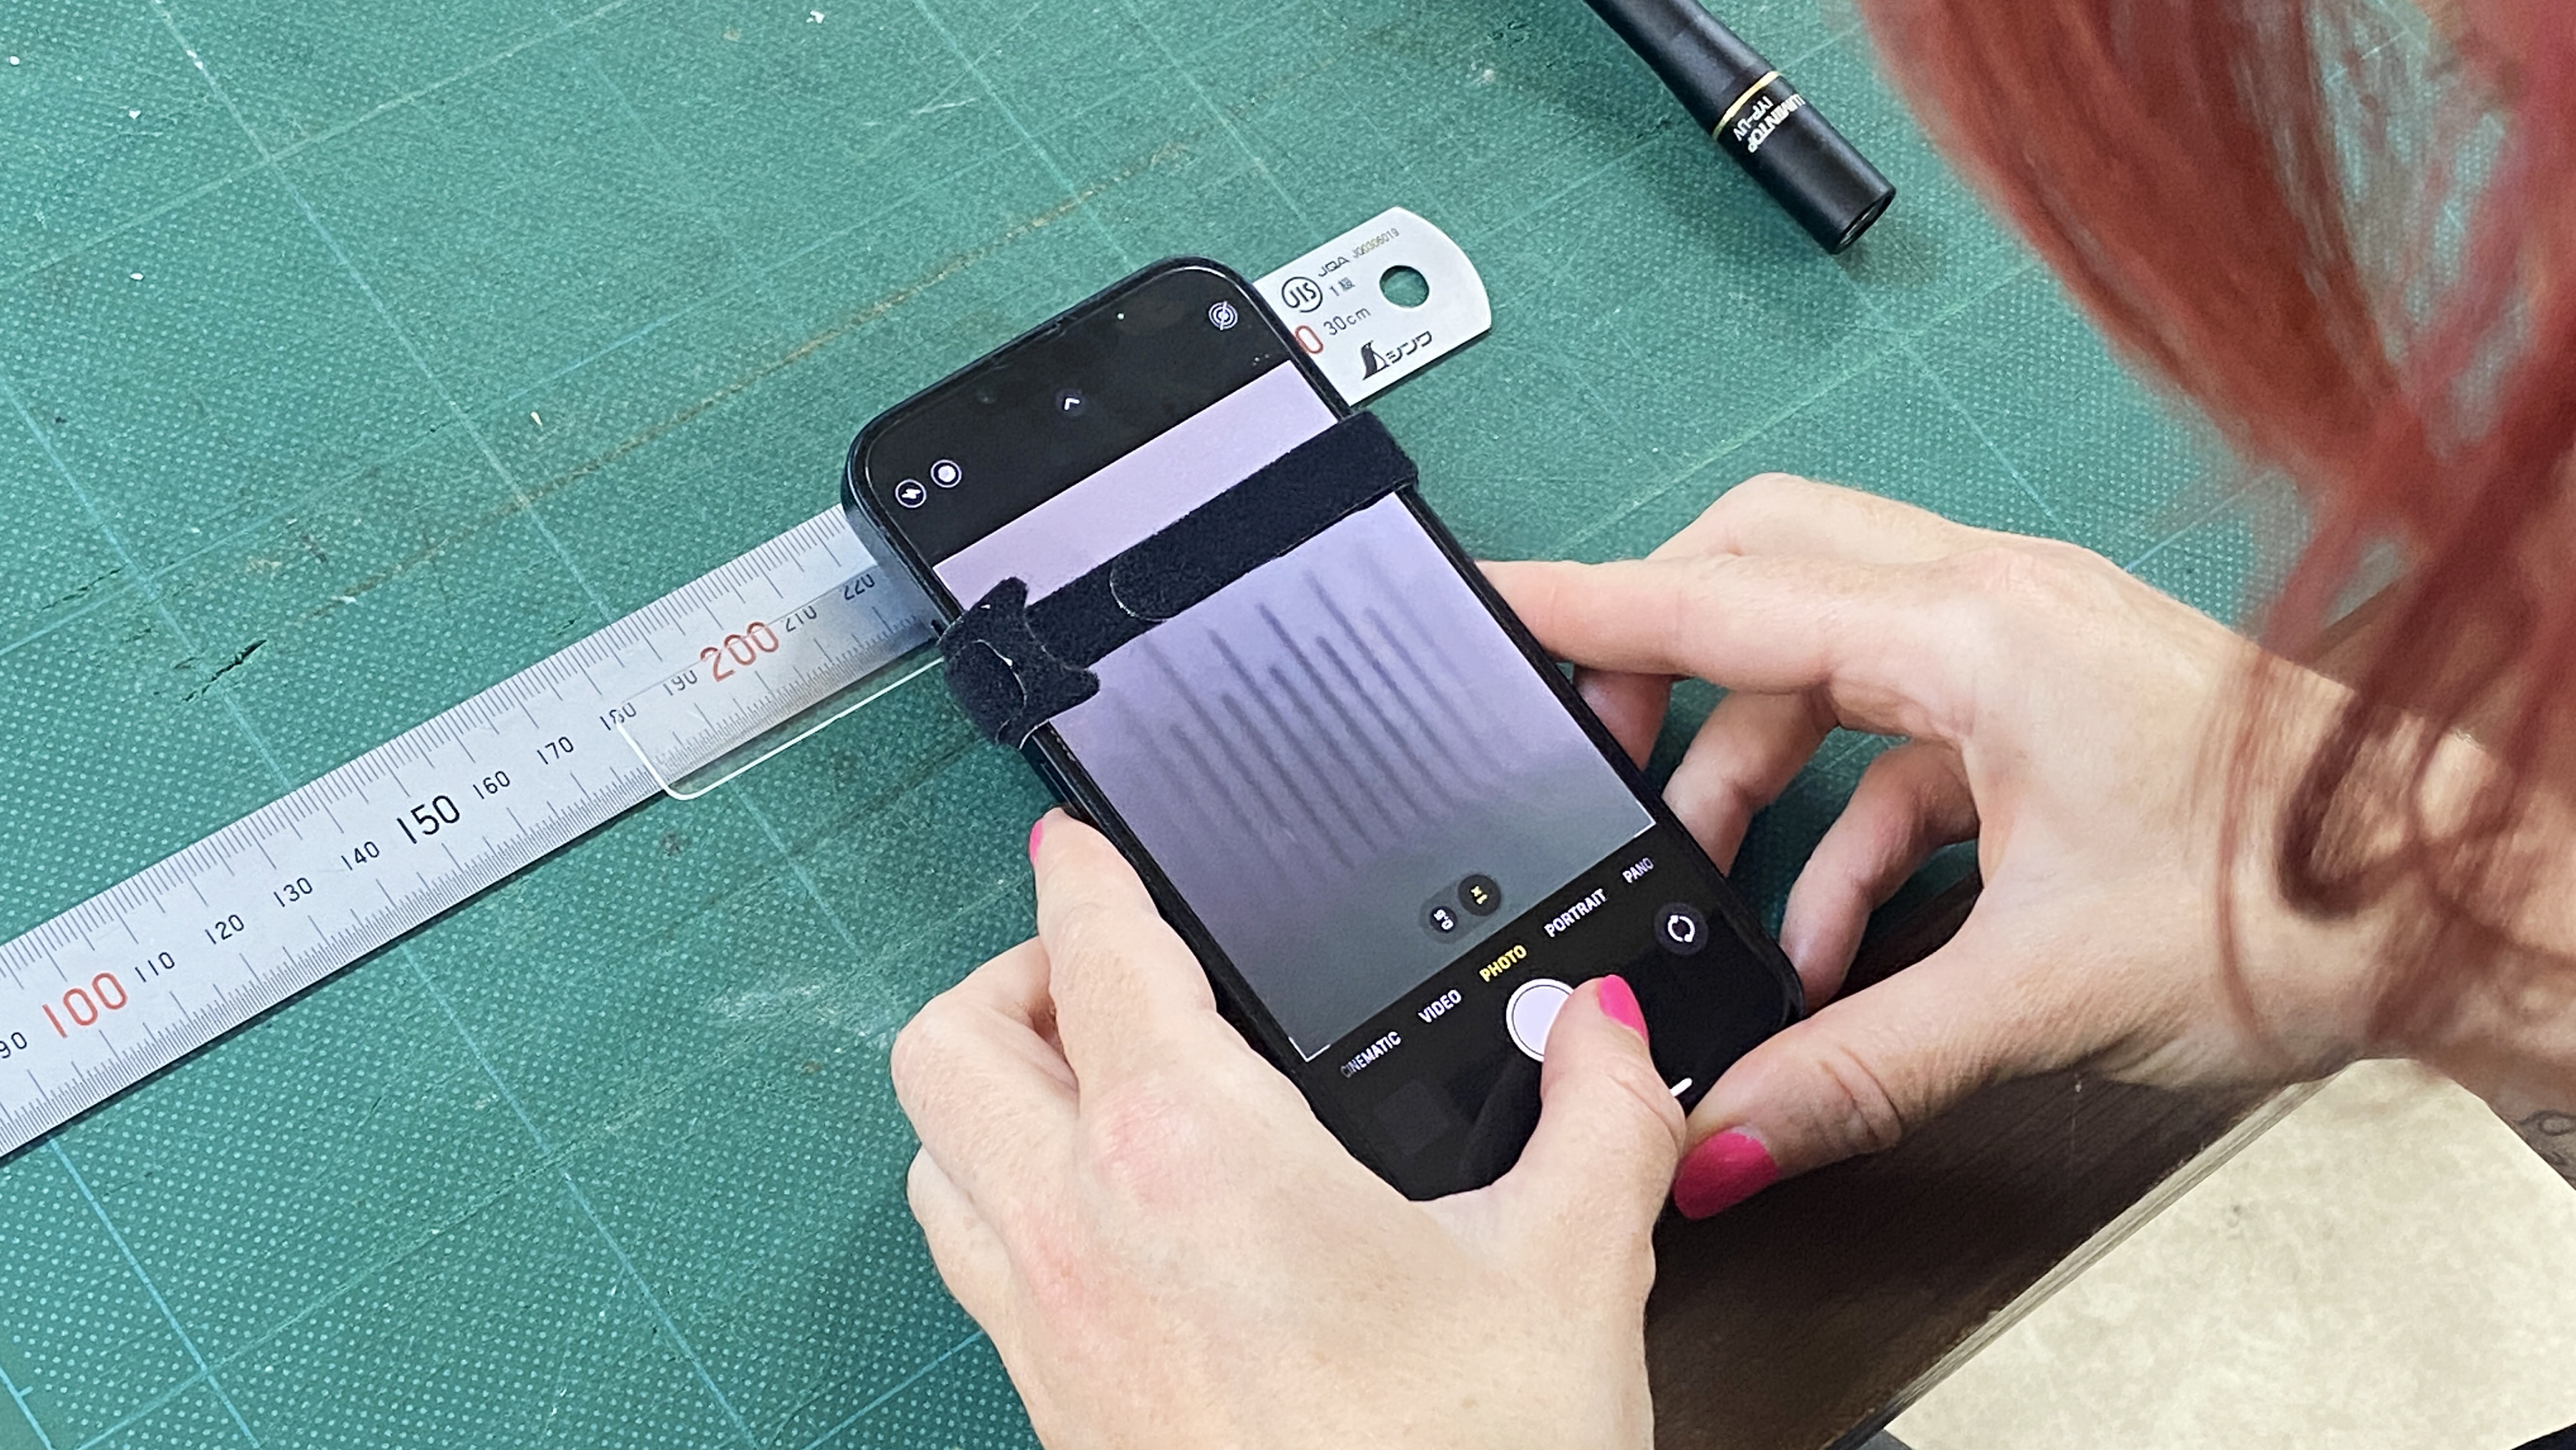
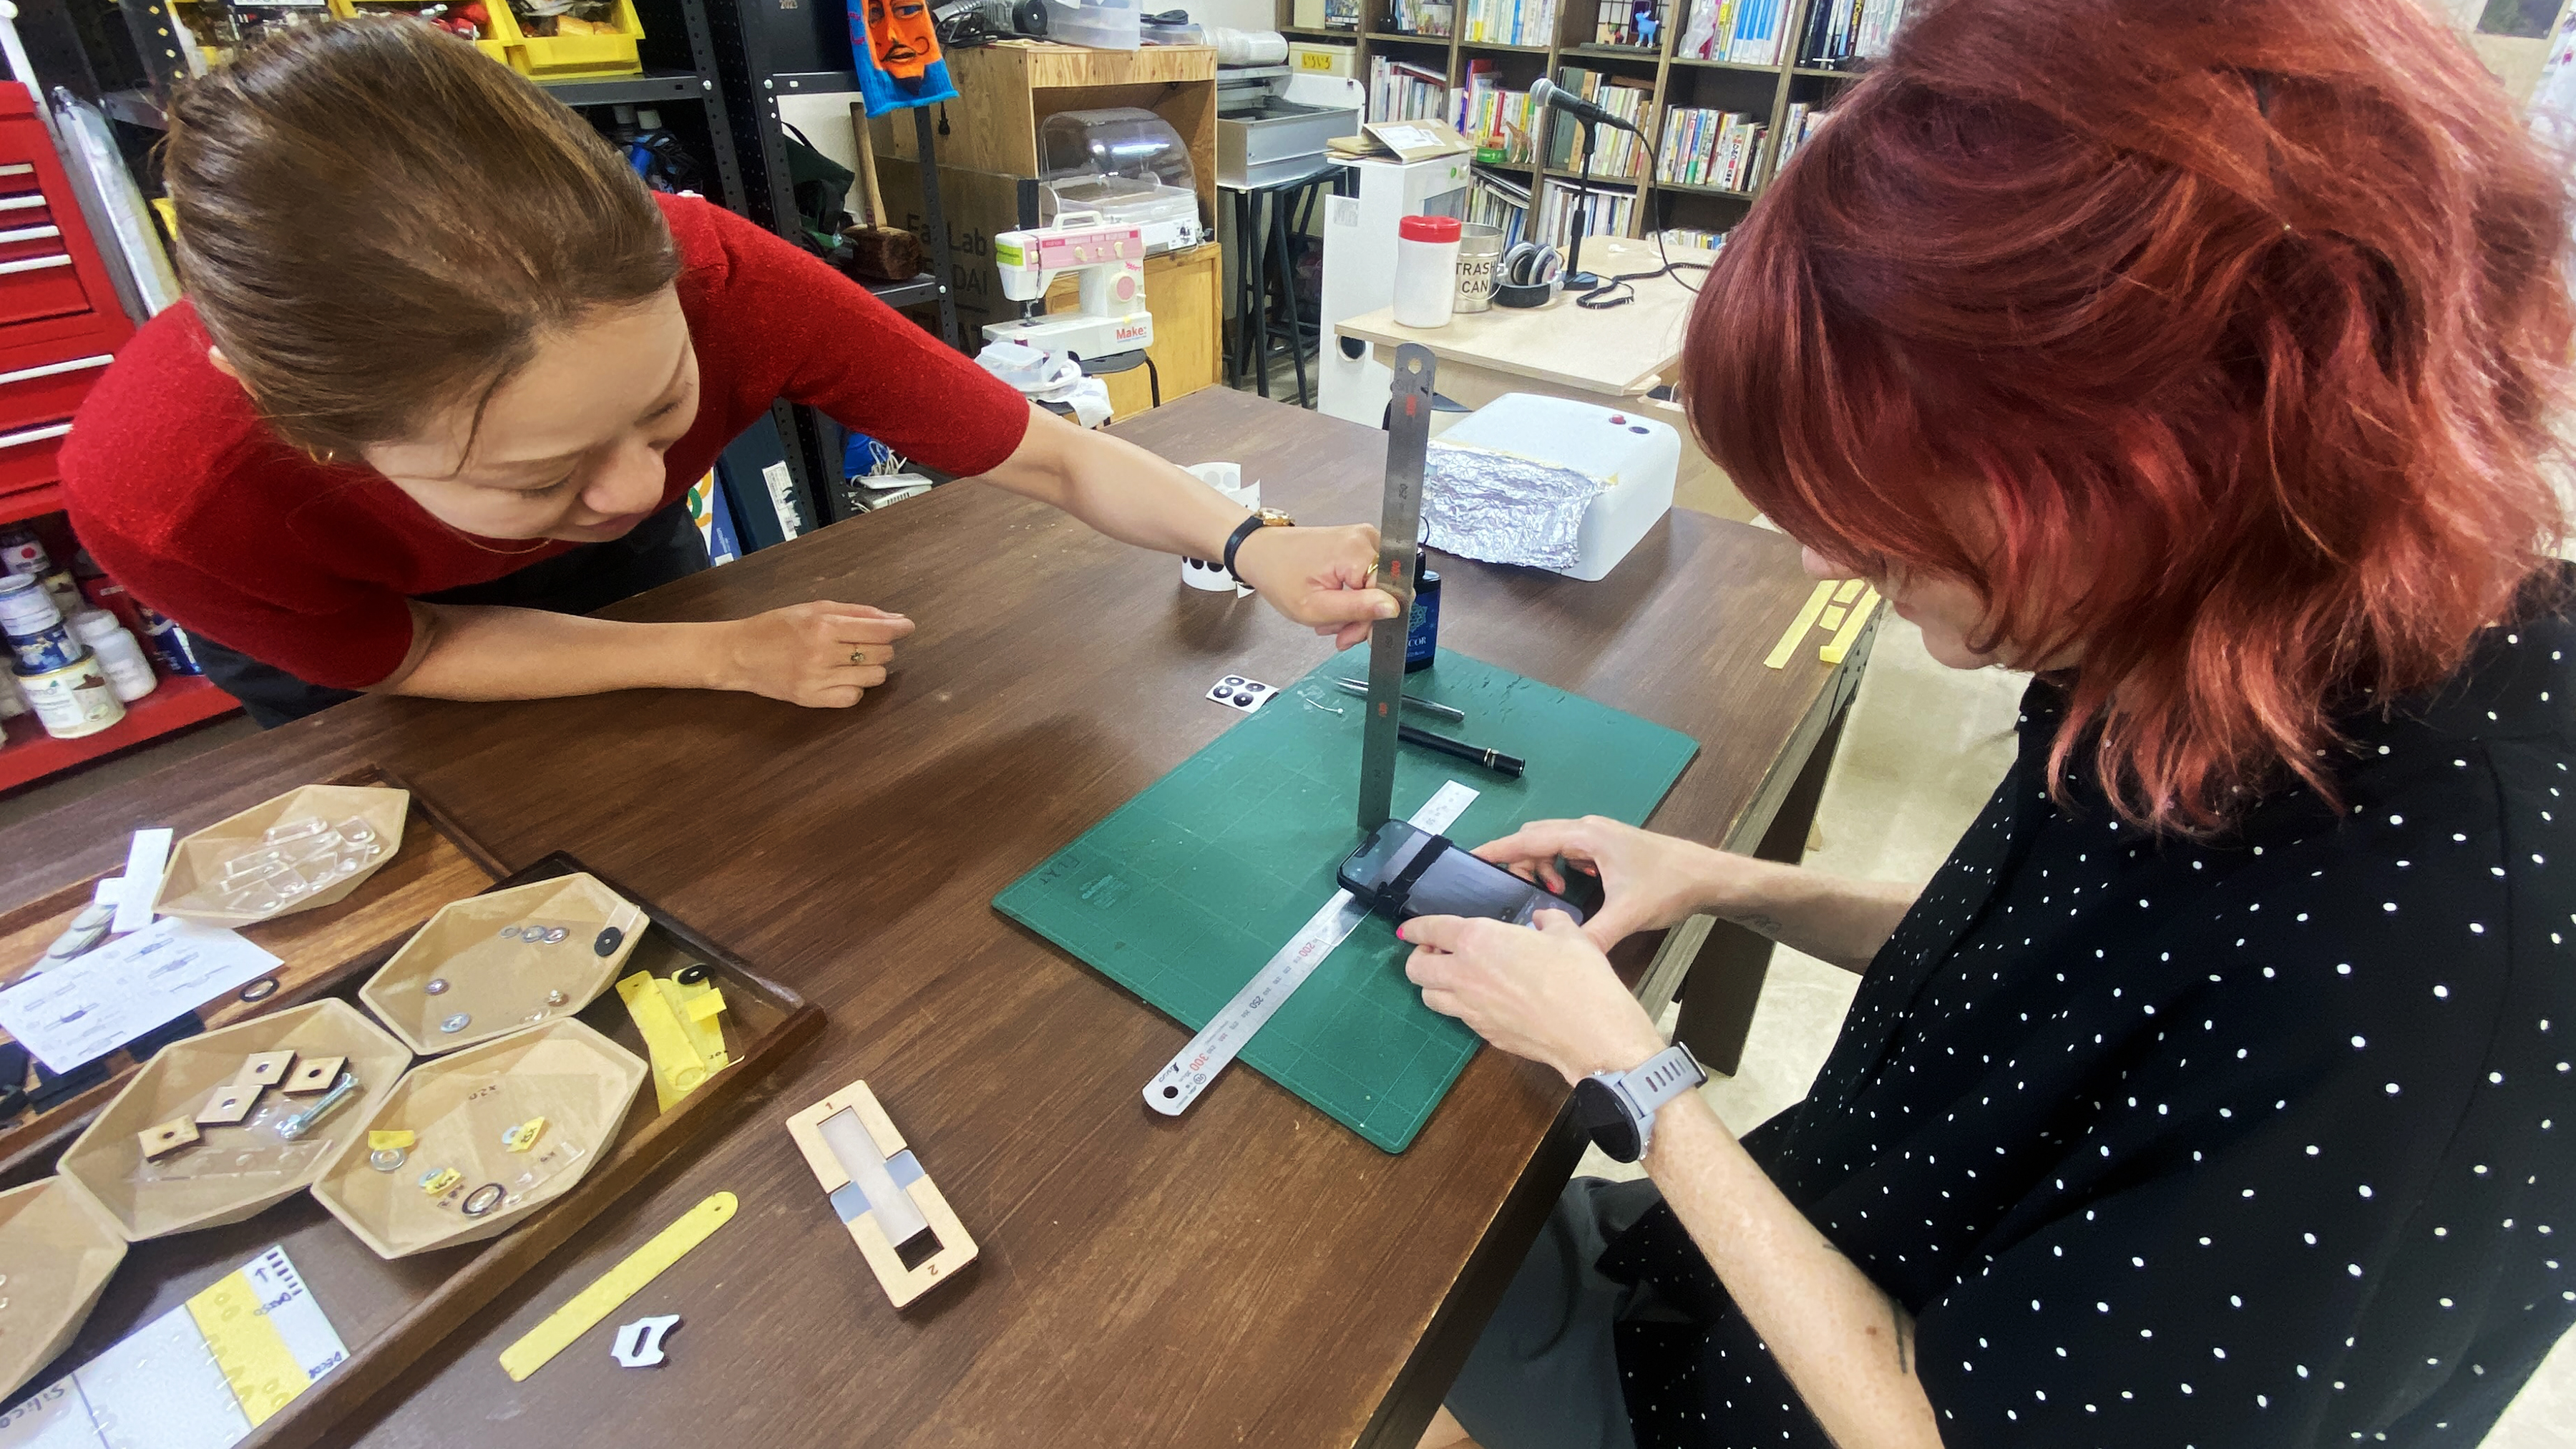
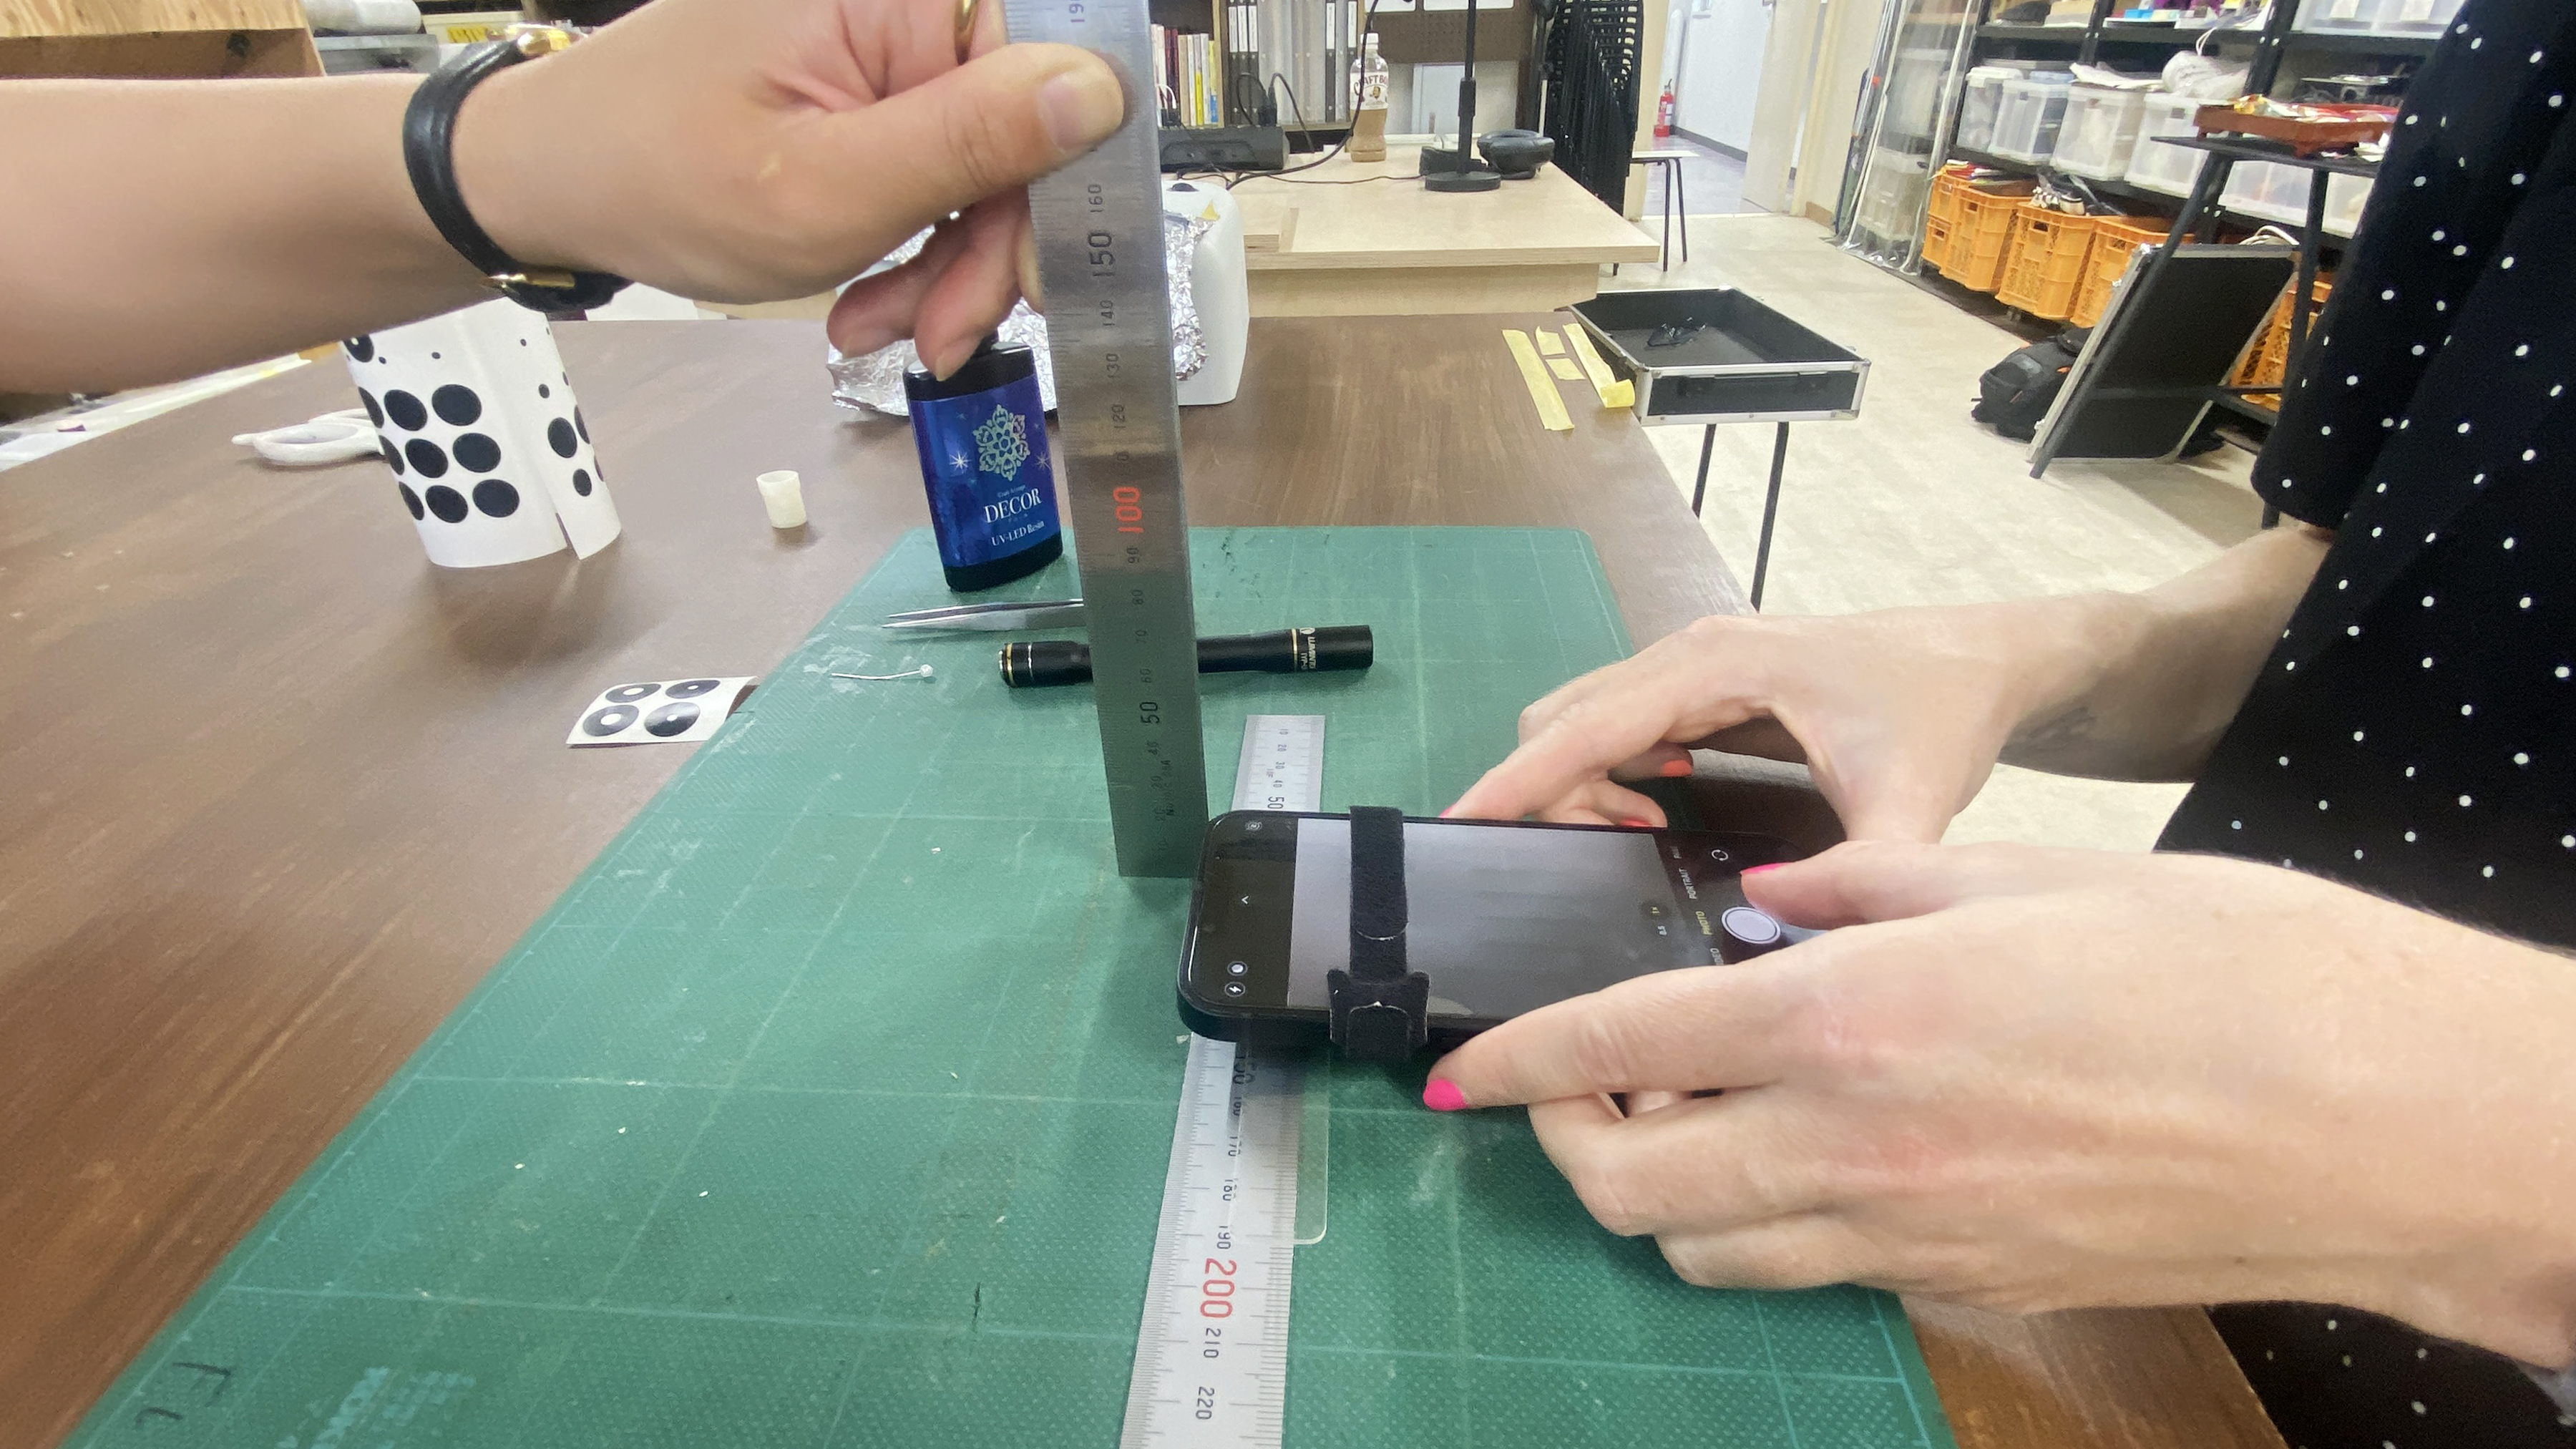
To test their resin lenses, students will securely attach the lens to their phone camera. They will then open the camera and focus on the metric side of a ruler using the lens attachment, taking a photo of the focused lines. Students will measure and record the object distance (do) from the lens to the ruler.
Next, they will measure the height of the image (hi) of the ruler lines in the photo and record the actual height (ho) of those same lines directly on the physical ruler. Repeat steps 7-8 for each lens.
Students will then calculate the magnification of for each lens using the magnification equation:
M = hi /ho
Students will then calculate the image distance (di) for each lens by plugging the calculated magnification:
di = -M⋅ do
Finally, students will calculate the focal length for each lens by using the following lens equation:
1/f = 1/do+1/di
Students share their highest magnification and shortest focal length lenses, with results recorded on the board. They reflect on their calculations, discussing how design features like curvature and precision impact performance. The class analyzes the highest-performing lenses and explores the relationship between object distance, image distance, and focal length. Students also reflect on challenges and strategies for accurate measurements.
Explain: Students share their findings.
For each group ask, “What is your highest magnification and shortest focal length lens?” Record their magnification and focal length on the board. Have students reflect and share how they calculated the magnification and focal length of their lenses. Ask students, “What might these numbers tell you about your lens?” Explain what the high magnification and short focal length indicate about the lens’s ability to enlarge small objects and focus light sharply. Reflect on the effectiveness of the lens for detailed observation and how these properties contribute to its performance in microscopy.
Identify the group(s) with the highest performing lens and analyze the design features that led to their success. Ask the students, “What aspects of the design of the lens made it that way? Why would these aspects contribute to a good lens for microscopy?” Discuss specific design elements such as curvature, material quality, and precision in shaping the lens. Explain how these features contribute to high magnification and short focal length, and why they are beneficial for achieving clear and detailed microscopic images.
Discuss how the measured object distance (do) and image distance (di) were used to calculate the focal length (f). Explain the relationship between these distances and how they help in understanding the lens’s optical properties.
Have students reflect on their process. Ask students, “What challenges did you encounter when measuring the object and image distances, and how did you overcome them?” Encourage students to share any difficulties faced during the measurement process and discuss strategies used to obtain accurate measurements and ensure reliable results.
In this phase of the lesson, students will apply their understanding of lens design to improve the performance of their resin lenses. Building on their reflections and discussions, they will brainstorm potential modifications to enhance magnification and reduce focal length. Students will consider factors such as material selection, precision in shaping, and the addition of coatings to improve optical quality.
Elaborate: Lens Improvement and Optimization
Students will design and prototype an improved version of their lens, focusing on refining key factors such as curvature, resin application techniques, and material adjustments. Teams will sketch their design ideas and discuss the changes they believe will enhance performance.
Once their new lenses are created, students will test them using the same procedure as the original lenses. They will measure magnification, focal length, and overall performance, documenting their findings for comparison.
Students will share their new lens designs and results with the class, discussing:
Host a friendly image competition with categories like Most Creative, Clearest Image, Most Magnified, and Best Overall, where students showcase their improved lens photos.
Image Competition: Host a friendly competition to recognize the best images captured with the improved lenses. Create multiple award categories, such as:
Have the class vote or invite guest judges (e.g., other teachers or staff) to select the winners.
Having trouble? Let us know by completing the form below. We'll do our best to get your issues resolved quickly.
"*" indicates required fields